Archive for the ‘Homeschooling’ Category

Changing the Coefficient of Friction

Monday, August 15th, 2016

changing-the-coefficient-of-friction

Today we are doing an experiment about changing the coefficient of friction. We will be swooshing a penny and a book across an unpolished table. Then we will polish the table and try it again.

Friction is resistance that keeps an object from moving forward. As you can see in the video, our coffee table has seen better days–it is battered and has lots of tiny grooves and dents. This provides a surface that is full of friction to cause a penny or book to slow down while being slid across a table.

How to do the friction experiment:
sliding-pennyThis post contains affiliate links. I was compensated for my work in writing this post.

This is how we conducted this friction experiment from Christian Kids Explore Physics by Bright Ideas Press:

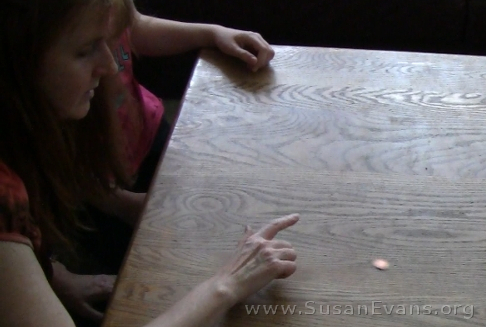
Step 1: We slid a penny and a book across an unpolished table. We noticed that the penny got stuck as it didn’t want to slide across a table full of nicks and dings.

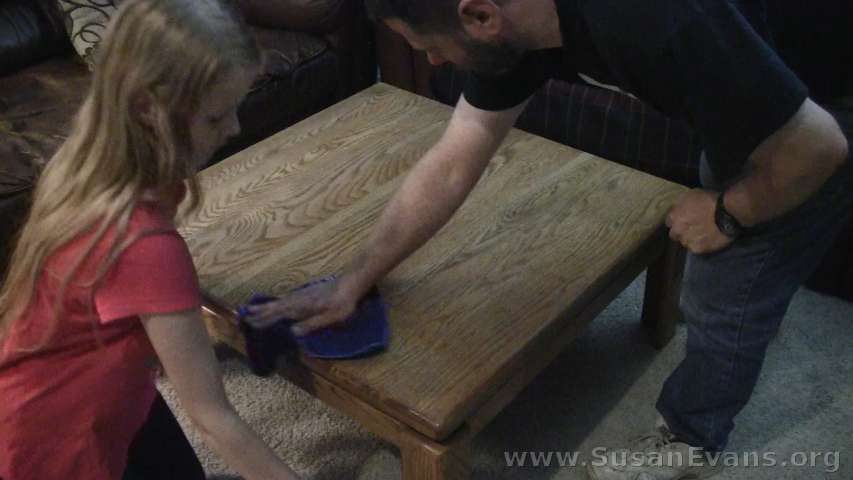
Step 2: We polished the table with furniture polish. Using a soft rag worked better than using a paper towel, as far as shining the table. The reason the table never looked visibly shiny is that there was no varnish left on the poor coffee table. Even then, the table became more slippery when polished.

waxing-table

Step 3: We slid the penny and the book across the polished table. This time we noticed that the penny had less friction as it slid across because there were fewer obstacles slowing it down.

My kids went next door to slide the penny on the neighbor’s waxed wooden floor. The penny slid around with way more speed! Even the neighbor’s dog had trouble walking on such a frictionless surface!

Then my husband polished one side of the coffee table and not the other, and there was a visible difference in speed when he flicked two wooden coins across the table. The polished side went noticeably faster and flew off the table!
Rosetta Stone: Homeschool Spanish

Friday, August 12th, 2016

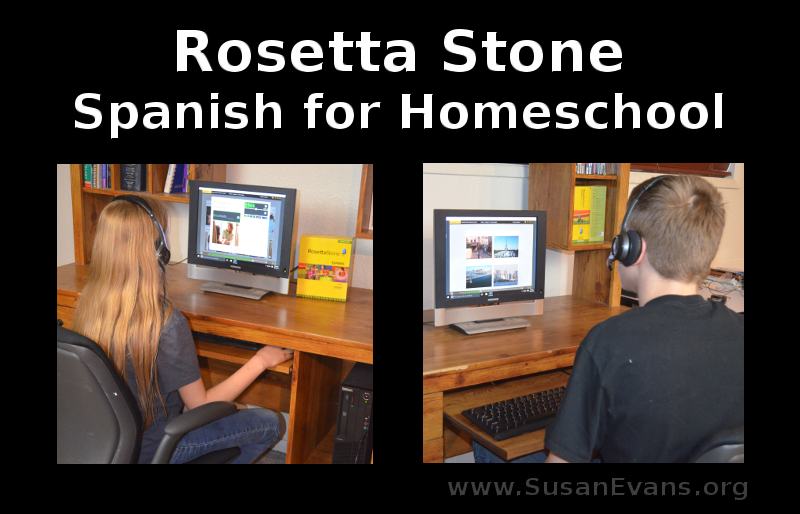
Rosetta-Stone-Spanish-for-homeschoolI received a year of Rosetta Stone and was compensated for an honest review.

I was looking for a Spanish program because my high school students need two years of high school credit to graduate from our homeschool. And of course, I always wanted my kids to learn Spanish because I grew up speaking Spanish, and it’s a useful language to know.

You’re probably thinking, why haven’t I taught them Spanish yet? Well… our lives have been full. I was actually looking for a Spanish program that would do all the work for me so that I can get everything else done. I’m a speaker, an author, a conference coordinator, a blogger–oh, yes, and I also film my homeschooling.

As you can see, I have no time for teaching Spanish, and why should I when Rosetta Stone Language Learning for Homeschool exists?! They are the most effective foreign language program I’ve ever seen. You can speak into a microphone, and the computer will tell you if your Spanish accent is good enough, or if you need to repeat the word.

YES–it teaches you to SPEAK Spanish, not just to read it, write it, and listen to it. So you don’t need to know the language as a homeschool mom. The program is thorough, builds on previous vocabulary, and immerses you in the language right away.

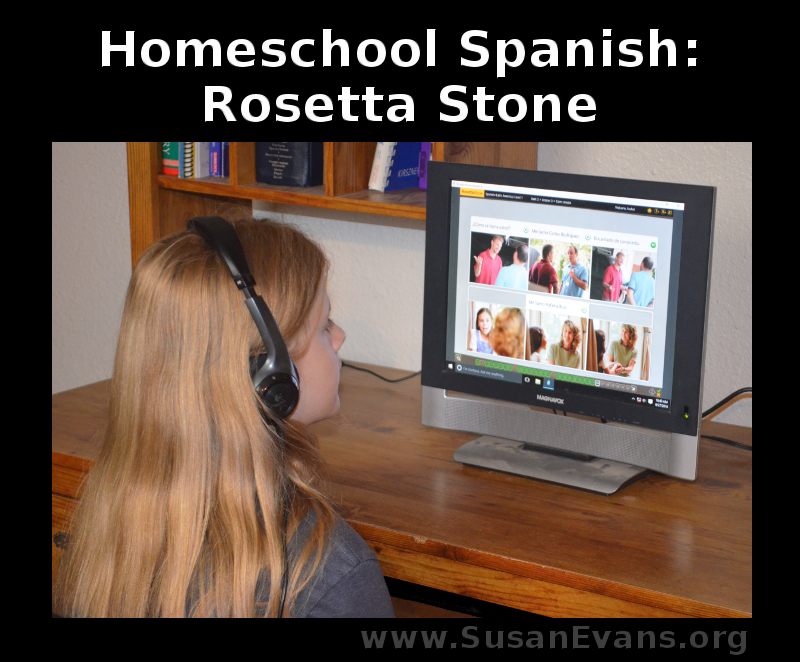
Rosetta Stone: Homeschool Spanish

Homeschool-Spanish-Rosetta-Stone

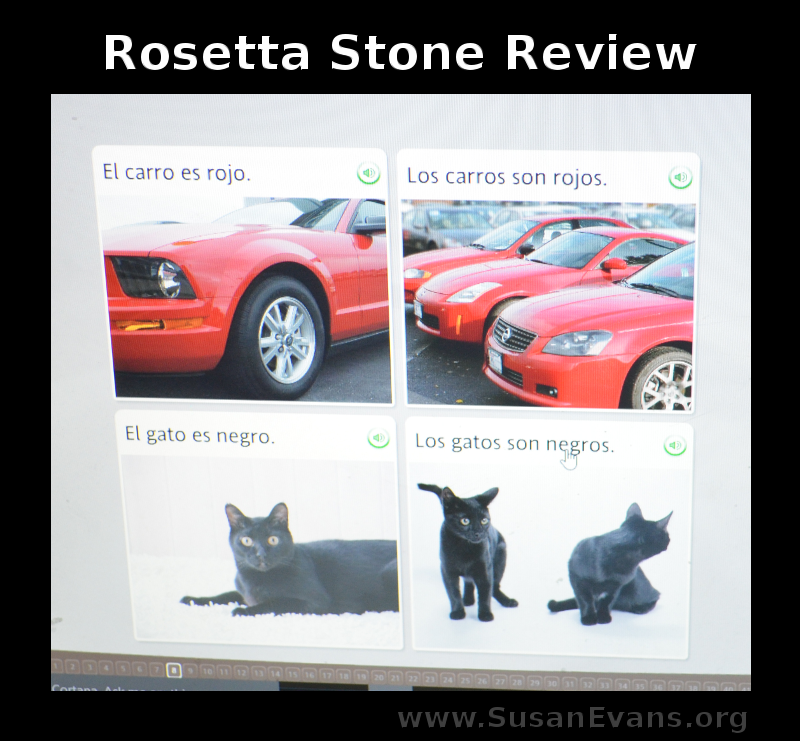
Each screen has colorful pictures to build vocabulary. You are required to match the picture with the word. After that, you match the spoken word with the picture (without seeing the word). This is helpful because when you are chatting with a Hispanic woman at Walmart, you will not see words above her head, telling you what her words are.

You can opt out of the written portion if your children are young, but since all my kids are older, they can type out the vocabulary words under the pictures. Spanish is the simplest language to write anyway–everything is exactly the way it sounds, since vowels can only have one sound.

Rosetta Stone Review

Rosetta-Stone-review

Just so you can see what I’m talking about, here is my demonstration with Rosetta Stone Language Learning for Homeschool, and why I loved it so much:

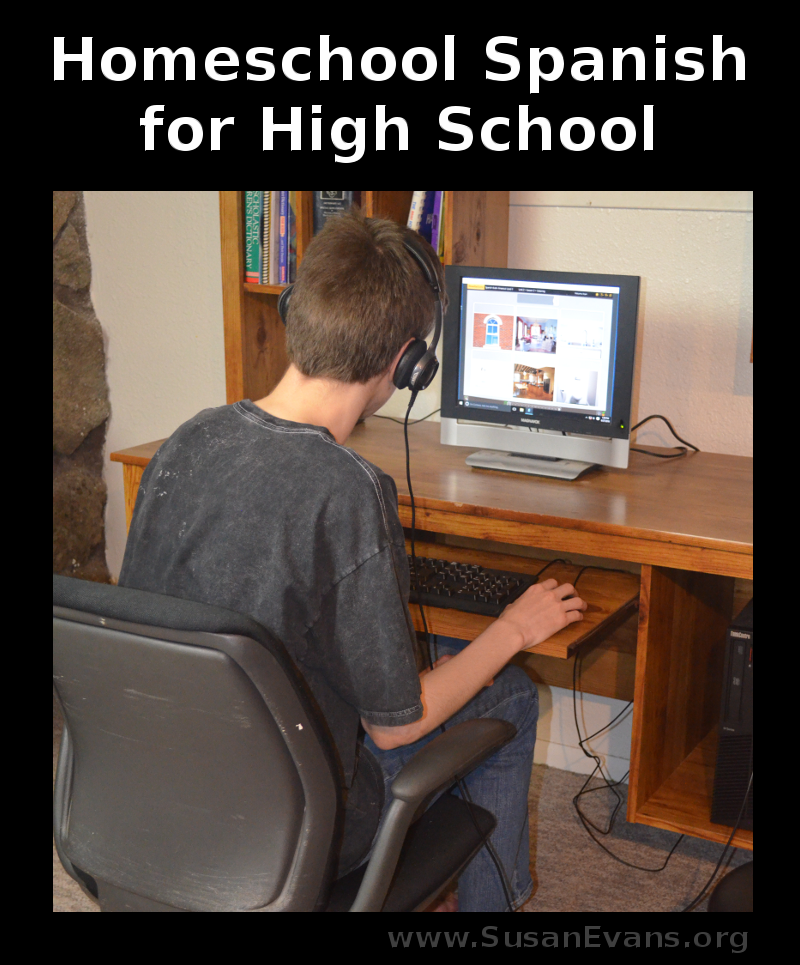
Homeschool Spanish for High School

My 16-year-old son did not want a baby-ish Spanish program, so I was overjoyed when I saw that any human–any age, including adults–can use this program without feeling like they are being treated like a baby. Instead of cartoons, you have real-life pictures.

The program is not boring. Yay! Not boring is good. It moves at a wonderful pace, and if you need more practice on one section, you can do that section over and over however many times you want. Mastery is the whole point.

Homeschool-Spanish-for-high-school

There is a workbook that you can print out, if you want to use paper and pencil. I don’t believe the workbook is necessary for learning the language, but if you are trying to get extra writing practice for your kids (or if you think you need it for high school credit), it’s a good re-enforcement of what the students have learned in each lesson.

I was so impressed by Rosetta Stone that I decided to buy the entire set of Spanish, Levels 1 through 5. If you would like to follow Rosetta Stone on social media, here they are:

Watch a free demo: Rosetta Stone Language Learning for Homeschool

Sign up for their newsletter: Rosetta Stone Newsletter

Measuring the Magnitude of Force

Monday, August 8th, 2016

Measuring-the-magnitude-of-force

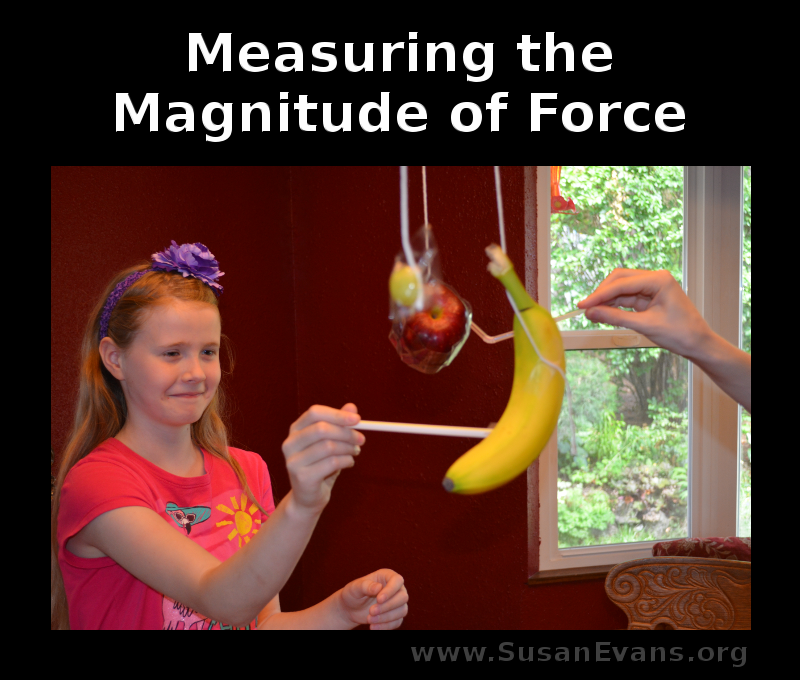
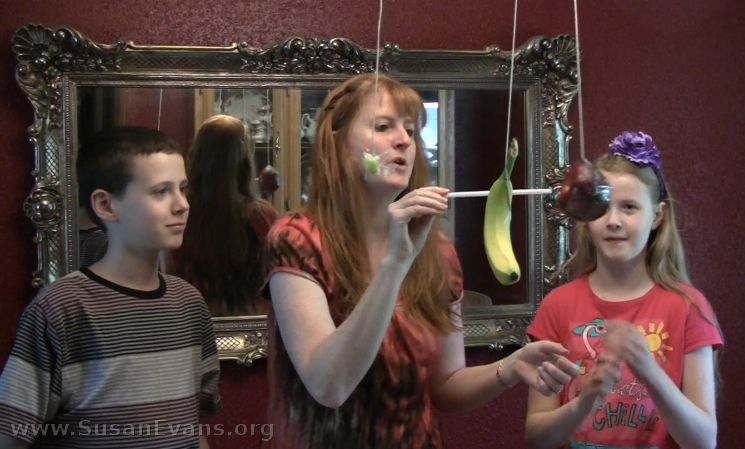
Today we are hanging some fruit from a chandelier and poking it with a straw–yes, we are measuring the magnitude of force!

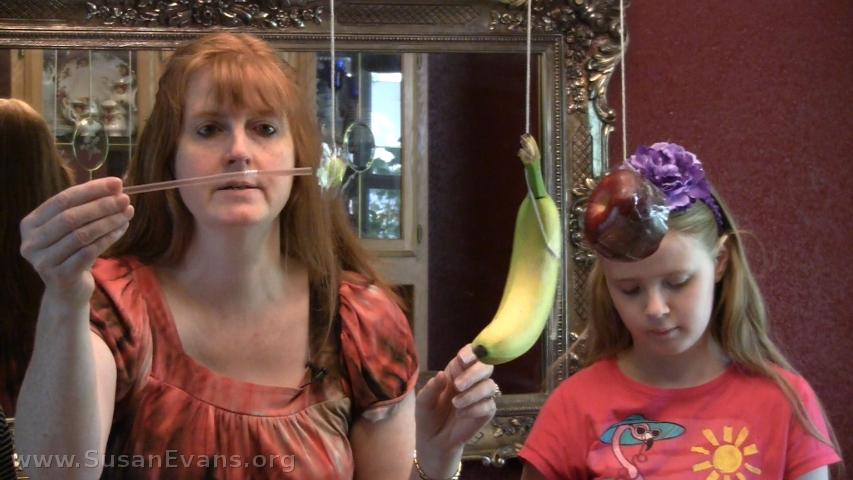
Are you ready for a ridiculously fun experiment? You will need the following items: string, a chandelier or door knob, a bendy straw, tape, scissors, a grape, an apple, and a banana.

Here are the results of our experiment:

How to conduct the experiment:

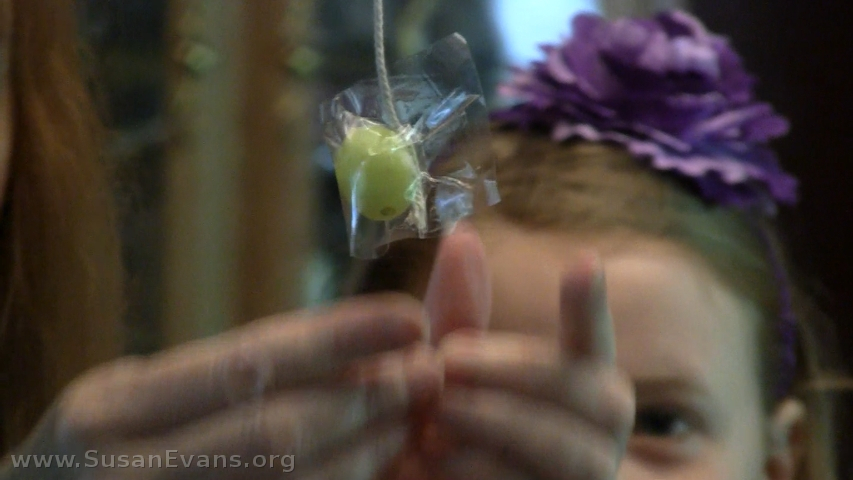
Step 1: Make sure the fruit is completely dry before attempting to tape the string to the fruit. We used packing tape, but apparently flimsy scotch tape also works. I was shocked to see the banana didn’t fall and splat with weak scotch tape holding it up.

Step 2: Tie the other end of the string to the chandelier or door knob.

taped-grapeThis post contains affiliate links. I was compensated for my work in writing this post.

Step 3: Grab a bendy straw and push each piece of fruit. Notice that the grape does not bend the straw, but the apple and the banana require more force to move, so they bend the straw. The more mass an object has, the more force is required to move it.

laughing

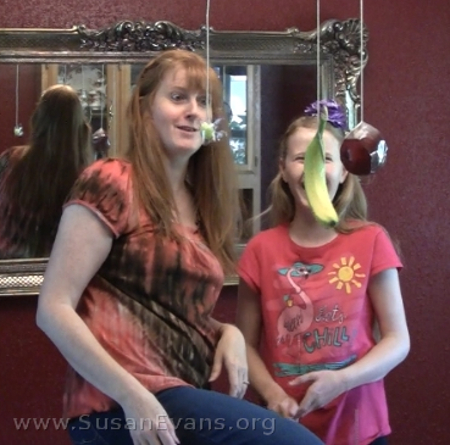
The photo above is the moment I discovered the weak tape was holding the banana up. It was quite hilarious, since I was expecting a splat.

physics-force-elementary

See how the grape requires almost no effort to move, since its mass is so small. On the other hand, the other two pieces of fruit require more force to accelerate. To accelerate something means to make it move forward or change its velocity. We accelerated the speed of the fruit in this experiment while determining the magnitude of force required to move each piece.

hanging-fruit

This fun experiment is from the book Christian Kids Explore Physics by Bright Ideas Press. Why not pick up your own copy today!

Bible Notebook

Friday, August 5th, 2016

Bible-notebooks

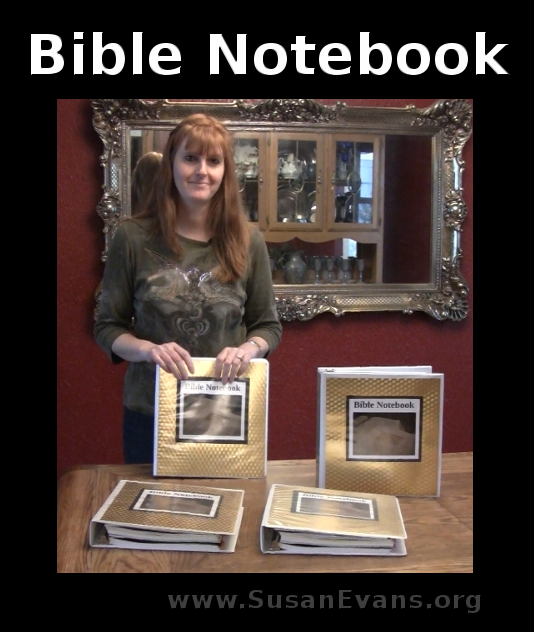
Today I will show you how to put together a Bible notebook with your children. These notebooks are great for homeschooling your children for Bible class. You can also use these binders for Sunday School or for any other purpose, such as a personal Bible notebook for you as a parent.

Video Demonstration of our Bible Notebooks

Here is a video demonstration where I show you what we included in our Bible notebooks:

Sections to Include in a Bible Notebook

Bible-sections-for-notebook

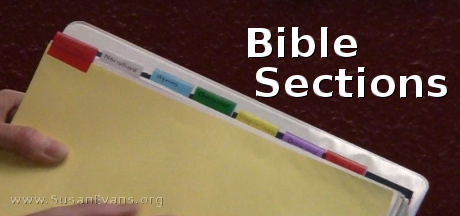
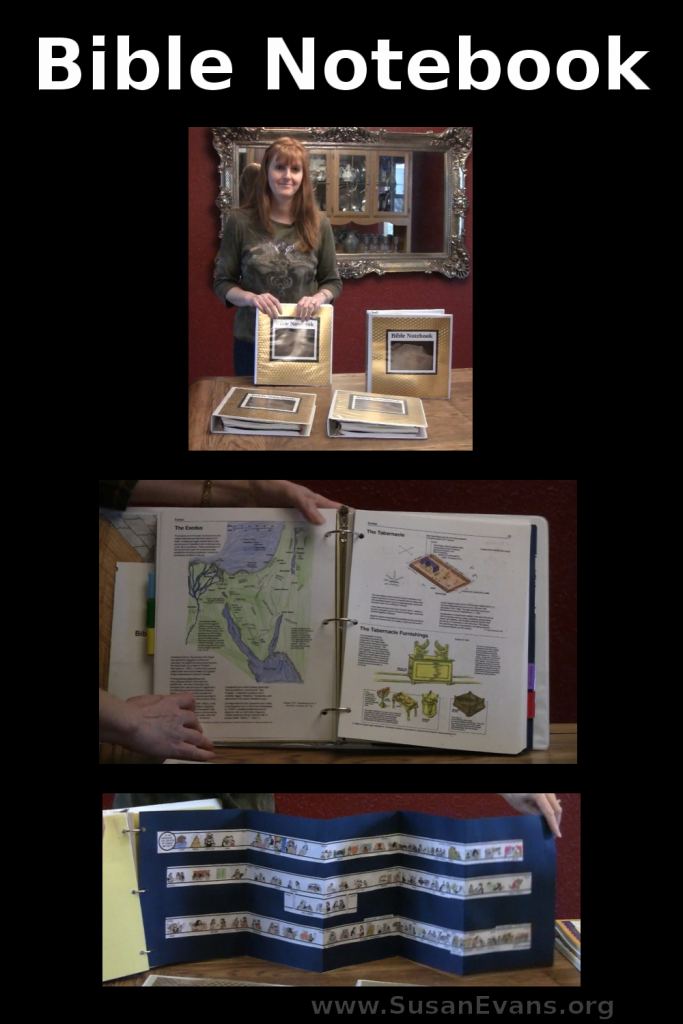
We divided the notebook into seven sections:

  1. Scripture memory: Print out the Scriptures that you want your children to memorize. You can use their AWANA verses from church, or have them memorize a verse to overcome specific sin in their lives. Psalm 23 and the Lord’s prayer are good places to start.
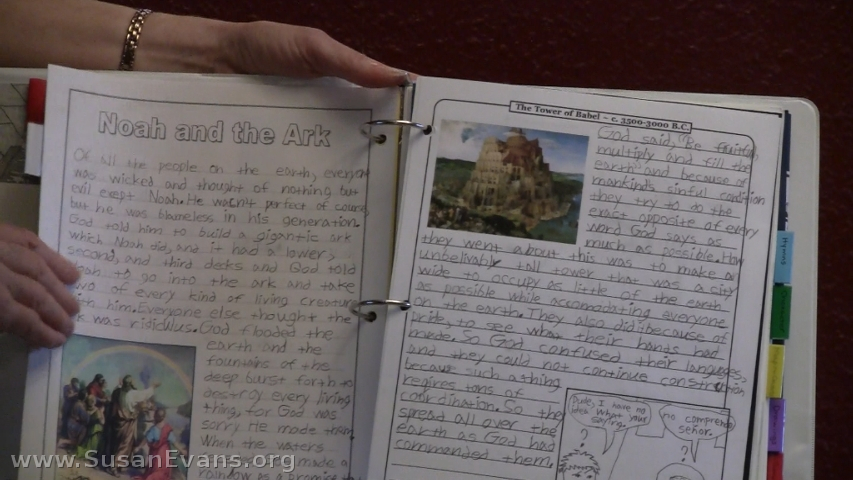
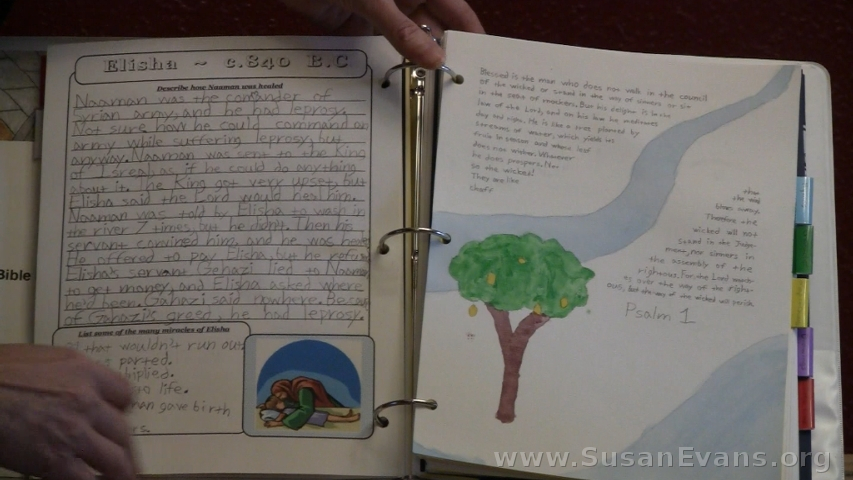
  2. Narrations: These are summaries of different stories from the Bible. Your child re-tells the story, trying to remember as many details as possible.You can print out notebook pages with pictures online, or just use regular notebook paper.

Bible-summary-pages

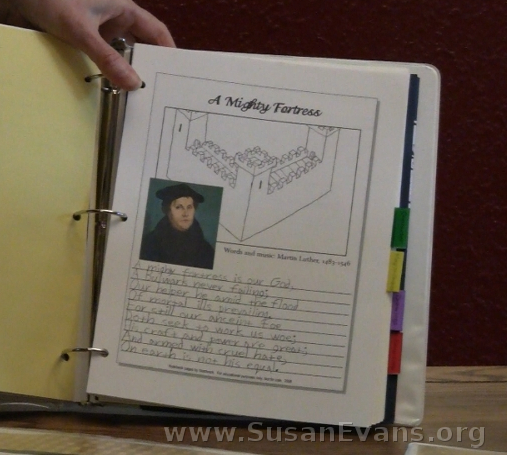
3. Hymns: These are the great hymns of the faith, like “A Mighty Fortress is Our God.” Have your kids learn the songs. You can find the hymns and sing along with the YouTube videos. Your children can write out the words on a notebook sheet of paper, looking at a hymn book for the printed words of each song.

hymns

4. Character: Define a character quality and ask God to help you grow in that quality. Write down ways that you show that quality throughout the day.

5. Drawings: Draw pictures of different Bible stories, choosing a scene that stands out in your mind. To see each of my children’s drawings, check out my series: 31 Days of Drawing through the Bible.

notebooks-for-Bible

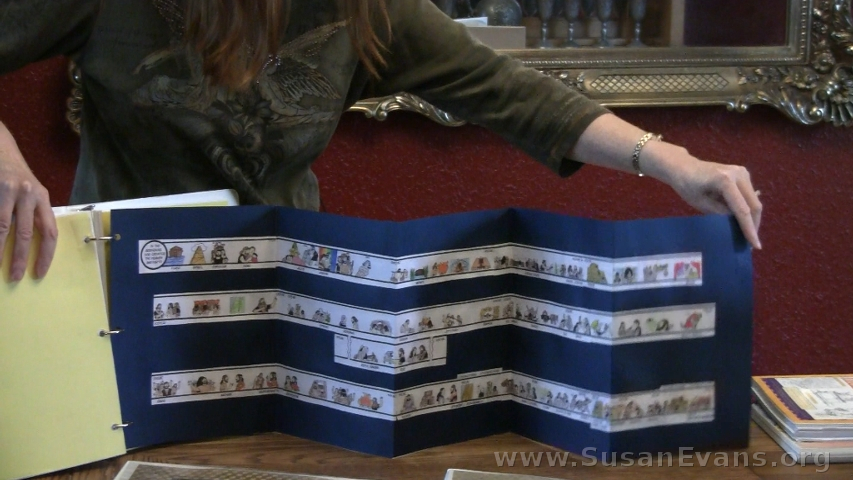
6. Time Line: Find a Bible time line printable or make up your own time line, drawing pictures to represent each Bible story. The one we used was from {affiliate link} Reproducible Maps, Charts, TimeLines, & Illustrations.

Bible-time-line

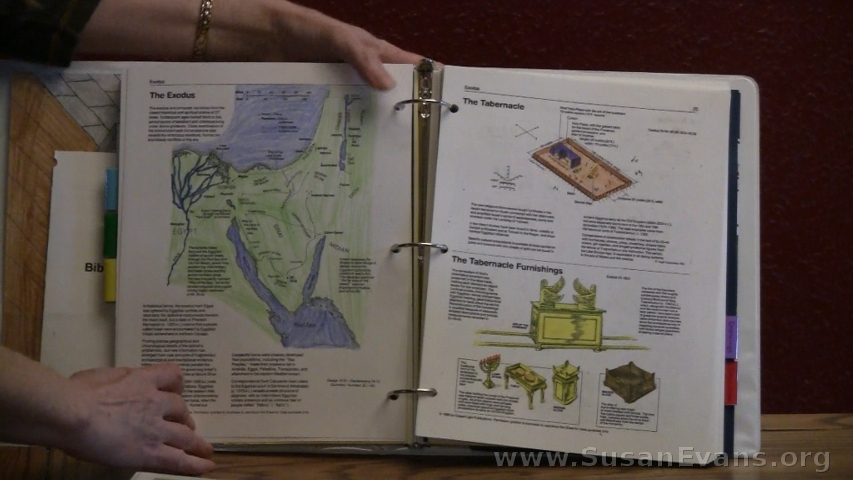
7. Maps & Charts: Color maps from Scripture stories. Print out charts outlining each book of the Bible. We used the ones from the same book where we got the time line. You can have an 8th section with the outlines of each book of the Bible, and the 7th section can be for maps and charts contained inside different stories from Scripture. (Watch the video above to see how we put together the notebook sections.)

Bible-maps-and-charts

Decorating Your Bible Notebook

Bible-Notebook-cover

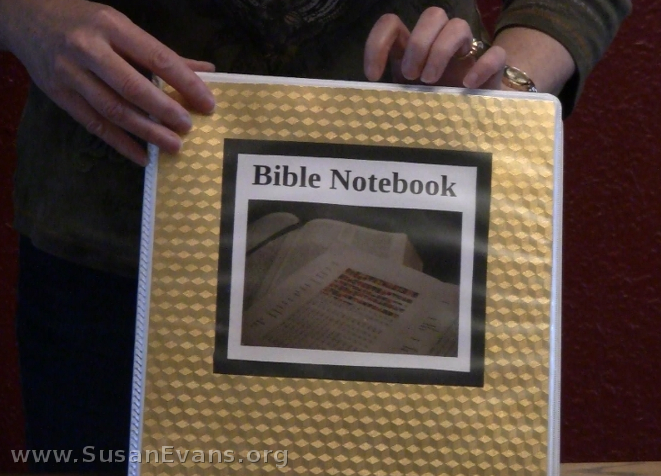
Make sure to buy a binder that has a clear pocket in the front so that you can insert a decorated card stock paper into it for a beautiful cover. Print out the words “Bible Notebook” from your computer printer, and cut out the words and glue them to the cover page. Decorate it in any way you wish. We snapped a photo of an open Bible with our reading plan to decorate the front.

Bible-notebook

If you enjoyed this post, you will love the Bible section of the Unit Study Treasure Vault, where we have hands-on activities and exclusive videos for every book of the Bible!