Archive for the ‘Homeschooling’ Category

Finding Physics Around Us

Monday, August 1st, 2016

Finding-physics-around-us

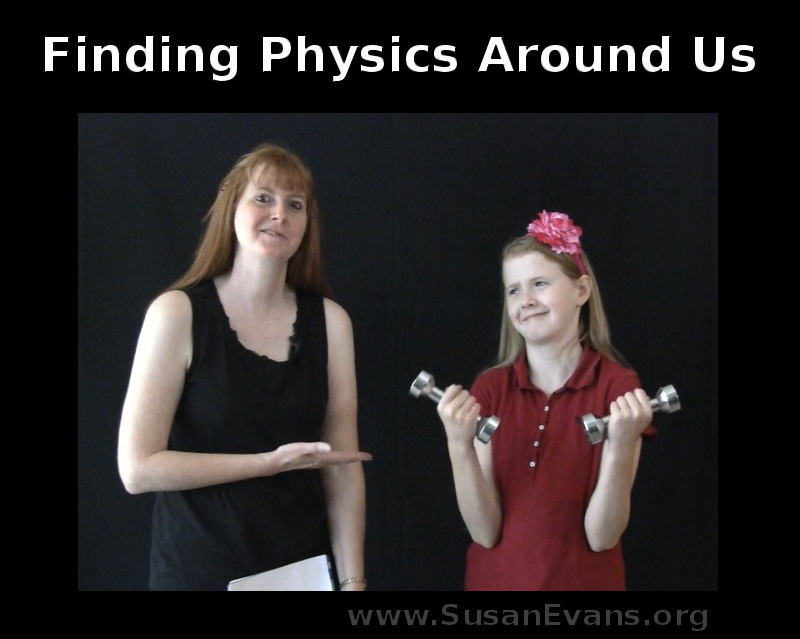
Today we are beginning a new series on Elementary Physics, and we will be finding physics around us. You might not be aware that physics is a part of our everyday lives, so we’ve grabbed our video camera and captured some physics on film!

This post contains affiliate links. I was compensated for my work in writing this post.

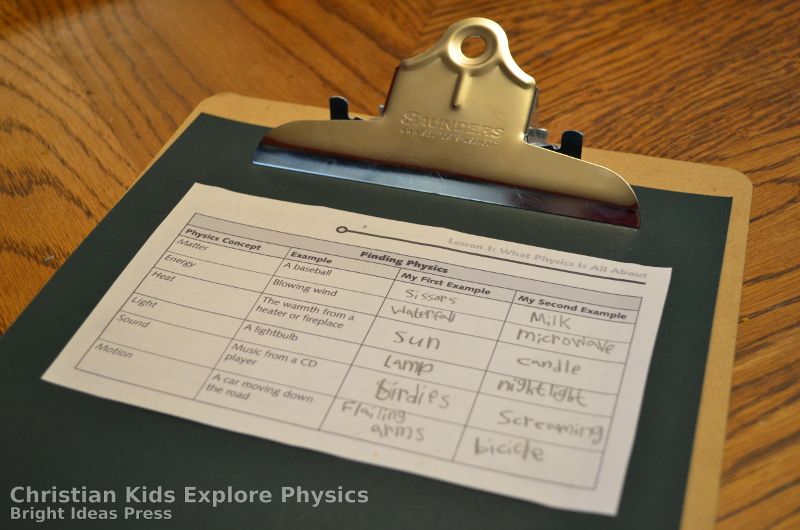
We printed out the “Finding Physics” chart from Christian Kids Explore Physics by Bright Ideas Press, and my daughter had fun filling out the chart as we walked around, looking for physics.

physics-chart

Finding Physics: What We Found

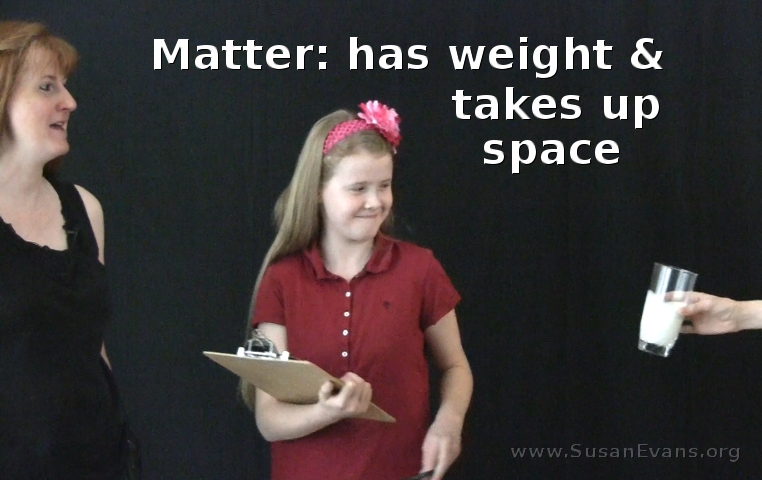
Matter has weight and takes up space. It’s basically anything we can see or touch. Examples we found are people, scissors, milk, and piƱatas. The wall, an ice cream cone, and dirt are also examples of matter.

matter-takes-up-space

Energy is the capacity to do work. Examples of energy are the wind, a waterfall, a bolt of lightning, or a microwave.

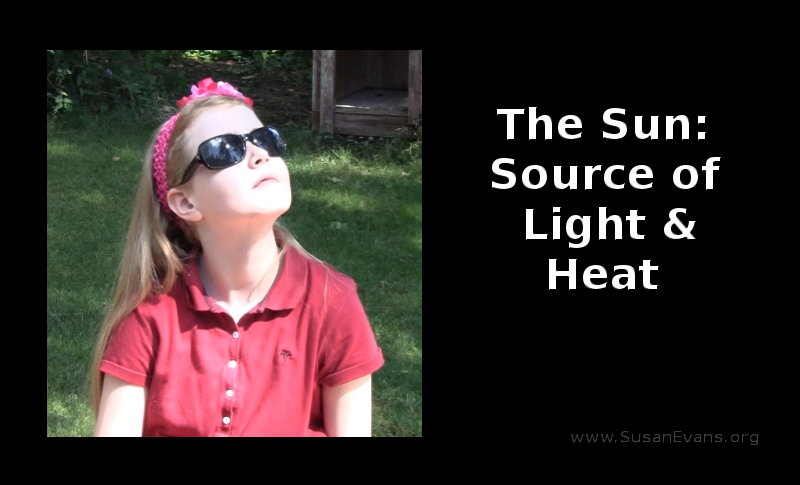
Heat is a form of energy that causes things to become warm. If you put a cat on your lap, the warmth of the cat will cause you to become hot. Sources of heat: the sun, fire, a furnace, a stove or oven, and even a cup of coffee.

Light enables us to see when it illuminates the area in front of us. Sources of light are the sun, a lamp, a night light, garden lights, traffic lights, and even your cell phone.

Sound is vibrations that travel through the air. We hear these vibrations when they reach our ear. Examples of sounds would be a screaming child, a lawn mower, the clicking of a keyboard, a radio, and birds chirping outside.

Motion is something that is moving. My daughter Rachel is constantly moving (unless she is asleep), so she is a great example of this phenomenon. Other examples of motion are cars, motorcycles, bicycles, a sporting event (although golf and baseball are pretty slow!), and a running hyena.

sun-source-of-light-heat

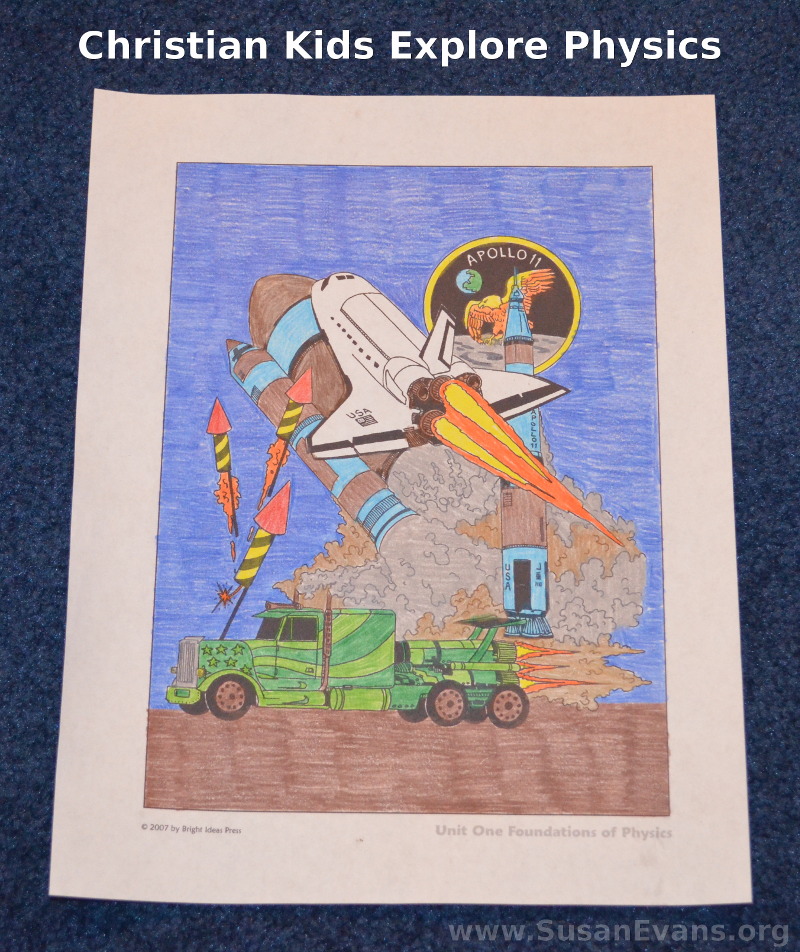
Here is a coloring page from the first unit: The Foundations of Physics. It shows how trucks, fireworks, and even rocket ships use physics to work:

physics-coloring-page

Now that you’ve seen physics in the world around us, why not stick around for the rest of the series? These are the topics that we will cover during the next few weeks:

  1. Finding Physics Around Us (this post)
  2. Measuring the Magnitude of Force
  3. Changing the Coefficient of Friction
  4. Turning Potential into Kinetic Energy
  5. The Speed of a Rotating Cookie
  6. Flying Projectiles & Plotting Trajectories
  7. Bowling with Momentum
  8. Prisms, Light, & Color
  9. Warming Things Up with Friction
  10. Sound Collection
  11. Fun with Magnets
  12. Make a Compass

Subscribe to make sure you don’t miss a single post!
I & II Thessalonians Unit Study

Wednesday, June 1st, 2016

Thessalonians-unit-study

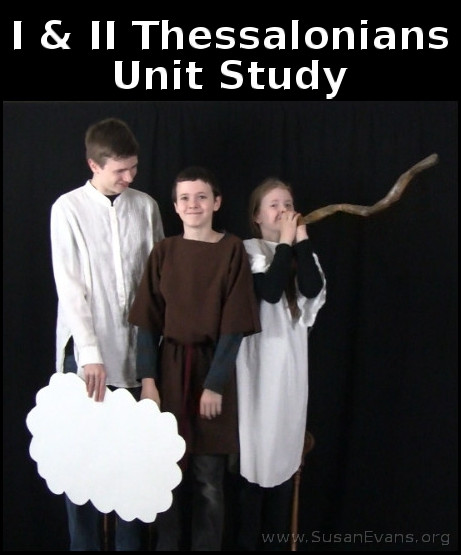
We had a great time filming our I & II Thessalonians Unit Study. We re-enacted lots of skits, referred to a map of Thessalonica, and baked a cake to represent the Day of the Lord.

When looking at the overview for I & II Thessalonians, we saw that one of the main themes was the Day of the Lord. We filmed Jesus and an archangel up on a chair holding some clouds while the archangel blew the shofar, the Jewish trumpet. The dead in Christ rise first to meet the Lord in the air, so we had a black gravestone made out of black poster board. One of my sons floated up out of the gravestone to meet the Lord in the air. You see him in the clouds with Jesus and the archangel.

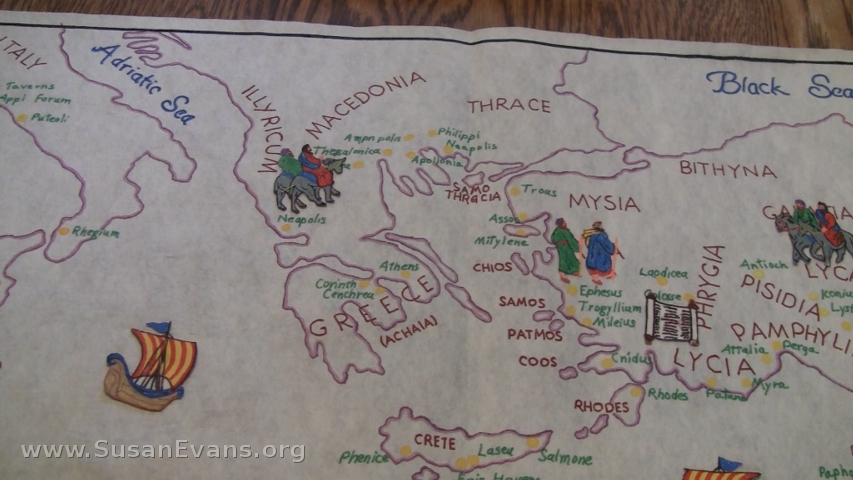
map-of-thessalonica

We looked at a map of where Thessalonica was located, which is in Macedonia north of Greece. I have a beautiful biblical map that a woman from my mom’s church gave her. It was created with markers on a large piece of felt. You can easily look in the back of your Bible to find a map of Paul’s missionary journeys, and you will find where the city is located.

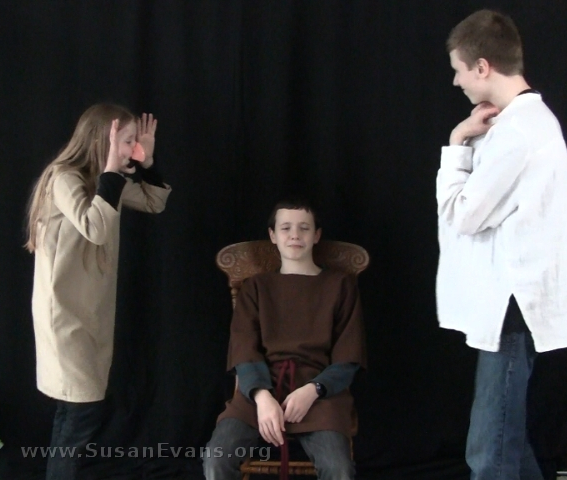
be-patient-with-all-men

We acted out various skits to bring to life the topics discussed in these two letters from Paul to the Thessalonians:

  • If you don’t work, neither shall you eat. (Give bread to the one that is working, but don’t let the lazy person have any bread.)
  • While saying, “Peace and safety,” destruction comes. (Throw lots of couch pillows on an unsuspecting person.)
  • Admonish the unruly. (An out-of-control person gets scolded.)
  • Encourage the fainthearted. (When someone is sad, give them a hug.)
  • Help the weak. (Help an elderly man walk across the street.)
  • Be patient with all men. (Have a kid sit in a chair while people around him are being annoying. Have him sit patiently, as pictured above.)
  • Rejoice always, pray without ceasing, in everything give thanks. (Act out each of these commands.)

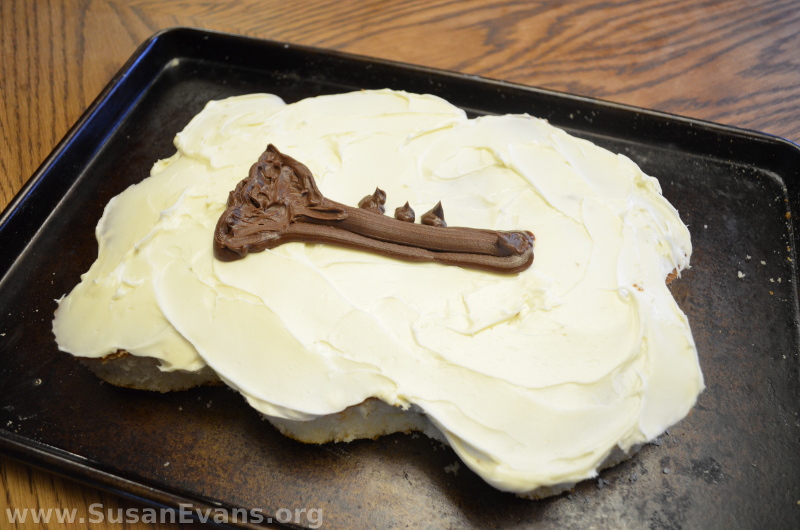
rapture-cake

We also make a cake that represented the Day of the Lord. It is a cloud shape with white frosting. A trumpet shaped by chocolate frosting is on the top. This was the culminating activity for our I & II Thessalonians Unit Study.

If you enjoyed these activities, you will love the Bible section of the Unit Study Treasure Vault that includes unit studies for every book of the Bible!

Mound Cutaway with Strata

Monday, May 2nd, 2016

mound-cutaway-with-strata

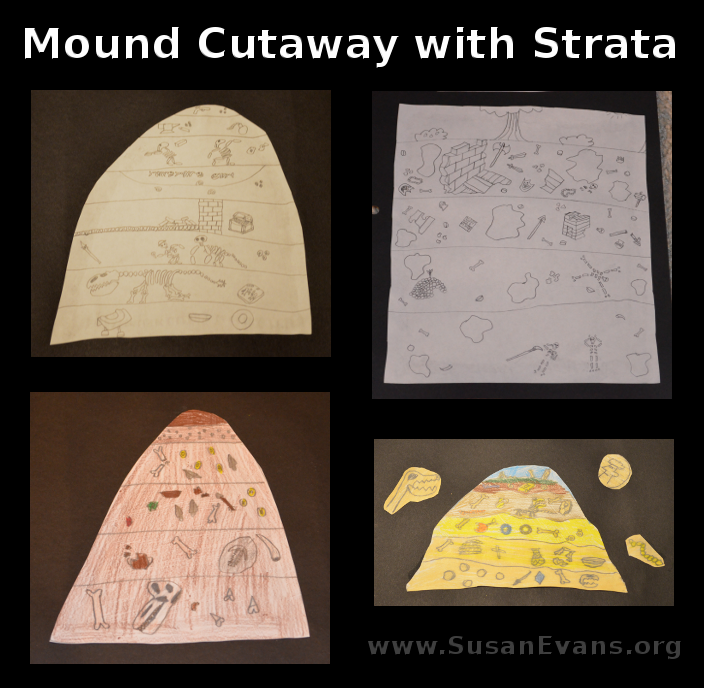
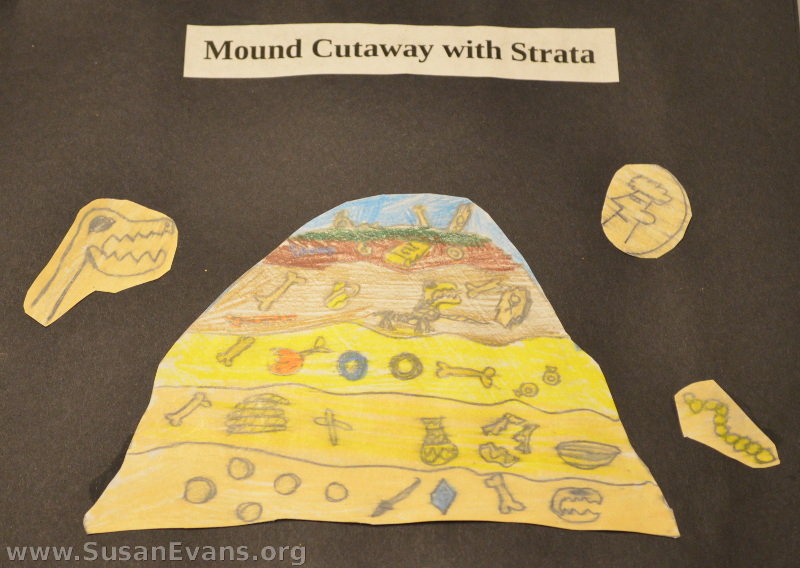
When studying ancient history, you can start by having your kids draw a mound cutaway with strata. Talk about archaeology, and how each layer represents different periods of time that you can excavate to discover the artifacts or items that were used in each culture. Usually the older civilizations are on the bottom, with the newer civilizations on top.

Of course, floods and volcanic eruptions mess up this theory because lots of layers are laid down pretty fast, and all during the same time period. Answers in Genesis has found modern items in the lower levels of dirt.

Each of my kids created a drawing of a mound cutaway with strata:

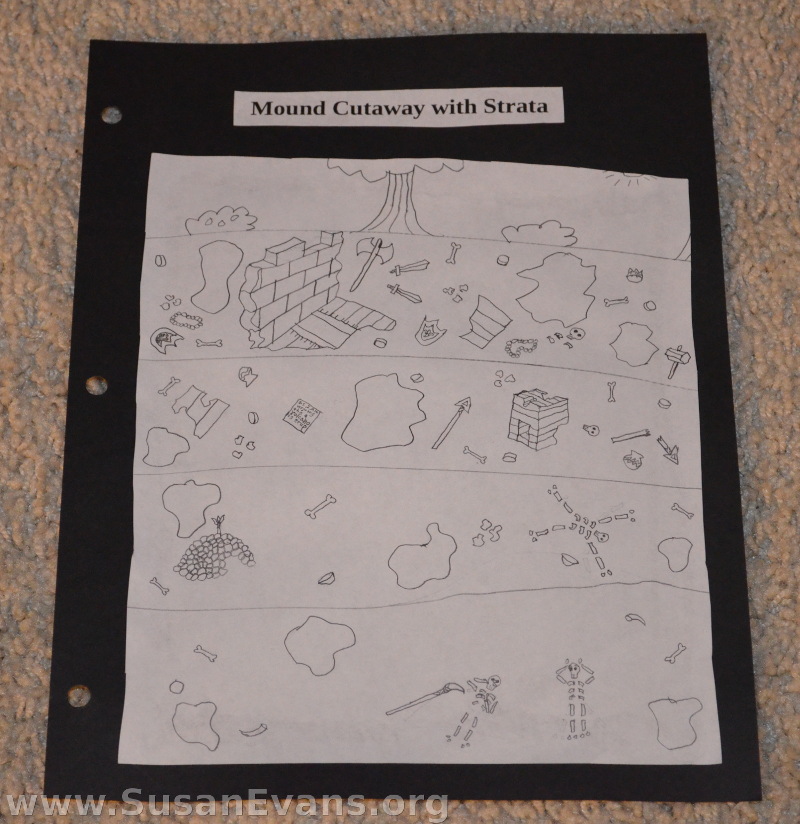
geologic column

As you can see, there are fossils of various kinds in the different layers. There are also remnants of houses, pottery, jewelry, and weapons. My son drew a tree and some bushes at the top of the picture.

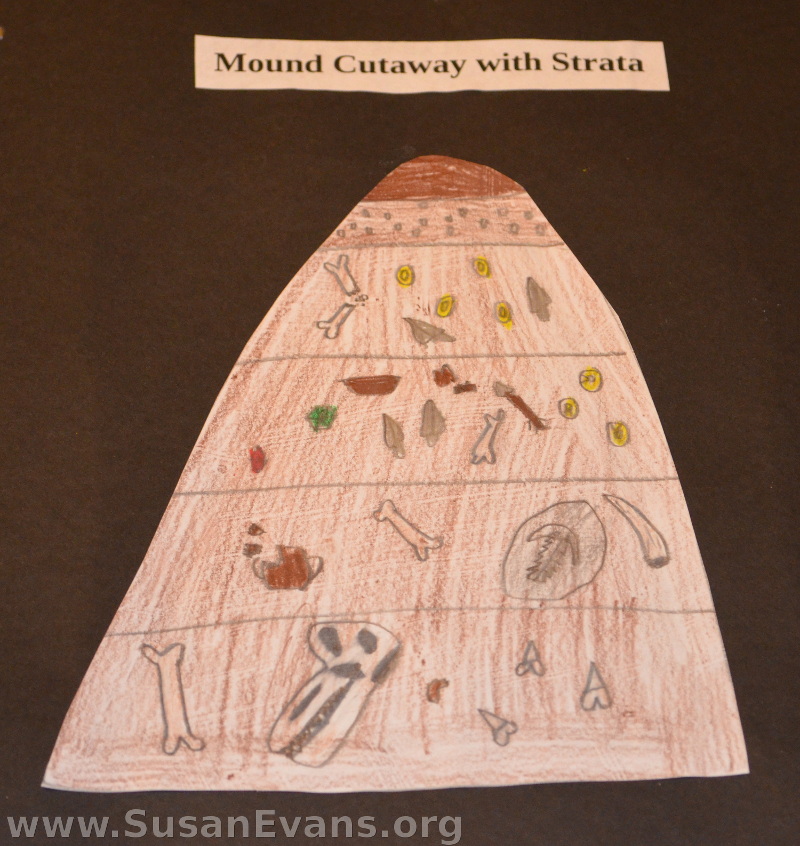
mound-cutaway

This cutaway is more of a mound. Dirt is at the top, so you wouldn’t notice that there were hidden civilizations under your feet. Seashells are found in various layers, along with fossils and bones. A dinosaur head is down in the oldest layer.

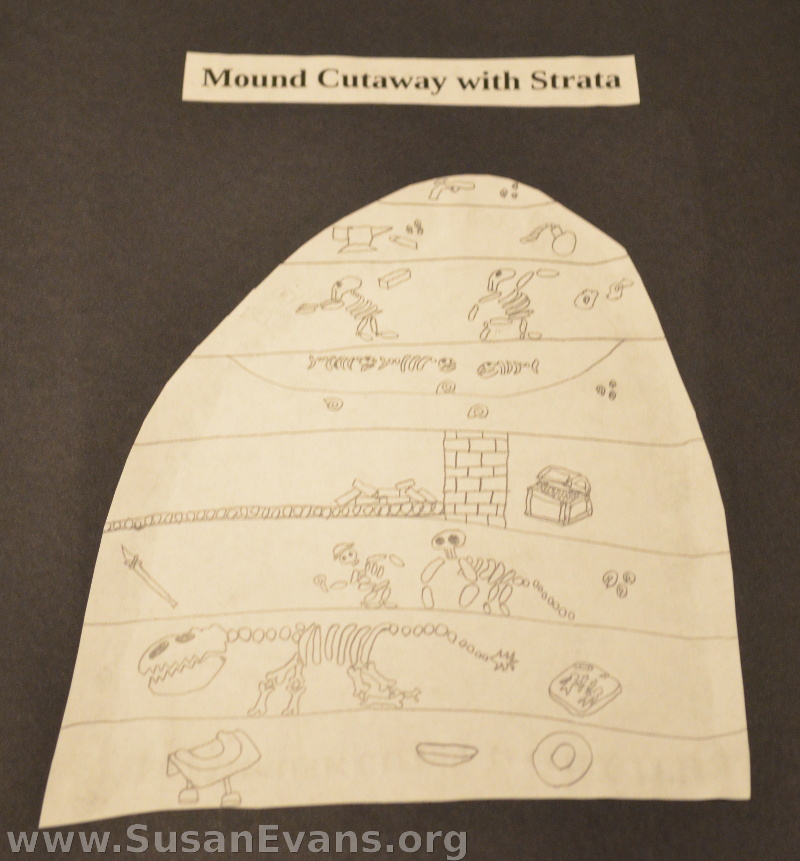
strata

These strata layers of rock are comical. The third layer from the bottom contains a man being chased by a dinosaur. Apparently a flood or volcanic eruption buried them rapidly so they are caught in the act. Once again, in a higher level of rocks, a man is throwing an object at another man, and somehow the flood waters buried both of them at the same time, freezing their actions for all eternity. An unfinished building is in one of the layers, along with buried pirate treasure.

elementary-geologic-column

My daughter drew some fun layers of strata that included bones, coins, pottery, jewelry, and weapons. She highlighted some of the archaeological finds by drawing enlarged pictures and gluing them to the black card stock paper for her history notebook.

The kids had fun deciding what to place in each of their layers of rock while drawing their mound cutaway with strata.

Shield Cake

Monday, April 11th, 2016

shield-cake

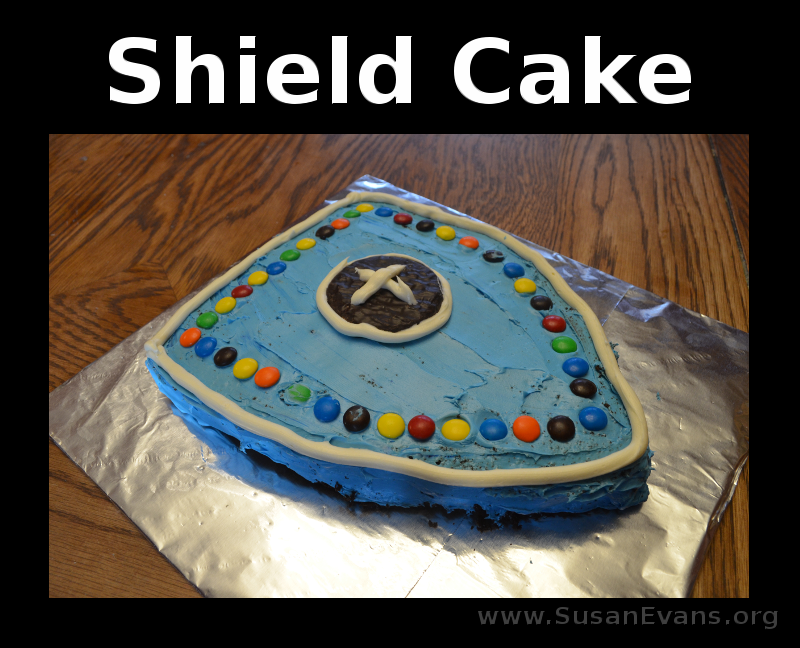
Instead of cooking a medieval feast as a culminating activity for a medieval unit study, why not bake this simple shield cake? You can have fun creating a coat of arms with candy on the top of the cake.

Begin by baking a rectangular cake, preferably chocolate. Cut one end of the cake into a triangular point. Then tape some foil to a piece of cardboard that is larger than the cake. Upend the cake onto the prepared foil.

Grab two tubs of white frosting, and tint one of them to be the background color for the shield. You can choose any color you want. Frost the entire cake, including the sides.

decorating-shield-cake

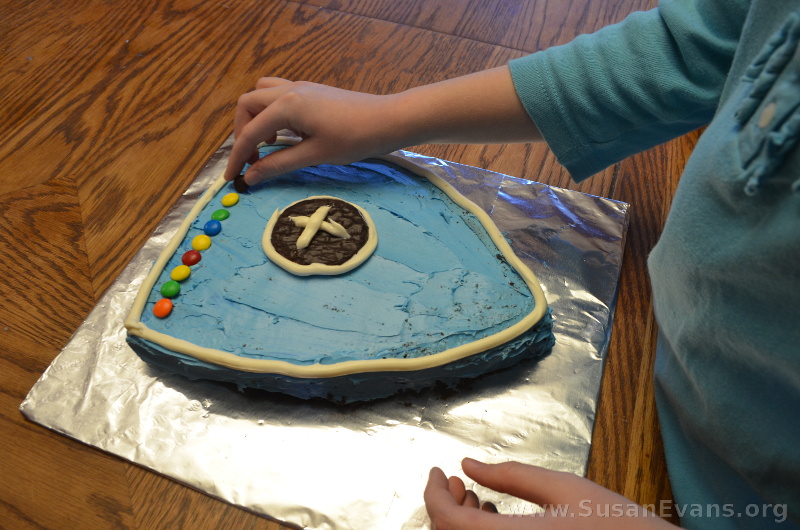
Now comes the fun part. Divide the second tub of frosting into different bowls, tinting them whatever colors you want to create your coat of arms, dragon, cross, or any other shape. Place the tinted frosting in a plastic Ziplock bag and snip off the corner. Draw whatever you want with the tinted frosting.

We used white frosting to frame the outline of the shield. We also outlined a Peppermint Patty and drew a cross in the center of it. You can now use whatever candy you want to embellish your shield cake. We used colorful M&M’s to go around the entire cake.

Now enjoy eating your medieval shield cake!