Archive for the ‘Homeschooling’ Category

Jesus Teaches the Multitudes (LEGO)

Wednesday, November 4th, 2015

Jesus-teaches-the-multitudes

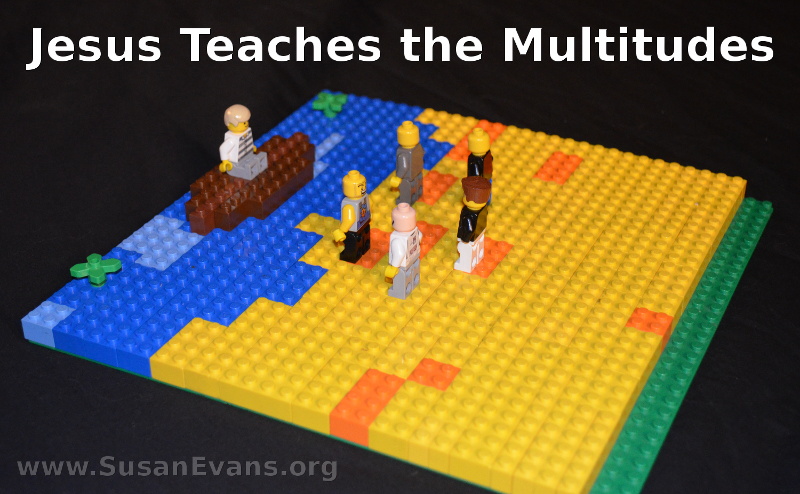
When Jesus teaches the multitudes in Scripture, He often has to get into a boat on the water, so that the water can project His voice to thousands of people who gathered to hear Him. My daughter decided to make a scene of Jesus teaching the multitudes out of LEGOs.

She began with a green LEGO base, and she made water on one side (out of two different kinds of blue) and yellow sand on the other side (with yellow and orange LEGOs.) She gathered a crowd of LEGO people. Then she built a brown boat and had Jesus sit in the boat and teach the people.
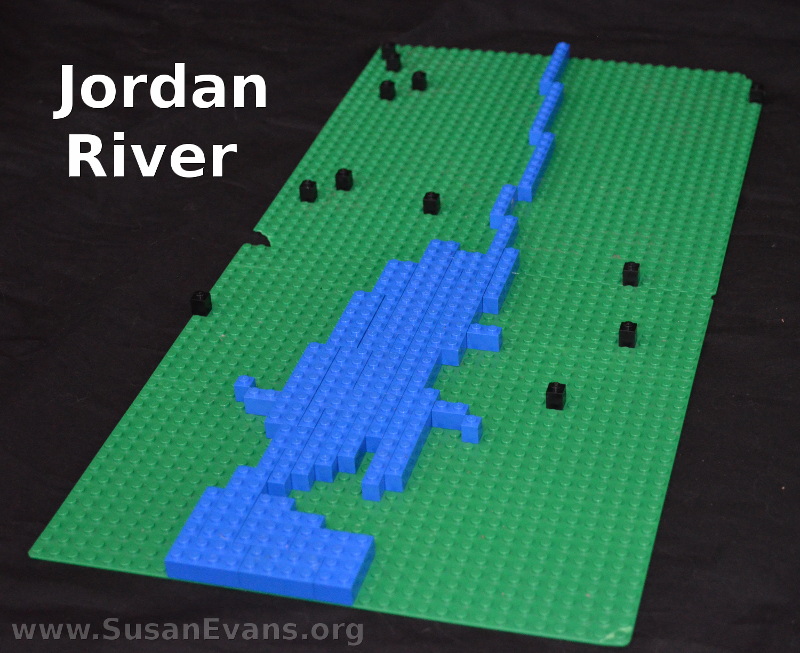
jordan-river-legoMy kids made a map of the Jordan River and the different cities that Jesus visited during His teaching ministry. Jesus would go from town to town, healing the sick and casting out demons. People would gather in crowds to hear Him speak, because He said things that were unlike any other religious leader of the day. In fact, the religious leaders despised Jesus, and they were the ones who caused Him to be crucified.

You can make a LEGO Jordan River by starting with a couple of LEGO bases. Look at a Bible-time map of the Gospels, and you can easily get the shape. Use blue LEGOs for the water and black LEGOs for the dots indicating the cities where Jesus taught.

If you enjoyed this activity, you will love the Bible section of the Unit Study Treasure Vault, where there are hundreds of ideas for bringing every book of the Bible to life for children!
LEGO Topography

Monday, November 2nd, 2015

lego-topography

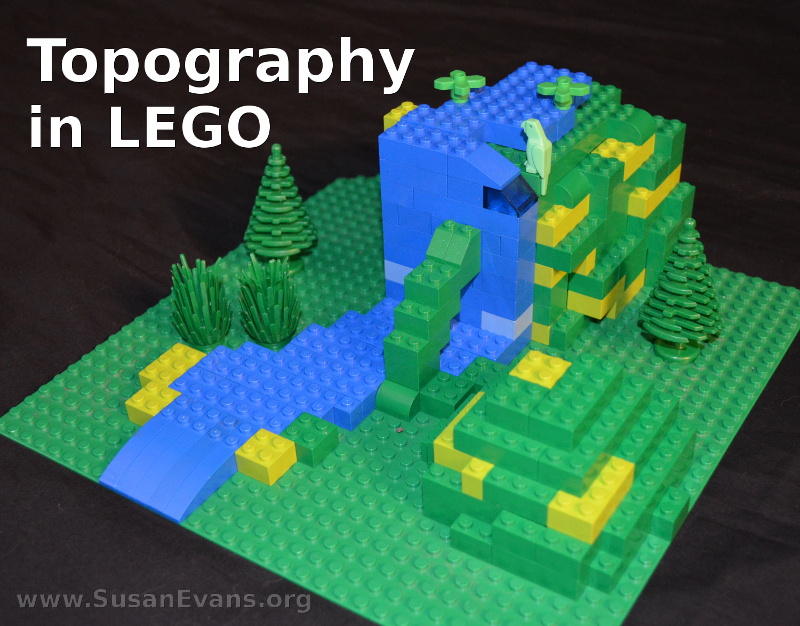
You can teach your kids about geography, topography, and landscaping through making topography scenes. You can choose a real location and re-create it in LEGOs, or you can create your own scene. This is a great activity for learning about geographic terms such as waterfall, fjord, peninsula, cave, volcano, archipelago, delta, glacier, island, mesa, etc.

A topographic map uses contour lines to represent three-dimensional features such as mountains. You can teach kids how to read contour maps and have them build the topographic map with LEGOs. You want to start with a green LEGO base representing the lowest area of the map. Build up from there, adding hills, valleys, mountains, volcanoes, etc.

simple-lego-topography

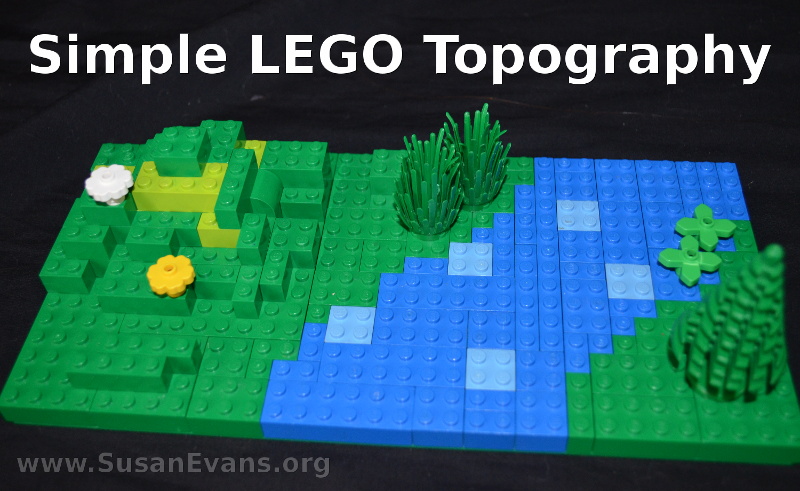
Younger kids can create simpler topographic maps with LEGOs. A river with trees and hills is a perfect starting place. Blue represents water on maps, and green usually represents land that gets plenty of rainfall. Yellow could represent deserts.

lego-cave

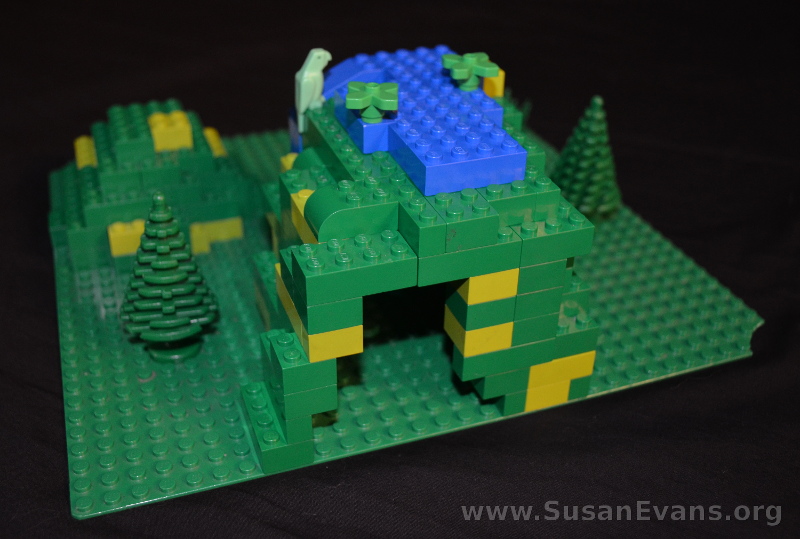
We created a scene with a mountain and a waterfall. On the back of the mountain my son created a cave. Trees were added to embellish the lushness of the scene.

If you enjoyed this hands-on geography activity, you will love the Geography section of the Unit Study Treasure Vault!

David and Goliath in LEGO

Friday, October 30th, 2015

lego-david-and-goliath

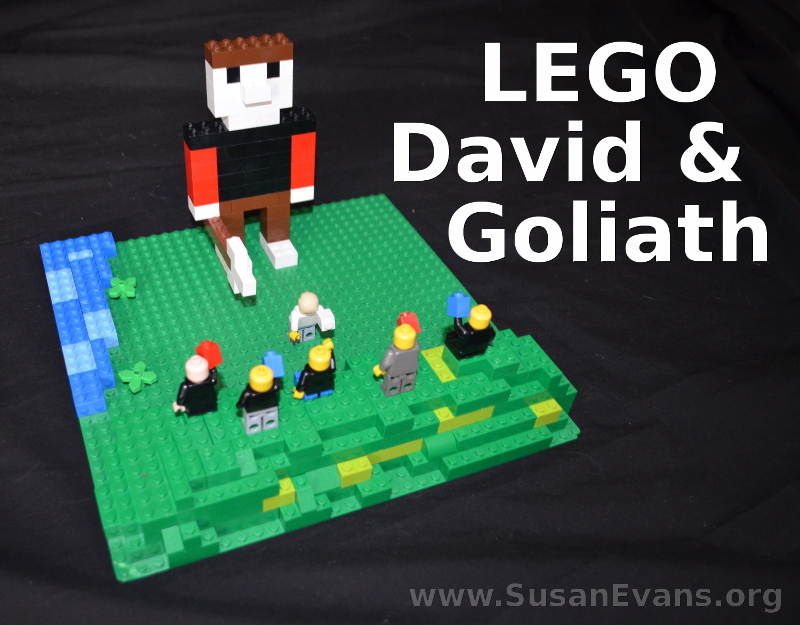
When reading the story of David and Goliath to your kids, why not have them re-enact the story with LEGOs? My kids created a scene on a green LEGO base. They had an army of Israelite LEGO men on one side and a LEGO giant on the other side. The LEGO giant was holding a spear. The David figure is leaning back to throw the smooth stone out of his slingshot. This stone will hit Goliath on the forehead and send him crashing to the ground.

The Israelites won this battle because David knew that God was mightier than any giant. When we put our trust in Him, we do not need to be afraid.

If you are doing a unit study on David and Goliath, here are some free crafts, videos, and hands-on activities that you can do:

king-david-in-lego

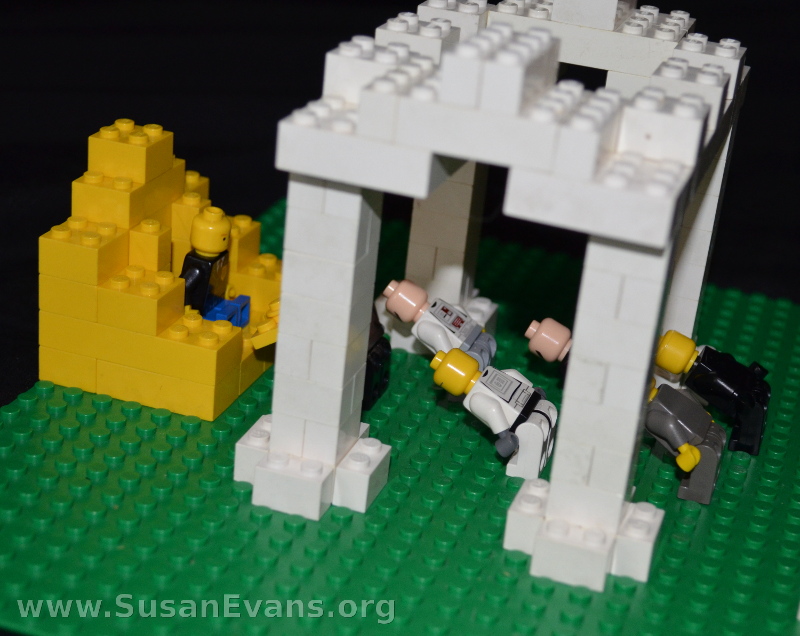
Because of his courage (and because God had chosen him to be king through Samuel’s anointing), David became the next king of Israel. You can re-enact other scenes from the life of David. Pictured above is David sitting on his throne while people bow to him from other nations. God gave him victory over all the nations around him because He put his trust in God.

For more Bible unit studies, join the Unit Study Treasure Vault!

LEGO Human Anatomy

Wednesday, October 28th, 2015

LEGO-human-anatomy

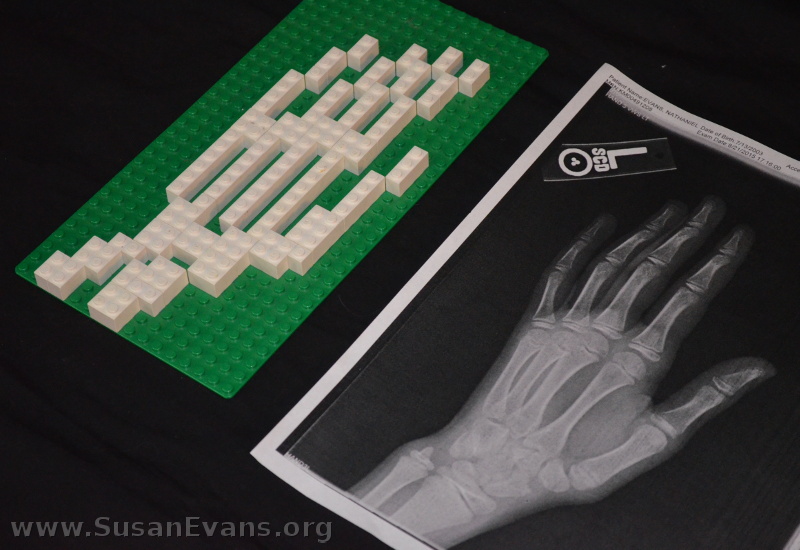
Why not make some LEGO human anatomy models? You can start with the skeletal system, with the bones of the body. One of my sons got into a scooter accident last summer and had to go to the emergency room. Here is his hand x-ray, where we found out that there was only a tiny fracture, not bad enough to get a cast. He said that the pain hurt like the dickens. But alas, there was nothing we could do.

When we started our human anatomy unit study this fall, the first body system we studied was the skeletal system. My son whipped out his hand x-ray and made a LEGO model of his hand with white LEGOs on a green base. It turned out looking pretty cool.

lego-bones

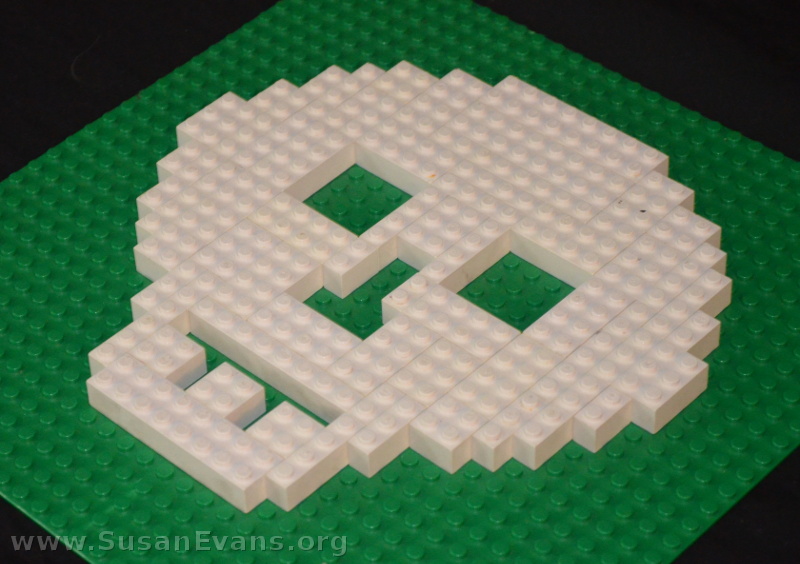
Next he made a skull. No, he didn’t get an x-ray of his skull when he cracked his head on the cement from flipping off his scooter. He didn’t ever get a concussion, so the doctors didn’t bother getting an x-ray of his skull. Instead, my son looked at a picture of a skull (perhaps in the hand of Hamlet), and made a LEGO model of the skull.

lego-skull

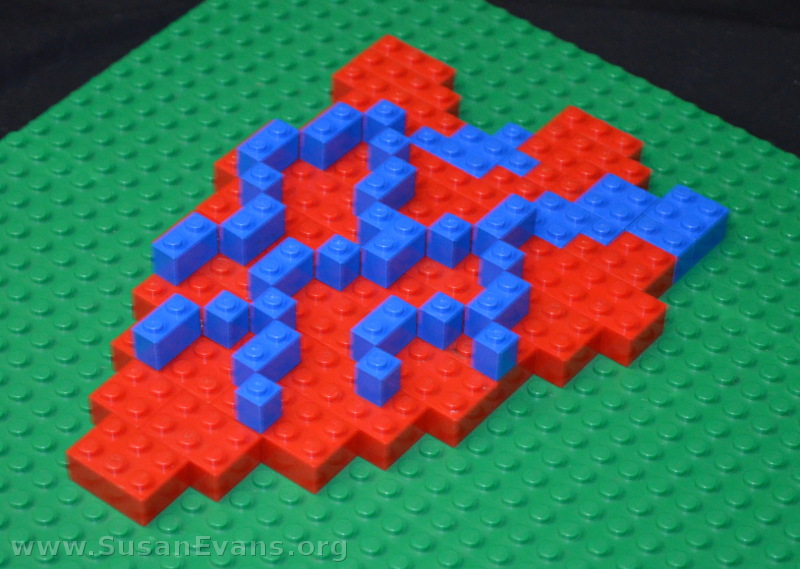
Not to remain in the skeletal system forever, my son decided to make a model of the human heart. He looked at a diagram of the human heart and used red LEGOs to form the general shape. Then he used blue LEGOs for the arteries.

lego-heart

So there you have it. LEGO human anatomy, ladies and gentlemen.

If you want more hands-on activities for human anatomy, join the Unit Study Treasure Vault!