Archive for the ‘Homeschooling’ Category

Song of Solomon Printable

Friday, September 5th, 2014

song-of-solomon-printable

I believe the whole counsel of God should be taught to children, so I made up this Song of Solomon activity for kids, where they can compare the face of a woman to various objects. My daughter made lovely comparisons while my sons wrote hilarious descriptions that were more like insults. If you’ve ever read the book of Song of Solomon, some of Solomon’s comparisons seem insulting as well, causing my children to laugh with uproarious laughter.

Describe a Woman with Similes

Her eyes are like…
Her nose is like…
Her mouth is like…
Her neck is like…
Her hair is like…

My daughter said that her eyes were like pools of blue, her nose was like the rock of salvation, her mouth was like the pinkest hearts, her neck was like the bottom of the cross, and her hair was like golden wheat fields.
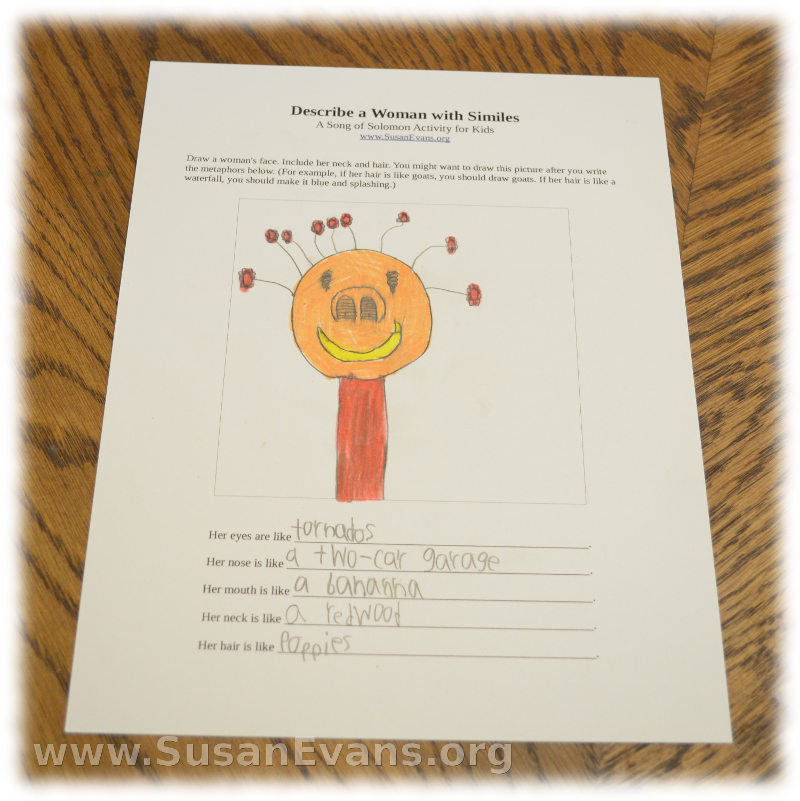
song-of-solomonOne of my sons said that the woman’s eyes were like tornadoes, her nose was like a two-car garage, her mouth was like a banana, her neck was like a redwood, and her hair was like poppies. He laughed hysterically as he drew what he had just written.

Another one of my sons said the woman had eyes that were pools of blue, a nose that was a lump on her face, a mouth that was like jaws of death, a neck that was a pillar, and hair that was… um… brown hair. Apparently he copped out on that one and couldn’t think of anything.
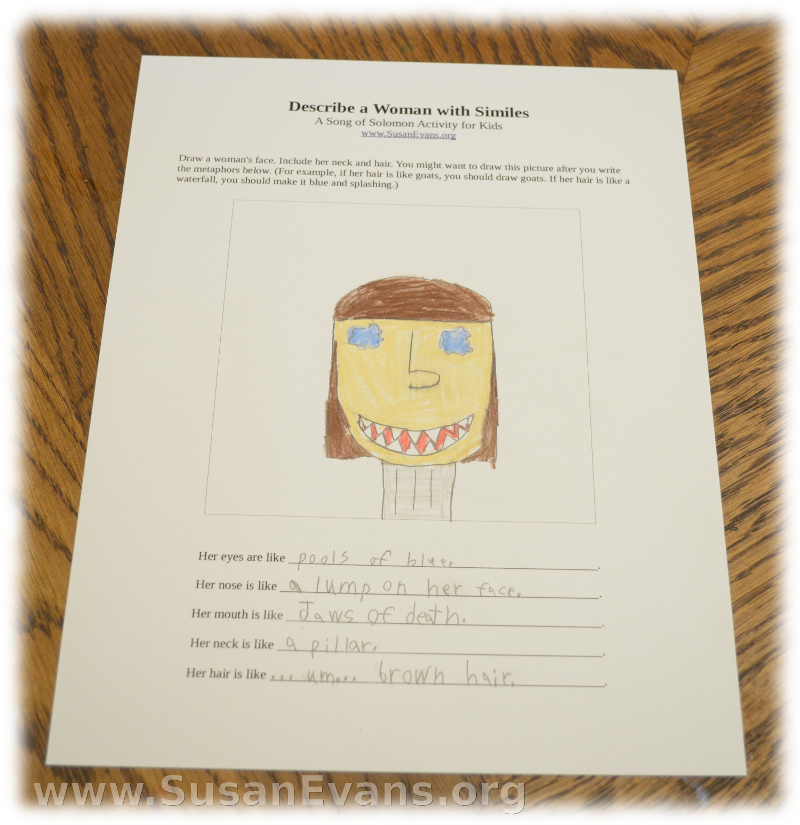
sunday-school-song-of-solomonYou see, if her hair is a flock of goats, you need to actually draw a flock of goats coming out of her head. This is why this Song of Solomon activity is so much fun.

Here is the free PDF, if you would like to do this activity with your kids:

Sign up below for a free Bible crafts e-book!

If you enjoyed this activity, you will love all the hands-on activities inside the Unit Study Treasure Vault. Why not join today!

Rainforest at Cannon Beach

Wednesday, September 3rd, 2014

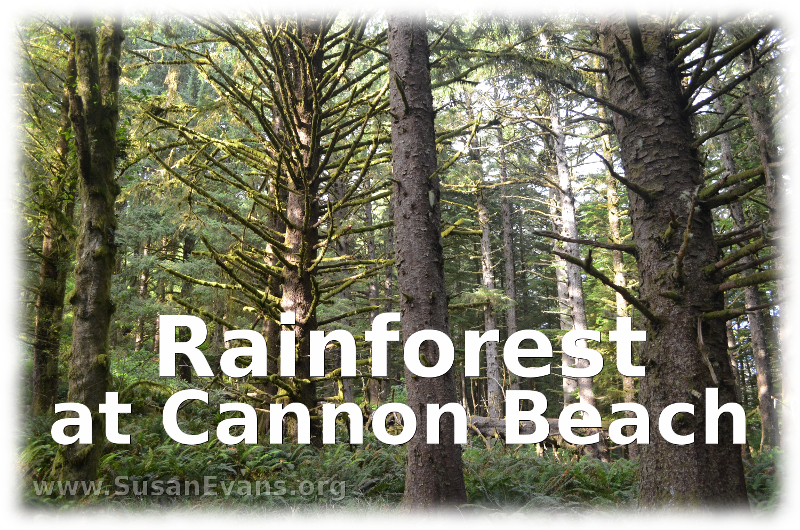
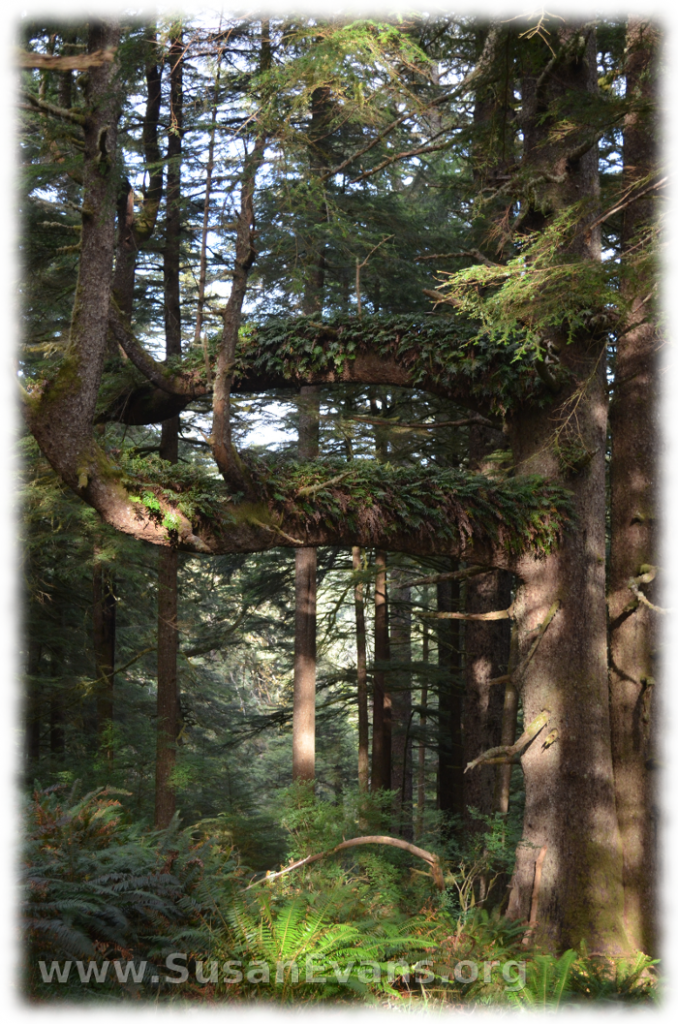
rainforest-at-cannon-beachWe hiked through a rainforest at Cannon Beach, and it was beautiful! We were at Ecola State Park, where we could see breathtaking views from the side of the mountain. The park is right beside the beach itself. The air is humid, and the greenery from the moss and ferns is so vibrant! Take a look at this massive tree with lots of greenery growing on top of its huge branches!

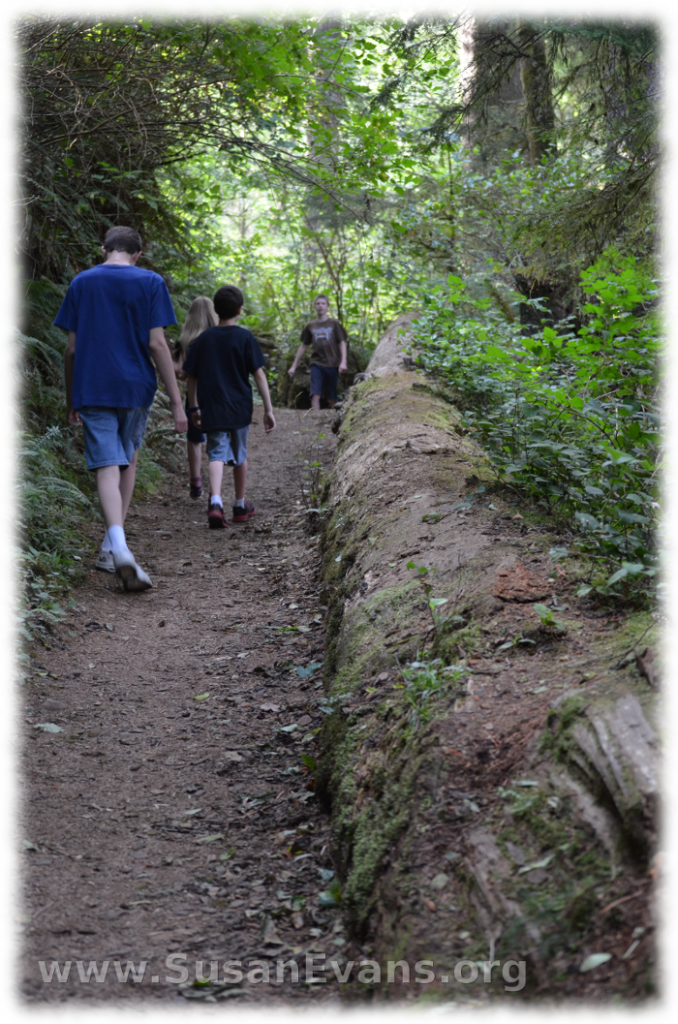
rainforest-2The sunlight shone through the trees to give the path an almost green glow. We saw a fallen tree with moss growing on it. Some of the trees were hundreds of years old.

rainforestWe parked our car in one of the two parking lots and hiked up to the lighthouse lookout, where the lighthouse was still quite far away. The trail was two miles, so the entire hike was four miles. The scenery was beautiful the whole time. You could look down over Cannon Beach for a while until you were around the side of the mountain.

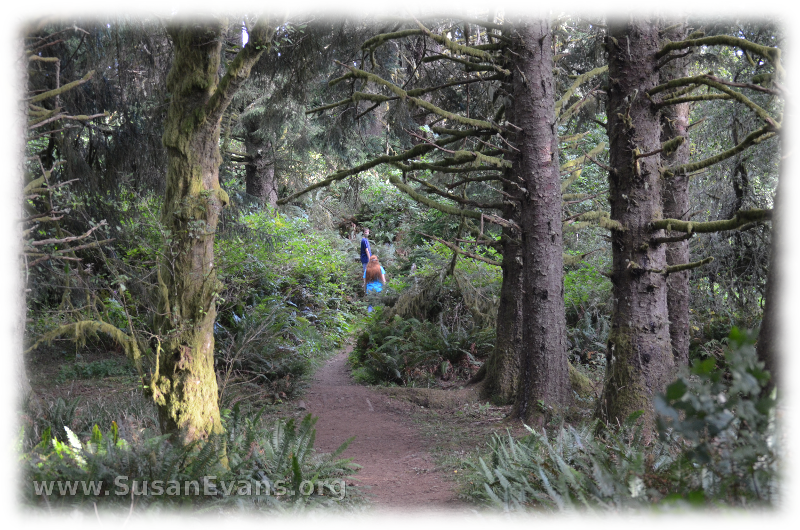
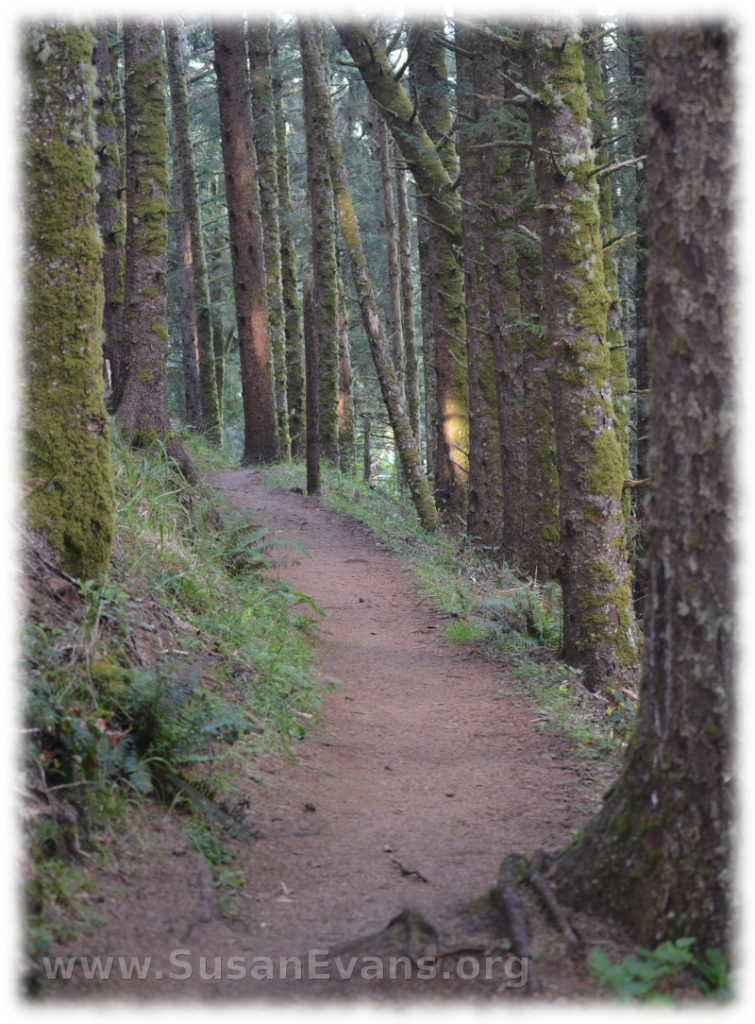
rainforest-cannon-beachIf I had been alone with some paper and a pencil, I might have sat down and written some poetry. Look at this path… Doesn’t it make you feel inspired?

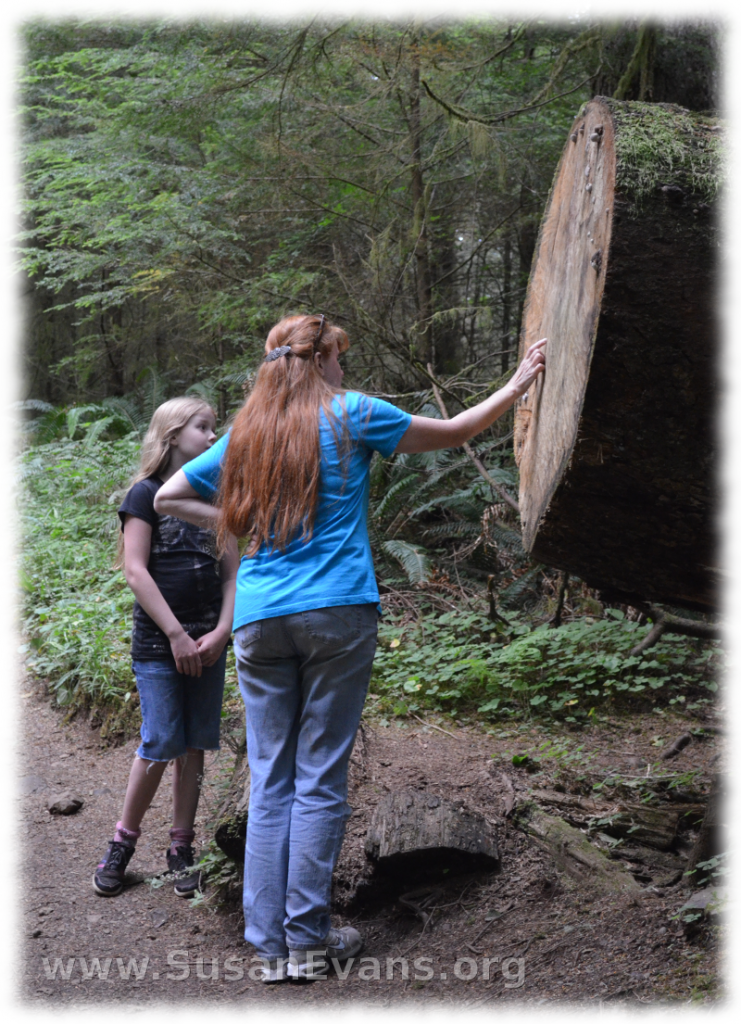
forest-pathMy daughter and I began counting rings on the tree trunk to see how old the tree was when it fell. This gave us an indication for how old the thicker trees were.

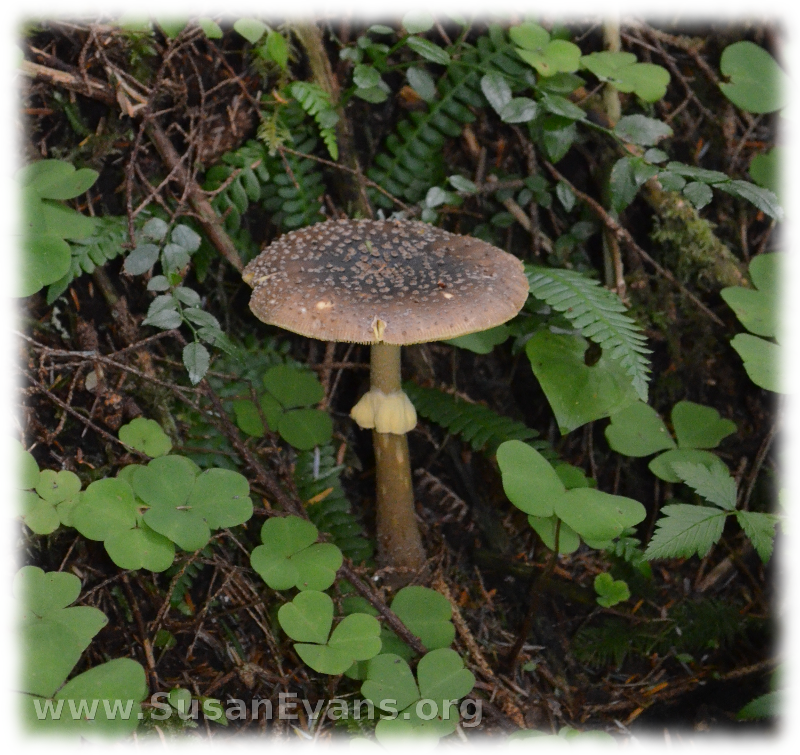
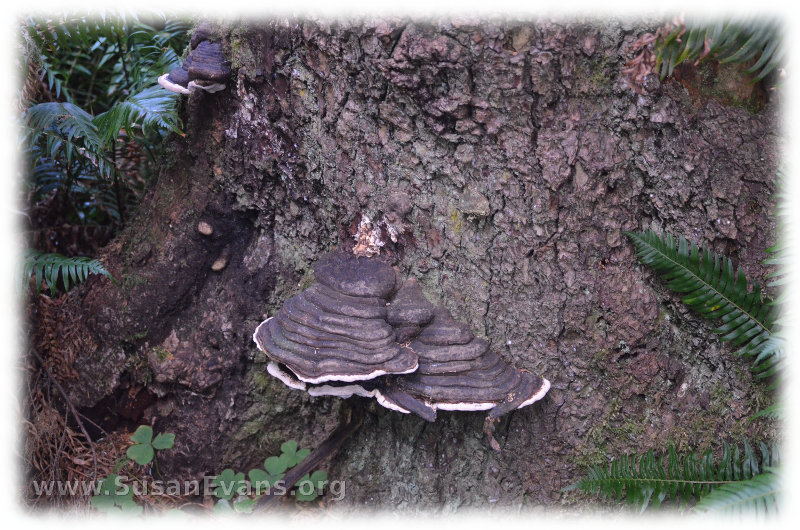
tree-ringsWe found lots of mushrooms during our walk. Mushrooms thrive in damp environments, so I was not surprised. These mushrooms looked almost cartoon-like!

mushroom-1Some of the varieties I had never seen before. I would have brought a mushroom guide if I had known we were going to see so many varieties of mushroom.

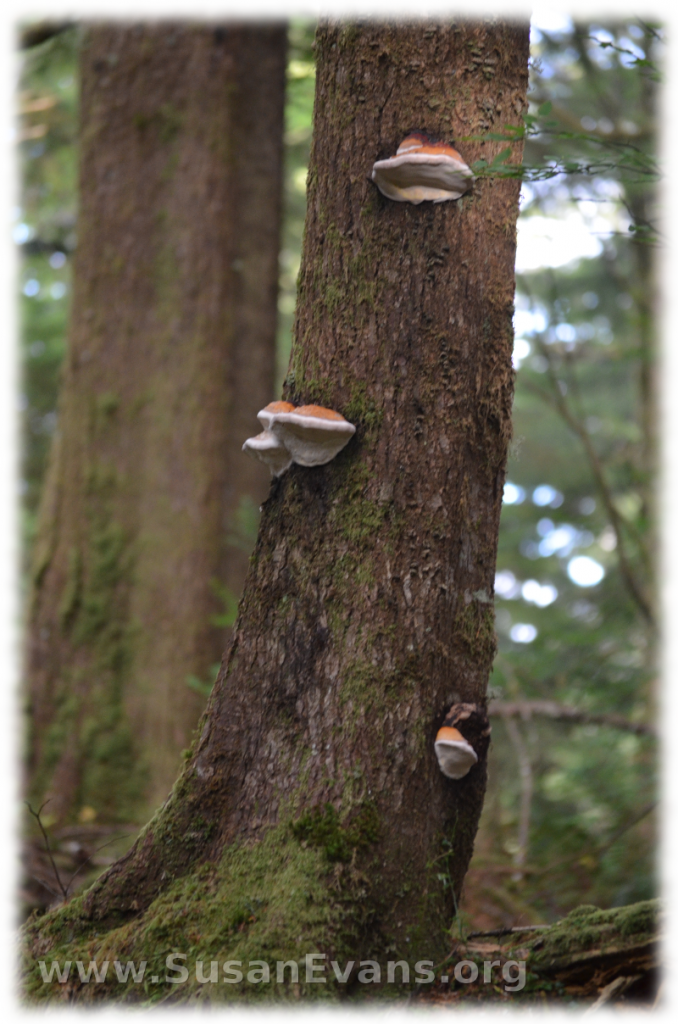
mushroom-2Some were growing straight out of the tree trunks. These are called shelf mushrooms.

mushroom-3This shelf mushroom looks like blackened lava from a volcano!

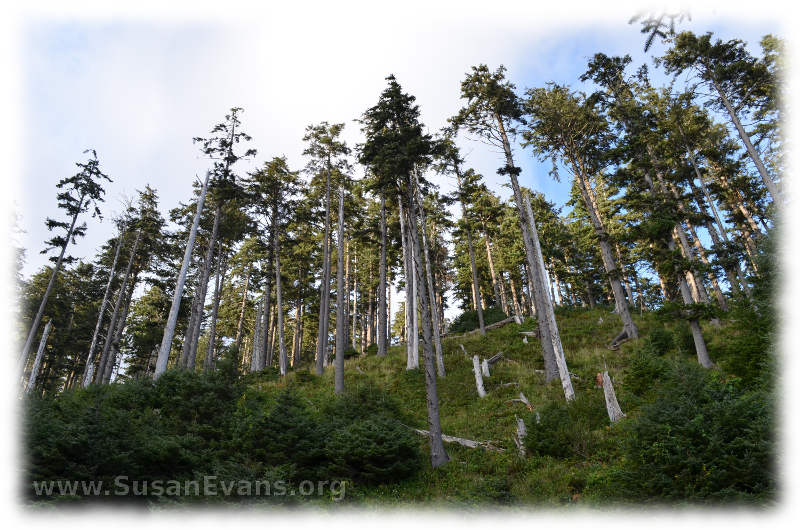
mushroom-4My husband took this picture from a low angle so that you can see how small you feel among such tall trees.

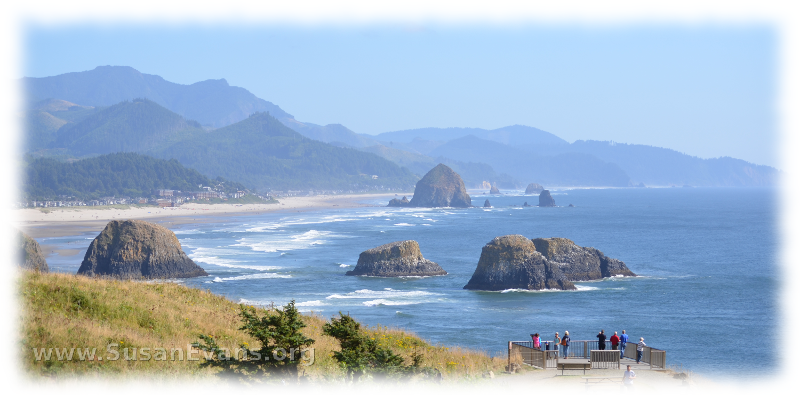
forestSo many beautiful scenes presented themselves as we climbed the mountain. Here is a scene from Cannon Beach that includes Haystack Rock.

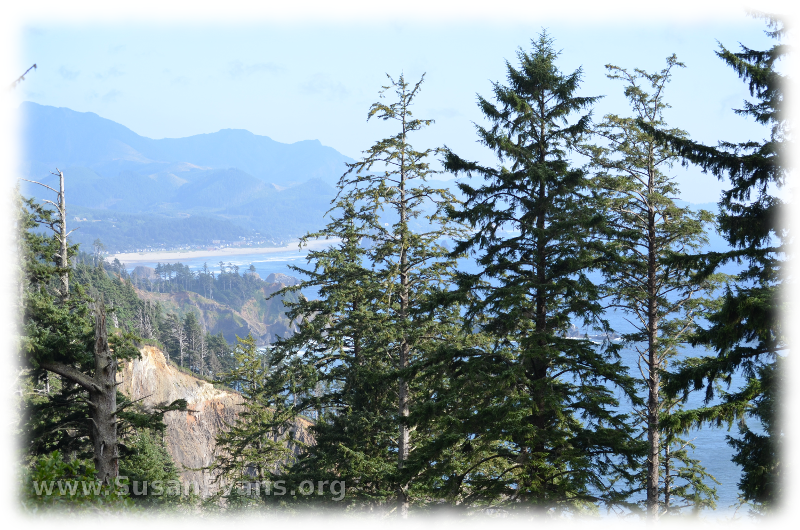
views-from-cannon-beach-rainforestThen you see partial views of the ocean and seashore through the trees .

view-of-cannon-beachMany rocks jut out of the water. One of the larger rocks has a hole through it.

rocks-in-waterWe thoroughly enjoyed hiking through the rainforest at Cannon Beach!

Find out what else we did while we were at Cannon Beach: Our Cannon Beach Vacation

#5 How to Build Atomic Models

Monday, September 1st, 2014

atomic-modelsThis post contains affiliate links. I was compensated for my work in writing this post.

Today I will show you how to build atomic models with styrofoam balls and with candy. You will see two very different models, and yet the protons, neutrons, and electrons are in the same locations. My kids are using the book Christian Kids Explore Chemistry by Bright Ideas Press. We are learning the composition of an atom.

In the center of the atom is the nucleus. The nucleus is composed of protons and neutrons. The electrons are much smaller, and they spin in a cloud around the nucleus.

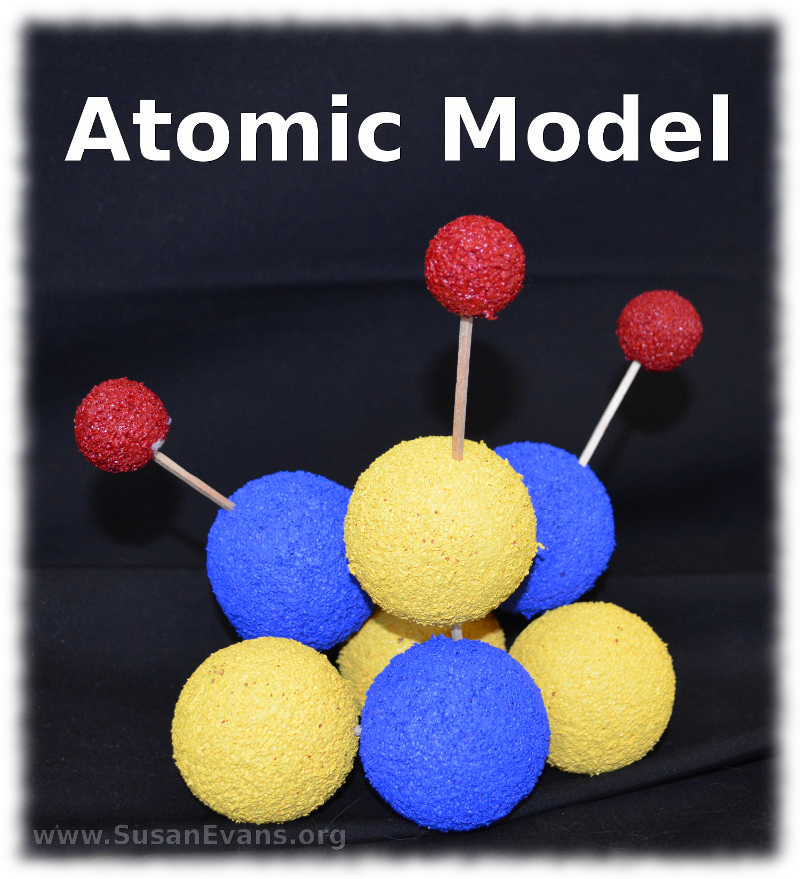
When making a styrofoam model of a Lithium atom, you need 7 two-inch styrofoam balls and 3 one-inch styrofoam balls. Lithium has 3 protons (which you paint blue), 4 neutrons (which you paint yellow), and 3 electrons (which you paint red). We used acrylic paint because it’s brighter than tempera paint, and it sinks into the texture of the styrofoam. After painting the styrofoam balls, let them dry overnight.

The next day stab the yellow and blue balls together with toothpicks until the balls are touching. This is the nucleus. Now stab the three red balls further away with toothpicks. These are electrons. You have completed your atomic model of Lithium.

candy-atomNow let’s make a candy atom just for fun, so that you can see a variety of atomic models. You could also use play doh or clay to make atomic models. But candy tastes good, so let’s use candy.

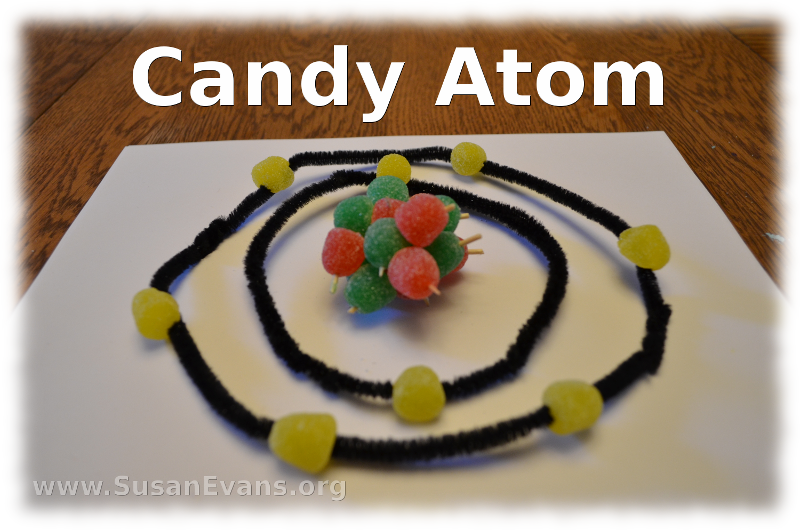
We are about to make an Oxygen atom. Grab 8 green protons and 8 red neutrons. These are gum drops, and if they stick together, fine. If the nucleus isn’t sticking together, snap toothpicks in half and stab the red and green candies together. It should look like Christmas. Now grab two black pipe cleaners and twist them to make a circle. Watch the video at the bottom of this blog post to see how easy it is. Grab two more pipe cleaners and do the same thing, making a wider circle. Now watch how I place the 8 yellow electrons on the electron shells. I don’t actually stab the gumdrops. I show you a trick for how to attach the electrons:

#4 Mixtures and Compounds

Monday, August 25th, 2014

mixtures-and-compounds

This post contains affiliate links. I was compensated for my work in writing this post.

Today we will be identifying mixtures and compounds by looking at different substances and trying to figure out if the ingredients are chemically bonded together or not. My younger two children are using Christian Kids Explore Chemistry by Bright Ideas Press, and this is one of the fun experiments in the book.

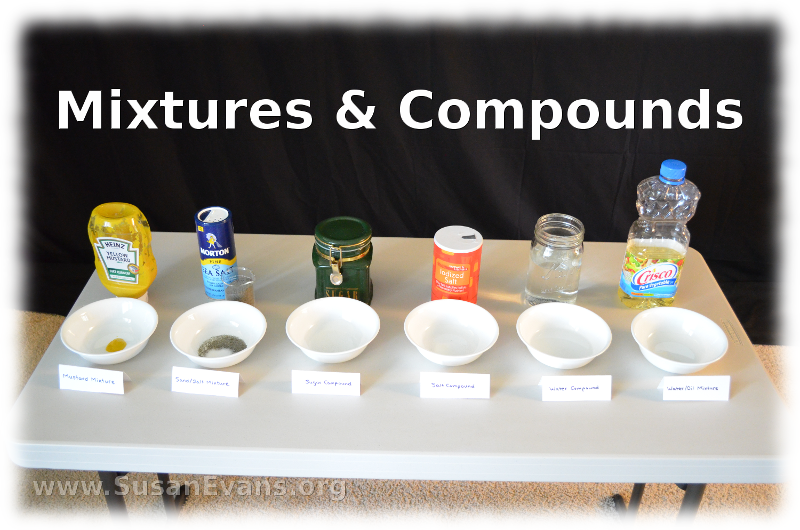
You will want to take out 6 bowls and make 6 labels. 3 by 5 cards folded length-wise are perfect for the labels. You can write with a black marker the following mixtures and compounds:

  • mustard mixture
  • sand/salt mixture
  • sugar compound
  • salt compound
  • water compound
  • water/oil mixture

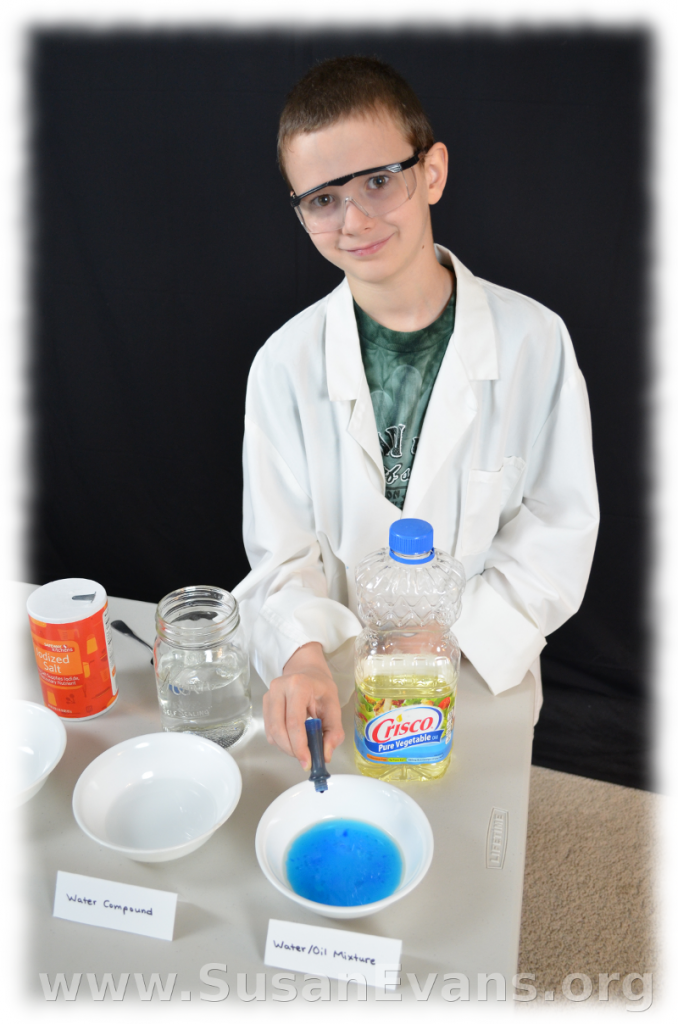
elementary-level-chemistryGo ahead and examine each of the mixtures and compounds to figure out why they are mixtures and compounds. The hardest one for my kids was the mustard. They thought it was a compound because it looked like one substance, but mustard is made up of different powdered ingredients (solids) and water. There is no chemical bond between the ingredients, which is why it is a mixture.

Sand and salt don’t chemically bond together when placed in a bowl, so that one was obviously a mixture. The sugar, salt, and water were obviously compounds because the elements combined chemically to produce a new substance.

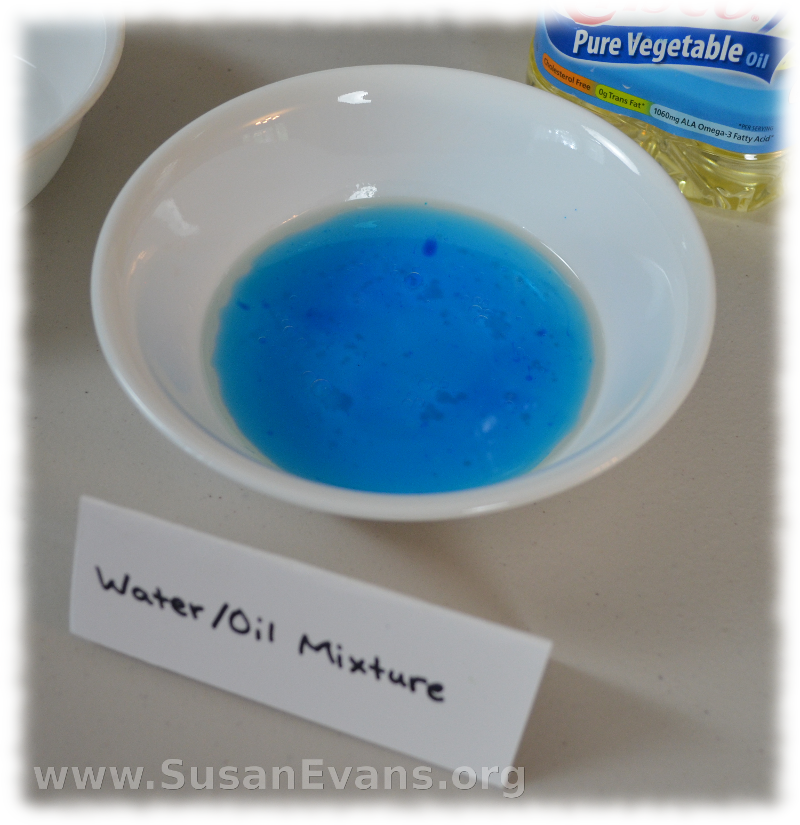
oli-water-mixtureLast but not least was the water/oil mixture. We poured water and oil into a bowl, and they definitely didn’t combine into a new substance. In fact, they remained as separate as ever! We tinted the water blue to show how the water (blue) and the oil (light yellow) are not even wanting to mingle together. You can see in the video that something unexpected happened with this last mixture, which resembled fireworks!