Archive for the ‘Homeschooling’ Category

A Time for Everything

Friday, August 22nd, 2014

time-for-everything“There is a time for everything under the sun,” says King Solomon, the wisest man who ever lived. Late in his life he wrote the book of Ecclesiastes, which describes how meaningless life is without God.

Solomon looked at the cycles of nature, including the seasons and the water cycle, and he says that there is nothing new under the sun. Every event has its place: there is a time to be born and a time to die. There is an appropriate time for every activity under the sun.

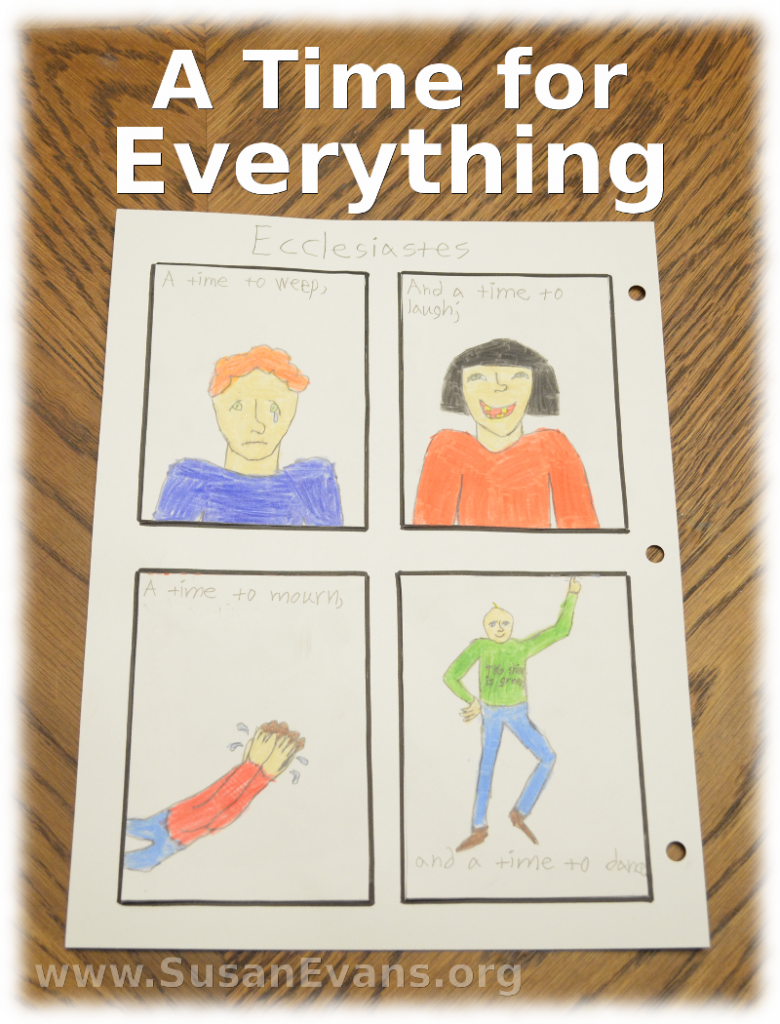
My children chose a verse from chapter 3 and illustrated it. First we divided the paper into four parts. The first two opposites went in the top boxes, and the second two opposites went in the bottom boxes. In the illustration at the top of this page, my son showed that there was a time to weep and a time to laugh; a time to mourn and a time to dance. When someone passes away, it is appropriate to grieve. And yet if your business is finally blessed by God and prospers, it’s time to rejoice and praise the Lord. Dancing around or laughing is appropriate when God blesses us.
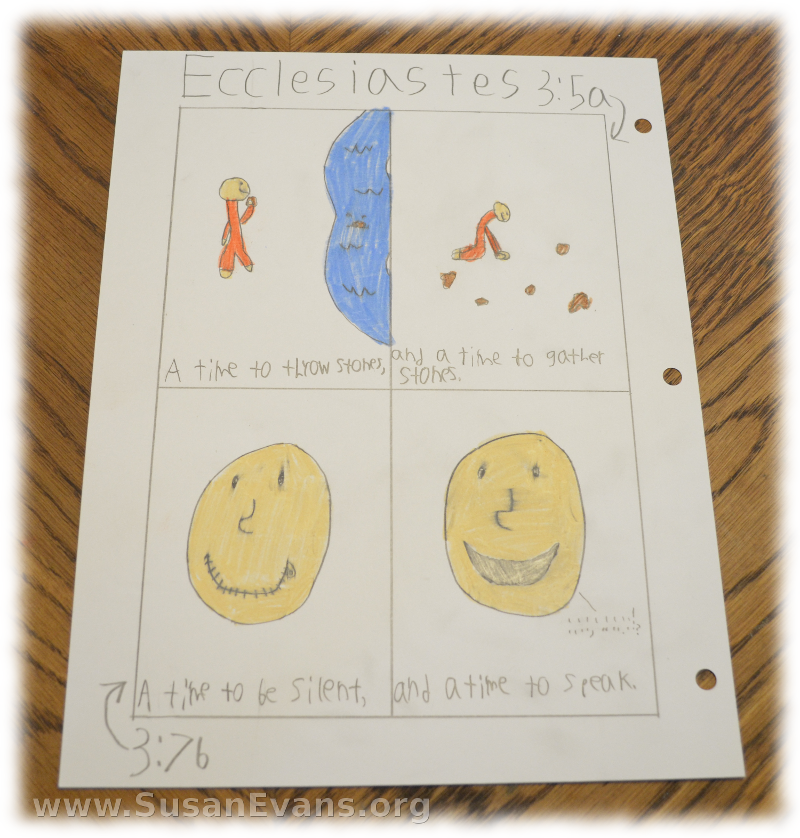
ecclesiastes-drawingAnother one of my sons drew pictures to represent a time to throw stones and a time to gather stones. Maybe you are skipping stones on a lake, or gathering stones to build a well.

There is also a time to be silent and a time to speak. Many of us need to keep in mind that sometimes it is best to remain quiet rather than always voice our opinion.
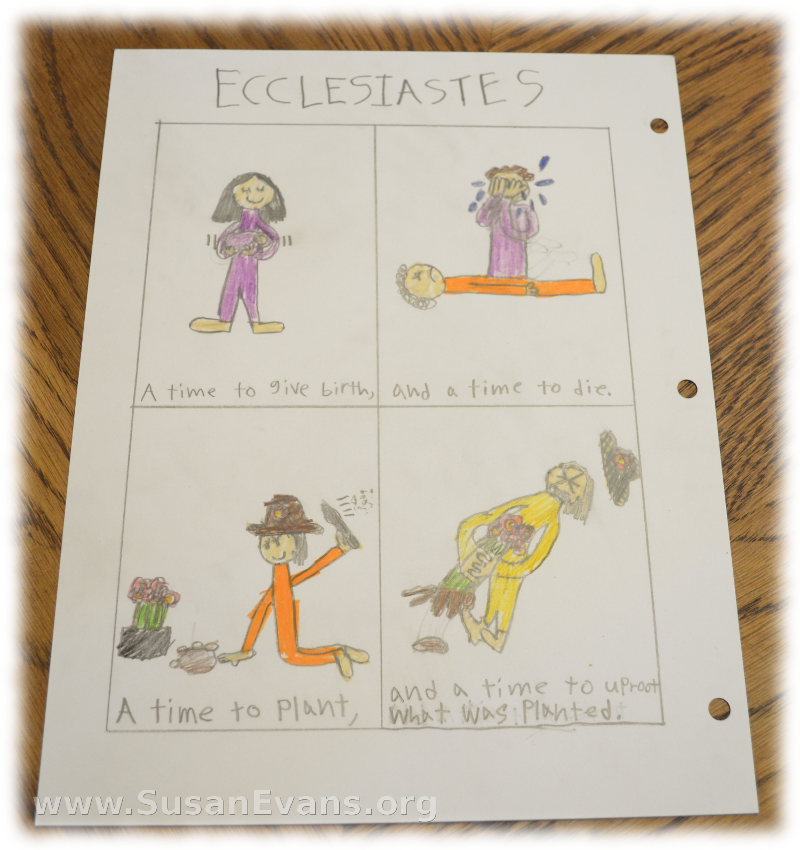
ecclesiastes-drawing-2My daughter illustrated a time to give birth and a time to die; a time to plant and a time to uproot what was planted. Sometimes a plant will take over the whole yard, and it needs to be uprooted to contain it. You can see the effort the man is exerting in the picture.

A Time for Everything

All these drawings remind me of the song “Turn, Turn, Turn” by the Byrds, which is a perfect conclusion for this topic:

Sign up below for a free Bible crafts e-book!

#3 Make Your Own Element Cards

Monday, August 18th, 2014

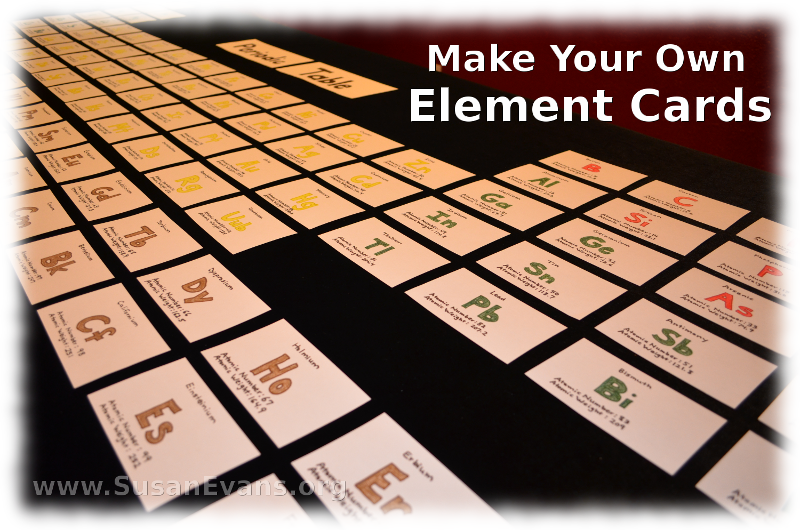
make-your-own-element-cardsThis post contains affiliate links. I was compensated for my work in writing this post.

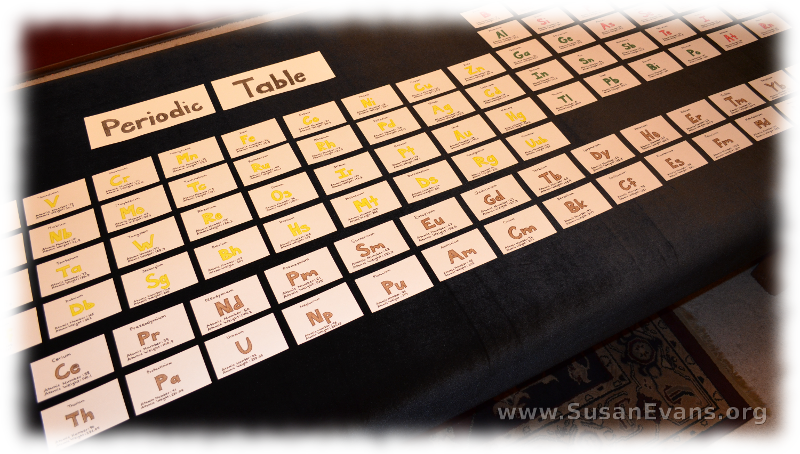
Today I will show you how to make your own element cards for the Periodic Table of Elements. We are using Christian Kids Explore Chemistry by Bright Ideas Press to study elementary-level chemistry, and one of the activities throughout the book is to make element cards. You do not have to make element cards for every single element on the periodic table, but if you do, you can make this giant Periodic Table Puzzle!

You will need some blank 3 by 5 cards. We decided to write the chemical symbols with bubble letters that we color-coded according to whether the elements were metals or non-metals. You can further classify the metals if you want.

These are the pieces of information we wrote on each card:

  • chemical symbol
  • name of the element
  • atomic number
  • atomic weight

On the back of each card you can write any interesting information about each element. You can find this information in books or on the internet.

periodic-table-cardsTo facilitate putting together the Periodic Table Puzzle, you will want to look at the atomic numbers. The periodic table is set up in order according to the atomic numbers. Watch the video at the bottom of this blog post to see how the periodic table is arranged.

You can use these cards in many ways:

  • Make a Periodic Table Puzzle
  • Use the cards to quiz each other on elements and their symbols
  • Based on the color, learn which elements are non-metals.
  • Use it as an encyclopedia of each element on the back of the cards.
  • Learn the atomic numbers of common elements.

Take a look at how we arranged these element cards:

Solomon Unit Study

Friday, August 15th, 2014

solomon-unit-study

This fun Solomon Unit Study includes dramatizations, drawings, and hands-on ideas for learning about the wisest man who ever lived.

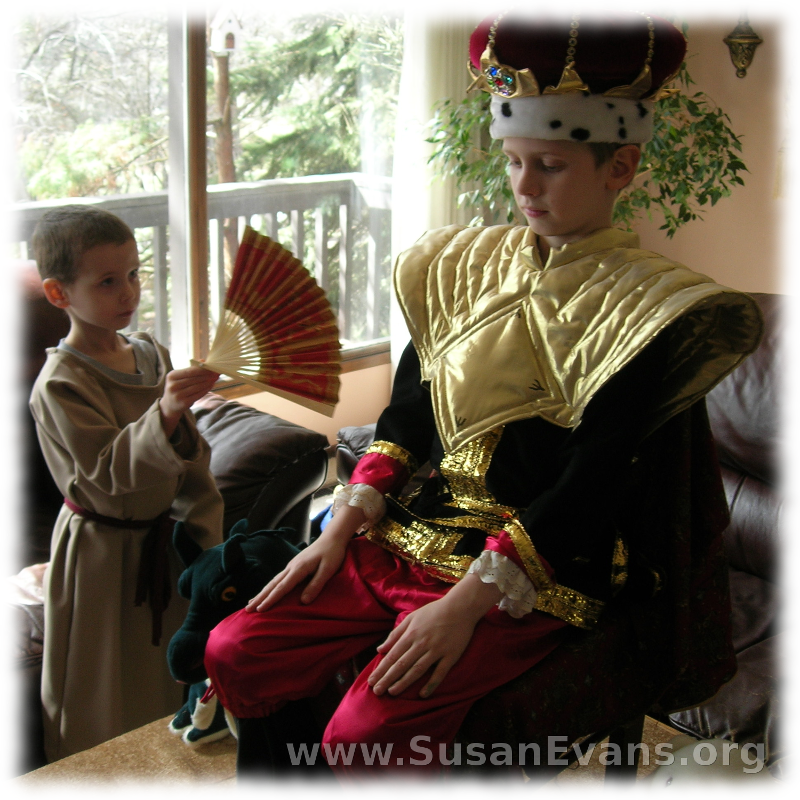
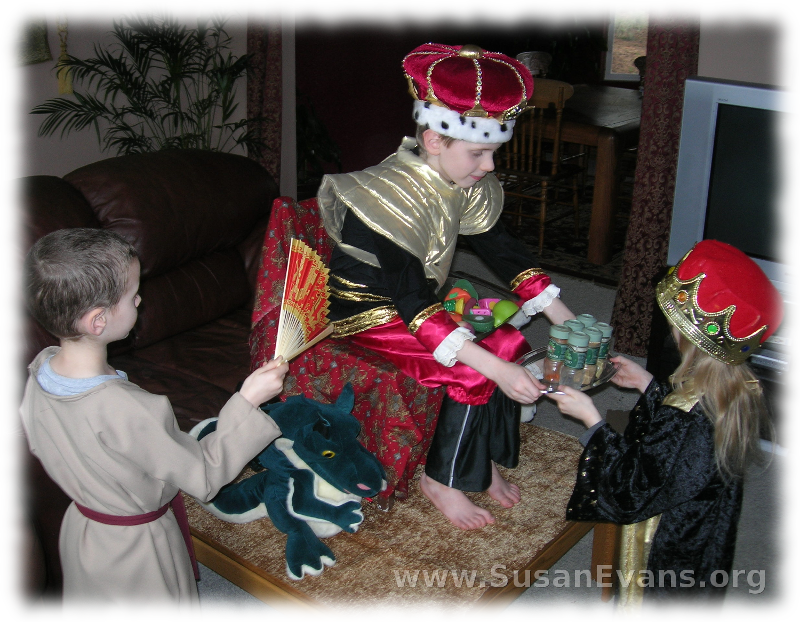
We filmed our dramatizations for our Solomon Unit Study inside our ever-growing Bible section of the Unit Study Treasure Vault. These pictures were taken years ago when we first dramatized the life of Solomon. We crowned one of my sons King of Israel and grabbed a kingly costume that I had bought at a yard sale. We placed him up on a coffee table, with two stone lions beside him. Since we didn’t have lions, we used a bear toy and a dragon puppet. A servant fanned him off continuously, and he ruled with great power and wisdom.

solomon-unit-study-3

In fact, Solomon is known for his great wisdom. God appeared to Solomon in a vision and said He would grant him any request. So Solomon asked for wisdom. This was such a great answer that God decided to give him riches and honor as well.

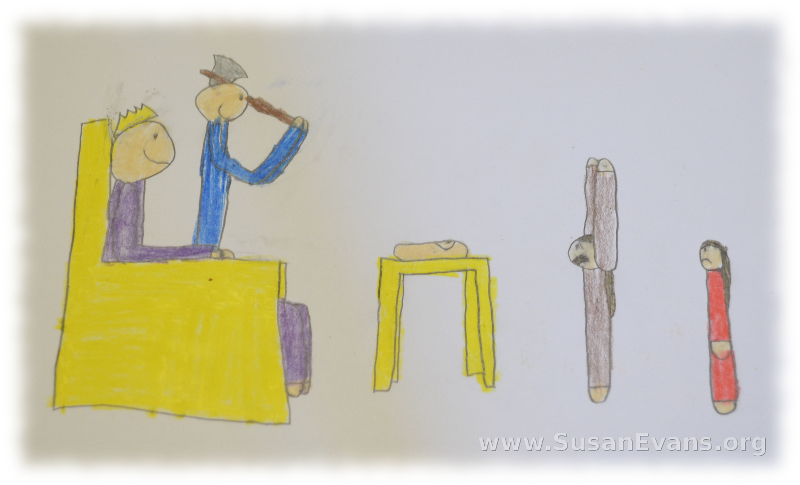
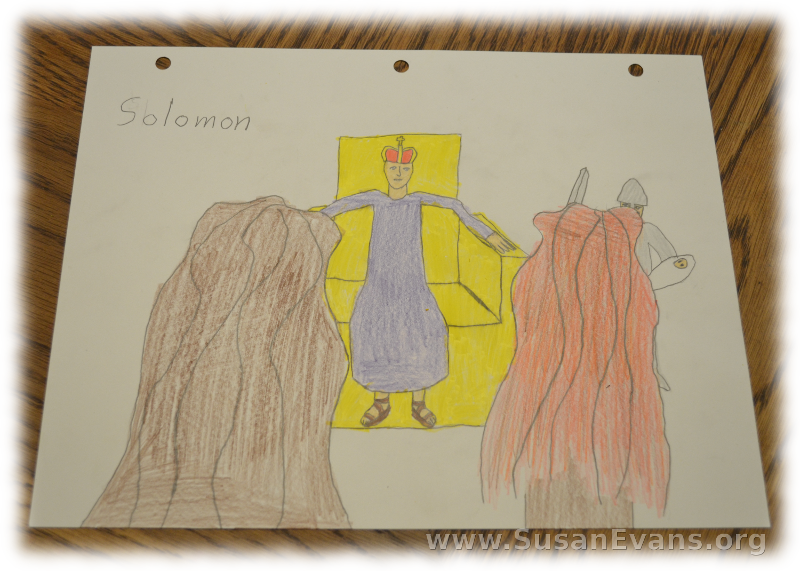
If you want to study the wisdom of Solomon, you can start with the story of two women. One baby was dead and the other was alive, and each woman claimed the living baby was hers. “Chop the baby in half and give each woman half the baby!” stated Solomon, and the rightful mother screamed to stop and give the living baby to the other woman, but to please let the baby live. The other woman said to kill the baby; if she couldn’t have the baby, neither should the other woman. Obviously Solomon knew who the right mother was!

solomon-drawing-2

You can draw a picture of this story, illustrating the two women, the baby, the servant, and King Solomon on his throne.

solomon-picture

You can study the wisdom literature that Solomon wrote, especially the book of Proverbs. Here are two hands-on learning activities for studying the book of Proverbs:

solomon-unit-study-2

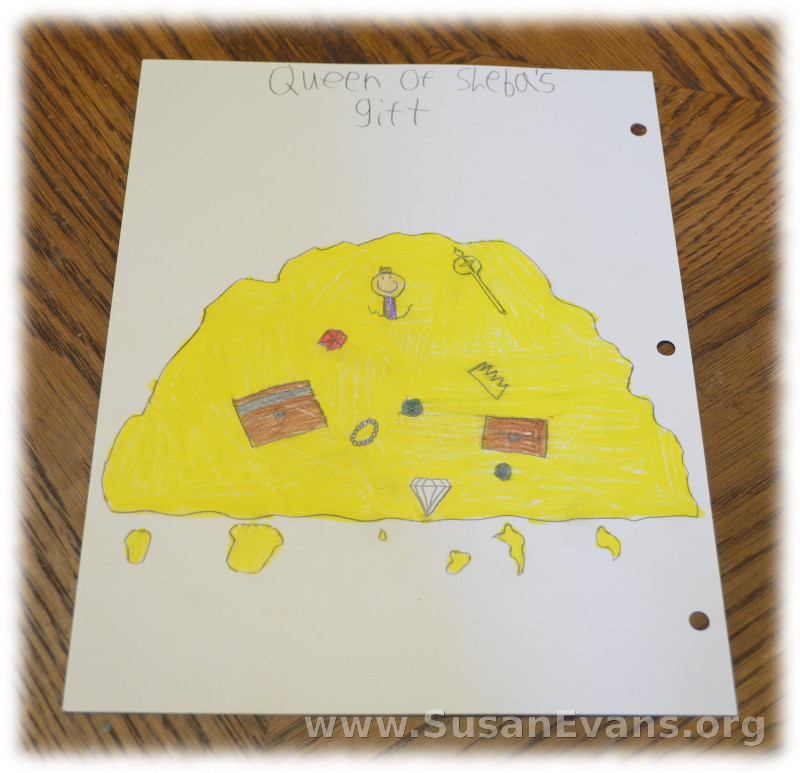
The Queen of Sheba visited King Solomon and brought him spices. We put some spice bottles on a tray and handed them to the king. But a lot more treasure was given Solomon besides the spices. You can illustrate how rich Solomon was by drawing a pile of riches on top of King Solomon.

solomon-drawing

Solomon built the Temple for the Lord and dedicated the Temple with a beautiful prayer. His father David had made preparations for the Temple before his death. You could make a model of the Temple with Legos or with a shoe box similar to how we made the Tabernacle Model. You would need to add rooms on the sides and paint everything gold, but the set-up of the Holy Place and the Holy of Holies is the same.

Sadly, at the end of Solomon’s life, he turned away from God to idols because of his many wives. And thus ends the life of King Solomon.

Sign up below for a free Bible crafts e-book!
To study the Word of God deeply with your kids, grab Using Simple Costumes and Props to Teach the Bible. You get this workshop free when you join the Unit Study Treasure Vault.

#2 Filtration Experiment

Monday, August 11th, 2014

filtration-experimentThis post contains affiliate links. I was compensated for my work in writing this post.

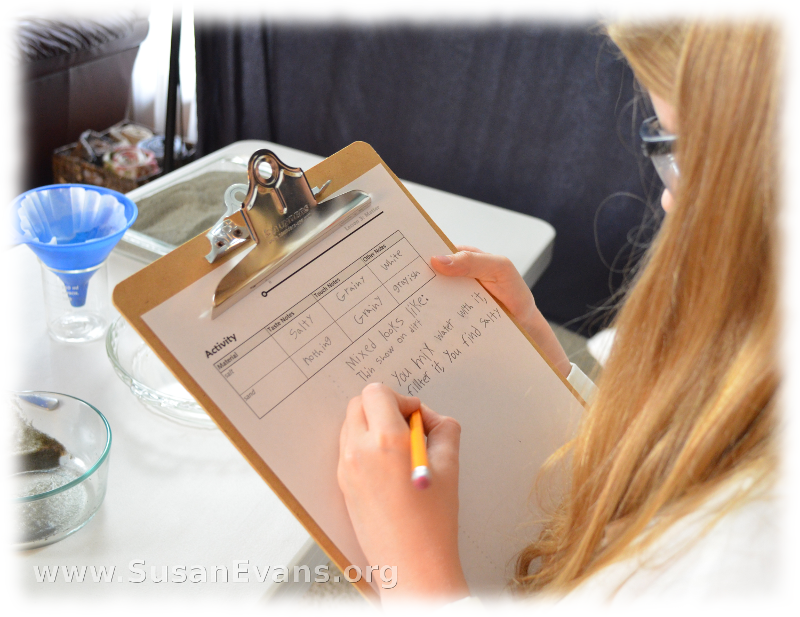
Today we will be doing a fun filtration experiment where salt goes through a filter like magic, while sand remains behind. This is one of the experiments in the book Christian Kids Explore Chemistry by Bright Ideas Press. The book provides a chart to fill in as we examine the salt and the sand at the beginning of the experiment.

You will need some sand, some salt, a funnel, a coffee filter, a mason jar or large drinking glass, a pie plate (without pie in it!), a glass measuring cup, a bowl, a teaspoon, and a stirring spoon.

filtration-experiment-2

Place 2 teaspoons of salt into the bowl. Add one teaspoon of sand to the salt, but don’t mix it yet. It helps to put salt on one side of the bowl and sand on the other side. Now you will want to taste the salt and the sand. You can spit out the sand when you are finished tasting it. You will have to watch the video at the end of this blog post to find out what my daughter said the sand tasted like.

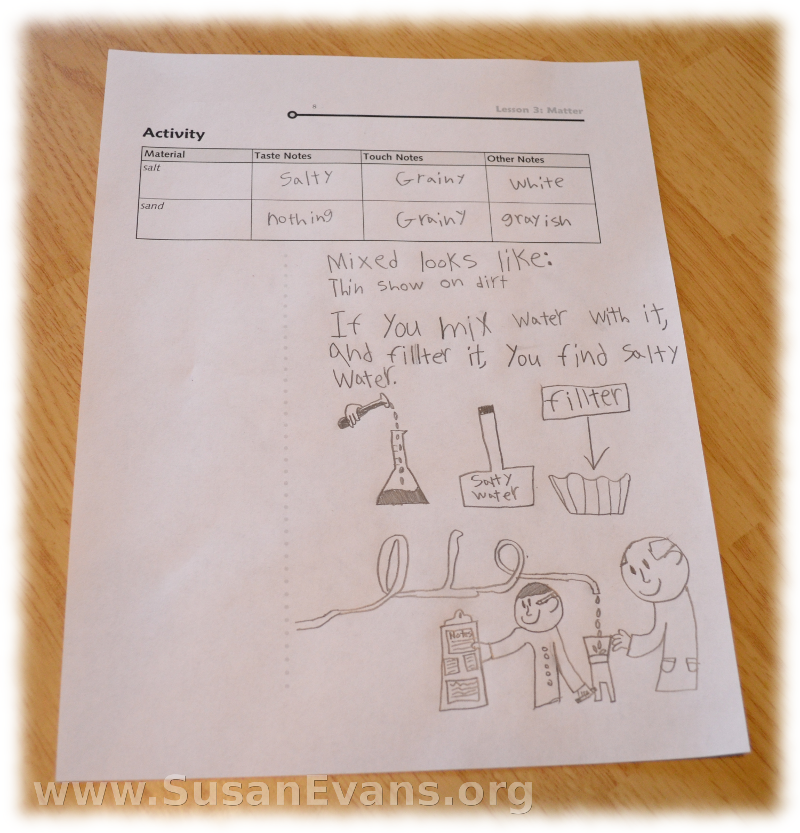
Look at the salt and sand and feel it with your fingers. Which one is more coarse? Write that down on the chart. What color is the salt? What color is the sand? Are there any other characteristics your kids would like to mention about the salt or the sand?

filtration-notes

Write down each of your findings on the chart provided in the book, and then doodle all over the rest of the paper as if you were a mad scientist. Just kidding. You don’t need to doodle.

filtration-doodlesNow mix the salt and the sand together with a spoon. This is called a mixture. Pour 100ml of water into the salt/sand mixture, and stir for 60 seconds until the salt has dissolved.
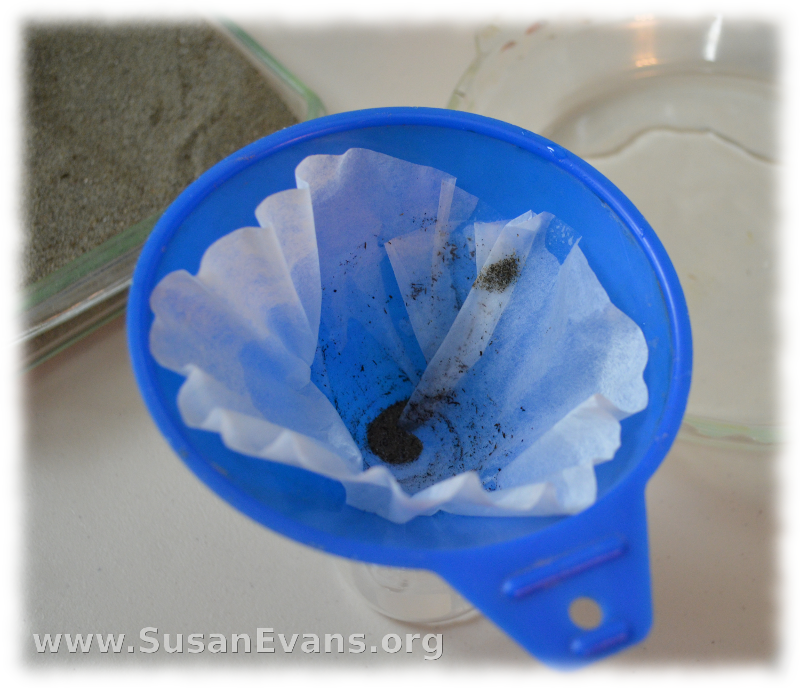
Place the coffee filter into the funnel, and put the funnel on top of the mason jar. One child can hold the funnel while the other child pours the salt/sand/water mixture into the filter.

filter-experimentThe water will go through the filter, but the sand will be left behind.

Where did the salt go? It disappeared!

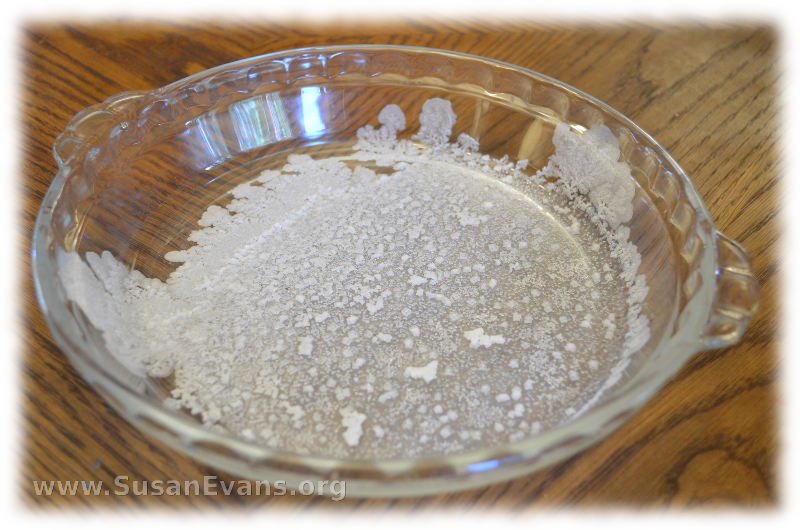
Pour the contents of the mason jar into a pie plate, and leave it for a few days. When the water has evaporated, voila! The salt grains re-appear like a magic trick!

evaporated-saltWhat happened? The salt became smaller when water was added to it, and the salt was then able to go through the filter. How sneaky is that?

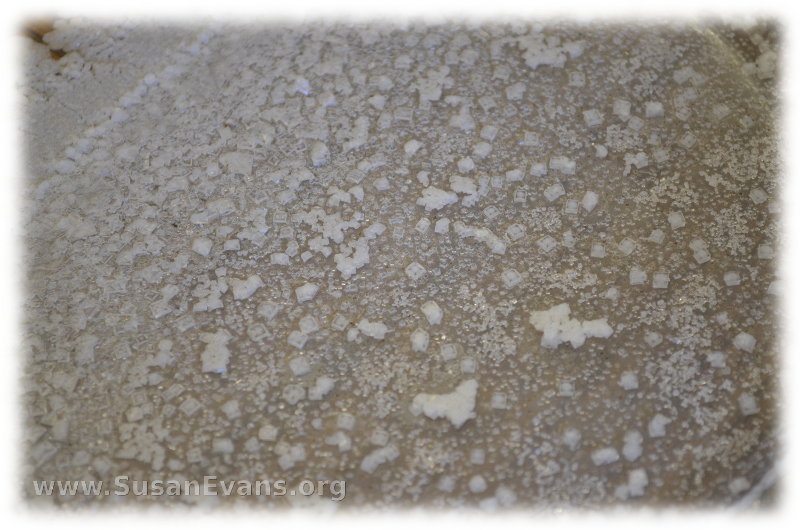
And the fun thing is that the salt crystals re-appeared larger than what they were at the beginning of the experiment!

salt-crystalsTake a look at the filtration experiment, as we recorded the whole experience on video: