Archive for the ‘Homeschooling’ Category

Make Your Own Volcano

Monday, February 17th, 2014

make-your-own-volcanoThis article contains an affiliate link. I was compensated for writing this post.

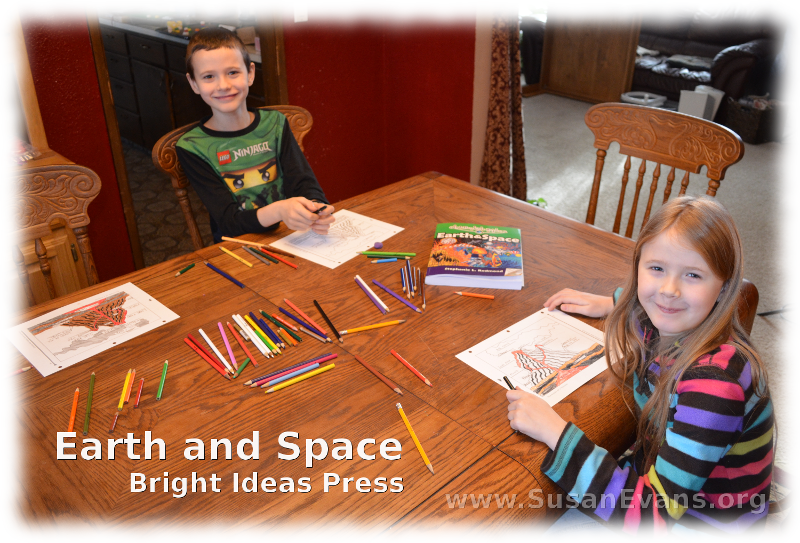
I’m going to show you a short-cut on how to make your own volcano, invented by my husband. We are continuing our study of Earth and Space by Bright Ideas Press, and we are doing the volcano chapter this week. The hands-on activity is to make your own volcano, and the book tells you what ingredients you need for the eruption.

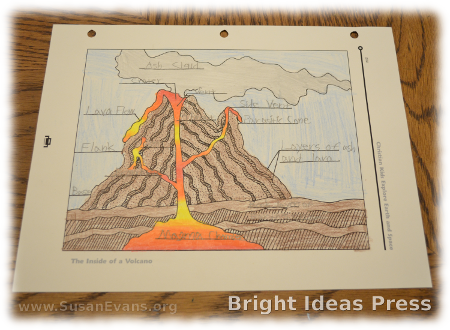
But first, I wanted my kids to fill out the diagram provided in the book. One of my sons made the lava into a groovy psychedelic orange, red, and yellow design. Isn’t it cool?

volcano-diagram

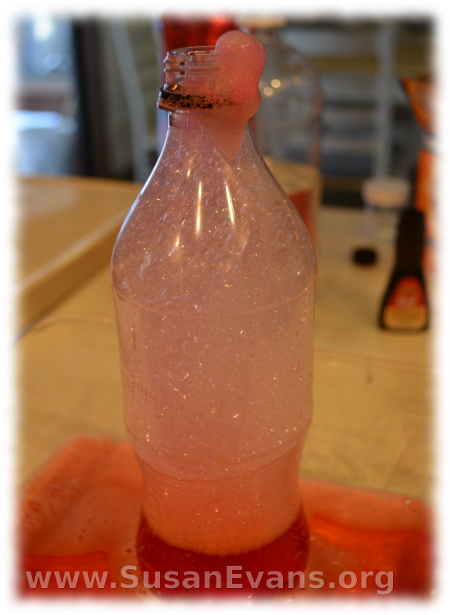
Next we experimented with the eruption itself, using an extra pop bottle. My husband didn’t seem to mind erupting it over and over, and the kids squealed with delight, as you will see in the video.

make-your-own-volcano-4

We grabbed several volcano books out of the library, and we own a volcano video, so the kids enjoyed watching lava come out of volcanoes before we erupted our volcano model.

I’ve seen a real volcano erupting when I grew up in Guatemala. The orange glow looked really interesting against the dark sky, as I stood on the street in front of my house. I also climbed a volcano and looked down into the crater. It was still smoking. I asked my teacher if it was safe to be climbing that volcano, and he refused to answer…

make-your-own-volcano-3

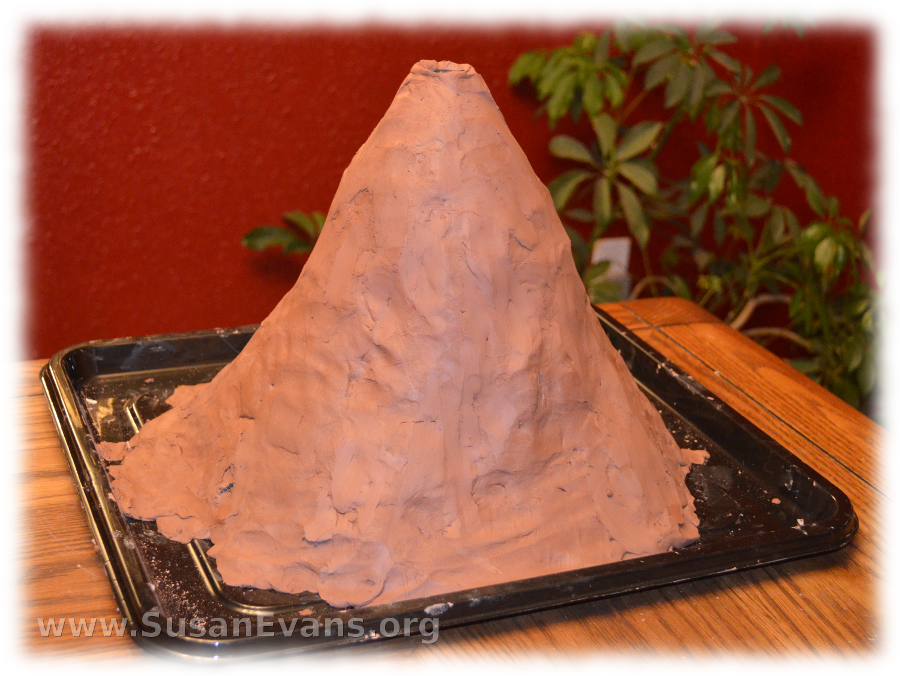
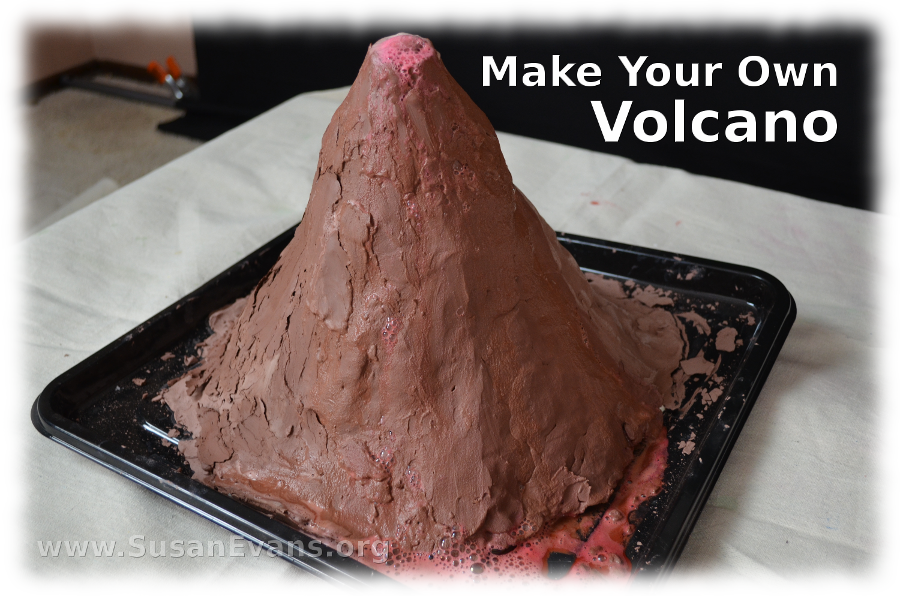
Just so you know, this version of a volcano took 5 minutes of spraying with spray foam (let it dry overnight), plus 5 minutes to chop off and hot glue the foam, plus 5 minutes to smash the terra cotta clay onto the volcano structure. So it took a total of 15 minutes. It was easy and fun.

make-your-own-volcano-2

And now, ladies and gentlemen, here is our video on how to make your own volcano:
How to Decorate a Heart Shaped Box

Thursday, February 13th, 2014

how-to-decorate-a-heart-shaped-box

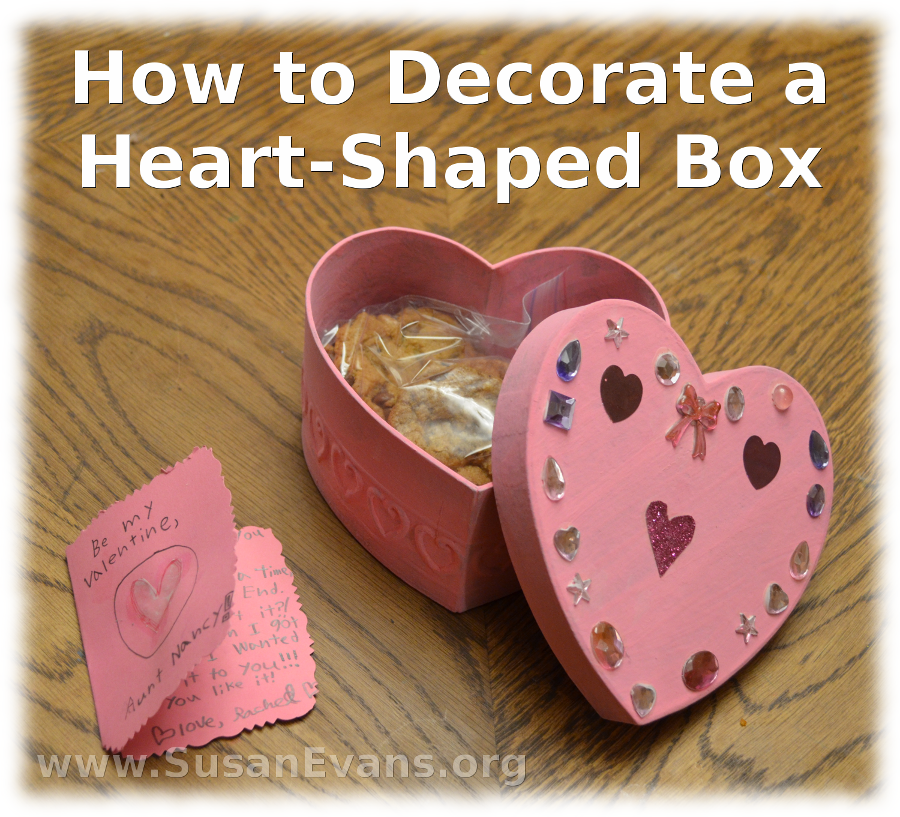
If you’re wondering how to decorate a heart shaped box, I’m here to tell you that it’s quite easy. Buy an inexpensive cardboard heart shaped box at any craft supply store during the month of February, when heart shaped crafts abound in profusion, almost to the point of nausea.

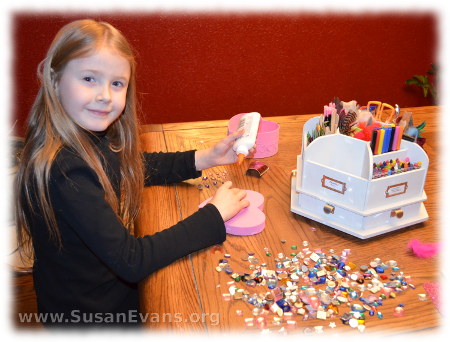
how-to-decorate-a-heart-shaped-box-2Make sure you have pink paint, fake jewels, and heart stickers. You can also use pink feathers, tissue paper, ribbon, or any other pink craft embellishments.

Paint the box pink inside and out, and let it dry overnight. If the box is for a man, paint it red, because pink is a girl color and is awfully sissy for a man.

If you’re in a hurry to give the heart shaped box to the love of your life, and you have no time to let it dry overnight, grab a hair dryer and dry the paint. Don’t hold the hair dryer too close to the box, or you might set it on fire.

If you are a sensible person, you will let the paint dry overnight like I told you in the first place. The next day you can wake up bright and cheerful, have a nice cup of coffee, and proceed with decorating your heart shaped box.

how-to-decorate-a-heart-shaped-box-3Glue fake plastic jewels all the way around the edges of the top of the box. Use jewels that match the box. If you are using a pink box, use pink, white, and lavender jewels. Don’t use green and blue jewels on a light pink box, or it will look ugly.

Conversely, if you have a red box, use complimentary colors that don’t clash.

Glue ribbon around the rim of the lid, on the side of the lid. This will dress up the box. I didn’t think about this until after my daughter sent this box in the mail, so it was too late for us. But ribbon would really add some extra embellishment that would look awfully nice, like you went the extra mile.

My daughter filled this heart shaped box for her aunt (my sister), whom she loves very much. My daughter is constantly writing letters to her aunt, and she sometimes seals the envelope before I even know what’s in it. I know, she might be saying incriminating things, like the time I accidentally left her at the park. I had three kids in the car instead of four. Honestly, how come none of her three brothers told me she was missing? I mean, whose fault was that anyway? Ahem. Less than five minutes transpired before we realized that we were short by one child, and my husband went back to the park to get her. Sad, but true. These overworked homeschooling parents need a vacation. Go ahead and buy our products so that we can go on a much-needed vacation and avoid such mis-haps in the future.

Back to how to decorate a heart-shaped box: make sure to fill it with goodies. We baked home-made chocolate chip cookies, but you can fill it with chocolates or other fun stocking stuffers that you would put into the stocking of your loved one at Christmas time.

Then send it to your loved one, or hand it to them in person, saying, “I love you!” Hopefully they will not throw it on the ground and stomp on it. No… Hopefully they will open it and be delighted at your kindness and love, rewarding you with a big hug.

Plate Tectonics and Earthquakes

Monday, February 10th, 2014

plate-tectonics-and-earthquakesThis article contains an affiliate link.

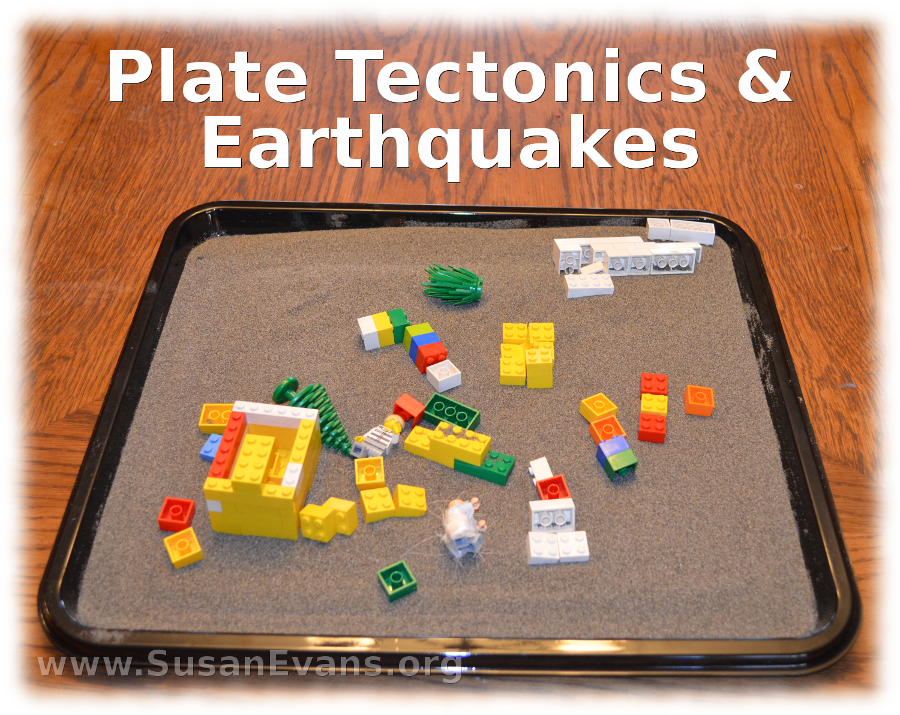
When my kids studied plate tectonics and earthquakes, we did some super fun hands-on activities. We are continuing our study of Earth and Space by Bright Ideas Press, and the highlight of this unit was to shake a Lego city to see what would happen during an earthquake. My kids kept setting up cities and shaking them down all week long.

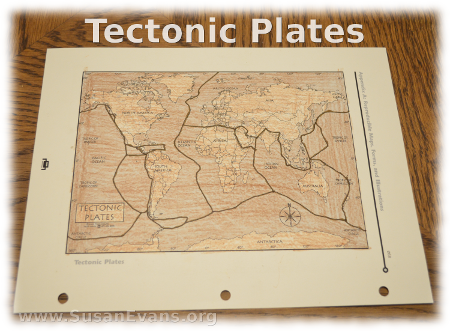
tectonic-plates-2I’ve actually lived through many earthquakes. I grew up as a missionary kid in Guatemala, and I survived the 1976 earthquake, which was a 7.6 on the Richter scale. I remember the demolished city, where I could see inside the houses with knocked-down walls. It was kind of surreal. I tell you about it in the video. I also show you the hands-on activities we did for this unit:

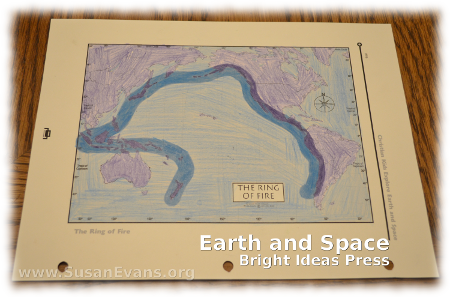
The children looked up a list of cities where large earthquakes have happened, and we noticed that the majority are located around the “Ring of Fire.” This is the edge of the tectonic plates, where lots of volcanoes have formed. We colored a printable that showed where the tectonic plates are located, and another map where the Ring of Fire is located. The children noticed the similarities.

ring-of-fire

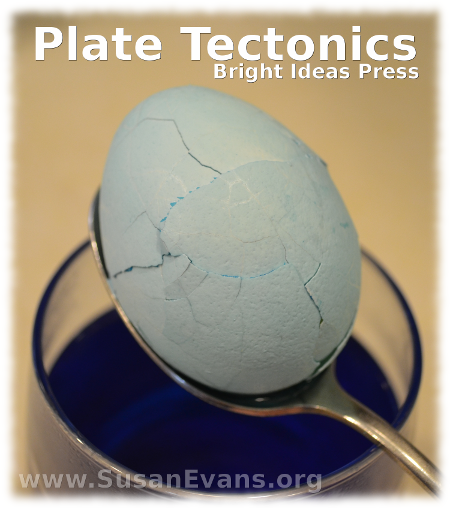
plate-tectonicsTo understand tectonic plates, one of the activities in the book is to boil an egg and crack the outside shell. In order to see the edges of the shell pieces better, you might want to color the egg like an Easter egg, with food coloring. Use 1 cup of boiling water, 2 teaspoons of vinegar, and several drops of food coloring. The longer you leave the egg in the dye, the brighter the “tectonic plates” will be. Make sure you crack the shell before you dye the egg, so that the edges of the shell are darker.

We had fun studying plate tectonics and earthquakes. After the kids were in bed, my husband and I reminisced about how much we missed earthquakes back when we lived in California. Isn’t that funny?

Bright Ideas Press compensated me for blogging about science through using the book Earth and Space.

The Earth: Hands-on Activities

Monday, February 3rd, 2014

the-earth-hands-on-activitiesArticle contains affiliate links. I was compensated for my work in writing this post.

We are starting a study of Earth and Space by Bright Ideas Press. This book was an answer to prayer because my youngest son specifically asked to study rocks and minerals, the weather, and outer space. Who knew I would find them all in one book, with tons of hands-on activities and printables for notebooking, and that I would be compensated for blogging about our homeschooling adventures! Those of you who have heard my finances testimony and understand my prayer life will know how I’m glorifying the Lord right now for embarking on this fun science adventure with my kids!
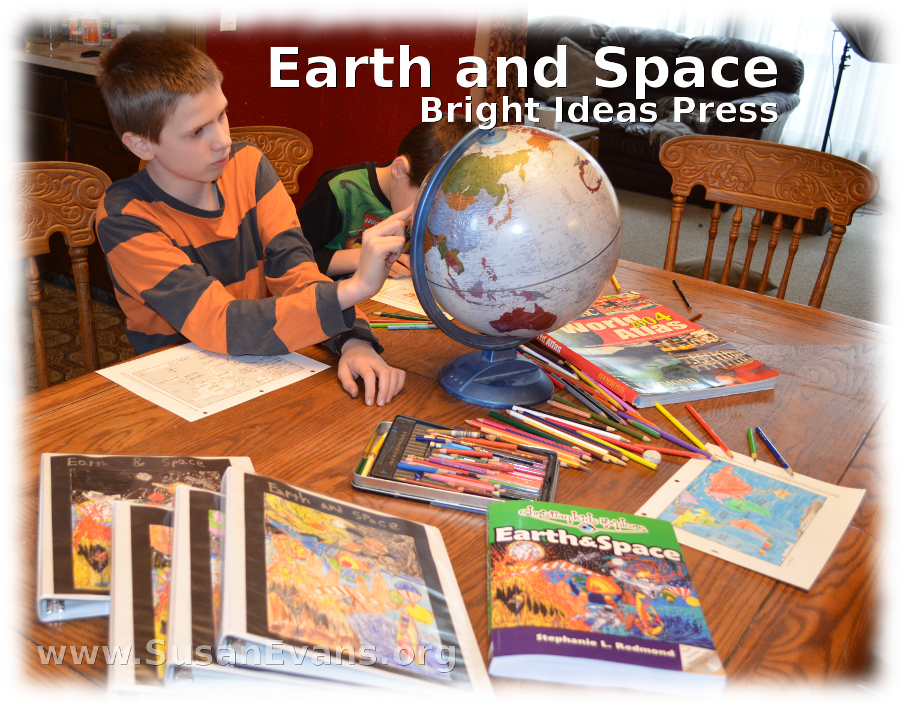
earth-and-space-bright-ideas-press

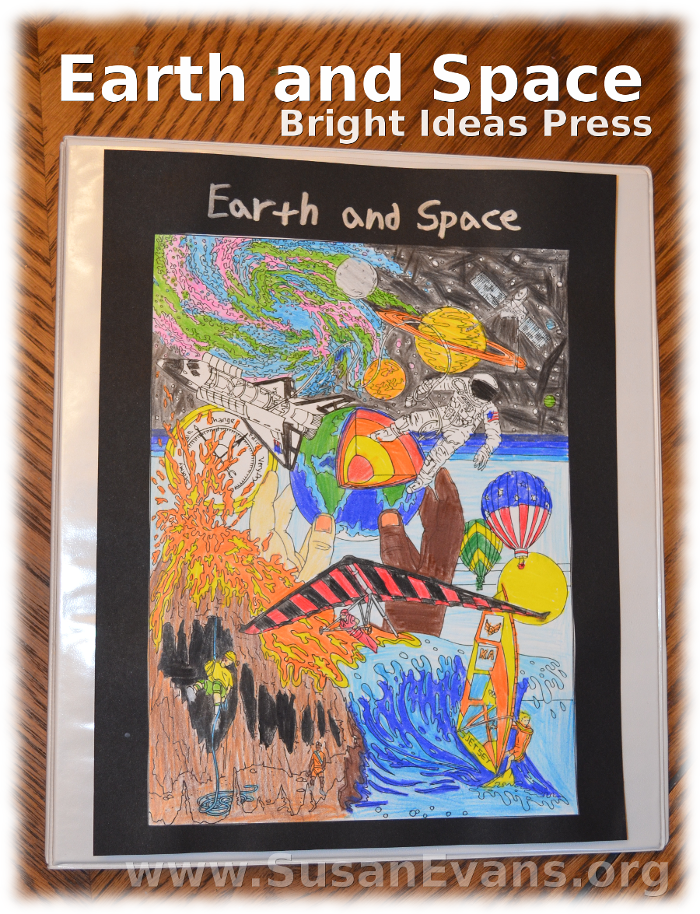
The first two chapters are about Earth and its structure. We colored a picture of creation and glued it onto black card stock paper. We wrote the title on the black page in silver permanent marker, before sliding it into the front of our notebook binders.

earth-and-space-creation

We located the continents and oceans on our maps and on the globe. We talked about the earth’s rotation (spinning), and we dramatized the revolution of the earth around the sun. You can watch these activities in our video demonstration:

layers-of-the-earth

Another hands-on activity was to stab a ball of Play-doh with a toothpick, to show how the earth spins on its axis.

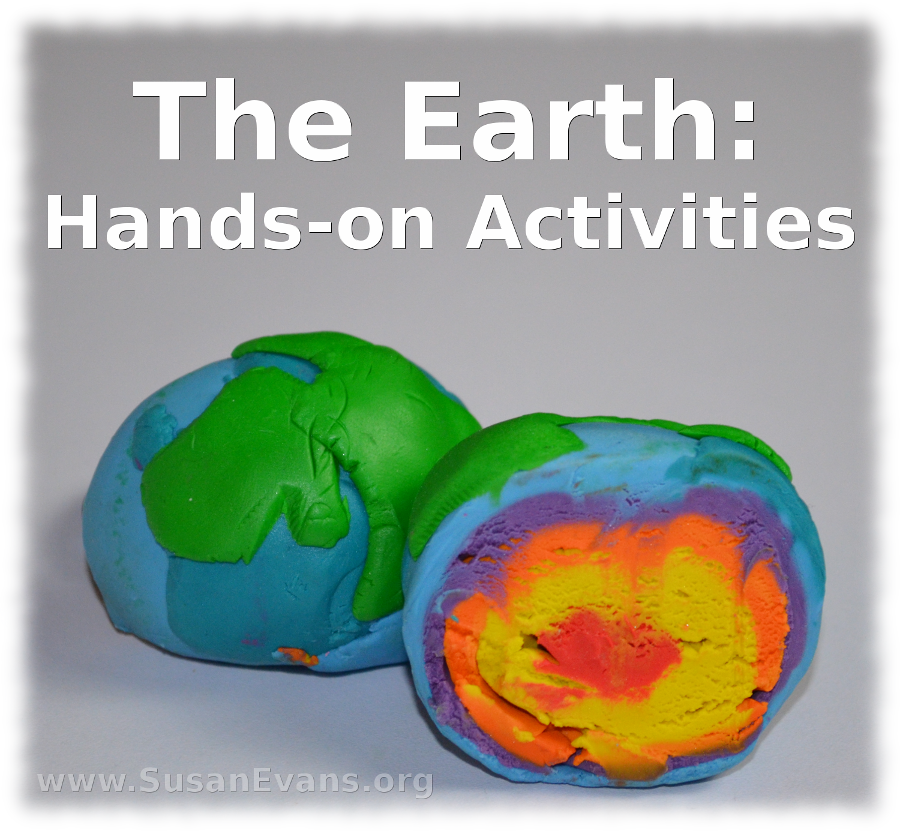
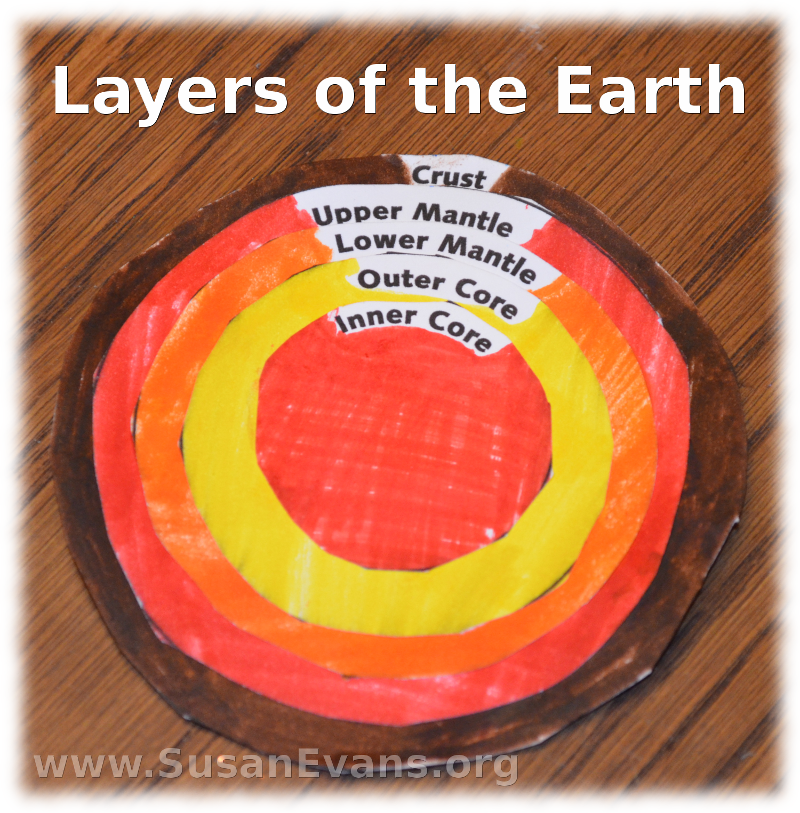
layer-sheetUsing one of the printables, we colored and cut out the different layers of the earth, gluing them on top of each other. Then we created a model of the earth layers out of clay. We had trouble cutting the clay with dental floss, so we used a table knife. This caused the layers of the earth to mix slightly, as you can see from the picture at the top of this page. I almost wish the clay was edible, because it looks good enough to eat!