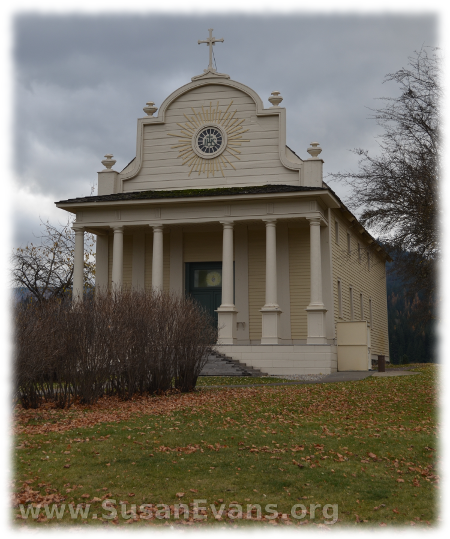
If you want to go to a great historic building that looks like the Alamo, but you live in the Inland Northwest, the perfect destination is Cataldo Mission. Situated in North Idaho, it is the oldest historic building in the area. Missionaries to the Native Americans built this mission in the 1850’s, and they led many Native Americans to Christ.
When you first arrive at Cataldo Mission State Park, you will see a short film to introduce the historical aspects of the mission, the parish house, the Coeur d’Alene Indians, and the surrounding area. After this film, you walk up some steps to the mission itself.
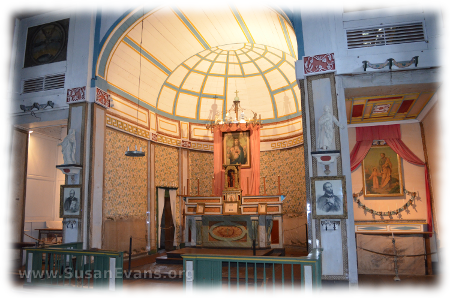
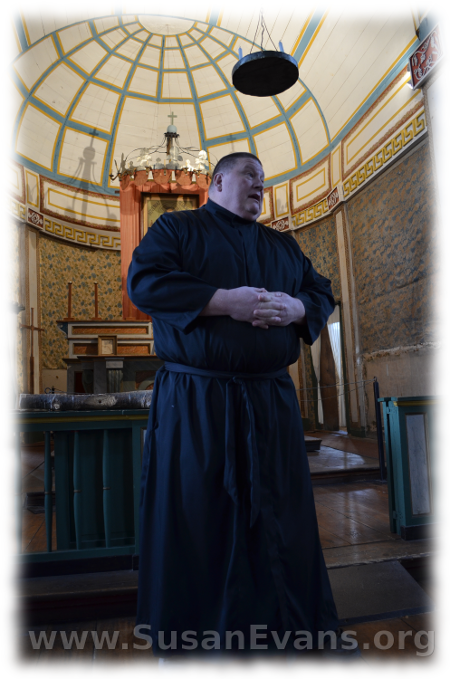 When you step into this beautiful church, you will notice the front of the church, which has a dome decoration as well as the altar. Beautiful wallpaper surrounds the altar area, hand painted by the Jesuit priest who founded the mission. The tour guide was dressed in the period costume of a Jesuit priest, and he gave us some interesting demonstrations.
One of the demonstrations included how the church was constructed. He showed us tenon and mortise joints, where a square hole in one piece of wood would fit another piece of wood. An auger hand drill would make a hole just big enough to fit the wooden peg going through it. (You can watch this demonstration in the video below.)
We toured the back of the altar area and saw several old priest vestments, and the desk of the founder of the mission. We also saw a piece of the original wall that had been smeared with mud by children and their parents. (The tour guide embellished a little, saying that there was a huge mud fight!) So the inside of the walls were sort of like adobe. The mission itself was refurbished twice because it was falling into disrepair.
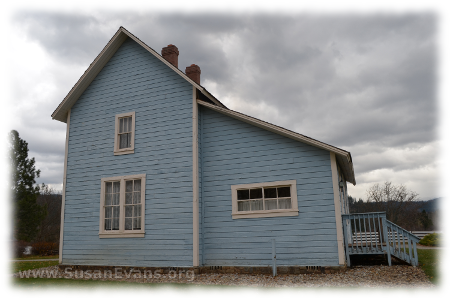 The windows were small panes of glass that were added together to look like large windows. This is because the Jesuits had to transport the glass long distances. So they packed the glass surrounded by sawdust or whatever packing material they had available. This way when the horses stumbled, the glass wouldn’t break.
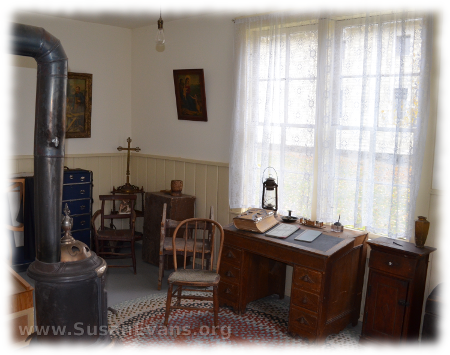
After viewing the mission, we looked at the parish house next door. It was a plain-looking blue-colored house with period furniture in it. One of the rooms was the study, where there was a desk and a Bible, heated by a wood stove.
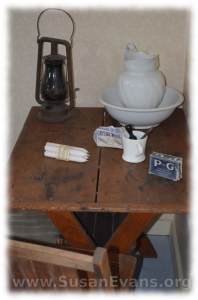
A kitchen and dining area are located at the back of the house, with shelving and dishes that look antique. A lantern sits on a wooden table, with a pitcher and bowl for washing hands. A lack of electricity and running water is evident from these items.
 When we were finished looking at the parish house, my kids ran over to the grist mill, where people used to grind their wheat. They also ran to the wooden canoe at the bottom of the hill. The children shouted, all out of breath from having run so far ahead, that the winding trail led to the Spokane River below.
The museum in the visitor’s building was surprisingly interesting. First a 7-minute 3-D projected movie was displayed with surround sound, so that you felt like you were in the middle of the Native Americans. You walk through rooms with beaded Native American costumes, weapons, pencil sketches, dolls, musical instruments, and many other artifacts. You walk into a mission scene, all decorated for Christmas.
This 4-minute video clip gives you the highlights of our visit to Cataldo Mission in Idaho:
