Archive for the ‘Homeschooling’ Category

Paper Dress

Thursday, March 14th, 2013

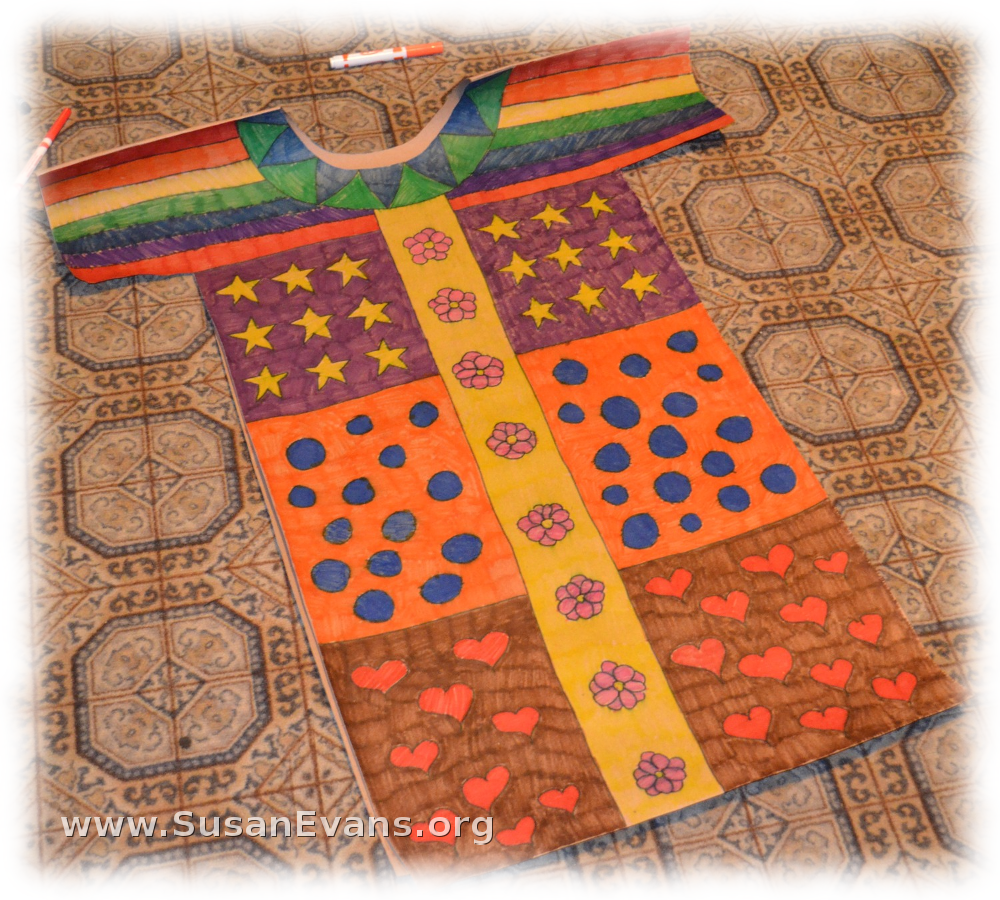
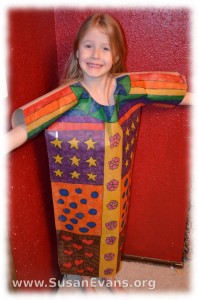
paper-dressWhen I was little, my best friend made a paper dress for one of my plays. Of course, it tore when I sat down. But for some reason I have fond memories of making paper clothing. It’s almost like we were large dolls, and we were dressing ourselves with paper outfits that you cut out, bending the tabs back.

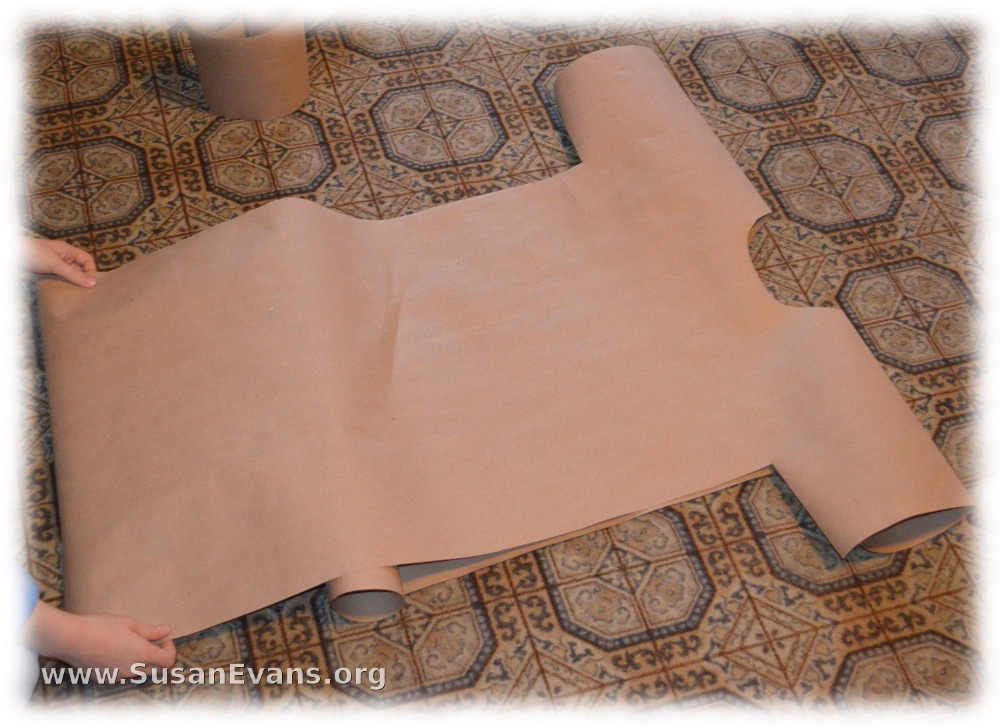
My daughter made a beautiful paper dress the other day. I used the same pattern I made for the Bible Costume in Five Minutes, which was made from a bed sheet. This time we used a roll of brown paper, folding it at the top where the shoulders would be. We cut the sleeves into a T-shape.

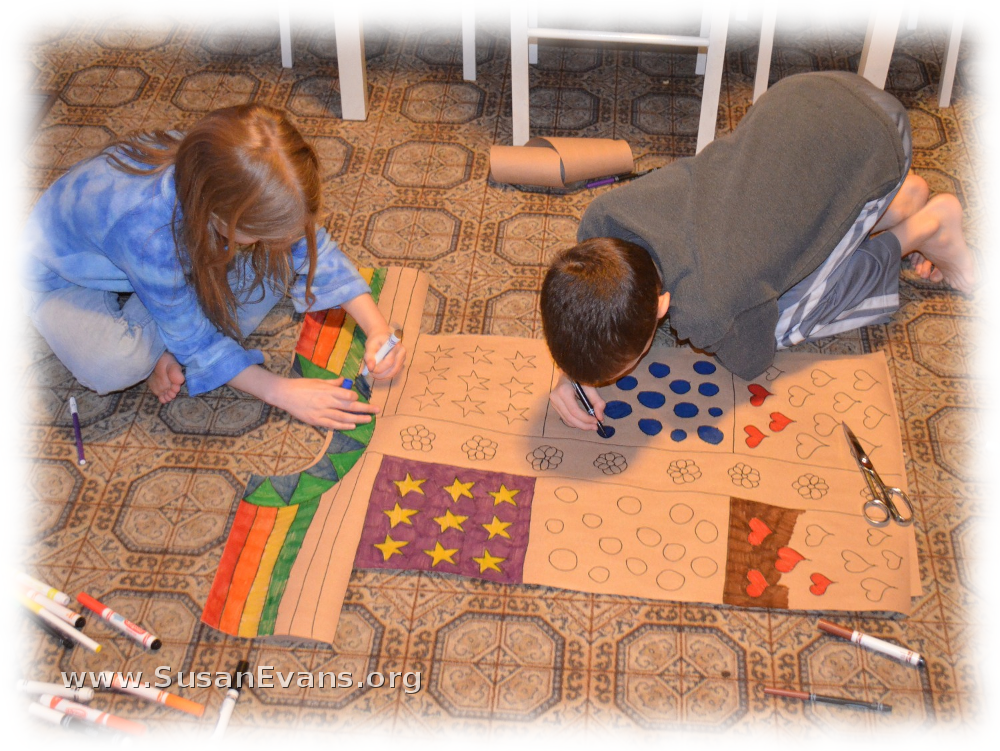
The kids started drawing and coloring designs on the paper dress, filling it in with colorful markers. They had a great time. When it was finished, we taped the sides and the bottom of the sleeves with clear packing tape. You could use staples instead if you want.

Your daughter will need to put her hands up as you lower the paper dress over her head. Then her arms will stick straight out like a paper doll. But won’t she look cute! You can add embellishments, like fake jewels or other textured art materials. You could even hot glue some large buttons onto the dress.
paper-dress-2

paper-dress-3

paper-dress-4

Homeschooling Reluctant Writers: Scrapbooking Supplies

Friday, March 8th, 2013

Homeschooling Reluctant Writers
(
A series of 10 fun writing assignments given by a pirate)

Aaaaarrggghh! This is Dread Pirate Susan Evans here to give you ideas for homeschooling reluctant writers.

homeschooling-reluctant-writers-10Writing Idea #10: Scrapbooking Supplies

  •  You can use scrapbooking supplies! For example, you can find stickers in the form of robots, and you can write a story around that sticker. Here is another robot story. Very nice. Here’s another robot story, and another robot story by a 5-year-old. Lots of robots, eh?
  • There are pirate stickers, and there are scrapbooking papers that are like outer space and cool stuff like that. Or you can have bugs and insects and write a poem. For example, “In the midnight dark sky/ Insects are fluttering by./ The crickets are chirping./ Everything is quiet.” This was written by a 5-year-old boy. Yes, he’s good, isn’t he?
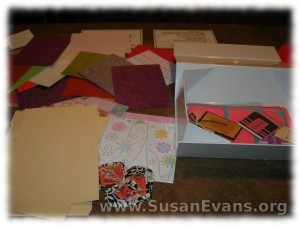
  • Take a look at more scrapbooking supplies (at your local craft store). There are so many scrapbooking papers. Look at them all! Camouflage paper, pirate paper, monkey paper, race car paper, autumn paper. There’s paper that looks like wood, and paper that looks like rocks. There’s paper that looks like burlap, paper that has music on it, football paper, corkboard paper, patriotic paper, girly paper.
  • You could write on a sheet of paper, and then glue it onto one of these scrapbooking papers as a background. You could also decorate a journal with one of these papers.
  • There are many, many stickers as well. Here are some stickers for theater, movie stickers, camping stickers, crown stickers, forest stickers, bird stickers, 3-dimensional flowers. We have cowboy stickers, pirate stickers, more pirate stickers, fishing stickers, bike riding stickers, Paris stickers, music stickers, beach vacation stickers.

This is Dread Pirate Susan Evans, signing off. Aaaaarrggghhh!

Calling all homeschooled kids! I dare you to make a video response to this pirate video on YouTube:

  • Write a full page story, using scrapbooking supplies to decorate your writing..
  • Read your story  into a video camera, and upload it to YouTube.
  • Go to the above video on YouTube, and press “video response.”
  • I am automatically notified when someone posts a video response. After watching it, I will embed it right here on this page!

How to Make a Felt Clover Pillow

Wednesday, March 6th, 2013

st-patricks-day-crafts-5I’ve been writing a series of St Patricks Day crafts to go with a one-day unit study on Saint Patrick. Today’s craft is a simple sewing project that kids of all ages can enjoy. You will need the following supplies:

  • two dark green pieces of felt
  • one light green piece of felt
  • black permanent marker
  • needle
  • green thread
  • fabric scissors
  • pins
  • sheet of white card stock paper

felt-clover-craft

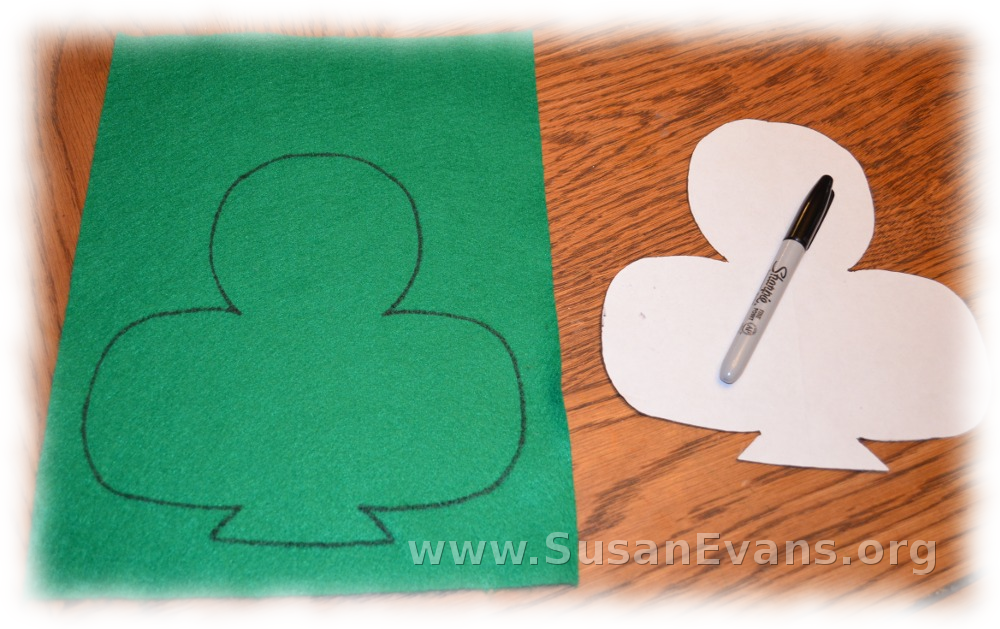
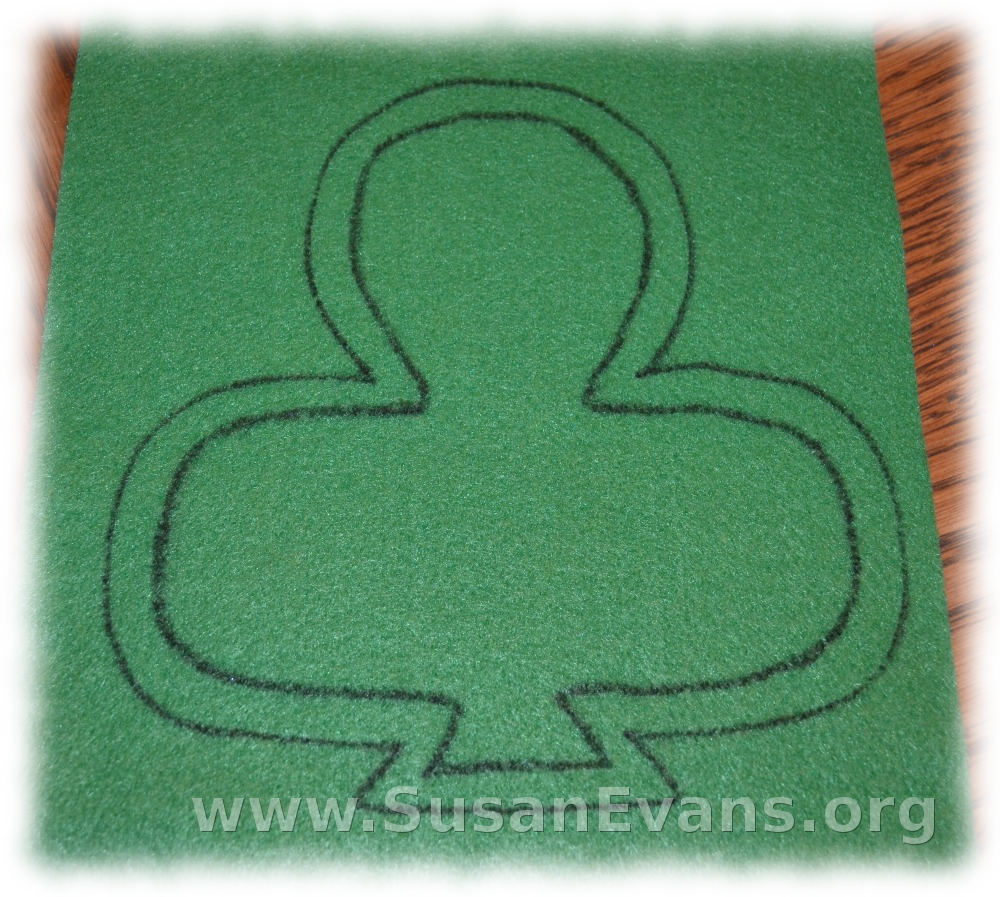
On the sheet of white card stock paper, draw a clover. Fold the paper in half, and cut the clover out so that both sides are identical. Open the clover leaf. Set down a dark green piece of felt. With a permanent marker, trace the shape onto the felt. Do this with all three pieces of green felt. With the light green felt, draw a line about one centimeter in from the outer clover leaf shape. Now cut the light green felt to the smaller size. Cut the darker felt along the outside lines you drew.

green-felt-clover

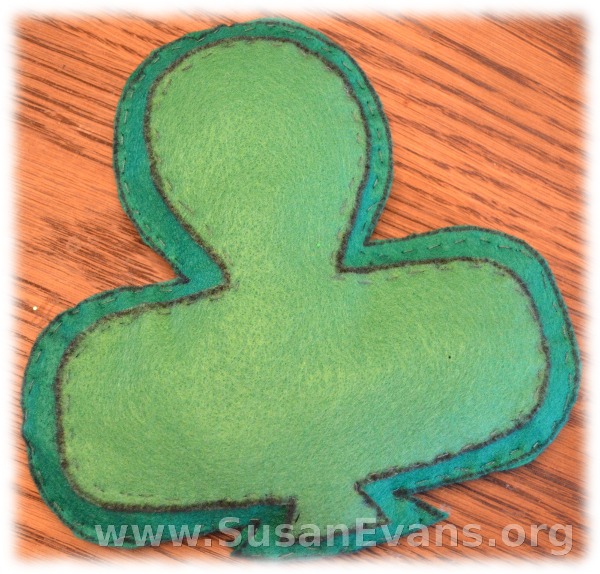
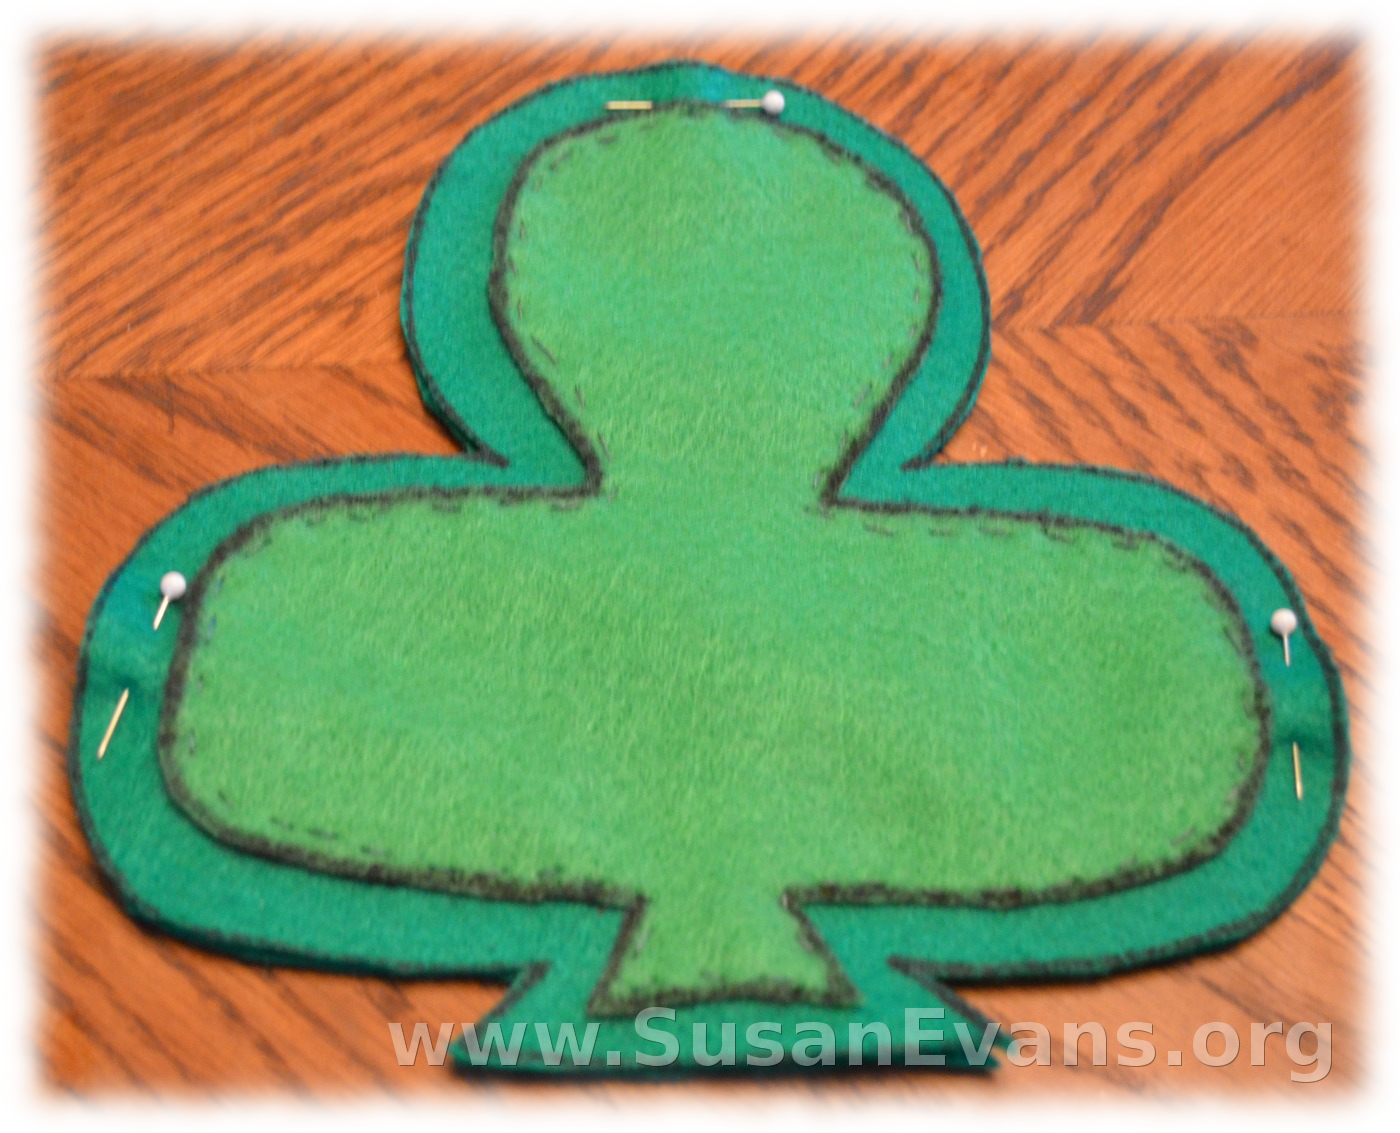
Now you are ready to sew. Pin the light clover leaf to one dark clover leaf. You only need three pins, one for each leaf of the clover. Sew a straight stitch with green thread. Remove the pins as you sew.

st-patricks-day-felt-craft

Pin the two dark green pieces of felt together. Use a straight stitch to sew around the clover. Leave one part of a clover leaf open to put the stuffing into the pillow. Shred up all the leftover felt by cutting it into small pieces. You will use this to stuff your clover pillow. Gently place the stuffing into the almost-finished pillow. Now sew up the remainder of the pillow. Enjoy your finished clover pillow!

Decorate a Clover Leaf

Tuesday, March 5th, 2013

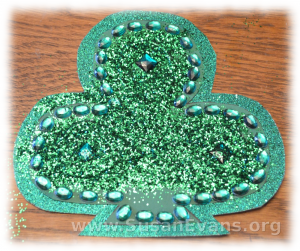
decorate-a-clover-leaf st-patricks-day-crafts-12St Patricks Day crafts are fun for young children. One craft that even toddlers can enjoy is to decorate a clover leaf. Dump green craft supplies on top of your table and have your kids design their own green St Patricks Day clovers!

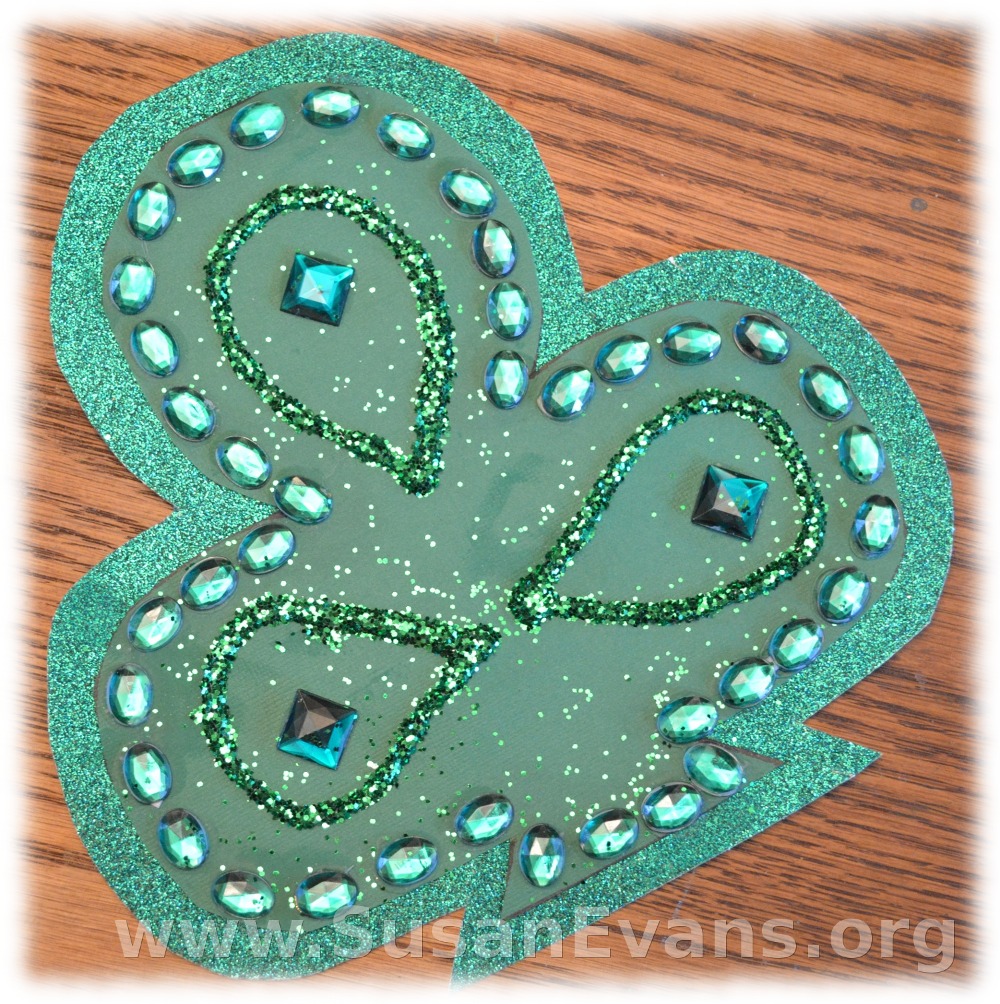
This is how we decorated our spectacular green clover leaf: Grab some green card stock paper and draw a large clover leaf. Cut out the leaf. Get some sparkly green paper (found at craft supply stores), and glue the card stock paper to the glitter paper. Now cut around the clover leaf, leaving about a centimeter of glitter paper showing.

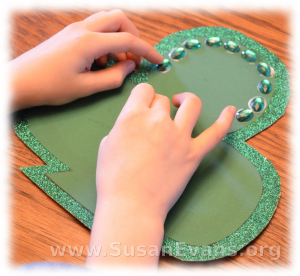
st-patricks-day-crafts-13Have your child glue fake green jewels all around the outer edge of the clover. We just used regular white school glue, which dries clear. Now glue any design you want on the rest of the clover, using green art supplies such as feathers, buttons, sequins, scraps of cloth, and other similar items

We drew large tear drop shapes with glue, and then my daughter shook green glitter on top of the wet glue. (The green glitter looks like pixie dust.) Just pick up the paper, and all the loose glitter falls off, revealing a beautifully decorated clover leaf!