Posts Tagged ‘sewing’

Decorate Your Own Canvas Bag

Monday, December 9th, 2013

decorate-your-own-canvas-bag

Here is a tutorial for how to decorate your own canvas bag, making it unique to keep or to give away as a gift. My 8-year-old daughter wanted to learn to sew, so she was excited to start this activity.

You will need a plain canvas bag, which you can buy at any craft supply store. You will also need a needle and thread, fabric scissors, and some scraps of cloth. Design your own scene, using the scraps of cloth. If you don’t want to sew, you can use fabric glue and be finished in about 5 or 10 minutes. Otherwise you can pin the pieces in place, one by one, layer by layer like we did.

decorate-your-own-canvas-bag-2

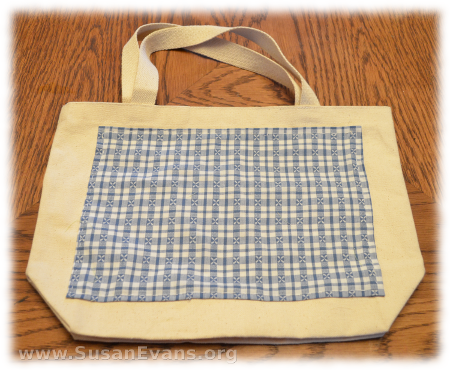
First my daughter wanted to sew a sky onto the whole scene as a backdrop. I ironed a rectangle of blue patterned cloth, folding down the 4 edges and ironing them. I pinned the blue cloth onto the canvas bag. My daughter sewed the cloth onto the bag.

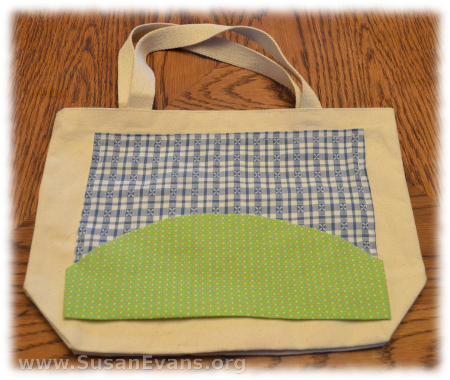
She wanted to add a green meadow, so we added some green. After ironing the cloth and folding down the 3 straight sides, we pinned and sewed the green hill.

make-your-own-canvas-bag-3

Next we wanted some trees for a forest. You could use some green felt, cutting out trees. (If you use felt for everything, you will never need to iron or hem, because felt doesn’t become unravelled. This makes it perfect for the finishing touches to decorate your own canvas bag.)

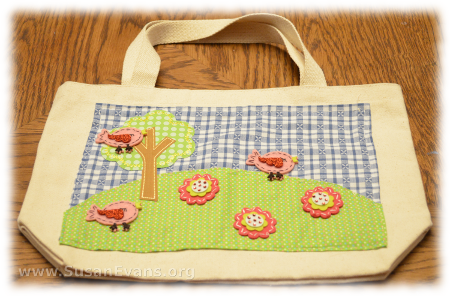
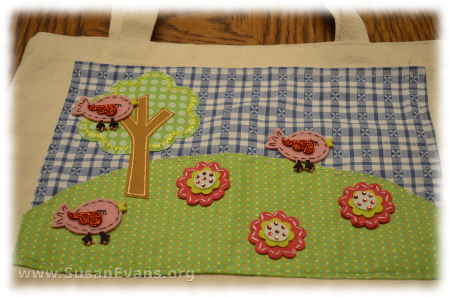
One short-cut is to get patches at a craft supply store. You can sew these on, iron them on, or just use fabric glue to attach them. We found a tree, some birds, and some flowers. My daughter arranged them on the canvas bag and glued them down with fabric glue.

When you decorate your own canvas bag, it will look something like this:
decorate-your-own-canvas-bag-4


Creative Ways to Use Cookie Cutters #12: Dolls and Pillows

Friday, May 3rd, 2013

creative-ways-to-use-cookie-cutters-dolls-pillows

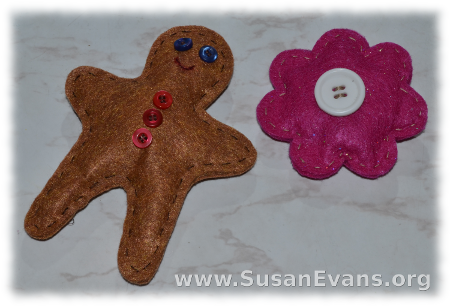
We are counting all the creative ways to use cookie cutters, and we are on #12: Dolls and Pillows! Some cookie cutters lend themselves well to make a felt doll. The gingerbread man cookie cutter is fabulous for this toy. Trace around the cookie cutter on two pieces of brown felt. Cut them out. Decorate the gingerbread man by sewing on button eyes, a red smile stitched on with thread, and three buttons down the front.

Get some filler, either a cotton-like substance, or the scraps of felt that were left over from the brown felt. Stitch the entire gingerbread man, except for one arm. Then put the stuffing into the doll and stitch it shut. This pillow took me 30 minutes only because I was trying to find two matching buttons for the eyes.

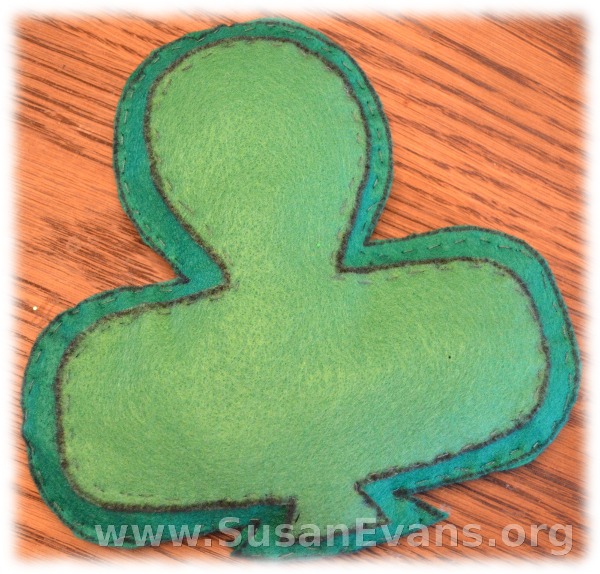
This is a perfect simple sewing craft for a child to make, since the stitches just go up and down (a straight stitch). You can also make a pillow from any other shape of cookie cutter. A star pillow would be fun for the Fourth of July, and a maple leaf pillow would be good for the autumn. A clover pillow would be perfect for Saint Patrick’s Day. Smaller pillows make great pin cushions, or they can be used as pillows for dolls.

How to Make a Felt Clover Pillow

Wednesday, March 6th, 2013

st-patricks-day-crafts-5I’ve been writing a series of St Patricks Day crafts to go with a one-day unit study on Saint Patrick. Today’s craft is a simple sewing project that kids of all ages can enjoy. You will need the following supplies:

  • two dark green pieces of felt
  • one light green piece of felt
  • black permanent marker
  • needle
  • green thread
  • fabric scissors
  • pins
  • sheet of white card stock paper

felt-clover-craft

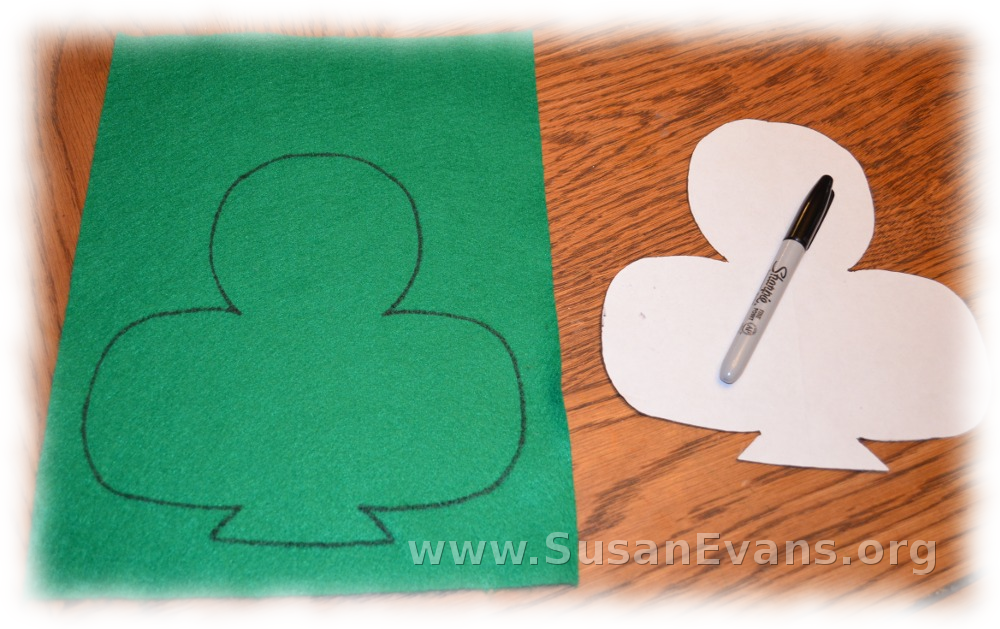
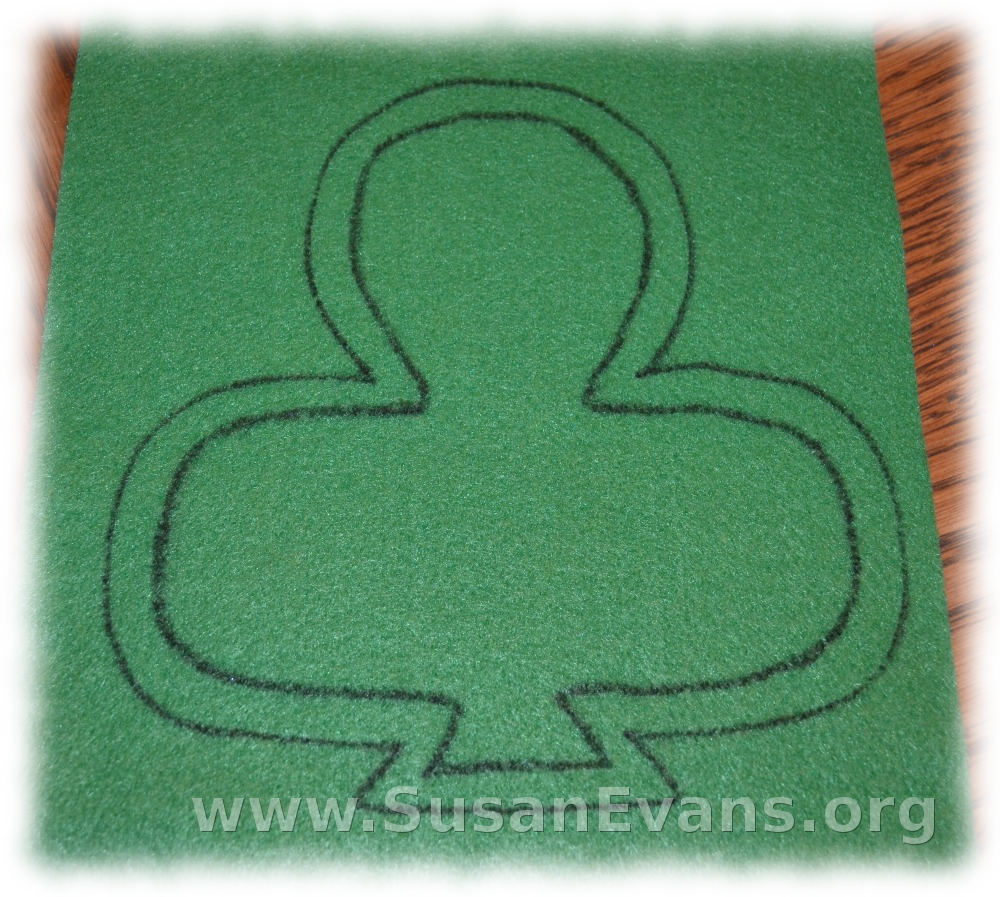
On the sheet of white card stock paper, draw a clover. Fold the paper in half, and cut the clover out so that both sides are identical. Open the clover leaf. Set down a dark green piece of felt. With a permanent marker, trace the shape onto the felt. Do this with all three pieces of green felt. With the light green felt, draw a line about one centimeter in from the outer clover leaf shape. Now cut the light green felt to the smaller size. Cut the darker felt along the outside lines you drew.

green-felt-clover

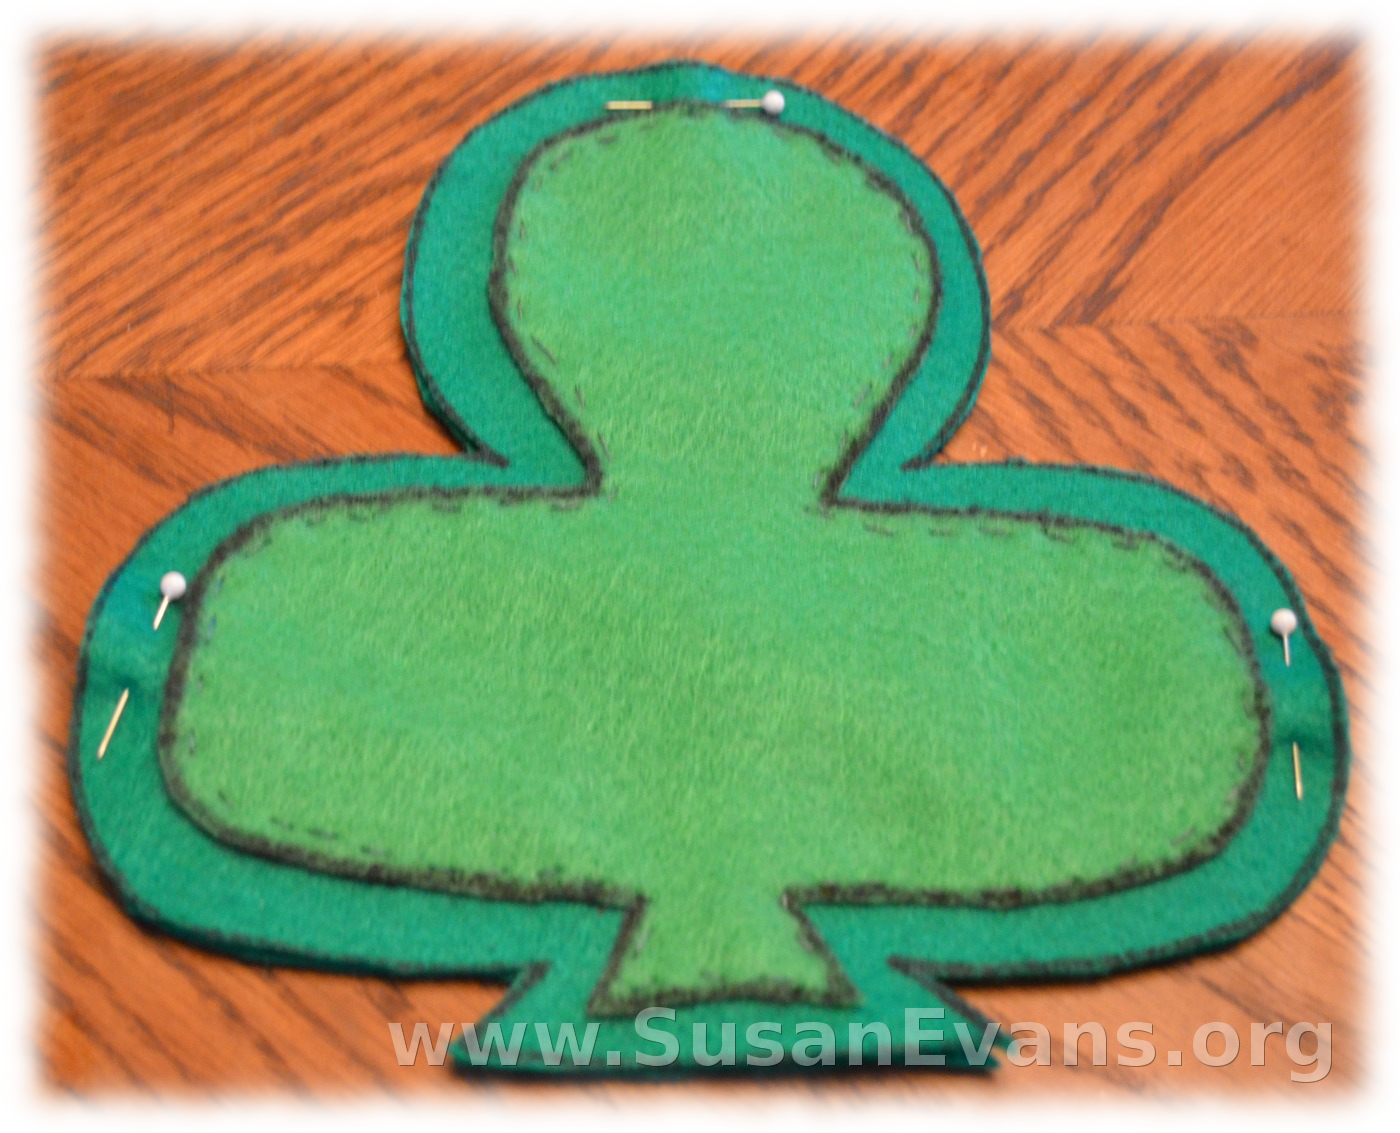
Now you are ready to sew. Pin the light clover leaf to one dark clover leaf. You only need three pins, one for each leaf of the clover. Sew a straight stitch with green thread. Remove the pins as you sew.

st-patricks-day-felt-craft

Pin the two dark green pieces of felt together. Use a straight stitch to sew around the clover. Leave one part of a clover leaf open to put the stuffing into the pillow. Shred up all the leftover felt by cutting it into small pieces. You will use this to stuff your clover pillow. Gently place the stuffing into the almost-finished pillow. Now sew up the remainder of the pillow. Enjoy your finished clover pillow!