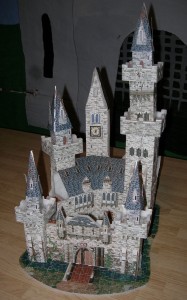
 I always wondered what it was like to put together a 3-D castle puzzle. Well, now I know. It’s anti-climactic. The box claims that you will love every minute that you put this puzzle together, and my husband and I laughed at how ridiculous that statement was. The foam pieces don’t even fit together properly. (See close-up of clock tower cross.) I should have paid attention to the enormous amount of hours down the drain for attempting to put this puzzle together. Yes, I say attempting because close to the end, we realized we had missing pieces as well as extra pieces, none of which fit into anything.
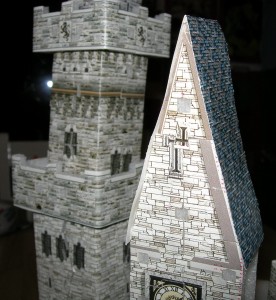 My sweet children spent up to an hour before finding ONE piece. That’s ridiculous, people. And yet, every time I said to the kids, “Let’s just throw this thing away,” they would say, “No, we want to finish.” But they never wanted to work on it, because it was too hard. Just about all the pieces were gray bricks. You can’t actually work on a specific area when everything looks the same. So after the children were in bed, my husband and I tried to make some headway so that my children wouldn’t feel like failures.
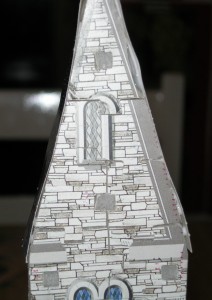 Oh, and never mind the fact that there is about half an inch of air between the outer and inner walls of the castle, so if you find a piece, woe is you, because you must put the piece in, only to crush the entire wall. I taped two popcycle sticks together, and my husband carefully fished it between the walls, to get the pieces to not crush the wall.
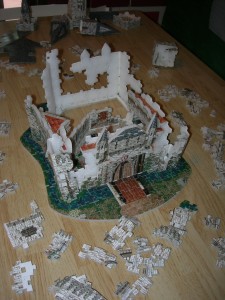 Right near the end, I wanted so badly for it to be over and done with so that I could have the table back. I said to my husband, “I don’t care what you have to do! Fake it if you have to. Just give the kids the illusion that this thing is finished…” I begged with pleading eyes. And my husband came through for me, like he always does. My knight in shining armor finished our castle, and the kids squealed for joy in the morning. Don’t ask me where the castle now resides. Ahem. (Trash can.)
