Archive for the ‘Seasonal Activities’ Category

Winter Nature Hike Scavenger Hunt (free PDF)

Monday, January 21st, 2013

winter-nature-hike

When the snow is falling softly outside and the children are squealing with delight, why not go on a winter nature hike scavenger hunt? Bundle up the kids along with their snow boots, and go to a nearby trail. A beautiful sunny day is ideal, but even overcast days can be delightful, especially if it’s snowing. Let the children enjoy the snow falling onto their faces. Let them listen to the wind blowing through the trees. Then let them find the following items, and snap a picture of them. At home you can make a scrapbook of your nature hike.

If you have older children and they have nature journals, they can sit (they’ll need waterproof snow pants) and sketch the different items on the list. Later they can add color with colored pencils or watercolors.

winter-nature-hike-scavenger-hunt-3Here are some items that your children can look for:

  1. red berries on trees or bushes
  2. bird flying or perched on a branch
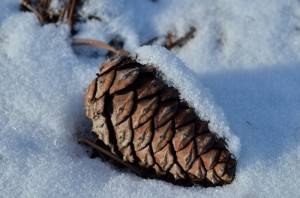
  3. pinecone (find several kinds of cones)
  4. winter-nature-hike-scavenger-hunt-4animal tracks (different kinds)
  5. bare branches on deciduous trees
  6. evergreen tree (several kinds)
  7. large rock (or specific rock like granite)
  8. cumulous or stratus clouds
  9. winter-nature-hike-scavenger-hunt-5frozen pond or puddle
  10. squirrel, deer, or other mammal
  11. a good view (climb a hill or mountain for best views)
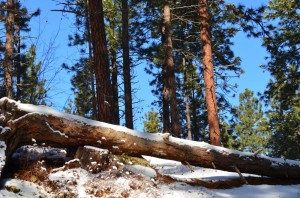
  12. fallen tree
  13. thorny bush
  14. leaves-in-snowmoving water (stream, waterfall, or melted snow trickling off a rock)
  15. feather (try identifying what bird it belonged to)
  16. moss (collect different kinds)
  17. evidence of insects (look under fallen logs or rocks)
  18. fallen-logweeds
  19. an icicle
  20. fallen leaves or pine needles


You can print out a copy of this scavenger hunt here:
 

How to Build a Snow Cave

Friday, December 21st, 2012

how-to-build-a-snow-cave

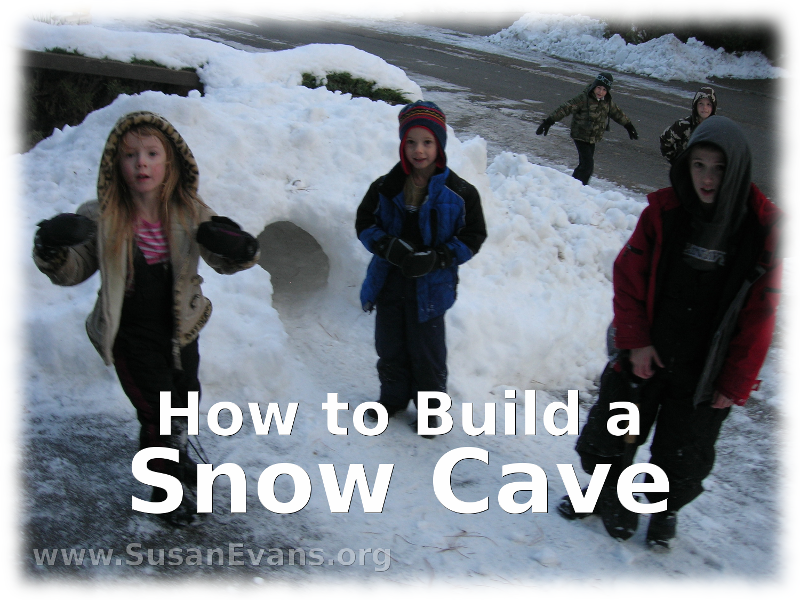
In this video, I show you how to build a snow cave. Here are some tips for building a successful snow cave that won’t collapse:

  • Pile up a huge mountain of snow wherever you want your snow cave to be. It helps if there is already a huge pile somewhere.
  • Make sure it’s packed down to some degree. Fluffy snow will cave in, and the ceiling will not remain strong unless the entire mound is compacted. Have your children walk on it, but don’t have a adult do it, or it might turn into a chunk of ice.
  • Start digging in one place, right where you want the door to be. Make a tunnel.
  • If it’s large, make different rooms by digging out doorways and caves within the cave.
  • You can bring in light by carving out a window.
  • Your boys can play cops and robbers in the cave. Or they can play that they are at war and are trying to escape from the enemy. They can use walkie-talkies to communicate with each other inside and outside the snow fort.
  • Your daughters can play house in the cave or have a tea party in there with their friends.
  • You definitely need to play in your snow cave at night. Don’t forget to bring a flashlight!

Linked to Snow Day Activities:

SnowDay

Snowflake Card

Tuesday, December 18th, 2012

snowflake-card

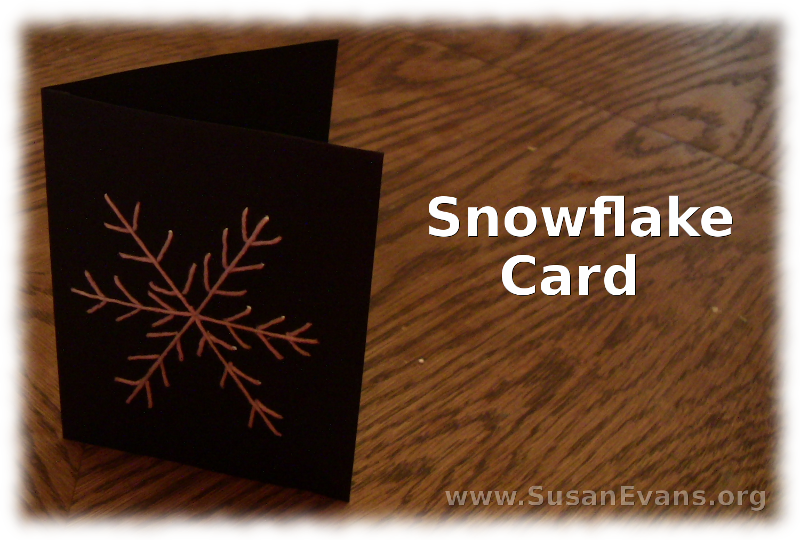
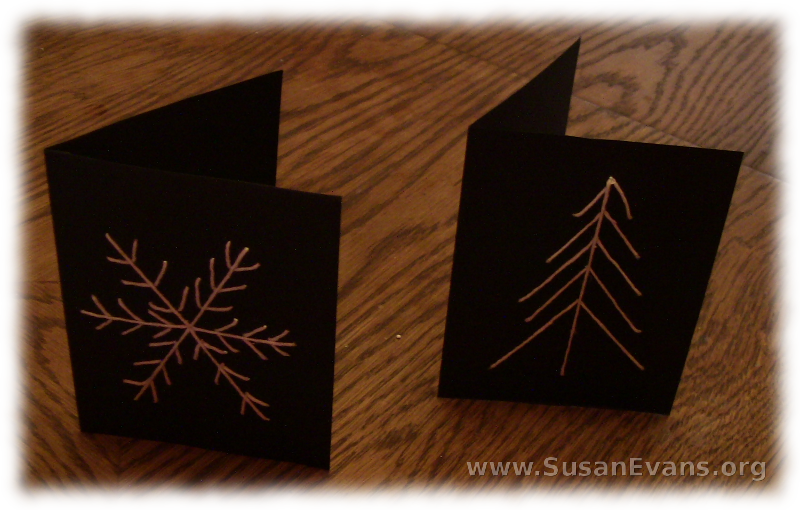
My daughter and I made an easy snowflake card. You will need the following materials:

  • black card stock paper
  • white string
  • scissors
  • blunt needle
  • pencil
  • ruler
  • thumb tack

How to Make a Snowflake Card with Yarn

Step 1: Cut the black card stock paper in half and fold it. Now open up the card, and on the left side, draw a snowflake in pencil with a ruler.

Step 2: Grab the thumb tack and poke a hole at the beginning and end of each line. It’s like you’re making a dot-to-dot picture.

Step 3: Thread the needle with white string. Tie a knot in the end and begin sewing the card, making sure that the front of the card is producing the design you want.

Step 4: When you are finished, you can use a silver pen to write a message to someone before putting the snowflake card in an envelope.

snowflake-craft-with-yarn

You can make any design on a card, as long as the lines are straight. You could draw a cool gnarly tree with bare branches in the dark moonlight. My 7-year-old daughter designed a simple pine tree. It only took her about 5 minutes to sew and was quite easy!

Linked to Snow Day Activities:

SnowDay

How to Make Marble Fudge

Monday, December 17th, 2012

how-to-make-marble-fudge

Marble fudge is delicious and simple to make! You swirl white chocolate and dark chocolate together for a perfectly blended flavor. If I had known how easy it was to make, I would have made it sooner.

How to Make Marble Fudge

In one saucepan, throw:

  • 3 cups of white chocolate chips
  • 14 oz. can of sweetened condensed milk
  • 1/2 tsp. baking soda

white-chocolate-melt

Throw these ingredients into another saucepan:

  • 12 oz. of semisweet chocolate chips
  • 14 oz. can of sweetened condensed milk
  • 1/2 tsp. baking soda

dark-chocolate-melt

You need two people, one to stir each pot. When both chocolate pots are melted (after about 5 minutes), take the pots off the stove and add to both pots :

  • 1/2 cup of chopped walnuts

Then add to the dark chocolate:

  • 1/2 tsp. vanilla extract

marble-fudge

Now scoop out the white chocolate and dark chocolate in blobs, placing the melted chocolate on top of a 13 by 9 by 2 inch glass pan lined with non-stick foil. Grab a table knife and swirl the chocolate on the top of the fudge. Place it in the fridge for 3 hours. Then remove the foil and place on a cutting board.. Cut into squares. You now have delicious marble fudge to give to family and friends. Or you can eat it all yourself!