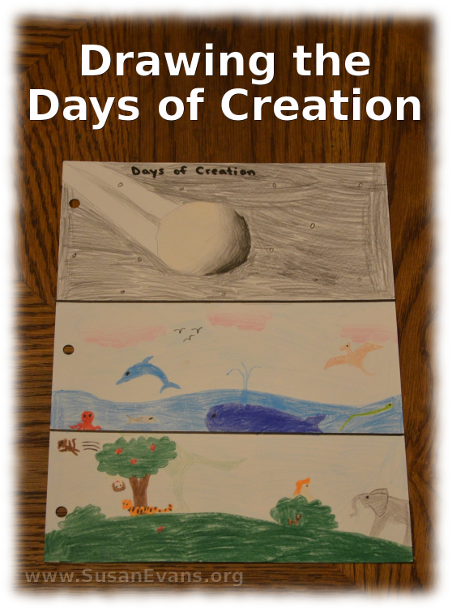
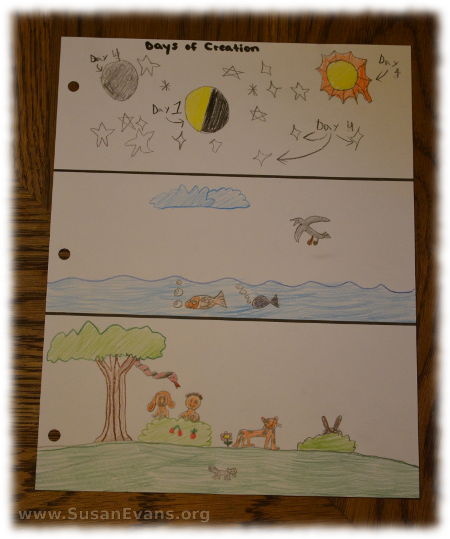
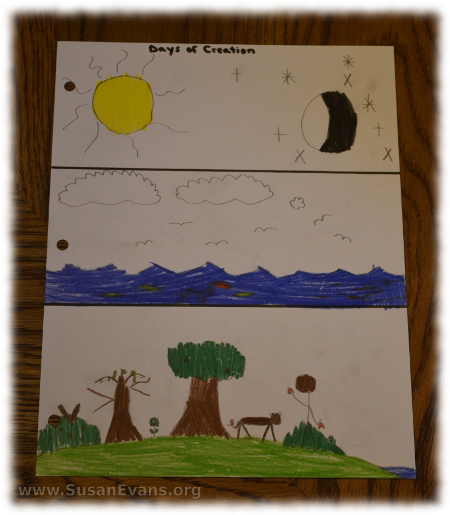
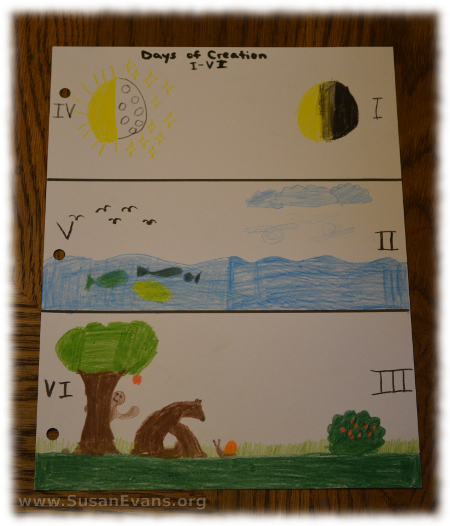
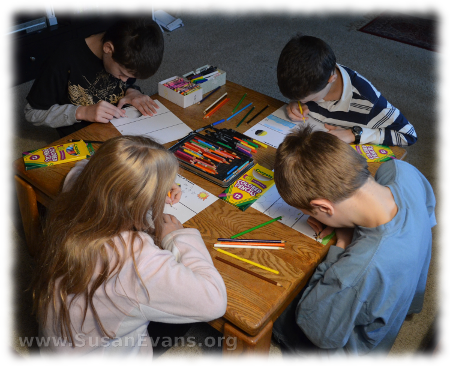
I came across a fabulous tutorial from Answers in Genesis on drawing the days of creation. First you divide the paper into thirds, separating the three sections with a black permanent marker. Next we read the days of creation from Genesis 1. For each day, we drew what was created:
- Day 1: Light and darkness
- Day 2: Separating the waters from the clouds
- Day 3: Plants and trees
- Day 4: Sun, moon, and stars
- Day 5: Birds and fish
- Day 6: Animals and people
- Day 7: God rested
Days 1 and 4 are drawn on the top part of the page, days 2 and 5 are drawn in the middle of the page, and days 3 and 6 are drawn on the bottom of the page. I was delighted to see how organized creation was, because days 1, 2, and 3 go from the top to the bottom of the page, creating a habitat for what was created in days 4, 5, and 6. I had never seen this done before, and my kids enjoyed drawing the days of creation this way.
Sign up below for a free Bible crafts e-book!
For more awesome activities to teach your children the Bible, pick up Using Simple Costumes and Props to Teach the Bible. Or you can get this workshop for free when you join the Vault, which has a huge hands-on Bible section!
Tags: Bible, Bible class, drawing, Genesis, Sunday School


Great idea! Thank you, Susan. I will do this with my son 🙂
My kids loved it, and I thought it was clever. I’ve never seen creation drawn this way before!
What a great idea!
I thought so, too!