31 Days of Themed Cakes

September 30th, 2016

31-days-of-themed-cakes

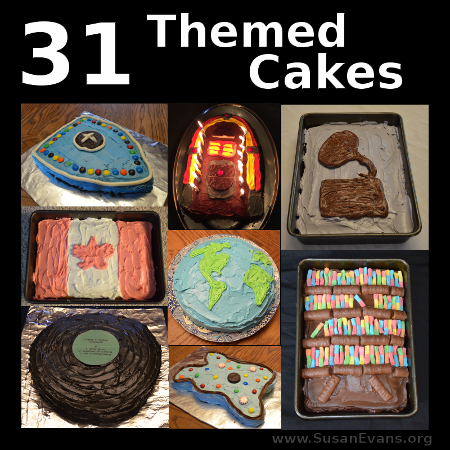
Here are 31 days of themed cakes to enhance your history, science, geography, and Bible lessons! Talk about having your cake and eating it, too! The history cakes include iconic symbols from specific time periods, like a jukebox for the 1950’s and a gramophone for the 1920’s. Geography cakes feature maps, and Bible cakes bring to life stories and concepts from the Bible. The science cakes help to teach the anatomy of an amoeba, a skin model, or the solar system.

During the month of October, I will be posting each of the remaining cakes on this fun list, categorizing the cakes into the different academic subjects.

Cakes can be a great way to culminate a unit study, celebrating the completion of a topic in science or history. You can even go all out and have a themed party with decorations and invitations, all centered around the topic of study!

31 Days of Themed Cakes

History Cakes

Geography Cakes

Science Cakes

Language Arts Cakes

Math Cakes

Bible Cakes

Fun Cakes

Warming Things Up with Friction

September 26th, 2016

warming-things-up-with-friction

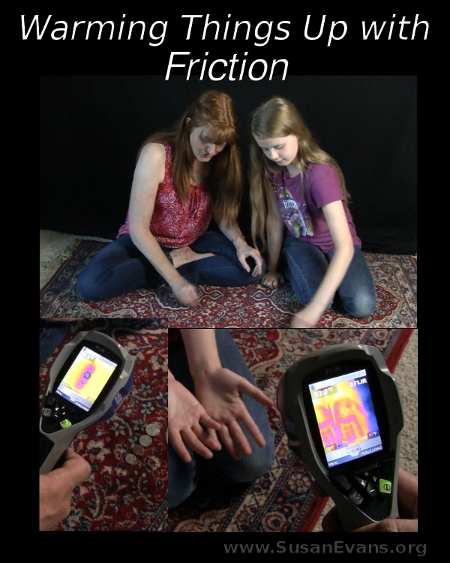
Today we will be warming things up with friction. We will be rubbing coins against the carpet to see if they get hot. We will be using an infrared camera to see how hot the coin gets after experiencing friction.

Next we will rub our hands together. You will see that the ring on my husband’s hand does not get hot, probably because the ring is tight on my husband’s hand, so the ring got no friction when he rubbed his hands together.

The grand finale is the vacuum cleaner. You will have to watch the video to see how the vacuum cleaner creates a line of heat in its path!

Heat & Friction Experiment: Infrared Camera (video)

This post contains affiliate links. I was compensated for my work in writing this post.

This experiment is from Christian Kids Explore Physics by Bright Ideas Press. We have been enjoying all the hands-on activities that bring the subject of physics to life for kids.

Coin Friction Experiment

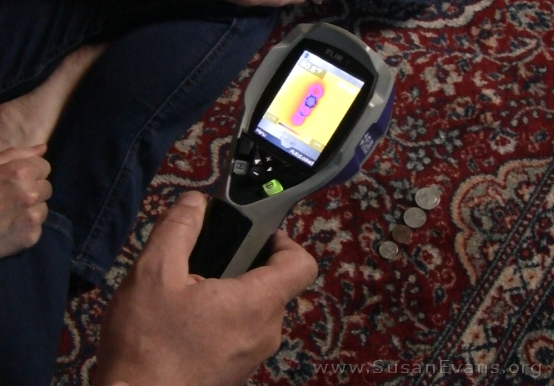
Hold a coin against your cheek and see how cold it is. Now rub it against the carpet for 30 seconds. Low-pile carpet works better than shaggy carpet, by the way. Then place the coin against your cheek again and notice the difference in temperature of the coin.

Try different coins: penny, nickel, dime, and quarter. Rub harder or faster and see if the coin gets hot faster.

friction-coin-experiment

We measured the temperature of the coins before and after rubbing them against the carpet. We saw an immediate change in temperature, even to the carpet underneath it! We could sign our name in the carpet with the coin, leaving a hot trail on the carpet. This reminds me of signing my name with sparklers on New Year’s Eve.

friction-with-coins

Hand Friction Experiment

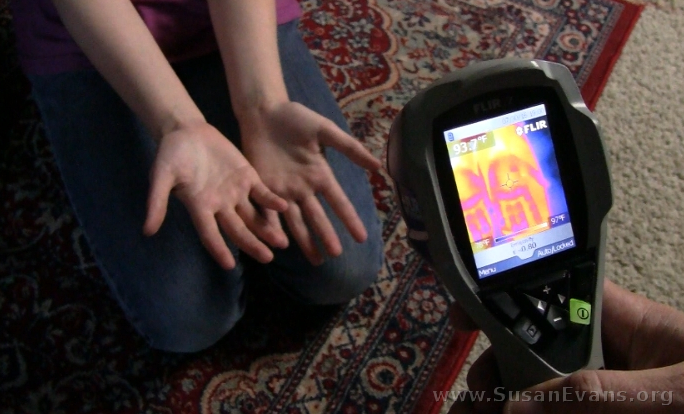
My daughter rubbed her hands together, and they got hotter. This is why if you are out in the snow and you are super cold, you can feel warmer when you rub your hands together, because the friction creates warmth.

hand-friction

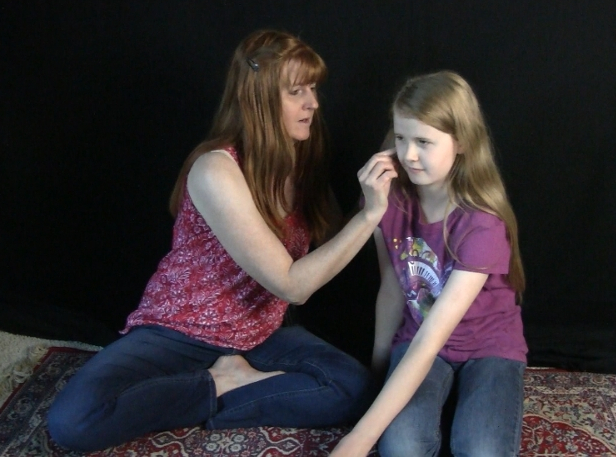
I hope you enjoyed this fun heat and friction experiment. I had to laugh when I saw what my face looked like with the infrared camera!

Georgia O’Keeffe Art Projects for Kids

September 23rd, 2016

o-keeffe-art-projects-for-kids

This post contains affiliate links. I was given access to the class to blog about it, which I was very glad to do.

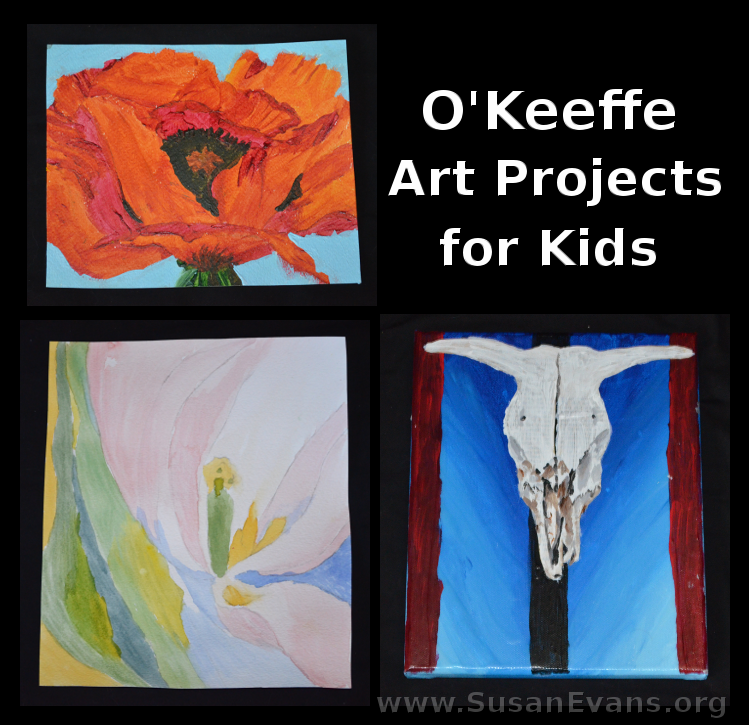
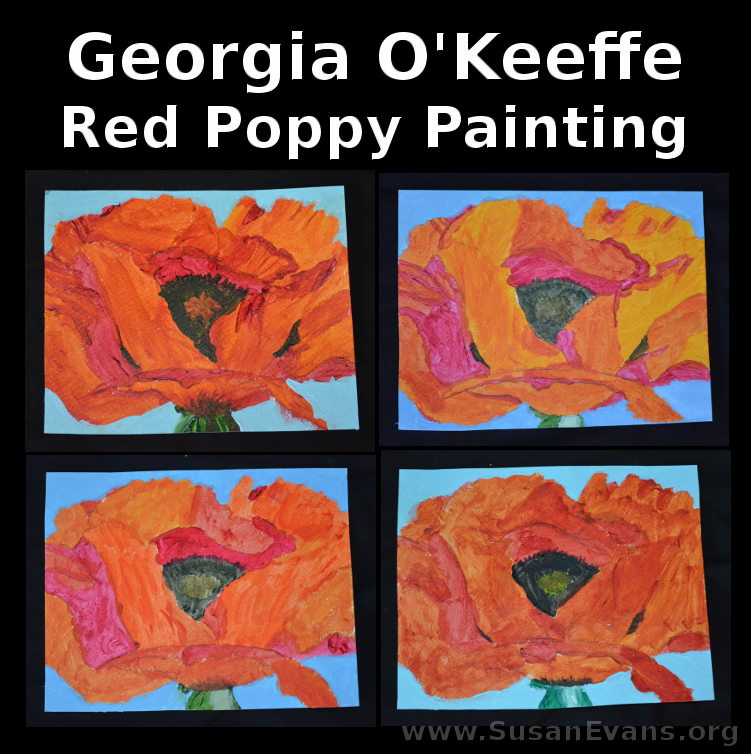
This is the sixth and final week of Mixing with the Masters, and we are creating some fabulous Georgia O’Keeffe paintings. We created the famous “Red Poppy” with gradient painting techniques in acrylic. Our second art project was a watercolor of a delicate tulip, using advanced blending techniques from the demonstration video. Third, we painted a cow skull with mixed media. The background of the cow skull also contained blending and using various tones of one color.

Red Poppy Gradient Painting
o-keeffe-red-poppy-painting

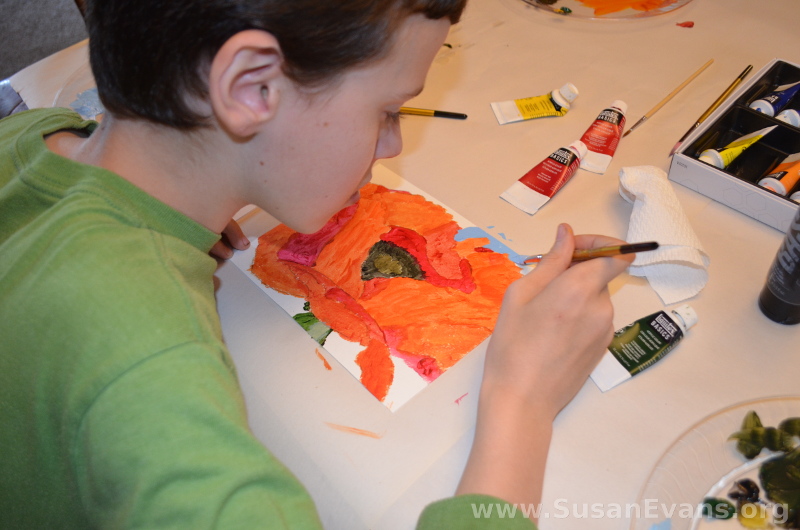
Alisha (the video instructor for the course) shows us how to paint this beautiful “Red Poppy” painting, using gradients, or blending the reds into the oranges. She helps us to see the endless variety of color in an enlarged flower. Georgia O’Keeffe painted many enormous flowers and was famous for causing people to enjoy details that were normally hard to see or notice.
painting-red-poppy

You could use a canvas for this project, or you can save money by painting it on watercolor paper. You will want to trim the paper to the size of the flower, if you use the printable template that is provided in the course.

Pink Tulip Watercolor
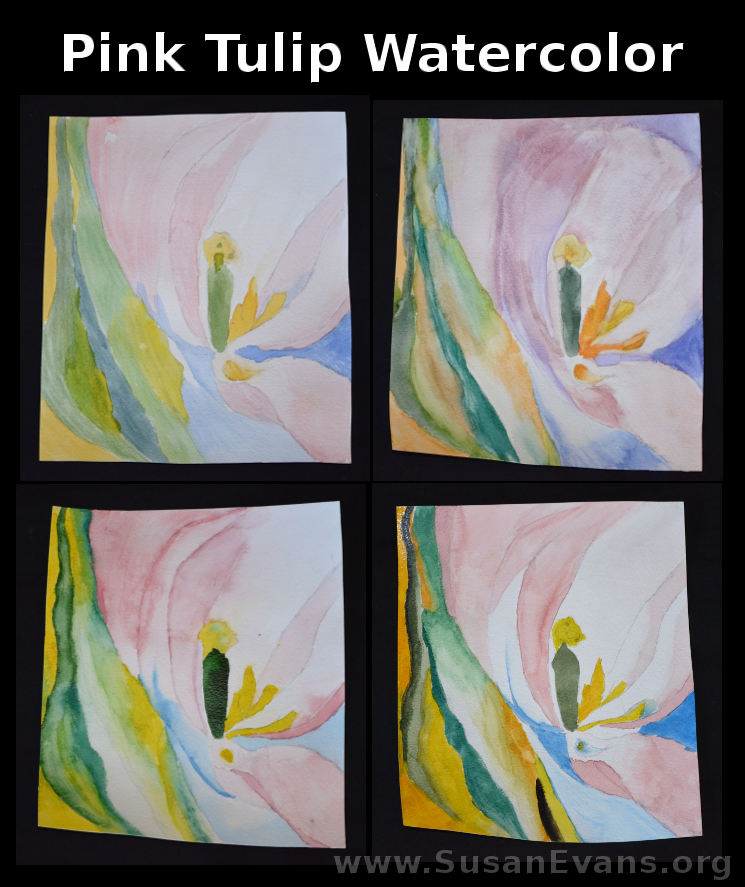
pink-tulip-watercolor

Alisha taught us how to blend different colors in watercolor, which is hard to do unless you understand that you need to control both the pigment and the amount of water that you are using. Also, if you make mistakes, nothing is permanent, because even dry watercolor can have water added, and then the paper towel can blot it enough that you can mostly remove the color and paint on top of it.
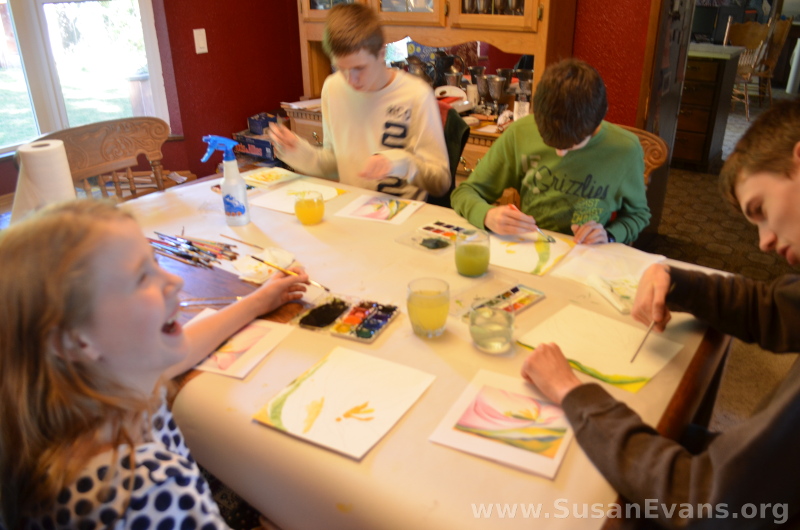
painting-pink-tulip

When my daughter shouted that she dripped the wrong color accidentally on her paper, we were able to remove it easily because of Alisha’s instructions.

Cow Skull Mixed Media
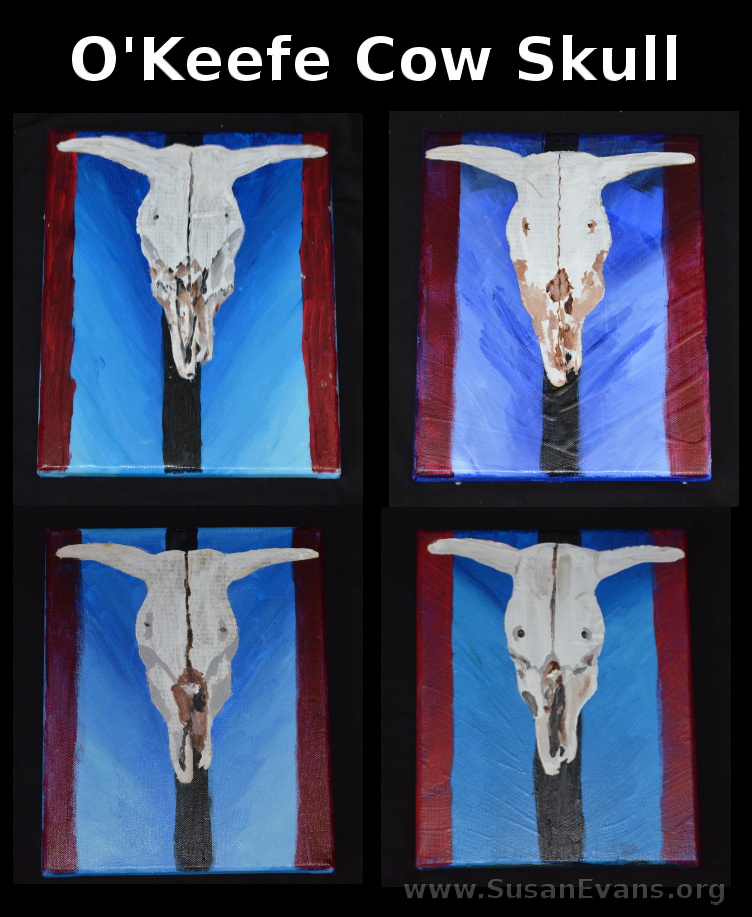
o-keefe-cow-skull

Georgia O’Keeffe moved to a desert, so she no longer had flowers to paint. Instead, she saw bones buried in the sand, so she began painting those bones with all their details. One famous painting was of a cow skull, and this is the painting we made with mixed media. We painted gradients of blue in the background the first day. The second day we painted the red and black stripes. The third day we decoupaged the skull shape to the painting with mod podge. I cut the skull out from the worn yellow pages from a book, using the template Alisha provided in the course. We painted on top of the skull, and then we added the details of the skull.
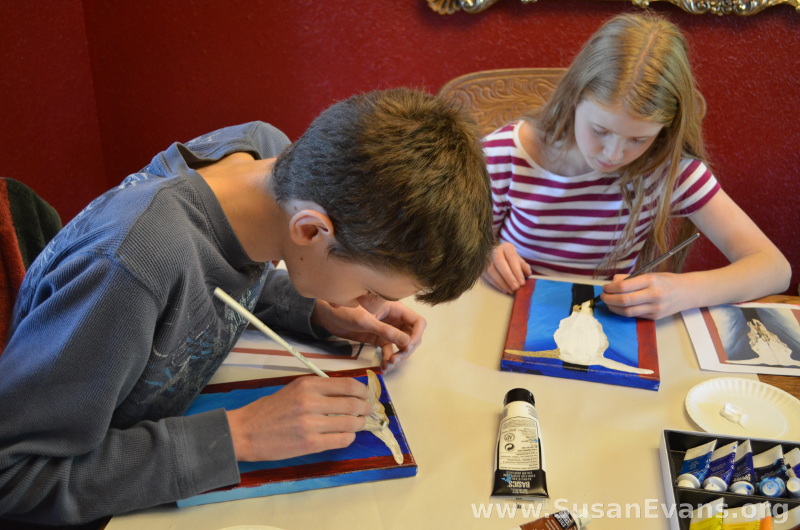
painting-cow-skull

I was astounded by how much detail my oldest son was able to add to the skull! (It’s the first painting in the cow skull picture above.) I’ve been floored by the amount of art skills my kids have acquired through this Mixing with the Masters art class, and I highly recommend it! We focused on six of the most famous painters from history, and we learned their techniques and became even more familiar with their most famous works. My kids have also learned the background of the different art movements throughout history as well as a little about each artist’s life, enough to inculcate a greater love for art!

Mixing-with-the-Masters-600

Autumn Scavenger Hunt (Printable)

September 21st, 2016

autumn-scavenger-hunt

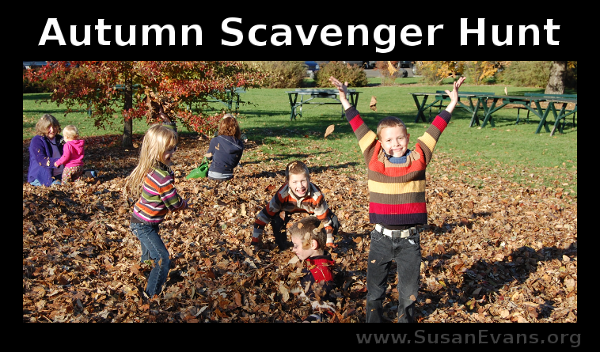
With the crisp air of the fall, why not take your kids out for a fun autumn scavenger hunt? Don’t you just love the beautiful reds, yellows, and oranges of nature at this time of year? From hayrides to apple picking to jumping into piles of leaves, there are so many ways to get outside and enjoy the season. Grab your camera and try to find each of the following autumn objects:

1. pine cone
2. squirrel
3. 3 colorful leaves
4. tree with no leaves left
5. pumpkin
6. seeds
7. thorns
8. dead grass
9. birds flying south
10. black-eyed Susans
11. dark clouds
12. spider
13. mushroom
14. moss on a twig
15. duck
16. berries on a bush
17. a moth
18. a stick
19. pine needles
20. dried weeds

Print out this fun scavenger hunt, and see how many items you can find:

Capture Your Autumn Scavenger Hunt on Film

If you want to capture autumn on video instead of with photographs, your kids can have a ball! Watch the following video to observe my family as we run through spectacular autumn scenery and throw leaves at each other. It’s a great bonding activity for any family!