Posts Tagged ‘art’

Fun Art Supply Ideas (Free PDF)

Monday, September 9th, 2013

fun-art-supply-ideasHere is a list of fun art supply ideas for making art projects with your children:

  1. Colored pencils
  2. Stapler
  3. School glue
  4. Scissors
  5. Construction paper
  6. Crayons
  7. Markers
  8. Glitter
  9. Tempera paint
  10. Watercolors
  11. Wooden sculpture base
  12. Clay
  13. Chalk
  14. Rubber stamps and ink
  15. Large roll of paper
  16. Yarn
  17. Twine
  18. String
  19. Hole punch
  20. Computer paper
  21. Fake jewels
  22. Buttons
  23. Glass jars
  24. Foil
  25. Pipe cleaners
  26. Hot glue gun
  27. Fabric scraps
  28. Tape
  29. Paper fasteners
  30. Juice lids
  31. Checkbook boxes
  32. Large cardboard boxes
  33. Plaster of Paris
  34. Needle and thread
  35. Sewing Machine
  36. Felt
  37. Gold rope
  38. Velcro
  39. Easel
  40. Card stock paper
  41. Newspaper
  42. Clear contact paper
  43. Fabric glue
  44. Cookie cutters
  45. Stencils
  46. Nature journal
  47. Acrylic paint
  48. Paintbrushes
  49. Tracing paper
  50. Popsicle sticks
  51. Paper bags
  52. Safety pins
  53. Leather scraps
  54. Wood scraps
  55. Drawing pencils
  56. Art eraser
  57. Small seashells
  58. Sand
  59. Scrapbook paper
  60. Small pom poms
  61. Ribbon
  62. Colorful tissue paper
  63. Toothpicks
  64. Hammer and nails
  65. Shoe boxes
  66. Magnetic tape
  67. Small fake ivy
  68. Feathers
  69. Rubber bands
  70. Fabric markers
  71. Florist wire
  72. Oil pastels
  73. Skickers
  74. Mosaic tiles
  75. Art books

Here is a free PDF download of this list:

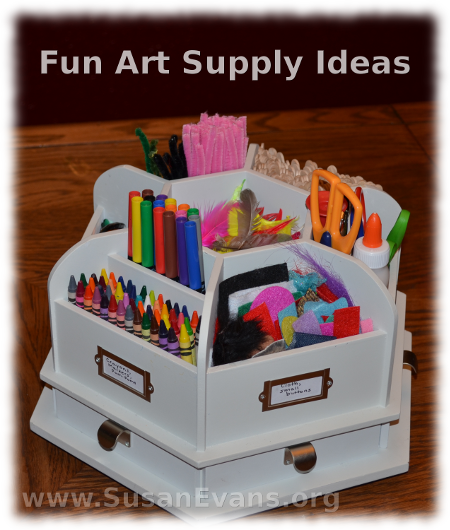
How do you organize these fun art supplies? I show you one way to organize your art supplies in this 2-minute video. You will see a lot of the art supplies listed above inside this organized contraption:

Why not get a fresh homeschool room makeover? Check it out here.
Statue of Liberty Unit Study

Monday, July 1st, 2013

statue-of-liberty-unit-studyMy children had a fabulous time with this Statue of Liberty Unit Study.

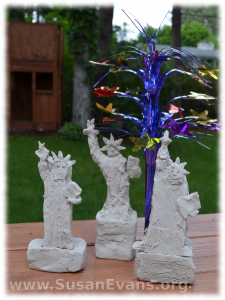
We started by making a Statue of Liberty model. We bought a large hunk of white self-hardening clay. I took it out of the box and placed it on wax paper on top of a cutting board. I sliced it with a butcher knife into four pieces, one for each of my children.

At the table, I placed wax paper for easy clean-up. You will be banging your head against the wall if the self-hardening clay dries like cement straight onto your table, so be sure not to skip this step.

Each child should have a picture of the Statue of Liberty, to help the child draw the shape onto the front of the hunk of clay, using a plastic sculpting knife. You should cut away the clay that you don’t want. It comes off like butter. If the head looks flat like Frankenstein, you can always add more clay and fix it. If you want to erase a line, just rub your finger over it.

After getting the main shape, start adding details. Add the torch, the arm with a tablet, and the pedestal at the bottom of the statue. Then add the finishing details: the spikes coming out of the crown, the facial features, and the folds in the clothing. When you are finished, let the clay harden for two days. Take a look at how much fun my kids had with this activity:

We read the book How They Built the Statue of Liberty so that the children could understand how it was constructed. Step by step drawings helped the children see how the statue was assembled.

Here is a printable model of the Statue of Liberty, from Paper Toys. Be sure to print it on white card stock paper and watercolor light green paint on it before cutting it out and gluing it together.

Here is a free printable book full of activities from the National Park Service:

Here is a virtual tour of the Statue of Liberty:

Here is a short video tour of the Statue of Liberty:

Hundreds of unit studies like this are instantly available when you join the Unit Study Treasure Vault.

Cross Mosaic

Friday, March 22nd, 2013

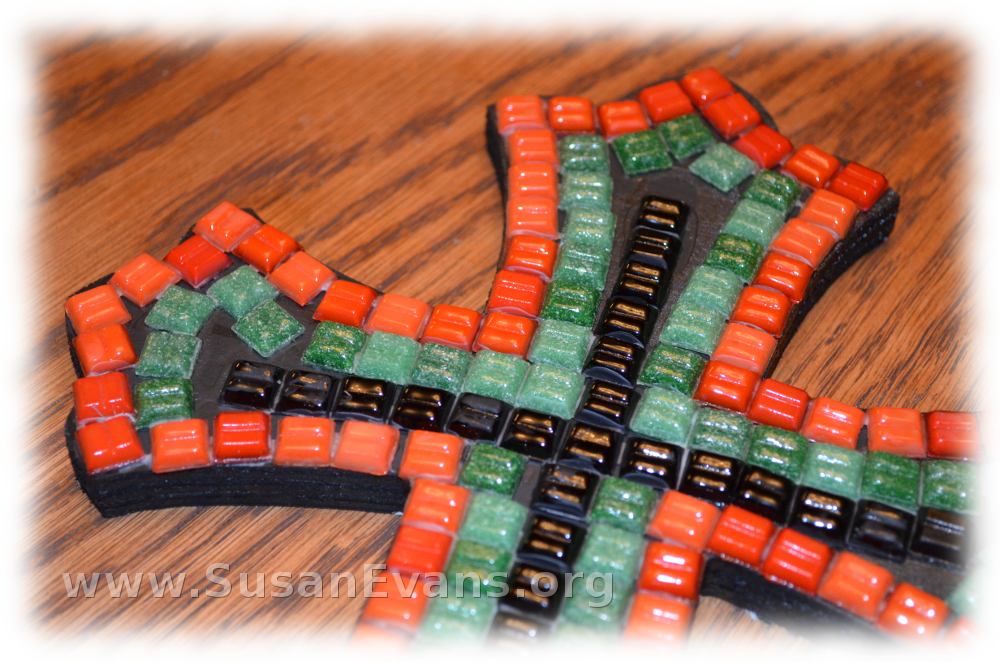
cross-mosaic

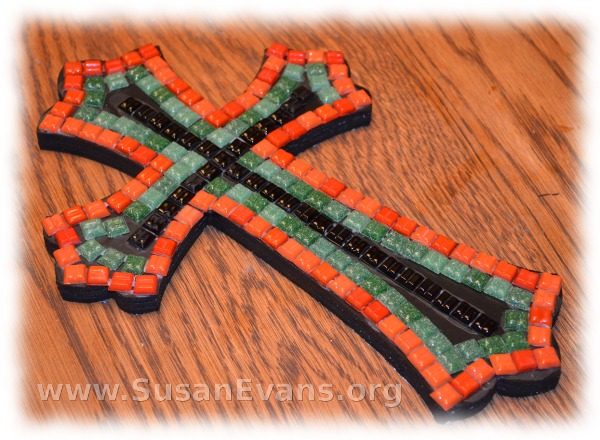
This beautiful cross mosaic is easy and fun to make. You will need the following supplies:

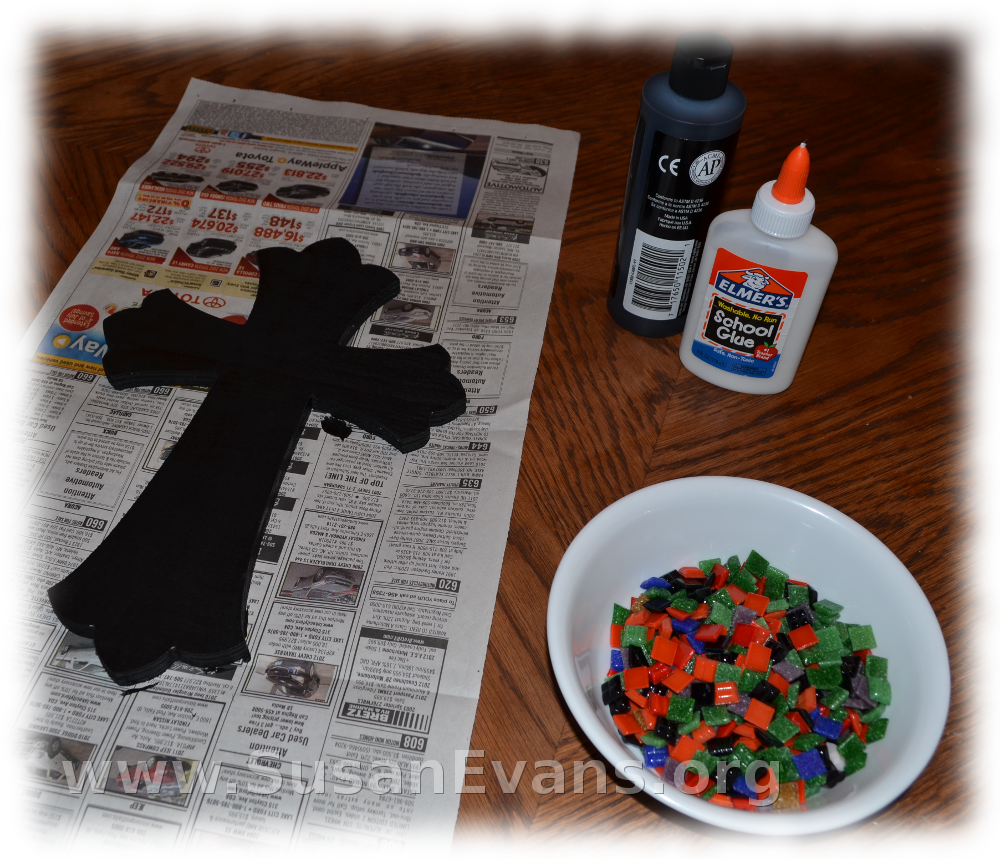
  • wooden cross (buy at craft supply store)
  • mosaic tiles
  • black paint
  • school glue
  • paintbrush
  • newspaper

cross-mosaic-2

First you will want to paint the cross black. Place newspaper under your cross to avoid getting paint on your table. Let the paint dry.

cross-mosaic-3

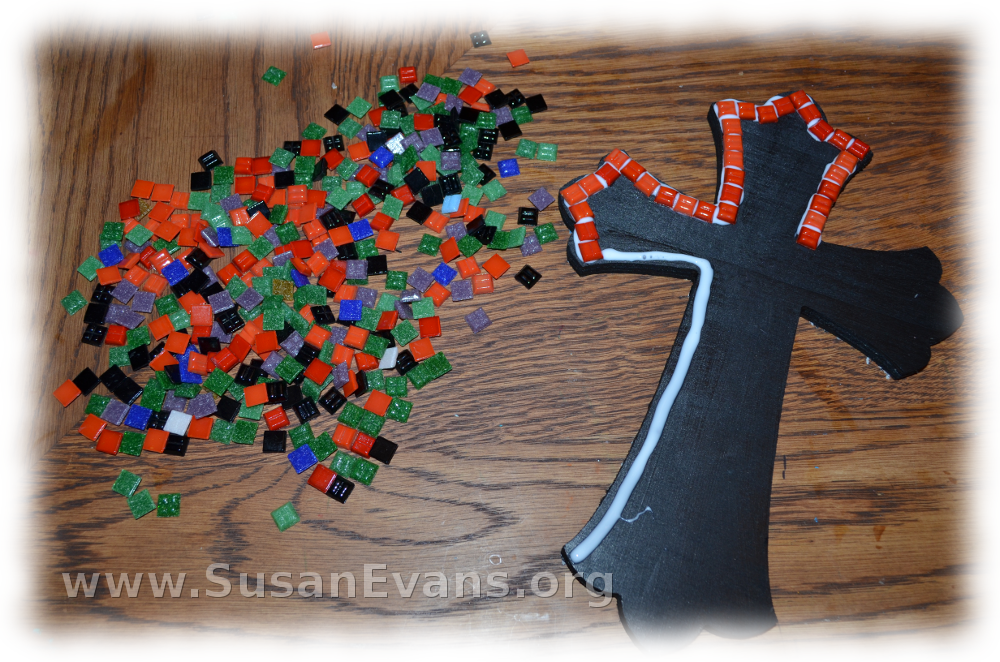
Next you will spill out your tiles. You might want to sort them by color. Get your school glue and make a line with the glue around the edge of the cross. Choose one color to outline the entire edge of the cross. Set the tile into the glue.

cross-mosaic-4

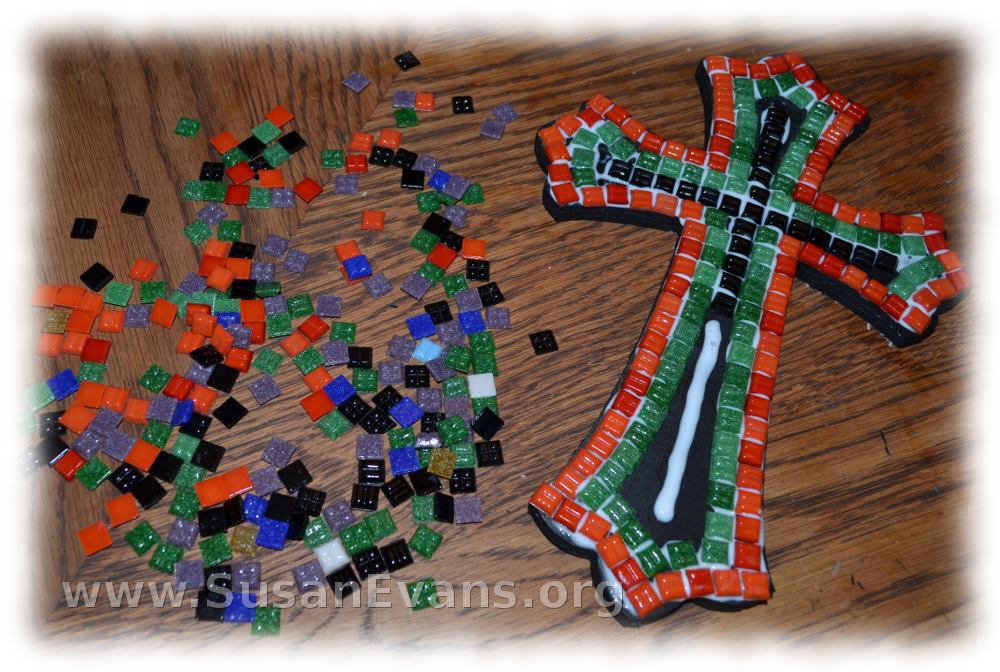
Without waiting for it to dry, make a second row of tiles inside the first row. Decide how you want to arrange your tiles based on how big your cross is. At this point I started gluing down the black cross in the center, since I realized that there was not enough space to put the green tiles all the way around the two arms of the cross. The black line of tiles was more important to me, so I glued that down at the same time I was gluing down the green tiles.

cross-mosaic-5

It took me less than half an hour to glue all the tiles, so the glue was wet enough to push the red tiles over slightly to fit in the green and black tiles. After a few hours, the glue dries clear. The cross mosaic is now finished and ready to hang on the wall.

cross-mosaic-6

Paper Dress

Thursday, March 14th, 2013

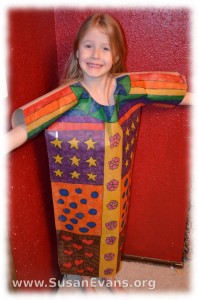
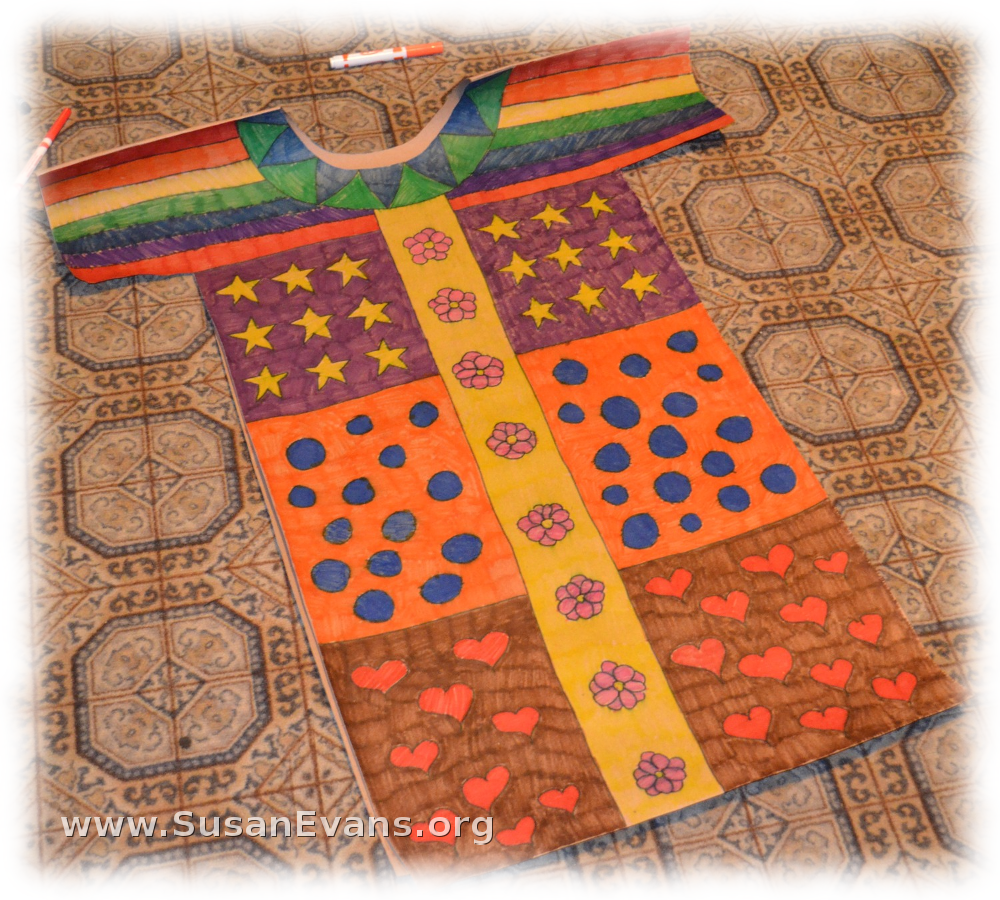
paper-dressWhen I was little, my best friend made a paper dress for one of my plays. Of course, it tore when I sat down. But for some reason I have fond memories of making paper clothing. It’s almost like we were large dolls, and we were dressing ourselves with paper outfits that you cut out, bending the tabs back.

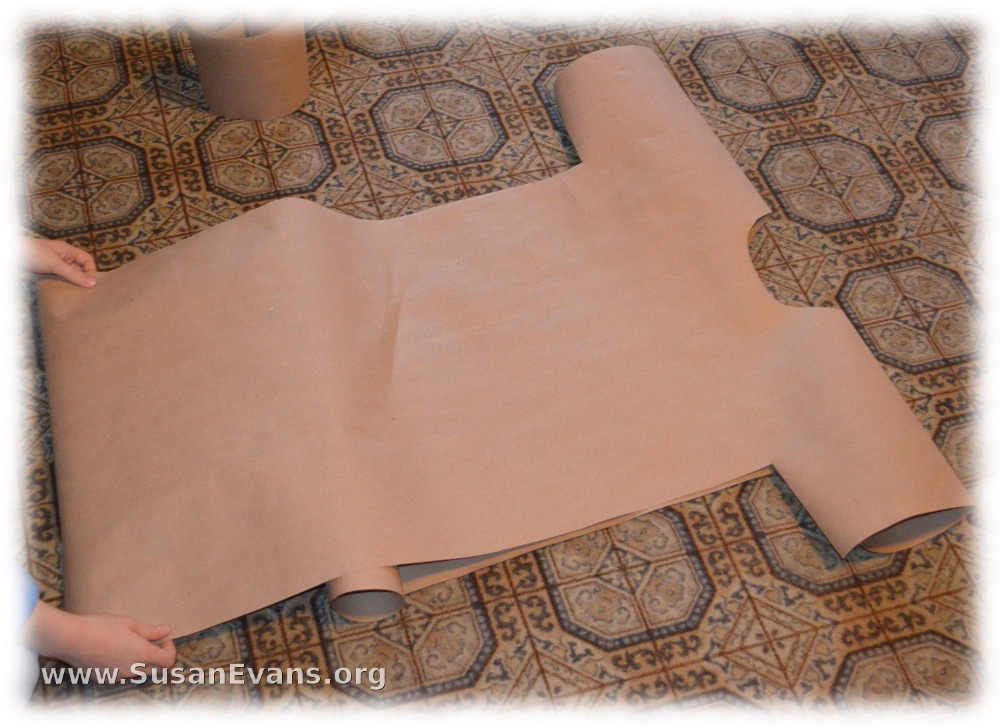
My daughter made a beautiful paper dress the other day. I used the same pattern I made for the Bible Costume in Five Minutes, which was made from a bed sheet. This time we used a roll of brown paper, folding it at the top where the shoulders would be. We cut the sleeves into a T-shape.

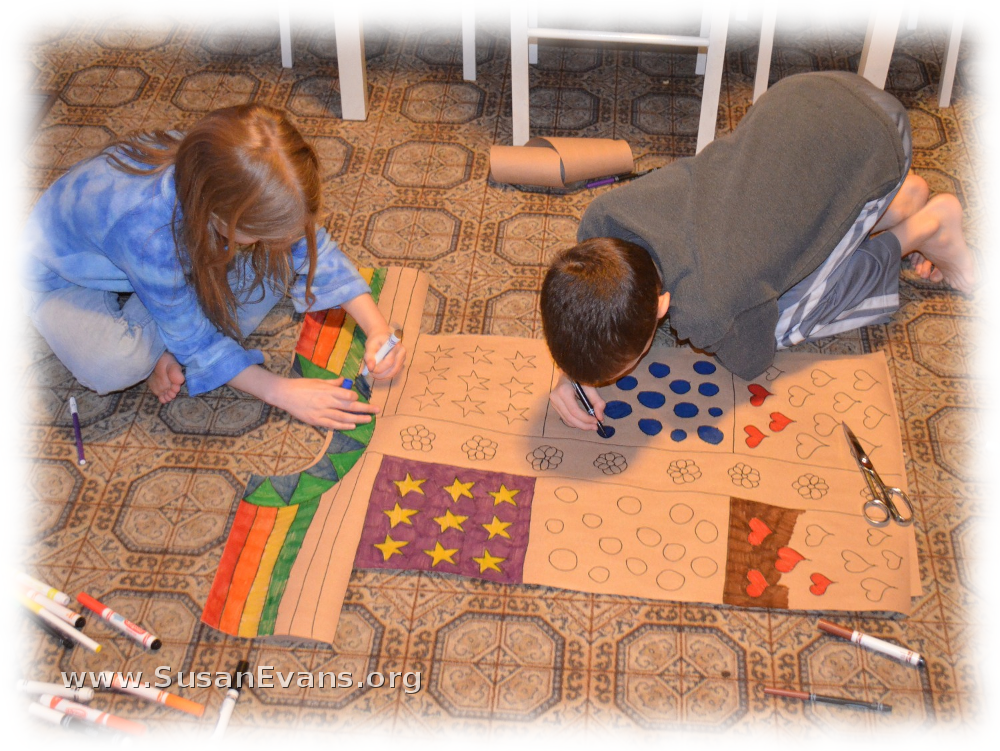
The kids started drawing and coloring designs on the paper dress, filling it in with colorful markers. They had a great time. When it was finished, we taped the sides and the bottom of the sleeves with clear packing tape. You could use staples instead if you want.

Your daughter will need to put her hands up as you lower the paper dress over her head. Then her arms will stick straight out like a paper doll. But won’t she look cute! You can add embellishments, like fake jewels or other textured art materials. You could even hot glue some large buttons onto the dress.

paper-dress-2

paper-dress-3

paper-dress-4