Posts Tagged ‘art’

Drawing Proverbs

Friday, May 16th, 2014

drawing-proverbs

A fun way to gain wisdom is drawing Proverbs. These illustrations can be really fun, since many Proverbs contain pithy statements that have two opposites. The righteous and the wicked are compared. What other antithetical character qualities are compared?

  • The diligent vs. the slothful
  • The wise vs. fools
  • Gentleness vs. anger
  • Cheerfulness vs. a broken spirit
  • Humility vs. pride
  • The rich vs. the poor
  • Restraining speech vs. gossip
  • The Proverbs 31 woman vs. the constant dripping of a quarrelsome wife

Go ahead and choose a fun Proverb from the Bible, and try to illustrate it. An easy way to do this is to divide the paper in half, drawing the first part of the verse on the first half, and the second part in the second half.

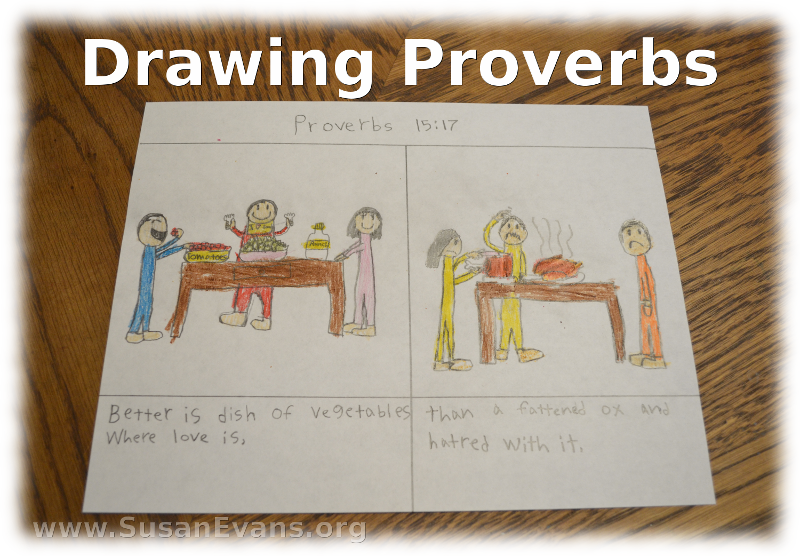
The illustration at the top of the page is: “Better is a dish of vegetables where love is, than a fattened ox and hatred with it.” Proverbs 15:17 NASBĀ  My daughter drew a table with vegetables on it, where everyone was happy. Then she drew another table with meat, where everyone was angry at each other.

drawing-proverbs-2

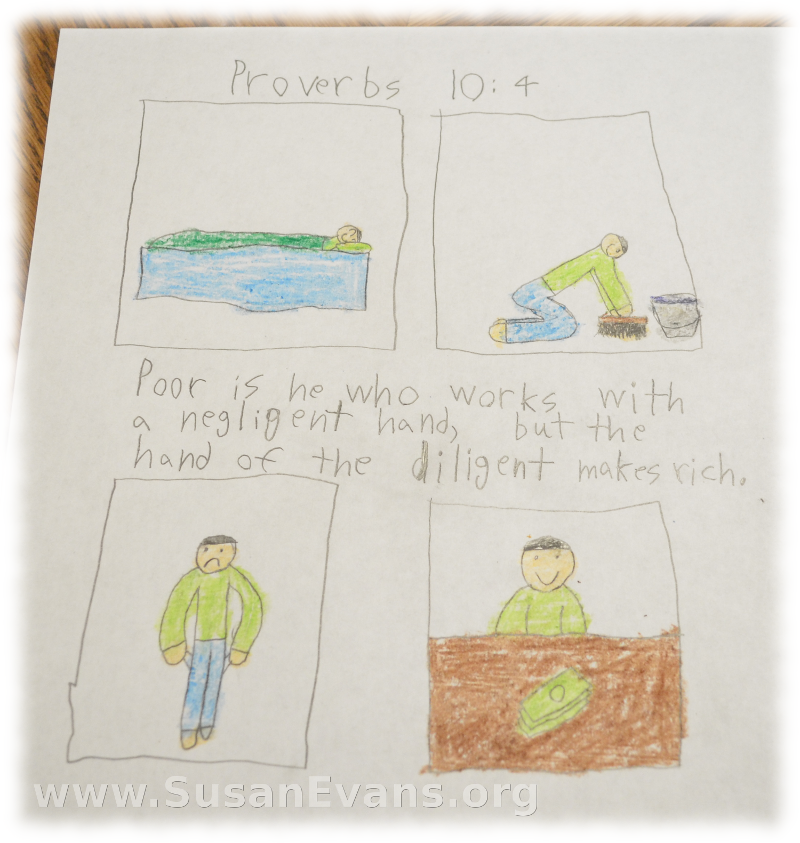
This next picture has four boxes. My son illustrated actions and their consequences. You can discuss consequences of actions with your kids. Proverbs 10:4 says “Poor is he who works with a negligent hand, but the hand of the diligent makes rich.” (NASB) First a lazy man is sleeping, and he has empty pockets. Another man works hard scrubbing the floor, and he has lots of money.
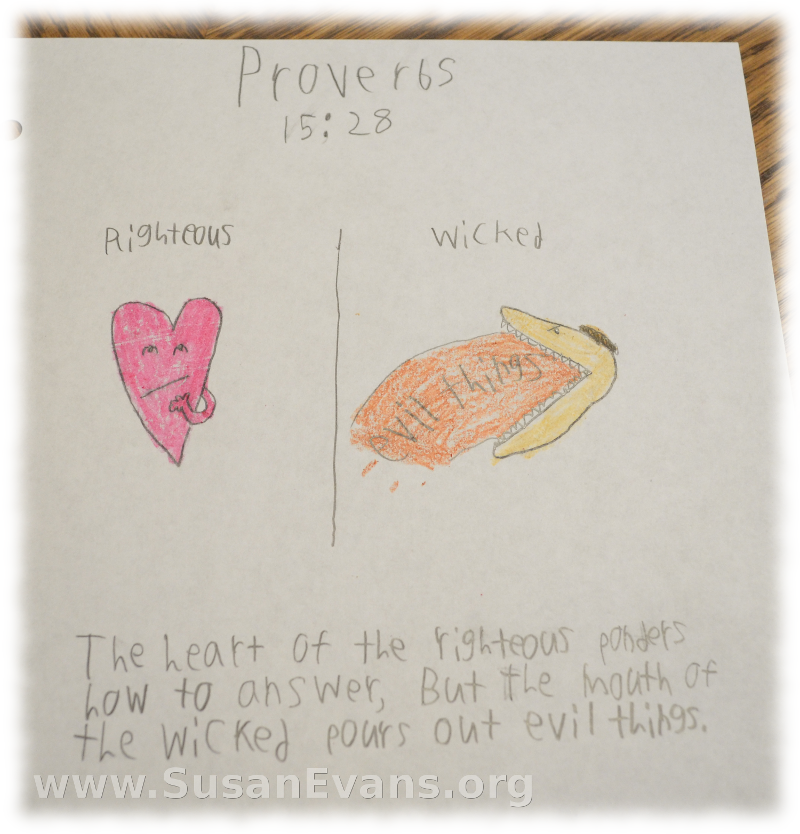
drawing-proverbs-3The third illustrated Proverb is found in Proverbs 15:28: “The heart of the righteous ponders how to answer, but the mouth of the wicked pours out evil things.” A heart is pictured, looking like he is pondering. Then a mouth pours out evil things.

drawing-proverbs-4

This last illustrated Proverb is about getting counsel from wise people before making big decisions. “Where there is no guidance, the people fall, but in an abundance of counselors there is victory.” Proverbs 11:14 NASBĀ  My son drew a cliff with a guy going off the cliff because he had no good advice from anyone. In the second picture, the man is getting advice and avoids falling over the cliff.

If you enjoyed this Drawing Proverbs activity, you will love the huge Bible section inside the Unit Study Treasure Vault!
Psalm 1 Watercolor

Friday, April 11th, 2014

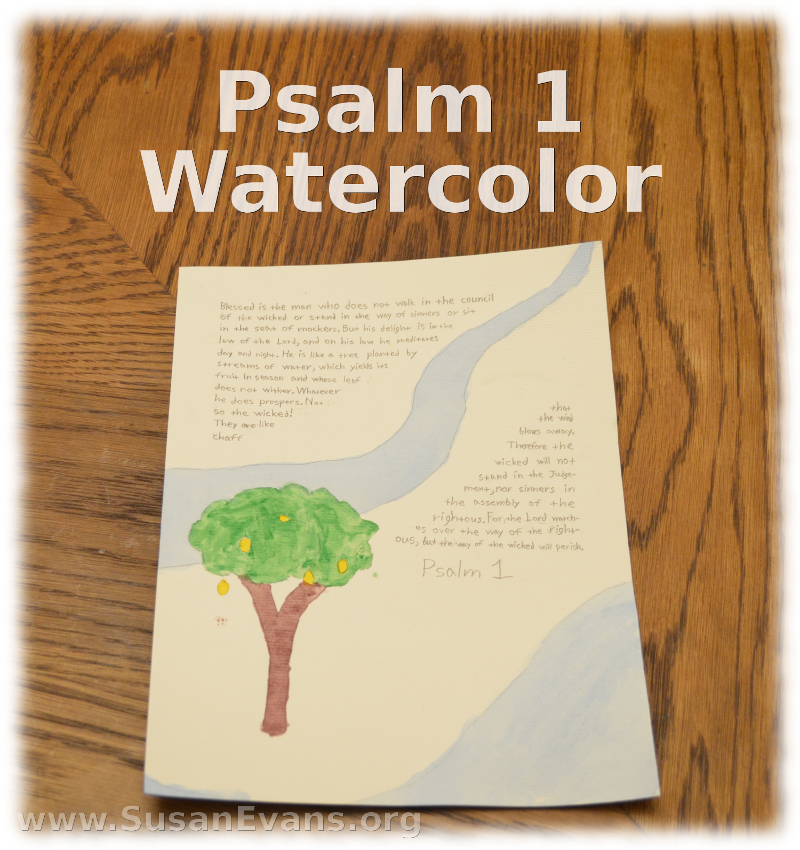
psalm-1-watercolor

Psalm 1 Watercolor

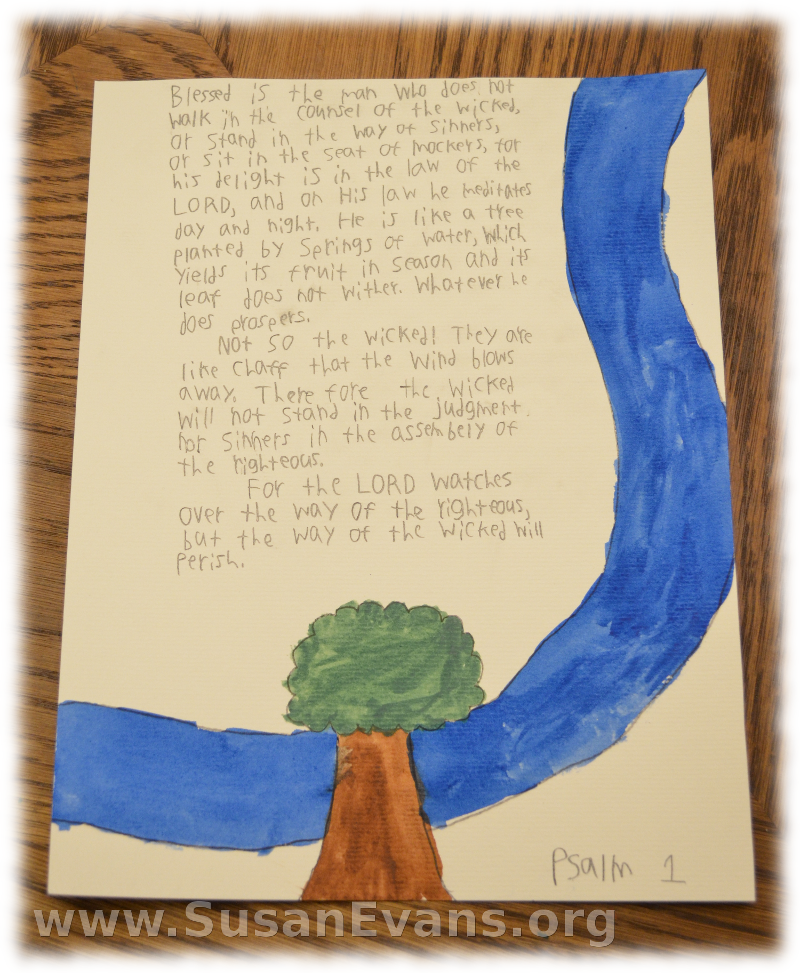
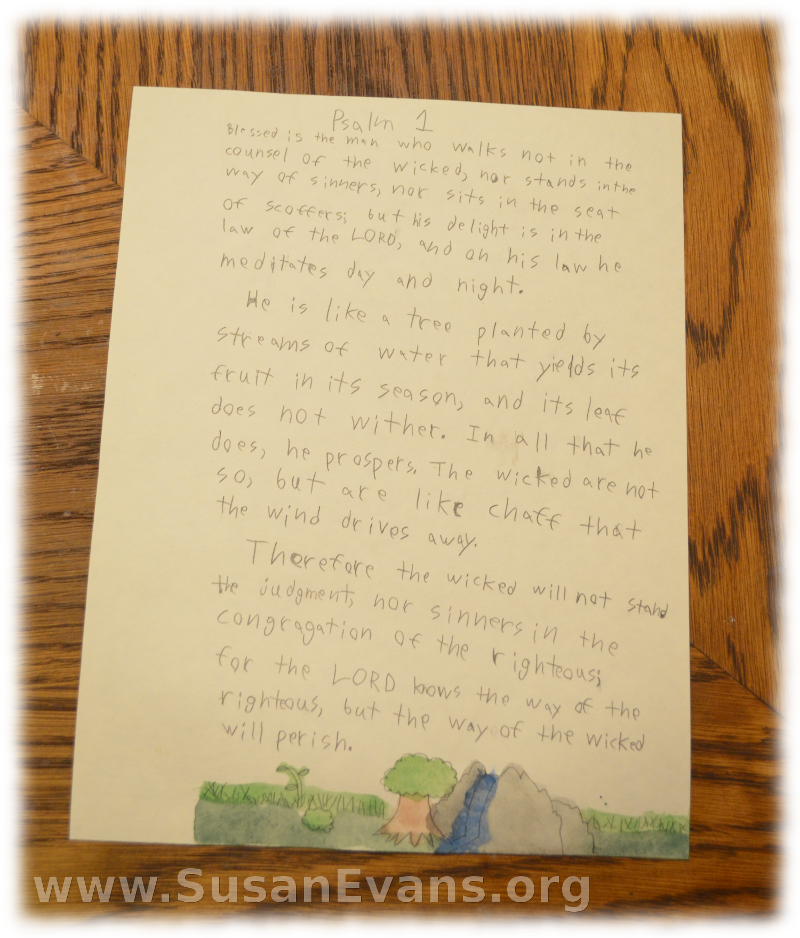
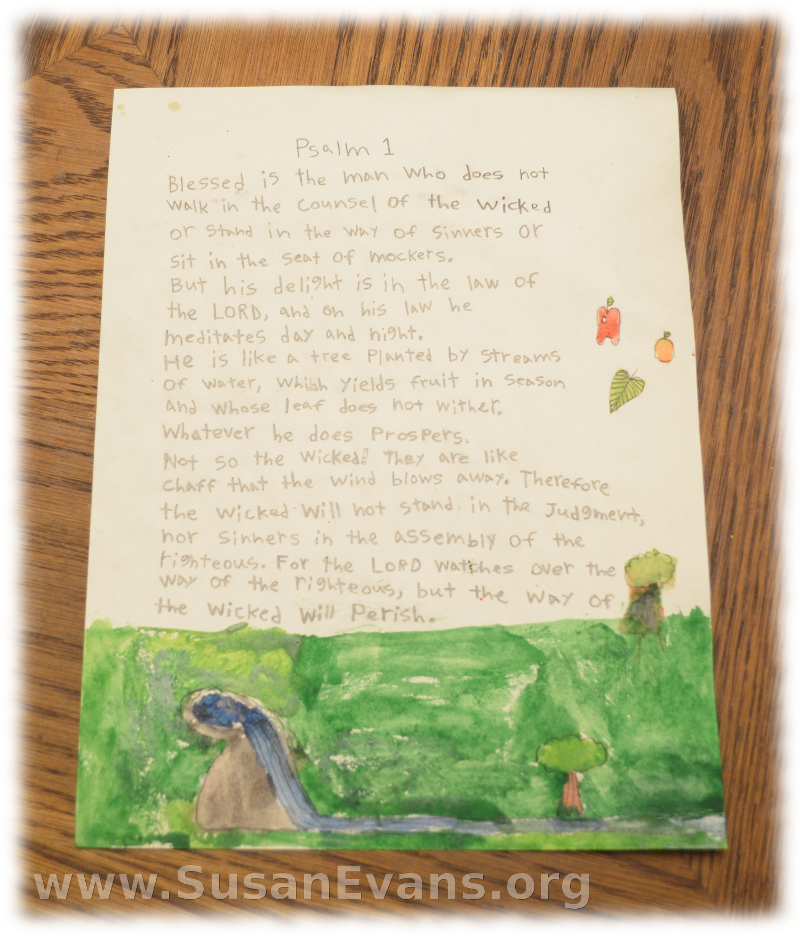
My kids illustrated Psalm 1 by drawing a picture around the Psalm and painting the beautiful illustration with watercolor. Make sure you use special watercolor paper, because the colors don’t roll off the page but sink into the higher-quality watercolor paper. (I’ve bought watercolor paper at art supply stores, but you can also buy it at Walmart.)

We’ve begun a study of the book of Psalms, which is a worship hymnal for God’s people. Lots of the Psalms were written by David, and there is usually a description of when the Psalm was written at the beginning of the Psalm, before the Psalm starts. This way you can figure out if David (or other writers) wrote the Psalm when he was fleeing from Saul, or after his sin with Bathsheba. You can understand the heart behind the Psalm if you do some research into it before you start.

psalm-1-watercolor-3

You can discuss the meaning of the Psalm itself. Do we delight in the law of the Lord? Do we spend time listening to the counsel of the wicked? How do we meditate on God’s law day and night?

psalm-1-watercolor-2

The most beautiful image in this psalm is the one of the tree planted by streams of water, which is what my kids chose to illustrate. The tree yields fruit in season, and whatever we do, we prosper when we delight in God’s law.

psalm-1-watercolor-4

We memorized the Psalm when the kids were little, back when I used to play an audio with me reading God’s Word. When you hear the same Psalm each day, pretty soon you have it memorized, and you have access to it day and night, for the rest of your life!

Since the Psalms are meant to be sung, here is a musical rendition of Psalm 1:

Sign up below for a free Bible crafts e-book!

Famous Art to Teach Bible Stories

Wednesday, February 19th, 2014

famous-art-to-teach-Bible-stories

Have you ever thought of using famous art to teach Bible stories to your kids?

I especially love Rembrandt’s paintings of Biblical scenes, which help to bring those Bible stories to life. Make sure that your kids understand that these are not photos but interpretations of what a scene might have looked like when it happened in Bible times. (Also, keep in mind that any art book that you buy or get from the library will probably have nudity in it as well, so just pick the scenes you want to discuss and show those pictures to your kids.)

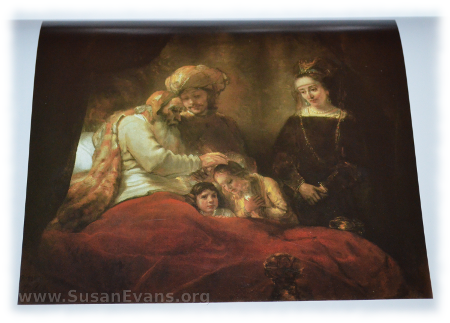
Rembrant’s painting “Jacob Blessing the Sons of Joseph” is one of my favorite scenes. In his old age, Jacob is about to die. He decides to bless the sons of Joseph as if they were his own sons. Jacob lived a very difficult life, since his sons tried to murder Joseph and then sold him into slavery in Egypt. They lied to their father, letting their father believe that Joseph had been killed by wild animals.

When Joseph was finally placed into a position of power, he eventually revealed his identity to his brothers, who told their father Jacob that his son Joseph was still alive. Jacob and all his family moved to Egypt to escape from the famine that was taking place. Now Jacob had the opportunity to see the sons of Joseph.

He crossed his arms and blessed the younger more than the older. This caused Joseph to be disturbed, but Jacob told him he knew what he was doing. Both of his grandsons would be blessed, but the younger would be greater than the older. This was ironic because Jacob is the same person who stole his brother’s blessing because God told his mother that her younger son would be blessed.

Notice the rich red blanket in the picture, probably a gift from his powerful son, Joseph, who is pictured with a turban because he had been living in Egypt. The lighting of the picture is beautiful, with the light coming from behind Jacob, illuminating his grandsons. You can ask your children to point out these details from the scene, causing them to interact not only with the Bible story, but with a famous work of art.

How to Decorate a Heart Shaped Box

Thursday, February 13th, 2014

how-to-decorate-a-heart-shaped-box

If you’re wondering how to decorate a heart shaped box, I’m here to tell you that it’s quite easy. Buy an inexpensive cardboard heart shaped box at any craft supply store during the month of February, when heart shaped crafts abound in profusion, almost to the point of nausea.

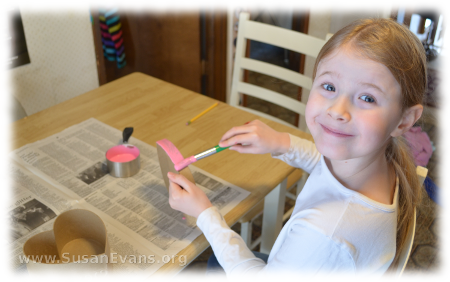
how-to-decorate-a-heart-shaped-box-2Make sure you have pink paint, fake jewels, and heart stickers. You can also use pink feathers, tissue paper, ribbon, or any other pink craft embellishments.

Paint the box pink inside and out, and let it dry overnight. If the box is for a man, paint it red, because pink is a girl color and is awfully sissy for a man.

If you’re in a hurry to give the heart shaped box to the love of your life, and you have no time to let it dry overnight, grab a hair dryer and dry the paint. Don’t hold the hair dryer too close to the box, or you might set it on fire.

If you are a sensible person, you will let the paint dry overnight like I told you in the first place. The next day you can wake up bright and cheerful, have a nice cup of coffee, and proceed with decorating your heart shaped box.

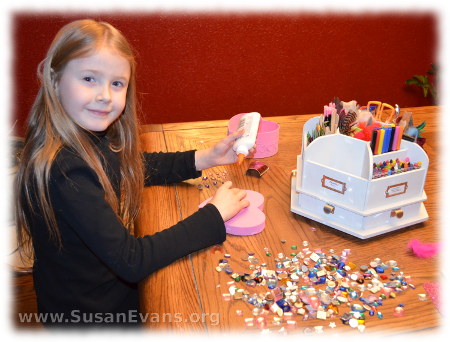
how-to-decorate-a-heart-shaped-box-3Glue fake plastic jewels all the way around the edges of the top of the box. Use jewels that match the box. If you are using a pink box, use pink, white, and lavender jewels. Don’t use green and blue jewels on a light pink box, or it will look ugly.

Conversely, if you have a red box, use complimentary colors that don’t clash.

Glue ribbon around the rim of the lid, on the side of the lid. This will dress up the box. I didn’t think about this until after my daughter sent this box in the mail, so it was too late for us. But ribbon would really add some extra embellishment that would look awfully nice, like you went the extra mile.

My daughter filled this heart shaped box for her aunt (my sister), whom she loves very much. My daughter is constantly writing letters to her aunt, and she sometimes seals the envelope before I even know what’s in it. I know, she might be saying incriminating things, like the time I accidentally left her at the park. I had three kids in the car instead of four. Honestly, how come none of her three brothers told me she was missing? I mean, whose fault was that anyway? Ahem. Less than five minutes transpired before we realized that we were short by one child, and my husband went back to the park to get her. Sad, but true. These overworked homeschooling parents need a vacation. Go ahead and buy our products so that we can go on a much-needed vacation and avoid such mis-haps in the future.

Back to how to decorate a heart-shaped box: make sure to fill it with goodies. We baked home-made chocolate chip cookies, but you can fill it with chocolates or other fun stocking stuffers that you would put into the stocking of your loved one at Christmas time.

Then send it to your loved one, or hand it to them in person, saying, “I love you!” Hopefully they will not throw it on the ground and stomp on it. No… Hopefully they will open it and be delighted at your kindness and love, rewarding you with a big hug.