Posts Tagged ‘baking’

Shield Cake

Monday, April 11th, 2016

shield-cake

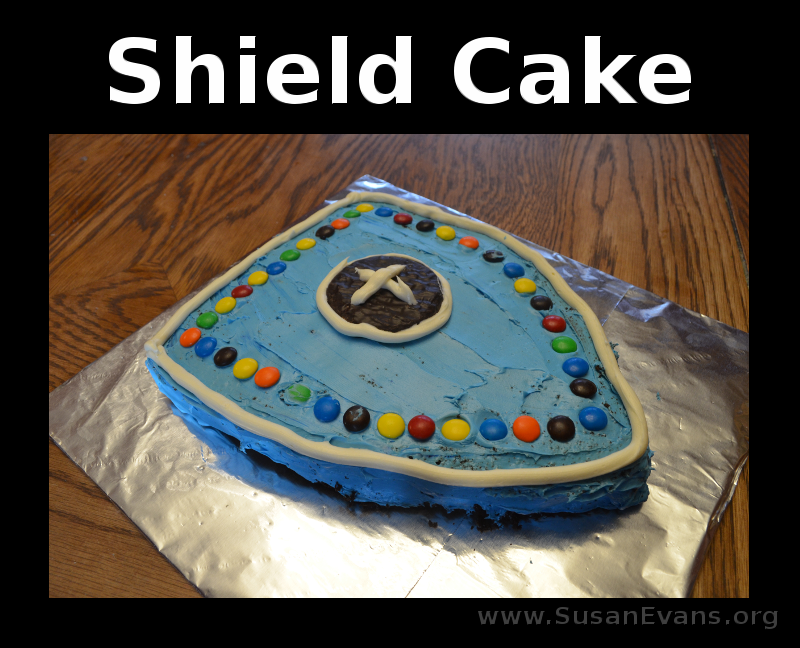
Instead of cooking a medieval feast as a culminating activity for a medieval unit study, why not bake this simple shield cake? You can have fun creating a coat of arms with candy on the top of the cake.

Begin by baking a rectangular cake, preferably chocolate. Cut one end of the cake into a triangular point. Then tape some foil to a piece of cardboard that is larger than the cake. Upend the cake onto the prepared foil.

Grab two tubs of white frosting, and tint one of them to be the background color for the shield. You can choose any color you want. Frost the entire cake, including the sides.

decorating-shield-cake

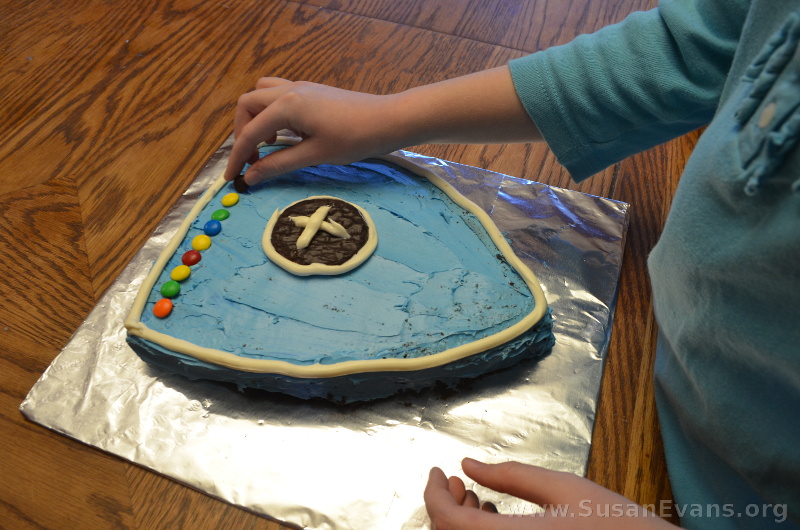
Now comes the fun part. Divide the second tub of frosting into different bowls, tinting them whatever colors you want to create your coat of arms, dragon, cross, or any other shape. Place the tinted frosting in a plastic Ziplock bag and snip off the corner. Draw whatever you want with the tinted frosting.

We used white frosting to frame the outline of the shield. We also outlined a Peppermint Patty and drew a cross in the center of it. You can now use whatever candy you want to embellish your shield cake. We used colorful M&M’s to go around the entire cake.

Now enjoy eating your medieval shield cake!
Civil War Treats: Molasses Cookies

Monday, July 13th, 2015

molasses-cookies-civil-warThis post contains affiliate links. I was compensated for my work in writing this post.

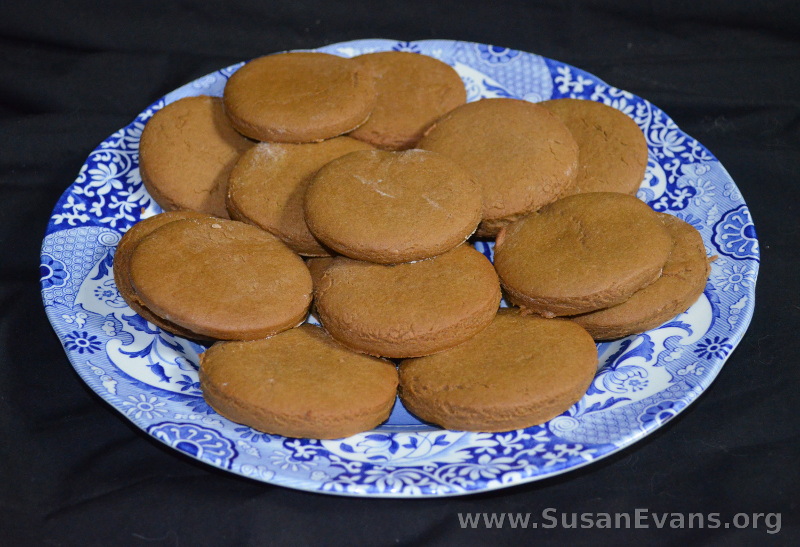
If you are studying the Civil War time period, why not make some old-fashioned molasses cookies? These Civil War molasses cookies are yummy!

We got this idea from All American History, Volume II, which we are using in our study of the Civil War. When doing hands-on activities, it’s wonderful to be able to taste the time period. This is why we chose to make Civil War molasses cookies.

molasses-cookies

Civil War Molasses Cookies (Recipe)

Ingredients

  • 1/3 cup brown sugar
  • 1/3 cup shortening
  • 1 egg
  • 2/3 cup molasses
  • 2 3/4cup flour
  • 2 tsp cinnamon
  • 1 tsp ginger
  • 1 tsp baking soda
  • 1 tsp salt

Instructions

Cream together shortening, brown sugar, egg, and molasses. Stir in flour, baking soda, salt, cinnamon, and ginger. Chill in the refrigerator for at least one hour.

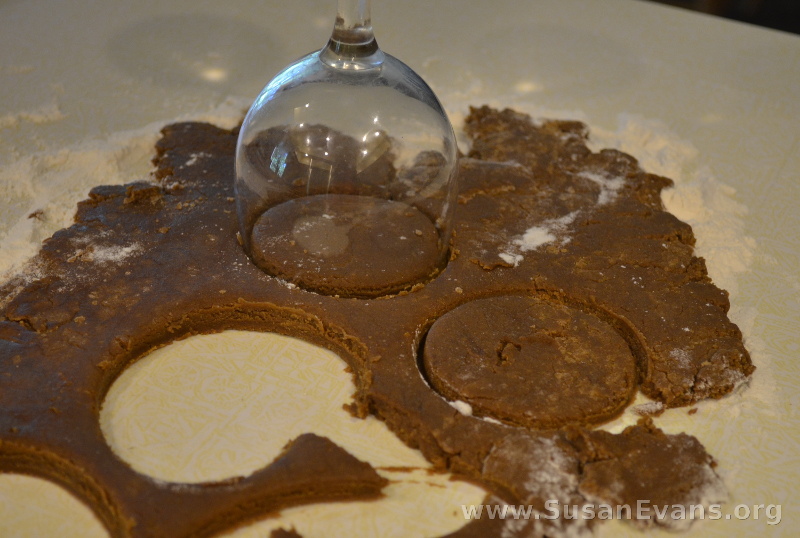
Heat the oven to 375 degrees and roll dough out to 1/4.” Cut out cookies with a round cutter (use either a glass, a lid, or a round cookie cutter). Place on a baking sheet; bake for 10 minutes.

molasses-cookie-dough

Video Tutorial: How to Make Civil War Molasses Cookies

Watch me as I make these delicious old-fashioned molasses cookies:

Alien Spaceship Cake

Monday, May 12th, 2014

alien-spaceship-cakeMy 8-year-old son invented this alien spaceship cake for a Cub Scout cake contest years ago. He won first place! Here is the story of how this cake was made:

My son wanted to make a cake in the shape of the planet Saturn. We brainstormed how we could possibly do this, when I thought of baking half the cake in a glass Pyrex bowl. This would be the round top part of the planet, and a round cake would be the rings of Saturn. We baked the cakes and placed them into the fridge overnight before frosting.

The next day when we opened the fridge, my son saw the cake and thought it looked like an alien spaceship! So he decided to make an alien spaceship cake instead of the planet Saturn.

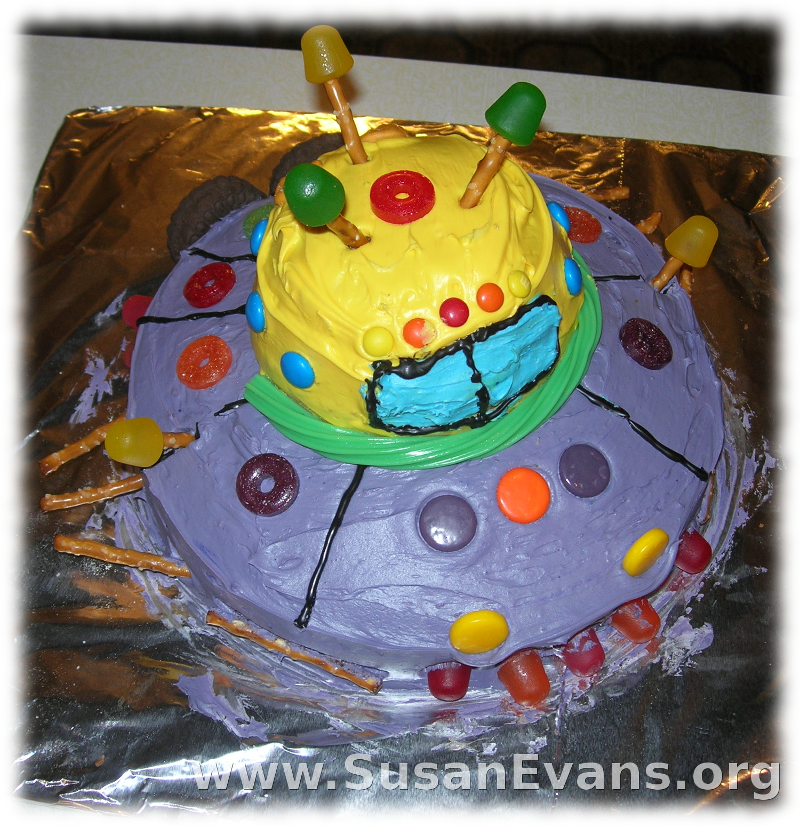
He frosted the bottom cake purple and the top part yellow. He made a light blue front window, which he outlined with black icing gel. Then he went to town adding candy embellishments. We used gum drops, Life Savers, M&M’s, and other random candy. My son wanted a piece of green licorice to outline the top of the ship. He outlined several lines on the bottom part of the ship with black icing gel. He stuck in pretzels, and he shoved gum drops on the top of each pretzel. Two chocolate cookies were placed at the back, where the motor would be. His work of art was finished.

No wonder he won first place! This alien spaceship cake turned out fabulous!

Miniature Cherry Pies

Wednesday, March 19th, 2014

miniature-cherry-pies

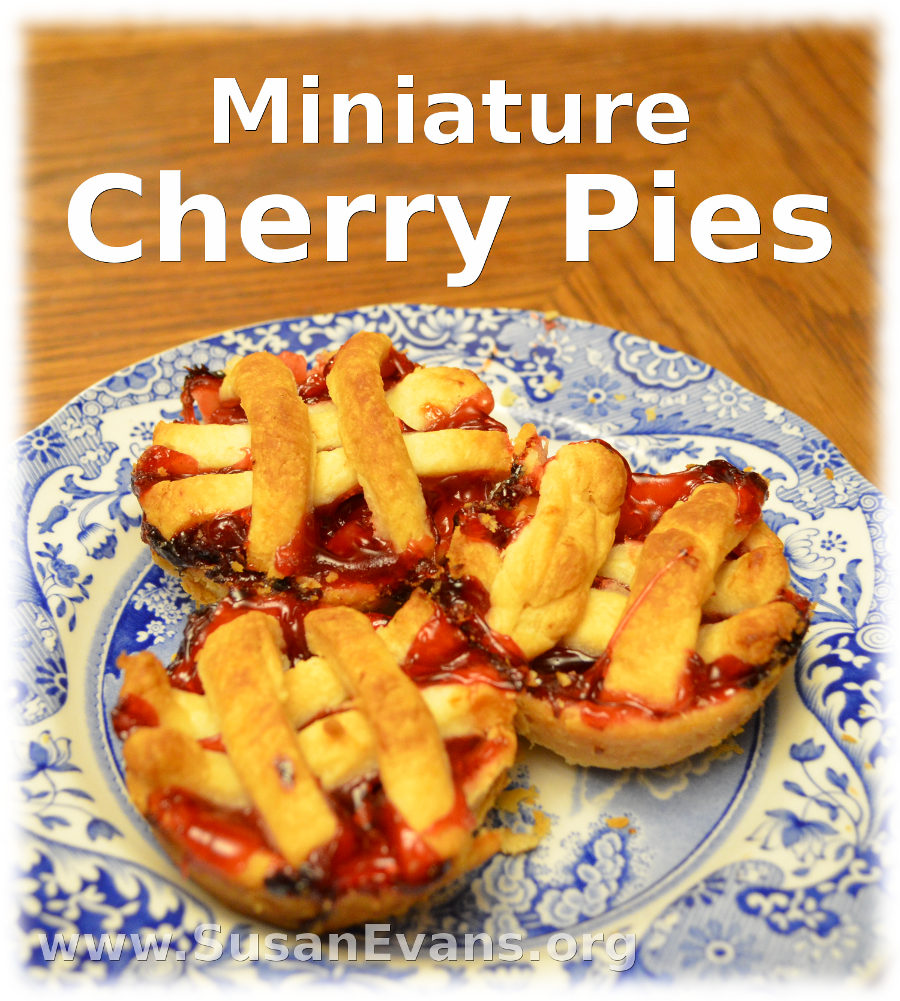
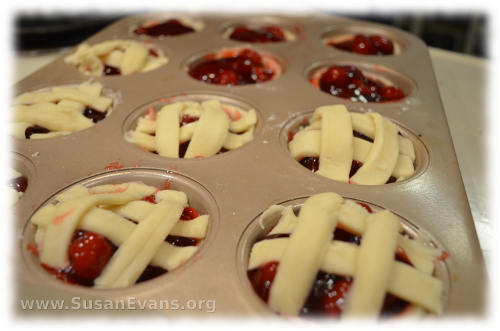
My children made these miniature cherry pies, and don’t they look just fabulous? They tasted delicious, and they were easy for my children to make. They are perfect for a tea party, a delicious dessert, or a snack for any time of day.

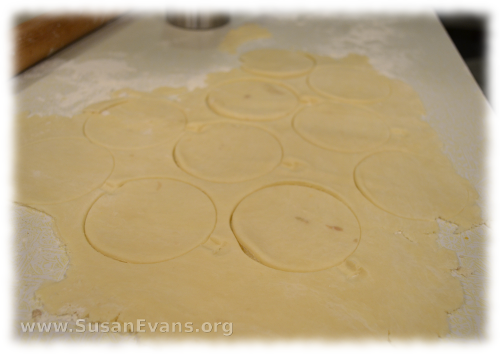
You need a muffin tin, pie crust dough, and a can of cherry pie filling. It’s really that simple. Roll out the pie crust dough on a floured counter with a rolling pin. Then use a circular shape to cut out crusts for each muffin tin.
miniature-cherry-pies-3

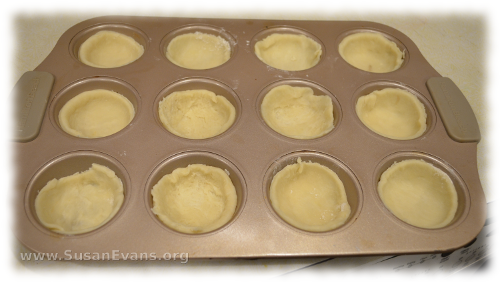
Place the pie crusts into each slot in the muffin tin. You can press it in to go up the sides higher, so that the cherry pie filling doesn’t spill over too much.
miniature-cherry-pies-4

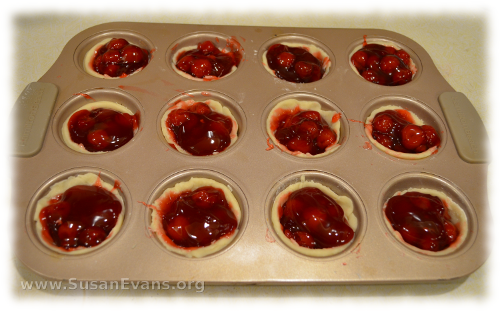
Spoon the cherry pie filling into each slot in the muffin tin.
miniature-cherry-pies-5

With the left-over pie crust, cut strips, and place them like a tic-tac-toe on the top of each miniature cherry pie.
miniature-cherry-pies-6

Bake in the oven at 425 degrees for 30 minutes or until golden brown. Serve warm. Enjoy your miniature cherry pies with your children!