Posts Tagged ‘baking’

Making Your Own Flavored Popcorn

Wednesday, October 17th, 2012

making-your-own-popcorn

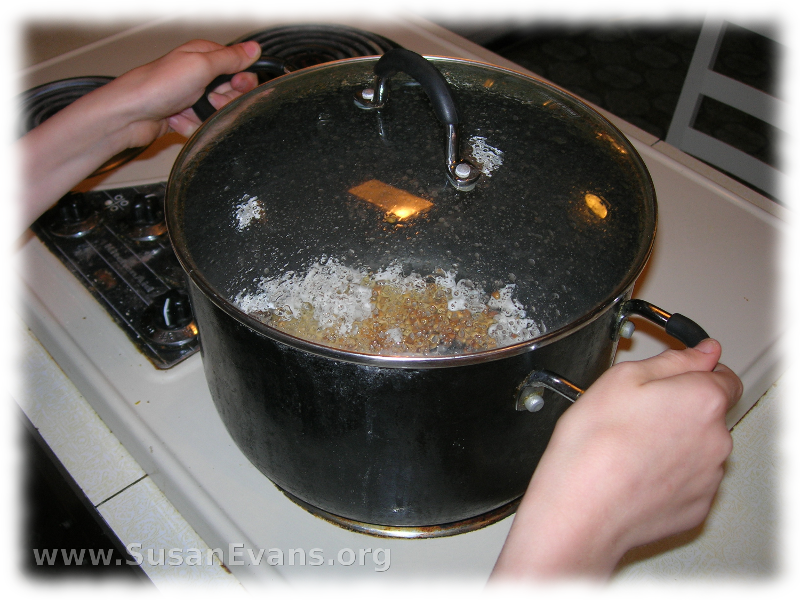
Autumn is a great time to experiment with making your own flavored popcorn. If you pop it yourself in a large pot on your stove, it costs way less money, and it’s super fun for your kids to look through a clear lid to see the popcorn kernels popping around like crazy! It’s not that hard, really.

First pour 1/4 cup of vegetable oil into the pot to coat the entire bottom of the pot. Put it on medium heat. Pour 1/2 cup of popcorn into the pot. Don’t forget to put the lid on the pot. One time I was making popcorn at my friend’s house with her kids, and we were watching the popcorn on the bottom of the pot. The phone rang and for some reason we all walked out of the room without covering the pot. Five minutes later there was popcorn all over the kitchen! The air was full of flying popcorn! And it was impossible to put the lid on the pot when it was spitting out boiling hot kernels in all directions. We laughed hysterically, accidentally crushed popcorn under our feet, and finally got the lid onto the pot. It was a lot of work to clean up.

So don’t do that. Remember to put the lid on.

popcorn

Let me back up to say that you need to take the pot off the heat for one minute after you hear the first popcorn kernel pop. Then return the pot to the heat. Shake the pot continuously back and forth, taking turns with anyone else in the room, making sure their turns are longer than yours so that you do less work.

As soon as the popcorn stops popping, shut off the stove, open the lid, and dump the popcorn into a large bowl. If you are having a party, everyone can make their own toppings in their own bowls or paper bags. My favorite flavor of popcorn is cheese popcorn, you know, the kind that actually looks orange. Well, I had no idea that you can get the same basic flavor by shaking Parmesan cheese on some air-popped popcorn. And it’s not bad for you, because it’s real cheese. It contains calcium and protein. Of course cheese has calories, but at least they’re not empty calories.

If you eat the air-popped popcorn with salt on it, it has almost no calories at all. Only do this if you’re on a diet, because it’s a whole lot better with butter. Real butter. Melt butter either on the stove or in the microwave, and pour it on top of your popcorn. Yum.

I’ve tried making mixtures of chili popcorn by using chili powder, garlic powder, and cumin, but I didn’t really like it that much. Maybe if you mix it with Parmesan and don’t go overboard on the chili powder, it would be more delicious, if you are in a spicy sort of mood.

make-your-own-popcorn

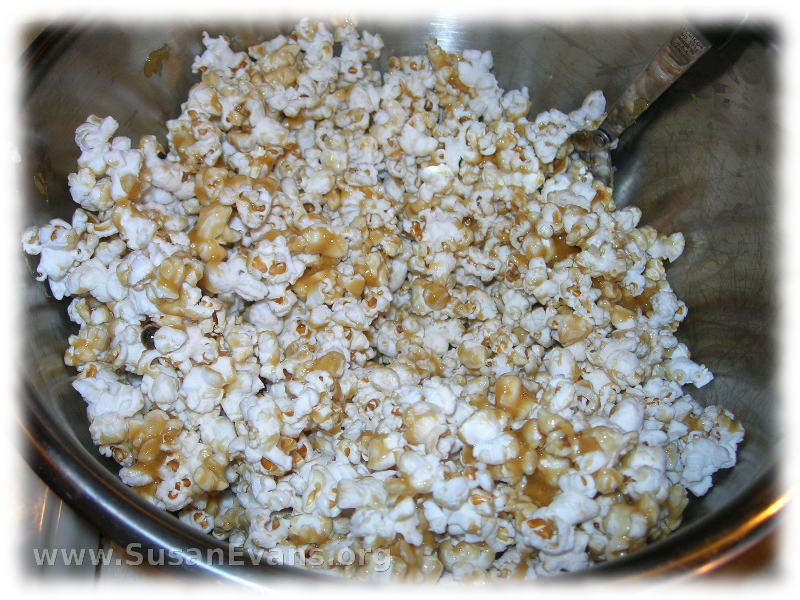
Of course, the grand finale is caramel popcorn, which takes longer to make, but it’s delicious. Cook 1 cup of brown sugar, 4 tablespoons of margarine, 1/4 cup of corn syrup, and 1/2 teaspoon of salt in a saucepan under medium heat, stirring continuously. When it bubbles, stir another five minutes. Pawn this task off to your children, who have way more energy than you do. At the end of five minutes, stir in 1/2 teaspoon of baking soda. Then pour it over the popcorn that is on a foil-lined cookie sheet. Bake an hour at 200 degrees, stirring every 15 minutes.

If you are impatient and want to eat the caramel popcorn without baking it at all, go ahead. It’s a lot stickier, but it’s still yummy. Especially if you’re pregnant and you have a craving for caramel popcorn, you definitely wouldn’t want to wait an entire hour!
 

The Best Banana Bread in the World

Friday, April 13th, 2012

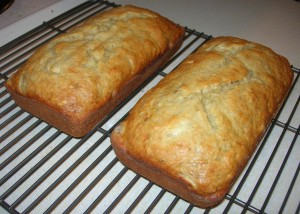
best-banana-breadMy husband’s boss asks for my banana bread every year for the annual brunch, but when I arrive with two loaves, he whisks both of them off the table and hides them. When I start laughing, he says, “Oh, we have too much food anyway.” He says this every year. Because he wants it all to himself; that’s why.

This is the very first recipe I ever baked when I was a young girl, and I’ve continued to make it all these years. My mother gave me the recipe on a card, and I laminated it because I use the recipe so much.

Turn on the oven to 350 degrees. Grease and flour two small loaf pans. Mash 3 very ripe bananas. In another larger bowl, cream together ½ cup of margarine (softened), ¾ cup of sugar, and 1 egg. Dump the banana mush into the larger bowl. Now add 3 tablespoons of milk, 2 cups of flour, 1 teaspoon of baking soda, and ¼ teaspoon of salt. Stir. Divide equally into the two small loaf pans. Bake for half an hour.

If your bananas are small, you might need to add a little bit of milk to compensate. If your bananas are enormous, you might need to add some flour. If it’s your first time to make banana bread, just buy normal-sized bananas.

Don’t try to bake the two small loaves in one loaf pan. My best friend keeps asking me, “What is your secret to your yummy banana bread? Mine doesn’t taste the same, and furthermore, it doesn’t bake in half an hour. It takes way longer.” And I answer every time, “Use two small loaf pans instead of one big one.” And she says, “Oh, I don’t want to do that. I don’t have enough space in my cupboard.” The next year, like clockwork, we have the same conversation…

Some day I will buy two small loaf pans and mail them to her. When she opens the package, she will probably laugh.

Mahogany Wings

Monday, March 19th, 2012

mahogany-wingsOne of my family’s favorite dinners is mahogany wings. They are absolutely delicious, and I serve them with homemade potato chips and raw veggies.

Get about 3 pounds of chicken wings, already cut. If you have to cut them yourself with a pair of kitchen shears, you might as well not do it because of the pain in your fingers, the extra time, and the ridiculous amount of effort. So make sure that the chicken wings are already cut into “drumettes.”

I cut the skin off the chicken wings with the shears. I do this while listening to an audio to make the time pass faster. I don’t want my family to swallow all that nasty skin, after all.

Okay, now you’re ready to marinade the de-skinned drumettes. Mix together:

  • ½ cup of soy sauce
  • ½ cup of honey
  • ¼ cup of molasses
  • 1 teaspoon chili powder
  • 2 teaspoons chopped garlic

Pour it over the chicken wings and let it marinade overnight.

Line your broiler pan with aluminum foil, and heat your oven to 375 degrees. Place the chicken wings on the broiler pan and bake uncovered in the oven for 25 minutes, occasionally brushing with marinade. Flip them over for 10 more minutes. Yum.

For the homemade potato chips, heat oil deep enough to throw in some thinly sliced potatoes. I use a wok because I don’t have a deep fryer, and even if someone gave me a deep fryer, I would get rid of it because I don’t want to store it. I don’t like clutter, you know. When the potato slices are golden brown, take them out with a slotted spoon or tongs, whichever you feel like. Set on a plate with a paper towel to absorb excess oil, and press another paper towel on top, being careful not to burn your hand. (Don’t say I didn’t warn you.) Sprinkle with a generous helping of salt and pepper. Enjoy.

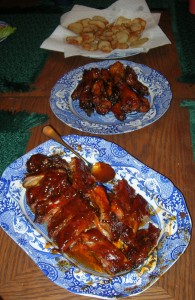
Oh, and if you’re wondering what else is in the picture, I made barbequed ribs, but I cheated by buying one of those that you just had to heat up. That’s because I realized I only had half the chicken wings that I needed to feed my family. My husband probably went to the store to buy the wings, and not knowing how much to buy, bought a ridiculously small amount. Yes, I’ll blame my sweet husband for the fact that we had barbequed ribs the day I snapped this picture. (If you click on the picture, it will enlarge enough for you to see the mahogany wings, which is the whole point of this article.)

And one more thing: you might want a stool to sit on while you are flipping the potatoes. Otherwise you’re standing there for ages, and you can’t pawn the task off to your children because they’re so short (at least mine are for a couple more years) that they’ll be hit in the eye with hot oil. So be forewarned of that as well. You should be amply rewarded by their squeals of joy at dinnertime, though, which will make all the standing around flipping potatoes and brushing mahogany wings worth it.

Transformer Cookies

Monday, December 27th, 2010

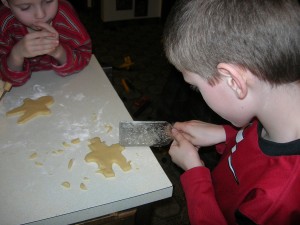
transformer-cookiesA woman I went to boarding school with in Guatemala told me how she made Transformer cookies with her sons, and what a success it was. She just used a gingerbread man cookie cutter and squared off the head, arms, and feet. I thought that was a great idea, so we made them.

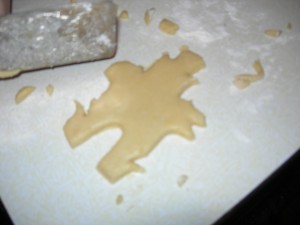
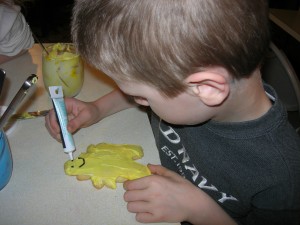
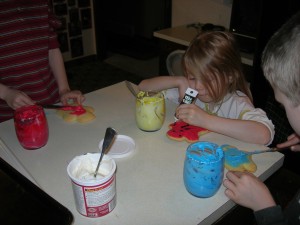
My oldest son Bryan actually sculpted a more complicated Transformer with a metal spatula while the dough was still on the counter. Then we iced the cookies with icing. I was able to get such bright bold primary colors from icing dye made for professionals who decorate cakes for a living. You can buy the icing dye from craft supply stores that have a cake-decorating aisle.

transformer-cookies3We added more details with black icing gel, which you can get at a regular grocery store. You could also add M+M’s and other candy for the buttons of each robot. The finished Transformer cookies looked good enough to eat!

transformer-cookies2transformer-cookies4transformer-cookies5transformer-cookies6