Posts Tagged ‘Bible’

Gideon Unit Study

Friday, March 14th, 2014

gideon-unit-study

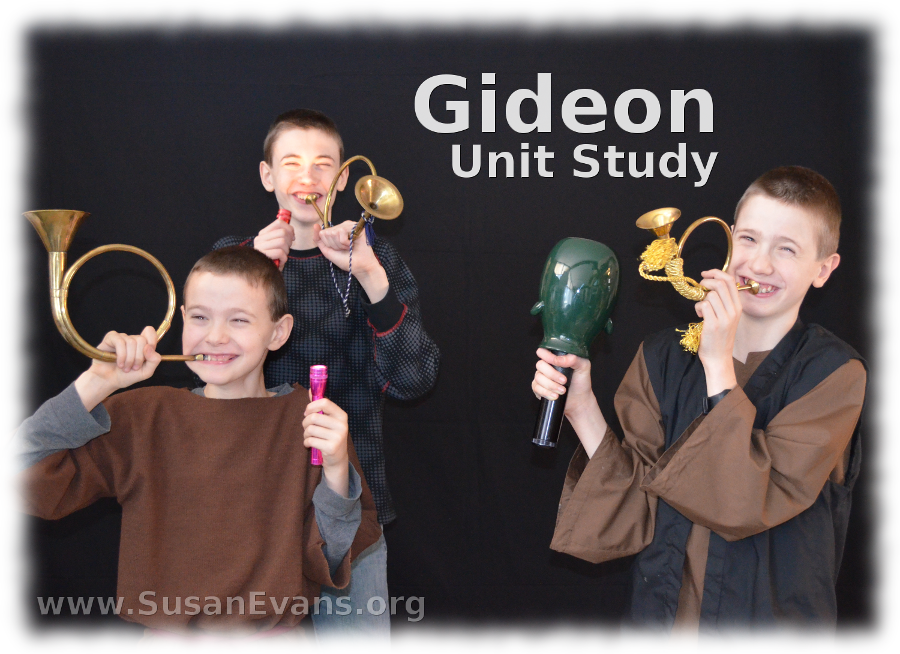
My kids have been filming videos to bring the entire Scripture to life for kids, and we are now doing a Gideon Unit Study. The videos are all uploaded into the huge Bible section of the Treasure Vault. We have been studying each of the judges of Israel, and the kids had so much fun re-enacting the story of Gideon.

First we have Gideon approached by the angel of the Lord, who tells him that he is a valiant warrior. Gideon is bewildered by this greeting, and he is told that he will deliver Israel from the Midianites. He asks, “Why me? I’m the least of my family.” But the Lord promises to be with him.

Grab some fleece (either some cotton or a pillow) and tell the Lord that you need a sign, to know if you will succeed in battle. The fleece needs to be wet at first, with the ground dry. Then you realize that this could have easily happened naturally, so you flip it around and say that if the fleece is dry and the ground is wet, that has to be God. And so it was.

Gideon was commanded to smash down the Baal and the Asherah, and the people were angry. When they got over the shock of the destroyed idols, they joined Gideon to go to battle against Midian. Tell the soldiers to go home if they are scared. Most of the soldiers are scared and go home. Then throw a blue blanket on the floor, and the soldiers need to drink the water from the blanket river. Those who lap the water after scooping it with their hands win the lottery to go to war. All the others must go home.

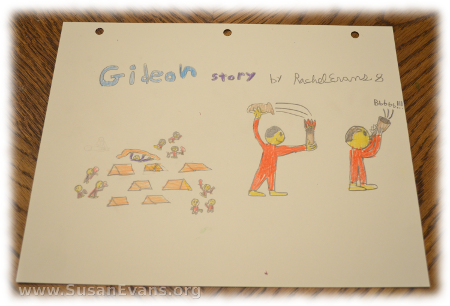
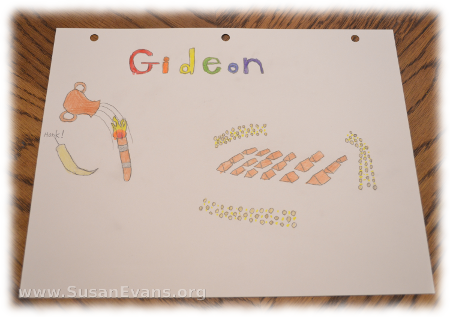
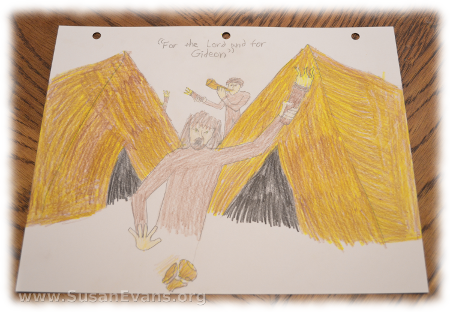
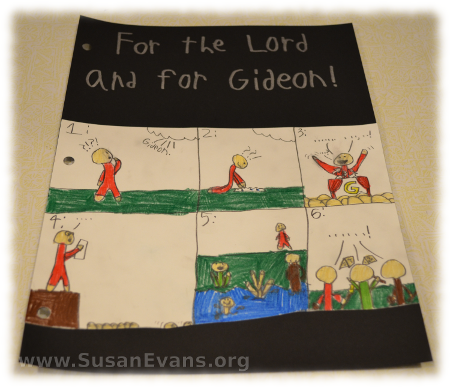
Now is the fun part. After Gideon sneaks into the camp to overhear the enemy having a dream of being conquered, Gideon divides the soldiers into 3 groups. Try to have pots you can smash on the floor. Otherwise pretend to smash the pots. Hold up the torches or flashlights. This is especially dramatic when you perform it in a dark room, but we filmed it in the daylight. If you want to make a craft of a torch for the Gideon story, my friend Ticia made some out of Q-tips. Then blow some trumpets, or pretend to blow trumpets and shout, “For the Lord and for Gideon!”

If you want to make this scene out of LEGOs, you can find the instructions here:

Here are some of the drawings that my children made for their Bible notebooks. The first one is a comic strip:

gideon-comic-stripgideon-drawinggideon-illustrationgideon-unit-study-2

Sign up below for a free Bible crafts e-book!

If you enjoyed this Gideon Unit Study, you will love all the hands-on activities for Bible class in the Unit Study Treasure Vault!
Breastplate of High Priest

Wednesday, February 26th, 2014

breastplate-of-high-priest

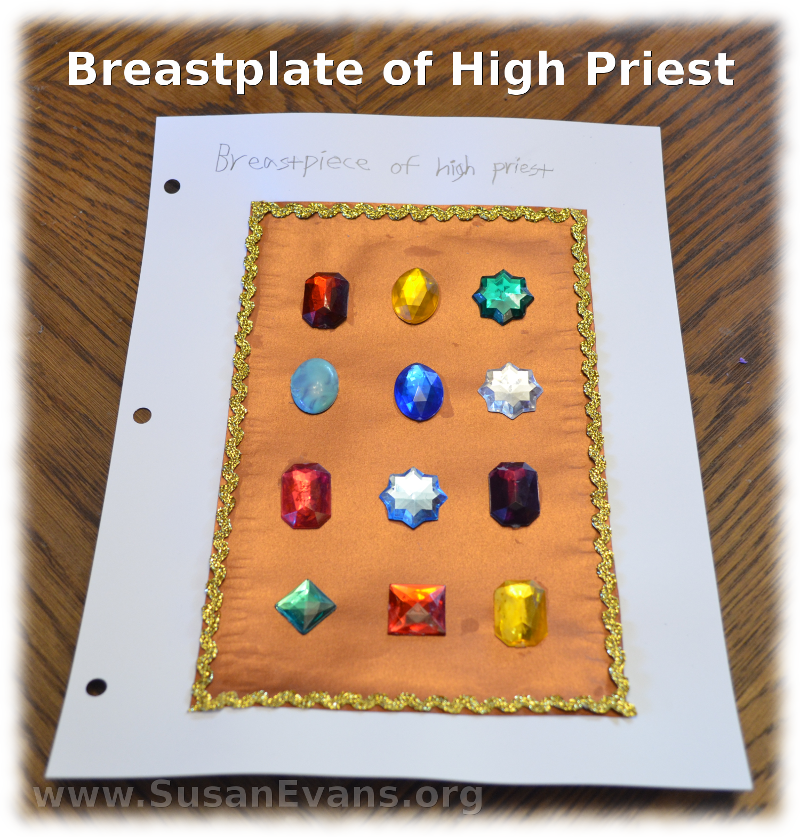
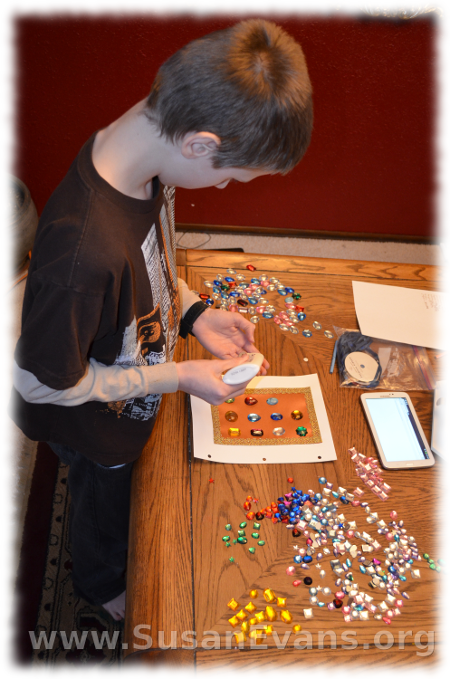
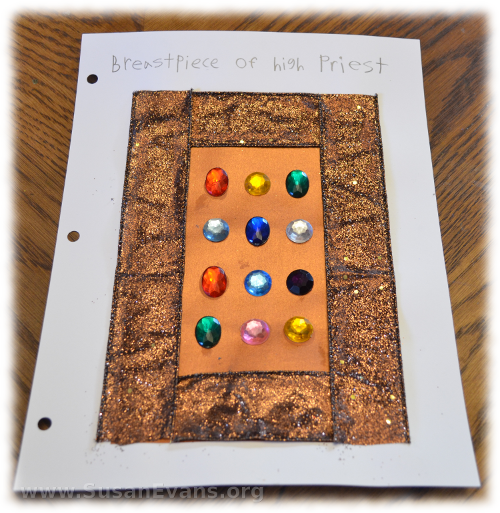
This art activity helped my children to picture the breastplate of the high priest of Israel, as described in the book of Leviticus. Each of the 12 precious stones represented one of the 12 tribes of Israel, and they were to be worn by the high priest over his heart. This was so that he would keep each of the tribes of Israel in his prayers before the Lord, so as not to forget them.

breastplace-of-high-priest-6These are the 12 precious stones and their colors, if you are wanting to do this fun activity with your kids:

  1. ruby – red
  2. topaz – yellow
  3. emerald – green
  4. turquoise – turquoise
  5. sapphire – blue
  6. diamond – clear
  7. jacinth – red
  8. agate – light blue
  9. amethist – purple
  10. beryl – green
  11. onyx – yellow or red
  12. jasper – yellow


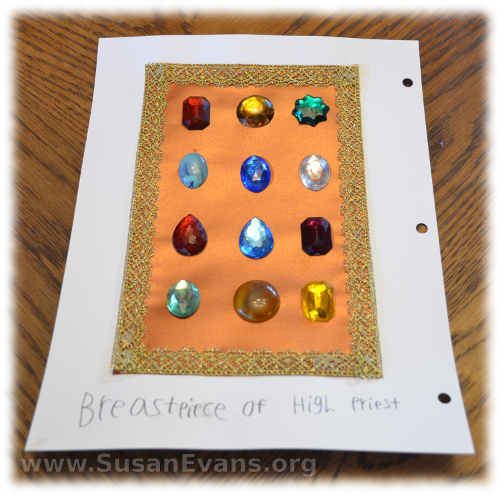
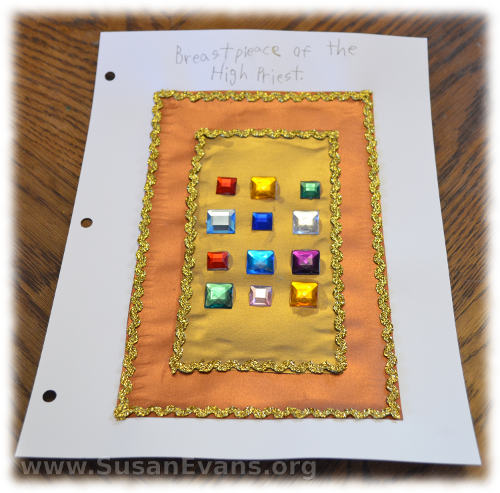
Find plastic jewels that are the colors of the precious stones listed above. Find some metallic paper at a scrapbooking store. Glue the metallic paper down first, using white school glue. Then glue some gold ribbon around the edges. Glue each of the 12 stones onto the breastplate, making 4 rows of 3 jewels each. That’s it! Your “Breastplate of High Priest” craft is complete!

Here are some alternate versions of the craft “Breastplate of High Priest.” If you use thicker ribbon, you can use smaller jewels:

breastplate-of-high-priest-3
breastplate-of-high-priest-4

breastplate-of-high-priest-2

Famous Art to Teach Bible Stories

Wednesday, February 19th, 2014

famous-art-to-teach-Bible-stories

Have you ever thought of using famous art to teach Bible stories to your kids?

I especially love Rembrandt’s paintings of Biblical scenes, which help to bring those Bible stories to life. Make sure that your kids understand that these are not photos but interpretations of what a scene might have looked like when it happened in Bible times. (Also, keep in mind that any art book that you buy or get from the library will probably have nudity in it as well, so just pick the scenes you want to discuss and show those pictures to your kids.)

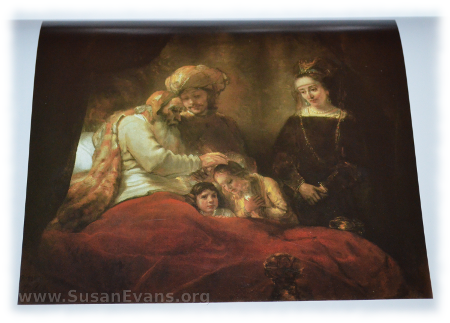
Rembrant’s painting “Jacob Blessing the Sons of Joseph” is one of my favorite scenes. In his old age, Jacob is about to die. He decides to bless the sons of Joseph as if they were his own sons. Jacob lived a very difficult life, since his sons tried to murder Joseph and then sold him into slavery in Egypt. They lied to their father, letting their father believe that Joseph had been killed by wild animals.

When Joseph was finally placed into a position of power, he eventually revealed his identity to his brothers, who told their father Jacob that his son Joseph was still alive. Jacob and all his family moved to Egypt to escape from the famine that was taking place. Now Jacob had the opportunity to see the sons of Joseph.

He crossed his arms and blessed the younger more than the older. This caused Joseph to be disturbed, but Jacob told him he knew what he was doing. Both of his grandsons would be blessed, but the younger would be greater than the older. This was ironic because Jacob is the same person who stole his brother’s blessing because God told his mother that her younger son would be blessed.

Notice the rich red blanket in the picture, probably a gift from his powerful son, Joseph, who is pictured with a turban because he had been living in Egypt. The lighting of the picture is beautiful, with the light coming from behind Jacob, illuminating his grandsons. You can ask your children to point out these details from the scene, causing them to interact not only with the Bible story, but with a famous work of art.

Tabernacle Diagram

Monday, January 27th, 2014

tabernacle-diagram

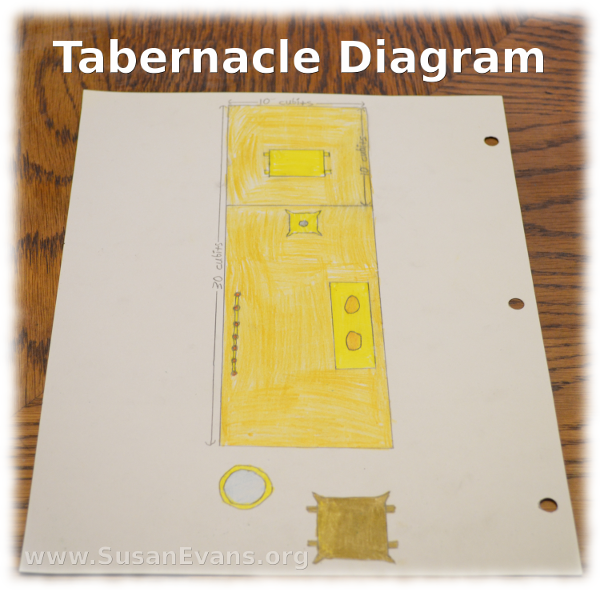
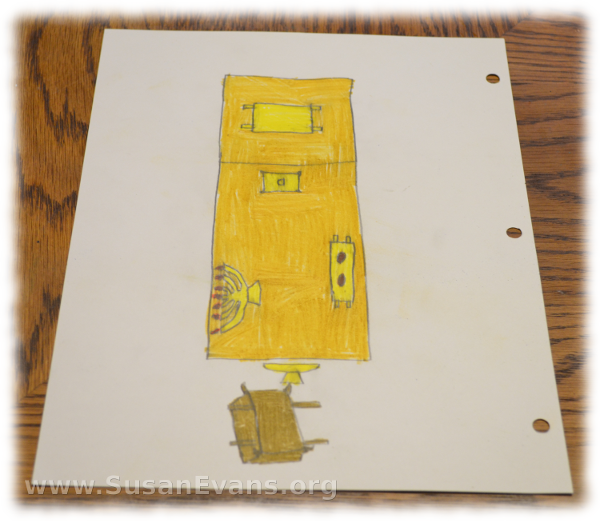
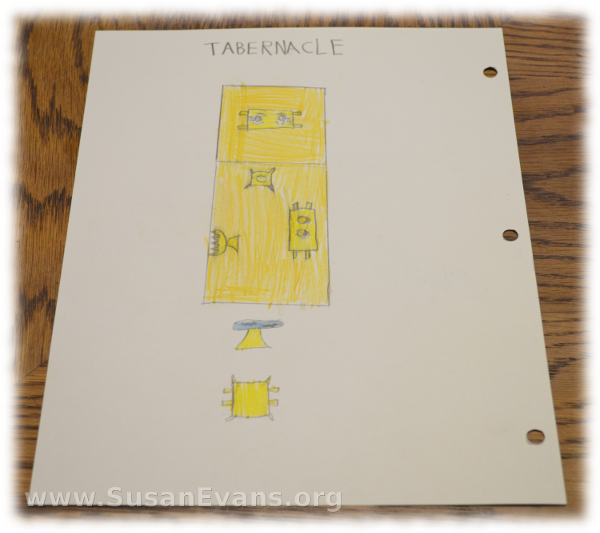
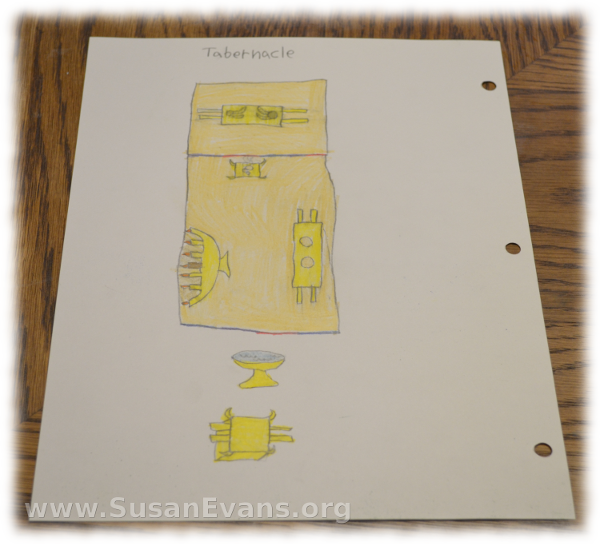
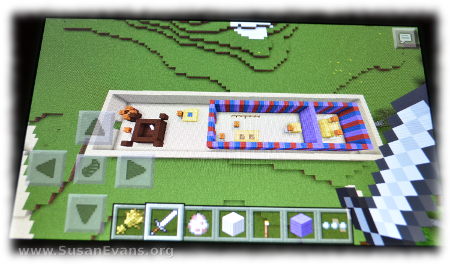
My kids drew a Tabernacle diagram, placing the pieces of furniture into the correct locations. One of my sons made a Minecraft Tabernacle, too!

For the Tabernacle diagram, we drew these pieces of furniture:

  • The Ark of the Covenant went inside the Holy of Holies.
  • The Table of the Presence was on the right, with bread on it.
  • The lamp stand was on the left.
  • The altar of incense was in front of the curtain that divided the Holy Place from the Holy of Holies.

You can make separate movable pieces out of paper if you want, but we just drew the diagram straight onto our notebooking page.
tabernacle-diagram-2

My kids looked at the model of the Tabernacle that we made years ago, and they based their Tabernacle diagram off that model. The laver full of water was outside the Tabernacle, and the bronze altar was in front of it. The bronze altar was used for the sacrifices that were made to atone for sin.

The person offering the sacrifice would place their hands on the head of the sheep, and their sins would be transferred to the sheep, so that the sheep could die for the person’s sin. All sin results in death, and the penalty of sin is death. This substitutionary atonement was a picture of what Christ would do for us on the cross, when He died for our sins. He was the perfect Lamb of God who took away the sins of the world.

tabernacle-diagram-3

tabernacle-diagram-4

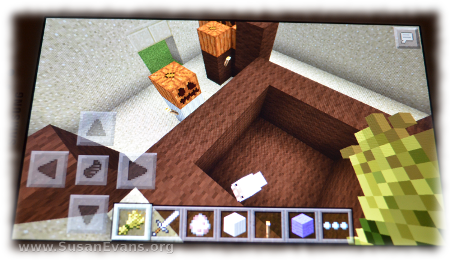
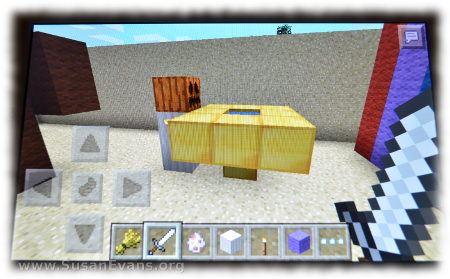
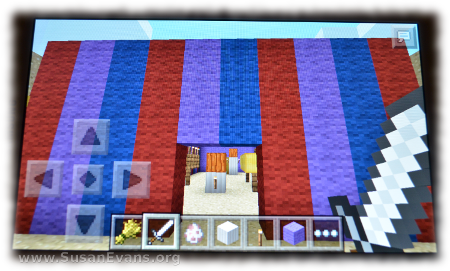
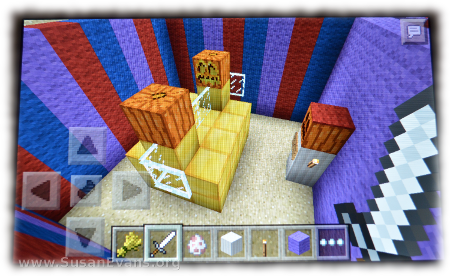
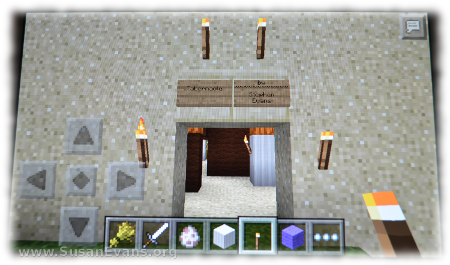
One of my sons wanted to make a three-dimensional model of the Tabernacle with Minecraft, so I let him. This was the result:

minecraft-tabernacle-8minecraft-tabernacle-2minecraft-tabernacle-3minecraft-tabernacle-4minecraft-tabernacle-5minecraft-tabernacle-6minecraft-tabernacle-7

Sign up below for a free Bible crafts e-book!

For more fun Bible activities, join the Unit Study Treasure Vault, which has a huge Bible section!