Posts Tagged ‘centerpiece’

Snow Scene Centerpiece

Monday, December 16th, 2013

snow-scene-centerpiece

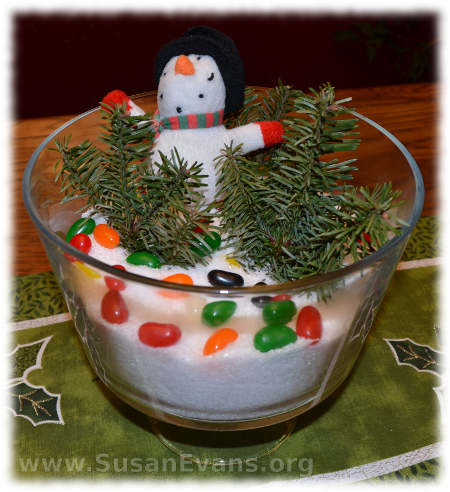
Make a beautiful snow scene centerpiece for your table in less than five minutes. All you need is rock salt (or Epsom salt), a branch of greenery, some Christmas ornaments, and a large glass bowl.

Dump the rock salt into a large clear bowl in the center of your table. Rock salt looks more beautiful, but Epsom salt is more useful, since you can re-use the Epsom salt in your bath after December is over.

Place some greenery into the white salt. You will need to break off small bits of a branch of an evergreen tree, or you can use shears to cut it. I stuck pieces of greenery into the “snow” so that they would look like trees in a forest. But you can also lay them flat in a beautiful way.

Look at the decorations on your tree, and see if you want to showcase one ornament, or if you want to choose several ornaments. A village house would look pretty in the snow. Arrange the ornaments in your bowl. I added jelly beans for color. You could add red berries or a red garland for a similar effect. Just mess with the scene until it looks pretty.

Enjoy your finished snow scene centerpiece! For more fun winter activities, click here.
Resurrection Garden

Wednesday, March 27th, 2013

Resurrection-Garden

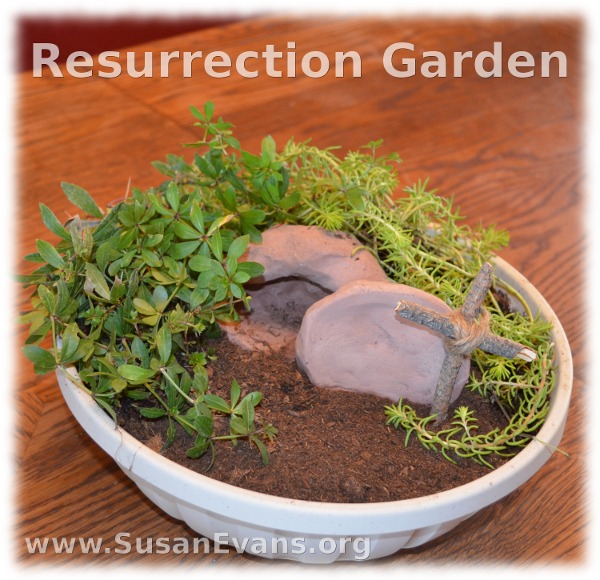
This easy-to-make Resurrection Garden is a meaningful centerpiece for your Easter table. You make the empty tomb out of self-hardening clay two days before. Then fill a large bowl with soil, place the tomb into the soil, and surround the tomb with plants. You will also want to make a cross out of two twigs tied together with twine.

I originally saw the idea for a Resurrection Garden here, so I thought I would do my own version. Melissa Holt is apparently the one who came up with this idea, using grass or mustard seeds that grew all around the flower pot tomb on the week leading up to Easter. My version takes less time because you don’t have to wait for the grass to grow. You could even put the wet clay straight into the dirt and complete the project in less than 15 minutes.

Items needed for the Resurrection Garden:

  • large bowl or flower pot
  • soil
  • terra cotta self-hardening clay
  • 2 twigs
  • twine
  • plants

Cut a slab of terra cotta clay off the main hunk of clay by using a butcher knife. Form the clay into a ball. Press your fist into the ball to made a cave-like indentation. Make a circle or oval of clay for the rolled-away stone as well. Place both pieces of clay (the tomb and the stone) on top of wax paper to dry for two days.

Fill a bowl or pot with soil. Place the tomb into the soil. Surround the tomb with shade plants from around your yard. Or you can purchase small indoor plants just for this project. Choose leaves of different colors and textures for maximum beauty for your scene.

Snap some twigs to the correct size for a cross, based on the size of your tomb. Join the pieces together with twine. Tie the knot in the back so that it can’t be seen. Stab the cross into the dirt on the side of the tomb. Now your Resurrection Garden is complete.

Simple Fourth of July Decorations

Tuesday, July 3rd, 2012

simple-fourth-of-july-decorations

Easy and simple Fourth of July decorations:

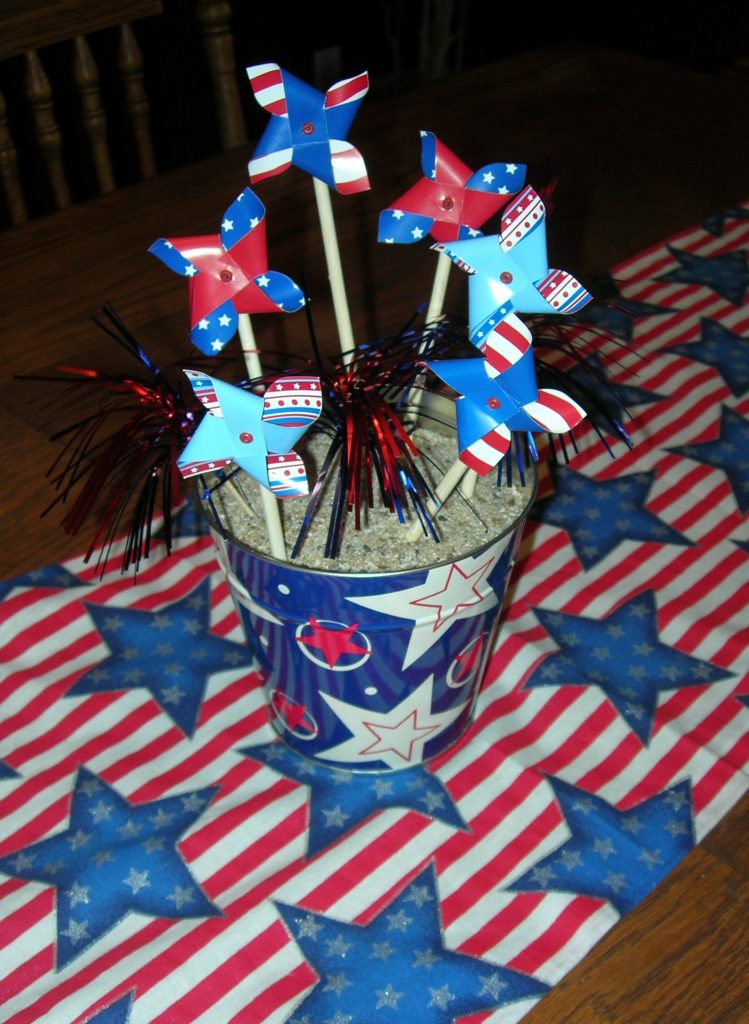
  • A strip of patriotic cloth running the length of the table. (You can buy this at a fabric store. I bought mine in a bag of cloth scraps at a yard sale for 50 cents.)
  • A tin bucket that is patriotic. (Mine cost $3 new at a craft supply store.)
  • Fill the bucket with sand, and stab in some Fourth of July windmills. (I got my windmills at a craft supply store.)
  • As a finishing touch, stab some cocktail toothpicks into the sand. Mine were blue and red, and they look like fireworks.

It took me less than five minutes to set this up. You might have to iron the cloth; otherwise throw it in the dryer for a couple of minutes for the wrinkles to fall out. If you are going to use the cloth year after year, you could hem it. Or you could use fabric glue instead of a needle and thread to give the illusion that it’s hemmed. To do this, iron the edge down, let it cool for a few seconds, then glue it. Do this little by little along the entire length of the cloth. But finishing the cloth isn’t really necessary, so if you only have five minutes, forget it and get the same great look.