Posts Tagged ‘chemistry’

Elementary Chemistry Series

Monday, November 24th, 2014

elementary-chemistry

This post contains affiliate links. I was compensated for my work in writing this post.

Can you teach elementary-level kids something as difficult as chemistry? Yes, you can! This year we studied elementary chemistry, and the curriculum we used was Christian Kids Explore Chemistry by Bright Ideas Press. We had a wonderful time doing all the experiments, which helped us to understand basic chemistry concepts.

The book presented these chemistry concepts in a way that even a child could understand. The science experiments used inexpensive household items, and the experiments were not difficult to perform. My high school kids were present when I went through this elementary-level chemistry book with my two younger kids, and my older kids did better in their high school chemistry because the basic concepts had already been mastered, so the more difficult high school-level concepts were easier to understand.

The multiple choice tests for each chapter were hilarious. One of the answers always made my kids laugh hysterically. You still needed to pay attention and learn all the lessons because it was not possible to pick between the other two possibilities unless you knew the material. In this way, my kids began to look forward to the chemistry tests! Can you believe it? That’s definitely a positive aspect of using this curriculum!

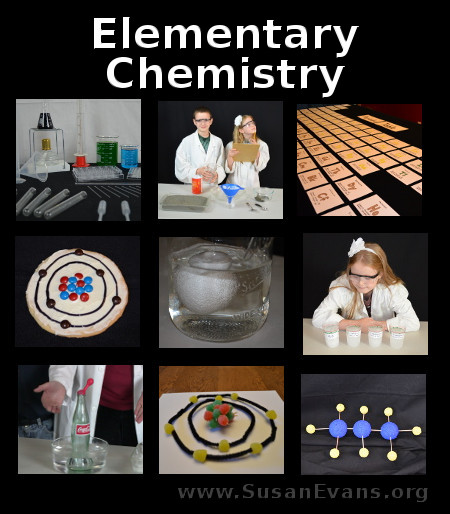
In case you missed any of the experiments that we performed, here is an index of the fun chemistry experiments:

1. Chemistry Tools
2. Filtration Experiment
3. Make Your Own Element Cards
4. Mixtures and Compounds
5. How to Build Atomic Models
6. Atomic Cookies
7. Building Molecular Models
8. Breaking Covalent Bonds
9. Acids and Bases
10. Dissolving Calcium with Acid
11. Measuring the Volume of a Solid
12. Testing Charles’s Gas Law
13. Saltwater Experiment
14. Saturated Solutions
15. Freezing Alcohol
16. Hydrocarbons

I hope you enjoyed all these experiments as much as we did!
#16 Hydrocarbons

Monday, November 17th, 2014

hydrocarbonsThis post contains affiliate links. I was compensated for my work in writing this post.

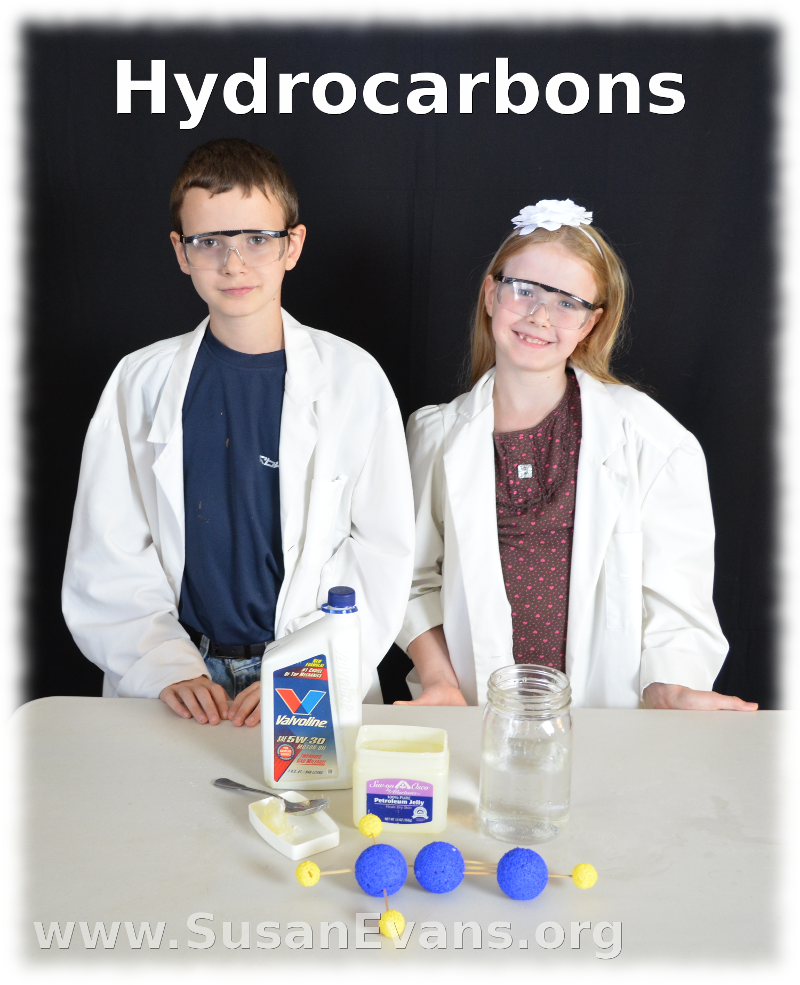
Today we will be making models of hydrocarbons and then performing an experiment with floating hydrocarbons. We are using Christian Kids Explore Chemistry by Bright Ideas Press, and the last five chapters in the book have to do with hydrocarbons.

What are hydrocarbons?

Hydrocarbons are a family of compounds that are composed of carbon and hydrogen atoms that are connected with covalent bonds that share electrons. We studied three different types of hydrocarbons:

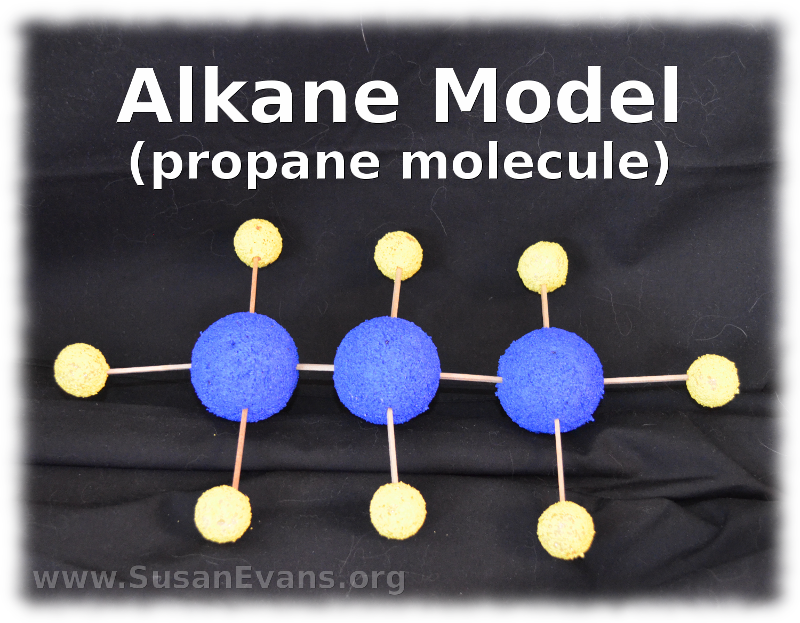
  • Alkanes (single bonds between the carbon and hydrogen atoms)
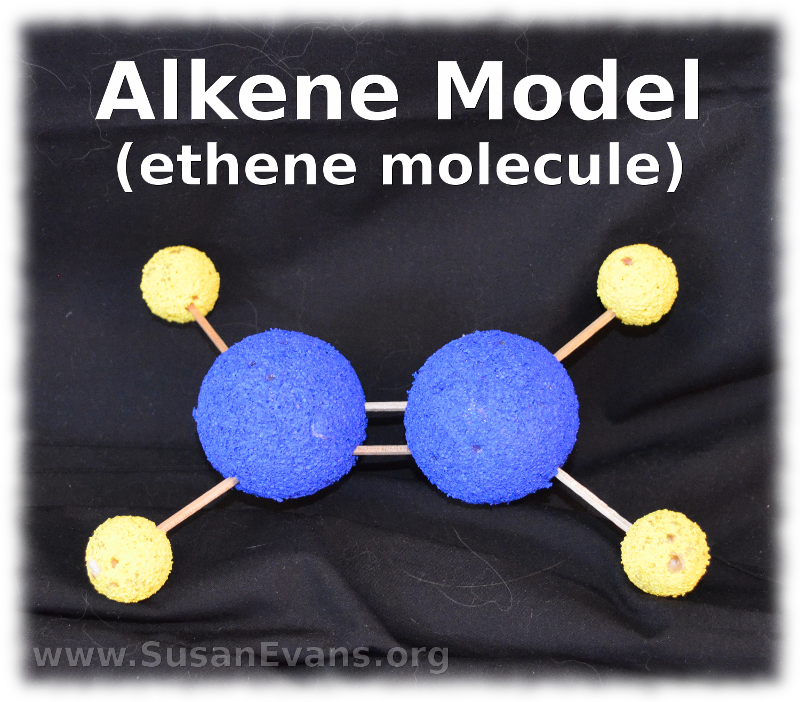
  • Alkenes (at least one double bond between carbon and hydrogen atoms)
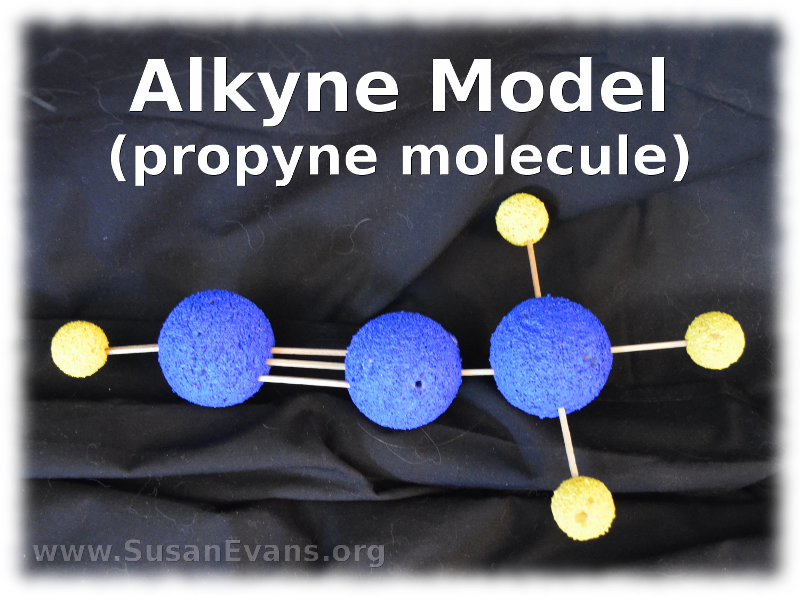
  • Alkines (at least one triple bond between carbon and hydrogen atoms)

We will be making some models of hydrocarbons with styrofoam balls, paint, and toothpicks. You will see my kids assemble these hydrocarbon models in fast motion in the video.

Take a look at an Alkane model:

alkane-model-propaneTake a look at an Alkene model:

alkene-model-etheneTake a look at an Alkine model:

alkyne-model-propyneNow we will perform an experiment with floating hydrocarbons. You will need a mason jar, water, petroleum jelly, and motor oil. Look at what happens when we perform this experiment:

This is our final post for this exciting series of Christian Kids Explore Chemistry by Bright Ideas Press. We hope you have enjoyed our experiments in this series!

#15 Freezing Alcohol

Monday, November 10th, 2014

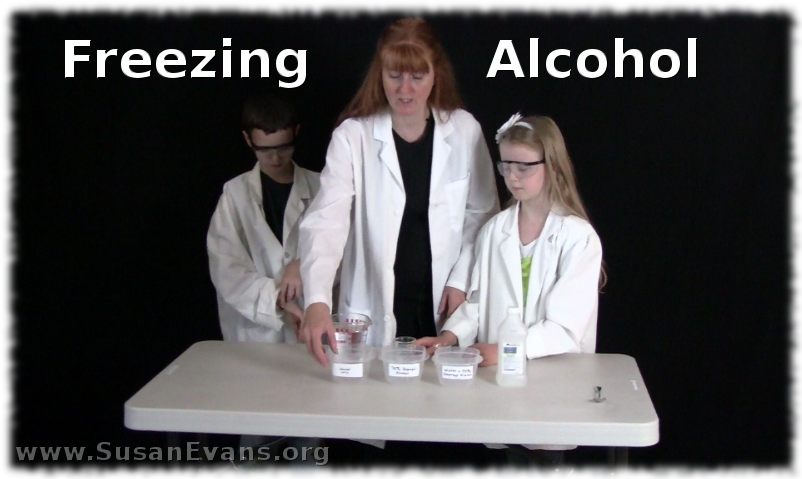
freezing-alcohol

This post contains affiliate links. I was compensated for my work in writing this post.

Today we are doing a “Freezing Alcohol” experiment where we will put different amounts of alcohol combined with water in the freezer to see which will freeze first. My younger two children are using Christian Kids Explore Chemistry by Bright Ideas Press, and this is one of the experiments in the book.

Grab three plastic containers with lids. You need lids because alcohol evaporates so easily, and we don’t want the alcohol to evaporate out of the containers and affect our results.

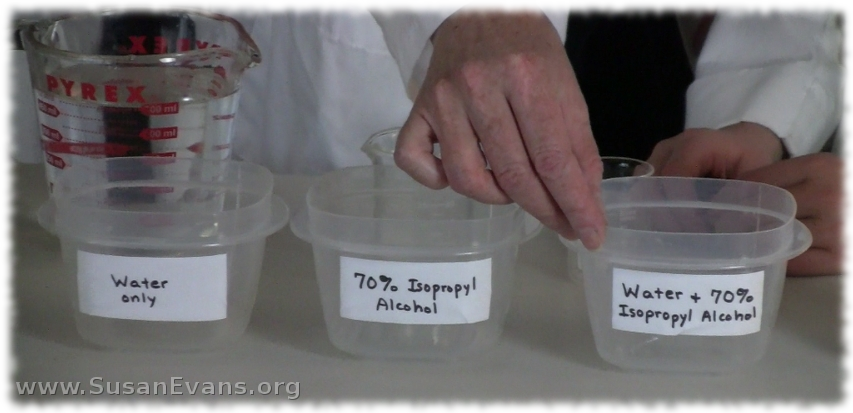
Label the three containers by writing on paper with a black permanent marker. Attach the labels with packing tape. Here are the three labels:

  • Water only
  • 70% Isopropyl Alcohol
  • Water + 70% Isopropyl Alcohol

The water only container is the control. We will see how fast normal water freezes and compare that to the amount of time it takes for alcohol to freeze, if it freezes at all.

Grab your rubbing alcohol from your medicine cabinet. This alcohol will say “70% Isopropyl Alcohol.” Pour the alcohol into the second container.

The third container should have half alcohol and half water. If you put 100 ml of water in the first container and 100 ml of alcohol into the second container, you will want to put 50 ml of water and 50 ml of alcohol into the third container.

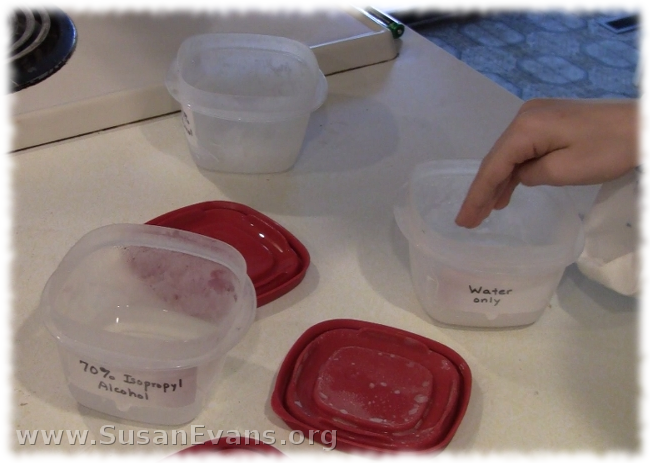
freezing-alcohol-2Place all three containers into the freezer and wait two hours. Then pull them out and remove the lids to see what is going on. The first container was frozen solid. The second container was sort of frozen on the bottom, but liquid on the top. The third container was completely liquid with no ice whatsoever.

Even after 24 hours, we have similar results, except for the second container. Take a look:

Alcohol definitely has a lower freezing point than water does. In fact, a normal household freezer (which is around 0 degrees) will never be able to freeze the alcohol unless the temperature of the freezer is lowered considerably! Of course, you would not want to do that to your freezer, or all your food would get freezer burn!

freezing-alcohol-3

#14 Saturated Solutions

Monday, November 3rd, 2014

saturated-solutions

This post contains affiliate links. I was compensated for my work in writing this post.

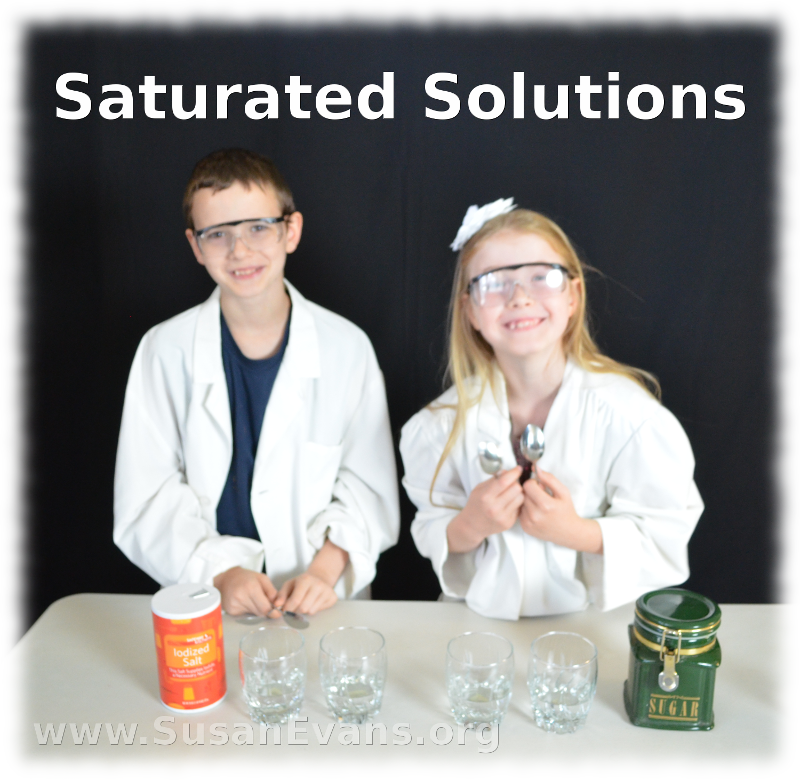
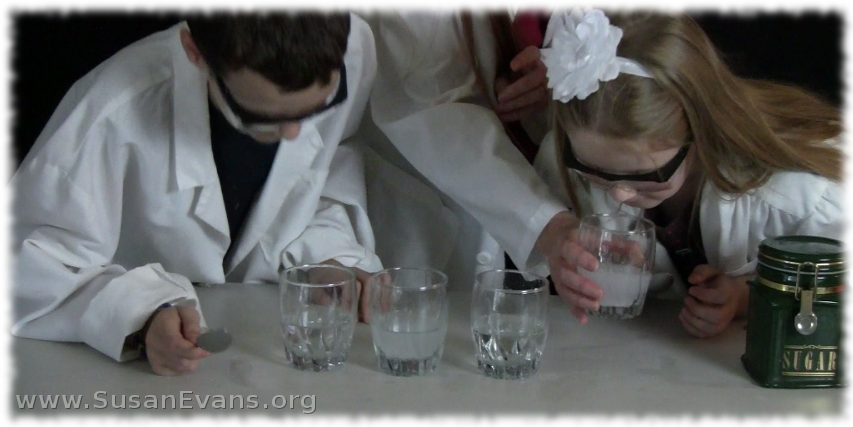
Today we will be making saturated solutions. What is a saturated solution? It’s when the water is holding the most of a substance that it possibly can. We will be making a sugar solution and a salt solution, and we will do a fun identification game at the end, to see if we can identify which is salt and which is sugar. We are using Christian Kids Explore Chemistry by Bright Ideas Press, and this experiment will help you to understand saturated solutions.

I labeled the four glasses before doing the experiment. Two were labeled salt and two were labeled sugar. I put the labels on the bottom of the glasses. I used masking tape and permanent marker.

We poured water into each of the four glasses. Then we placed one teaspoon of salt into the water and stirred it. We placed a second teaspoon and a third teaspoon and so on until the water would no longer hold any more salt. At this point, some of the salt will fall to the bottom because the water itself can hold no more salt. The water is now saturated with salt. Do the same to another glass of water.

Using sugar, place the sugar, one teaspoon after another, into the water, stirring the water after each teaspoon. As soon as the water will hold no more sugar, the water is saturated with sugar. IV’s at the hospital are filled with glucose, so what is pumped into your body when you want to faint is similar to this saturated sugar solution.

saturated-solutions-3Once you have two glasses of sugar solution and two glasses of salt solution, have your kids close their eyes. (Blindfold them if they look like they are cheating with one eye open.)

Slide the glasses around, shuffling their order so your kids can’t tell which solution is which. Now have your kids open their eyes, or take off the blindfold. Have the kids try to figure out which solution is which based on smell. Can you do it?

Now try to identify which solution is which by tasting them. The salt water is really strong and will remind you of ocean water crashing over you. The sugar water is certainly easy to identify, too!

You can watch this experiment here: