Posts Tagged ‘craft’

Statue of Liberty Unit Study

Monday, July 1st, 2013

statue-of-liberty-unit-studyMy children had a fabulous time with this Statue of Liberty Unit Study.

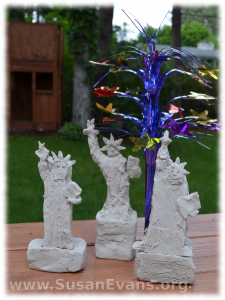
We started by making a Statue of Liberty model. We bought a large hunk of white self-hardening clay. I took it out of the box and placed it on wax paper on top of a cutting board. I sliced it with a butcher knife into four pieces, one for each of my children.

At the table, I placed wax paper for easy clean-up. You will be banging your head against the wall if the self-hardening clay dries like cement straight onto your table, so be sure not to skip this step.

Each child should have a picture of the Statue of Liberty, to help the child draw the shape onto the front of the hunk of clay, using a plastic sculpting knife. You should cut away the clay that you don’t want. It comes off like butter. If the head looks flat like Frankenstein, you can always add more clay and fix it. If you want to erase a line, just rub your finger over it.

After getting the main shape, start adding details. Add the torch, the arm with a tablet, and the pedestal at the bottom of the statue. Then add the finishing details: the spikes coming out of the crown, the facial features, and the folds in the clothing. When you are finished, let the clay harden for two days. Take a look at how much fun my kids had with this activity:

We read the book How They Built the Statue of Liberty so that the children could understand how it was constructed. Step by step drawings helped the children see how the statue was assembled.

Here is a printable model of the Statue of Liberty, from Paper Toys. Be sure to print it on white card stock paper and watercolor light green paint on it before cutting it out and gluing it together.

Here is a free printable book full of activities from the National Park Service:

Here is a virtual tour of the Statue of Liberty:

Here is a short video tour of the Statue of Liberty:

Hundreds of unit studies like this are instantly available when you join the Unit Study Treasure Vault.


Creative Ways to Use Cookie Cutters #7: Patches

Friday, April 26th, 2013

how-to-make-a-patch-for-clothesAnother creative way to use a cookie cutter is to make decorations for your clothing. I will show you how to make a patch for clothes.

It all started one Sunday afternoon while resting on my bed. My daughter came up to me with a flower decal on her shirt. A light bulb went off inside my mind, and I asked her to go get the cookie cutter and put it against her shirt. Sure enough, the decal was exactly the same as the cookie cutter. I thought to myself, “You could easily make a decal for your clothes using a scrap of felt and some embellishments.”

I recommend using felt because you don’t need to hem it, and it won’t fray. Use the cookie cutter as a stencil to trace around on a piece of felt. Use a marker or pen if you can’t see pencil marks on the cloth. Cut the felt shape.

You can decorate the felt shape with fabric markers or sew a pattern with contrasting colors of thread. You can sew buttons, glitter, ribbon, or other embellishments onto your shape.

Using fabric glue, paste the felt shape onto a long or short-sleeve T-shirt that is boring and blah. Make sure you use color-coordinated fabrics for a beautiful result.

To make the T-shirt more durable, you will want to sew around the edge of the felt shape. This is a perfect simple sewing project for a child who is brave enough to use a pointy (not blunt) needle. Just sew a simple stitch up and down, all the way around the shape. Now you are finished. You may wear your masterpiece for everyone to enjoy.

how-to-make-a-patch-for-clothes-2

I can’t wait to show you idea #8! Stay tuned for something you can use to make birthdays special…

How to Make a Felt Clover Pillow

Wednesday, March 6th, 2013

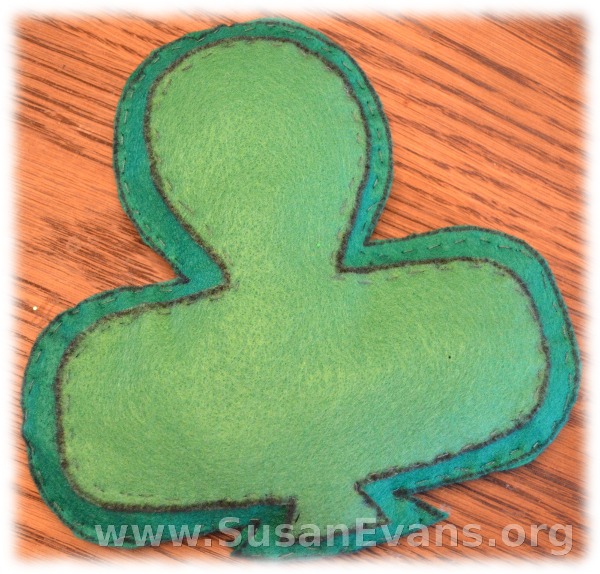
st-patricks-day-crafts-5I’ve been writing a series of St Patricks Day crafts to go with a one-day unit study on Saint Patrick. Today’s craft is a simple sewing project that kids of all ages can enjoy. You will need the following supplies:

  • two dark green pieces of felt
  • one light green piece of felt
  • black permanent marker
  • needle
  • green thread
  • fabric scissors
  • pins
  • sheet of white card stock paper

felt-clover-craft

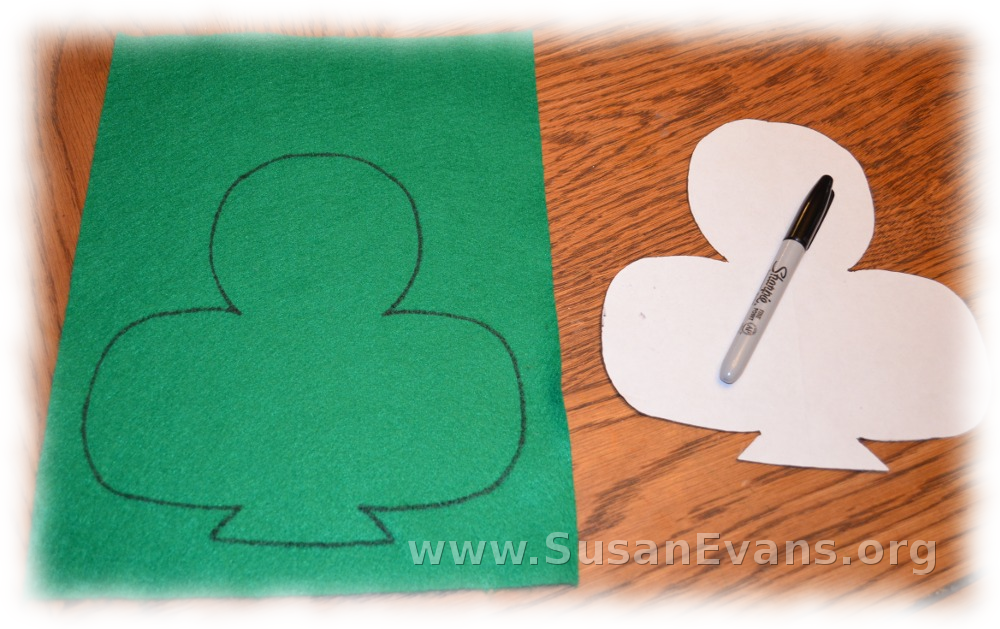
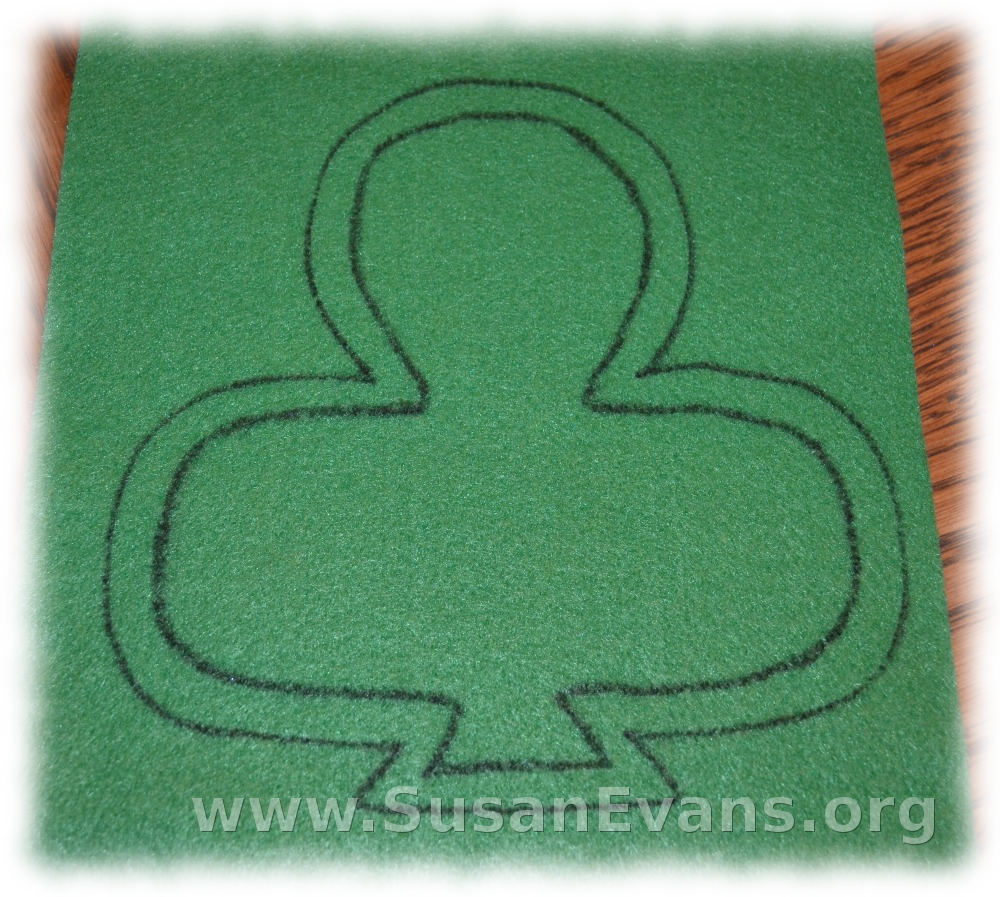
On the sheet of white card stock paper, draw a clover. Fold the paper in half, and cut the clover out so that both sides are identical. Open the clover leaf. Set down a dark green piece of felt. With a permanent marker, trace the shape onto the felt. Do this with all three pieces of green felt. With the light green felt, draw a line about one centimeter in from the outer clover leaf shape. Now cut the light green felt to the smaller size. Cut the darker felt along the outside lines you drew.

green-felt-clover

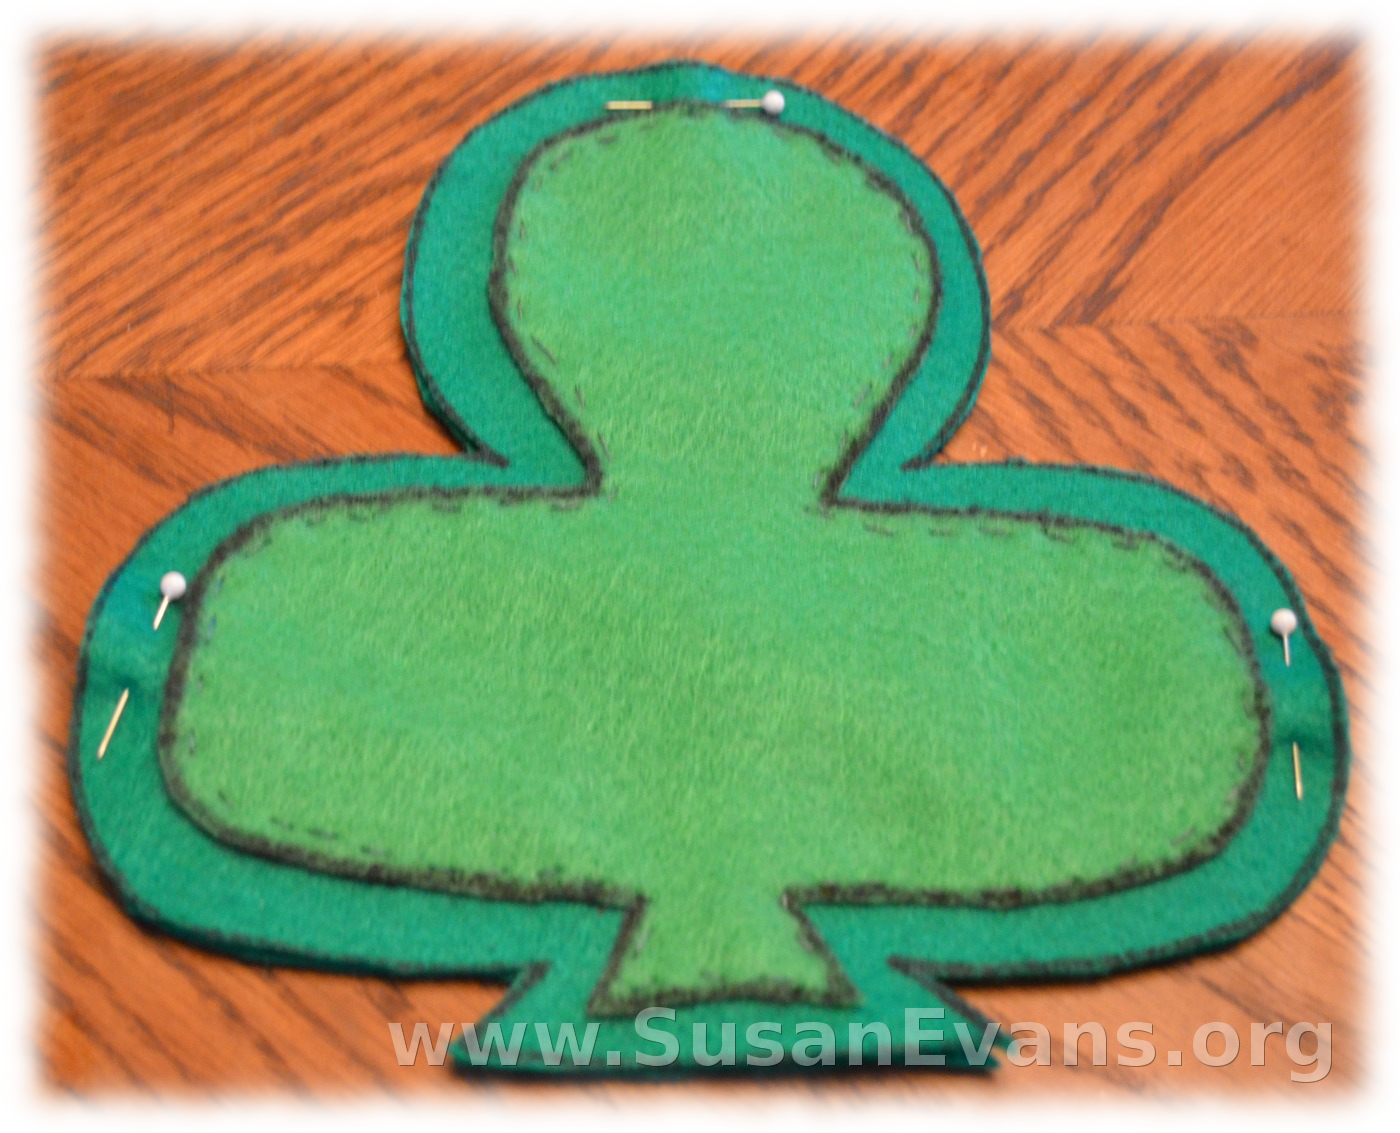
Now you are ready to sew. Pin the light clover leaf to one dark clover leaf. You only need three pins, one for each leaf of the clover. Sew a straight stitch with green thread. Remove the pins as you sew.

st-patricks-day-felt-craft

Pin the two dark green pieces of felt together. Use a straight stitch to sew around the clover. Leave one part of a clover leaf open to put the stuffing into the pillow. Shred up all the leftover felt by cutting it into small pieces. You will use this to stuff your clover pillow. Gently place the stuffing into the almost-finished pillow. Now sew up the remainder of the pillow. Enjoy your finished clover pillow!

Decorate a Clover Leaf

Tuesday, March 5th, 2013

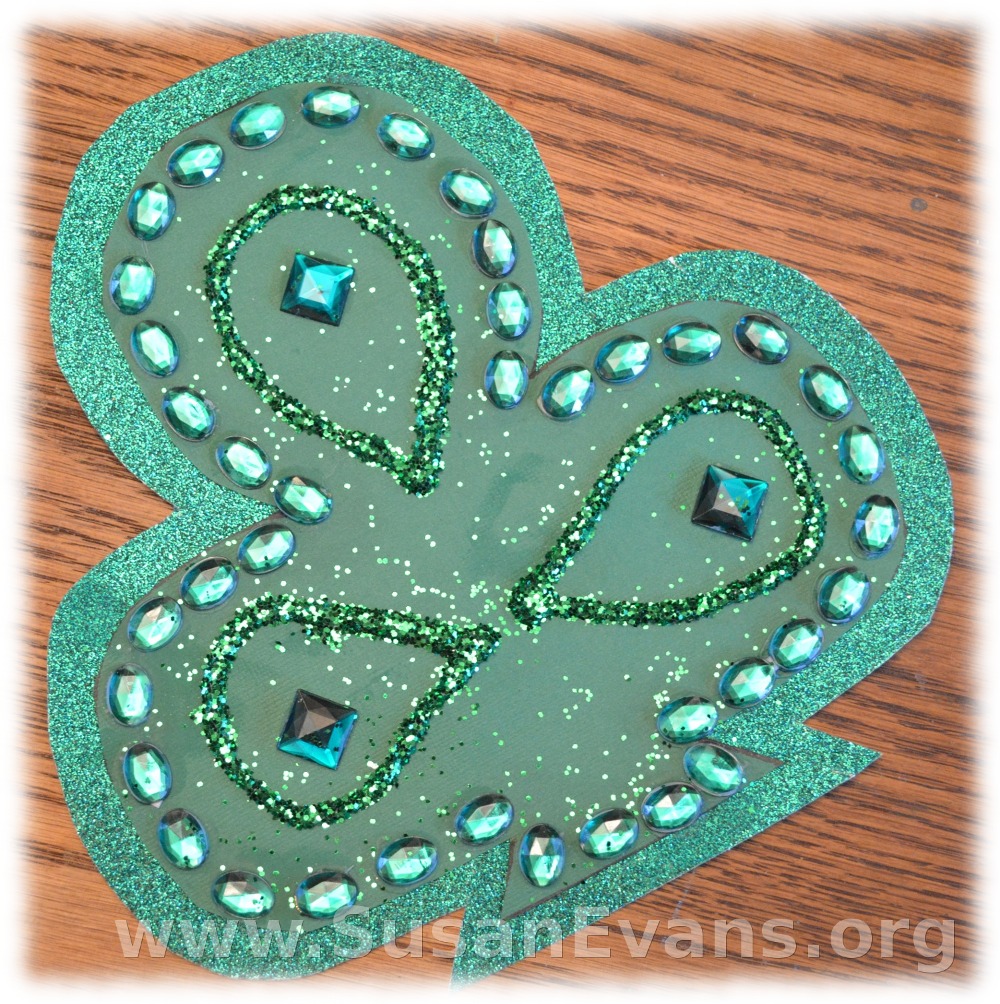
decorate-a-clover-leaf st-patricks-day-crafts-12St Patricks Day crafts are fun for young children. One craft that even toddlers can enjoy is to decorate a clover leaf. Dump green craft supplies on top of your table and have your kids design their own green St Patricks Day clovers!

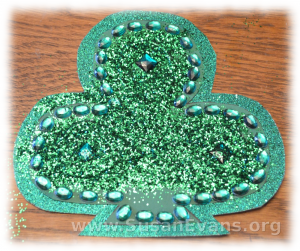
This is how we decorated our spectacular green clover leaf: Grab some green card stock paper and draw a large clover leaf. Cut out the leaf. Get some sparkly green paper (found at craft supply stores), and glue the card stock paper to the glitter paper. Now cut around the clover leaf, leaving about a centimeter of glitter paper showing.

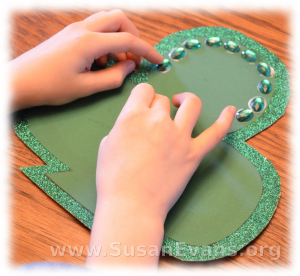
st-patricks-day-crafts-13Have your child glue fake green jewels all around the outer edge of the clover. We just used regular white school glue, which dries clear. Now glue any design you want on the rest of the clover, using green art supplies such as feathers, buttons, sequins, scraps of cloth, and other similar items

We drew large tear drop shapes with glue, and then my daughter shook green glitter on top of the wet glue. (The green glitter looks like pixie dust.) Just pick up the paper, and all the loose glitter falls off, revealing a beautifully decorated clover leaf!