Posts Tagged ‘crafts’

Shrinky Dinks

Thursday, March 10th, 2011

shrinky-dinksMy husband remembers Shrinky Dinks from when he was a little boy. I’d never heard of them. One year we bought Shrinky Dinks as a stocking stuffer for one of our kids. It came with strange sheets of translucent paper. You draw and color whatever you want on them. We used colored pencils. Then you cut them out and put them in the oven.

They shrink to one third the original size. You bake the artwork one by one for 1 to 3 minutes each at 325 degrees. (I ruined my first one because I had no clue what I was dshrinky-dinks-2oing, but the others came out perfect. So you might want to start with one that doesn’t matter if it gets messed up.) If you put your oven light on, you will see it start to shrink. Then count for 30 seconds. Pull it out, and there it is, teeny weeny.
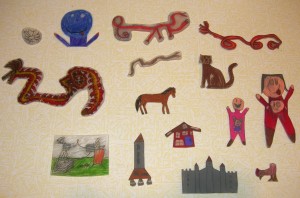
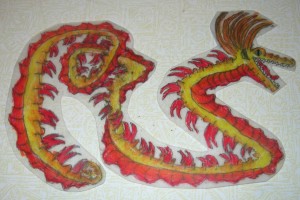
shrinky-dinks-3The kids squealed with laughter when they saw their artwork shrink through the oven door. My 10-year-old artist drew a detailed dragon, and the dragon shrank down and looked even more detailed. It was a fun “do-it-once” kind of activity.
The Mysterious Cracking Pots

Tuesday, March 8th, 2011

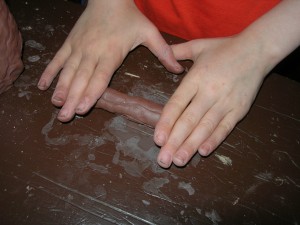
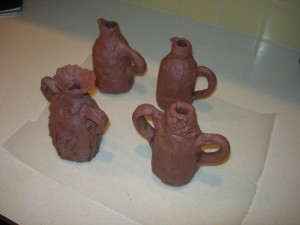
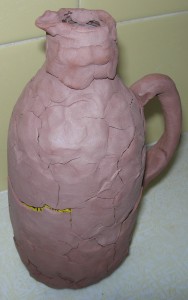
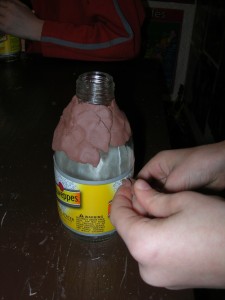
cracking-potsSo much for my cool idea of making easy terra cotta Greek pots. I’m talking about the ones I referred to in my Ancient Greece Unit Study YouTube video, the ones where you get clay and smoosh it onto the side of a bottle. Then roll a snake to make each handle. The kids loved making the pots. But the pots became aged in a matter of a couple of hours! I do not remember this happening five years ago when I did it last time.

The next day I tried it with a thinner layer of clay. Nope. It still cracked after about two hours. So now this is my recommendation: After forming the shape of the vase, while it’s still wet, use black paint to decorate with Greek figures. Then hold it up and snap a picture. Tell the kids it will mysteriously age because you’ve pretended to go back in time to get it. They will be excited and happy two hours later when they see how old their pots look! Cool after all!cracking-pots-2easy-greek-potseasy-greek-pottery-craft


Pipe Cleaners Gone Wild

Friday, February 4th, 2011

pipe-cleaners-gone-wild

“Why don’t we make some fun pipe cleaner crafts?” I thought to myself, since my daughter pesters me every day to do crafts. If I do a craft with her, she says, “But I want to do lots of crafts.”

Glancing around the local craft supply store, through the mountains of pink, red, and white stuff for Valentines Day, I found a package of pipe cleaners, pom poms, and google eyes. I grabbed it and went to the checkout.

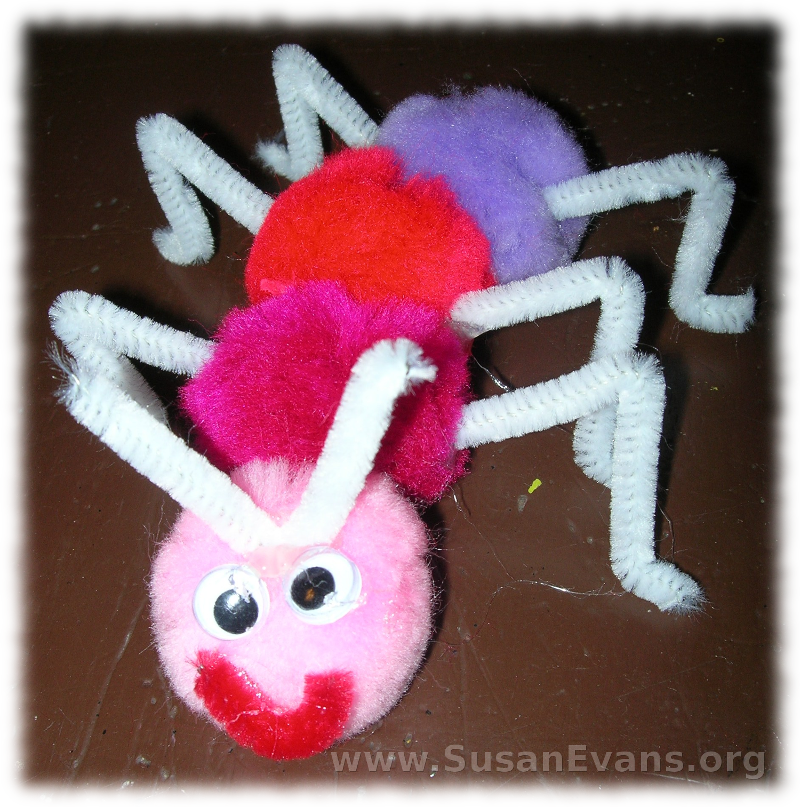
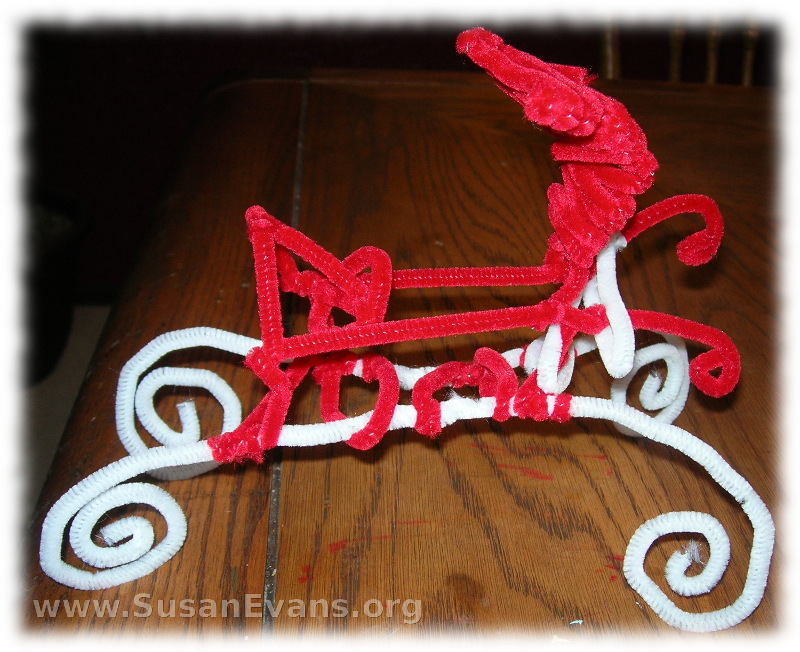
A couple of my kids made caterpillars, which they stuck together with hot glue, with my help. But my 10-year-old son went into the dining room and was quiet for a while. I got a surprise and a shock when I saw what he had made with the pipe cleaners. It was an old-fashioned car!

pipe-cleaner-car

He had apparently wound the pipe cleaners together until they formed the figure that he was imagining in his head. This was a way more interesting and intricate pipe cleaner craft than anything I imagined when I bought the pipe cleaners at the craft store. It opens up a whole new world of things we could make with pipe cleaners…

Tips for Success with a Toy Pottery Wheel

Wednesday, January 26th, 2011

toy-pottery-wheel

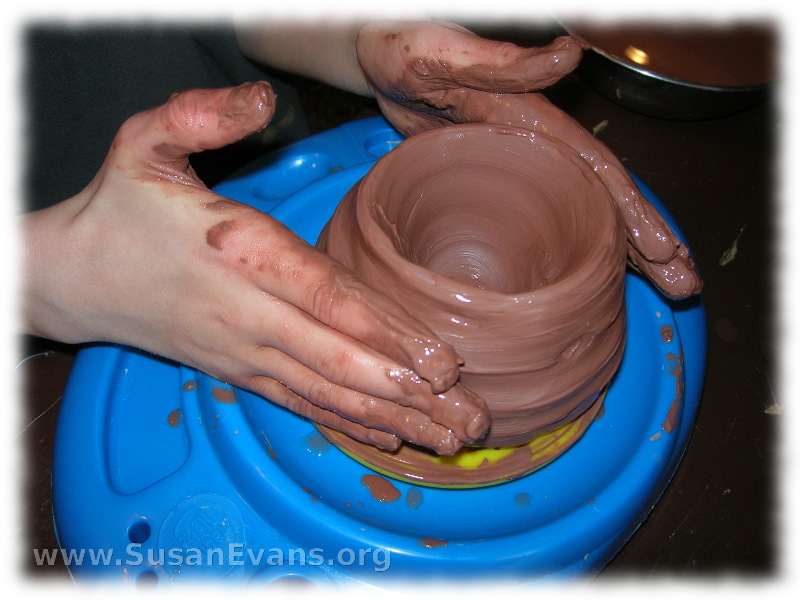
Here are some tips and a video for how to be successful when your children use a lousy toy pottery wheel (because all toy pottery wheels are lousy):

  • Start with a ball of clay the size of the pot you want. Place it on the toy pottery wheel. We used self-hardening clay because we had no money to get our pots fired professionally. (This is also why we were using a toy pottery wheel instead of a real one that was way out of our price range.)
  • Press the pedal to make the wheel go around. Don’t start crying because of the lack of power. I already told you it was lousy, so just make do.
  • Hold it firmly with wet hands so that you can shape it into a smooth blob. Feel it swooshing through your hands.
  • Stop the machine. Take your foot off the pedal. Push your fist into the blob, making a bowl.
  • Now press the pedal and make the spinner go around in circles again. Smooth it out with wet hands.
  • Keep your hands wet at all times.
  • It has to stay symmetrical, or it will start to fall apart. Keep it symmetrical and balanced all the way around. Smooth out the bumps.
  • When you’re finished with the pot, set it on wax paper to dry.
  • Wait at least overnight for the self-hardening clay to dry. Then use a black Sharpie marker to draw a pattern on it. Use black paint to fill it in. Let it dry.
  • Enjoy your finished pot. Give it to Grandma, who is the only one who will truly appreciate it.