Posts Tagged ‘Easter’

Resurrection Rolls

Wednesday, March 20th, 2013

Resurrection-Rolls

These easy resurrection rolls take 5 minutes to prepare (plus 10 minutes to bake) and are a beautiful picture of Christ’s empty tomb. This is why it is a perfect treat for the week leading up to Easter. It is basically a crescent roll wrapped around a marshmallow. When you bake it, the marshmallow mostly disappears, creating what looks like an empty tomb.

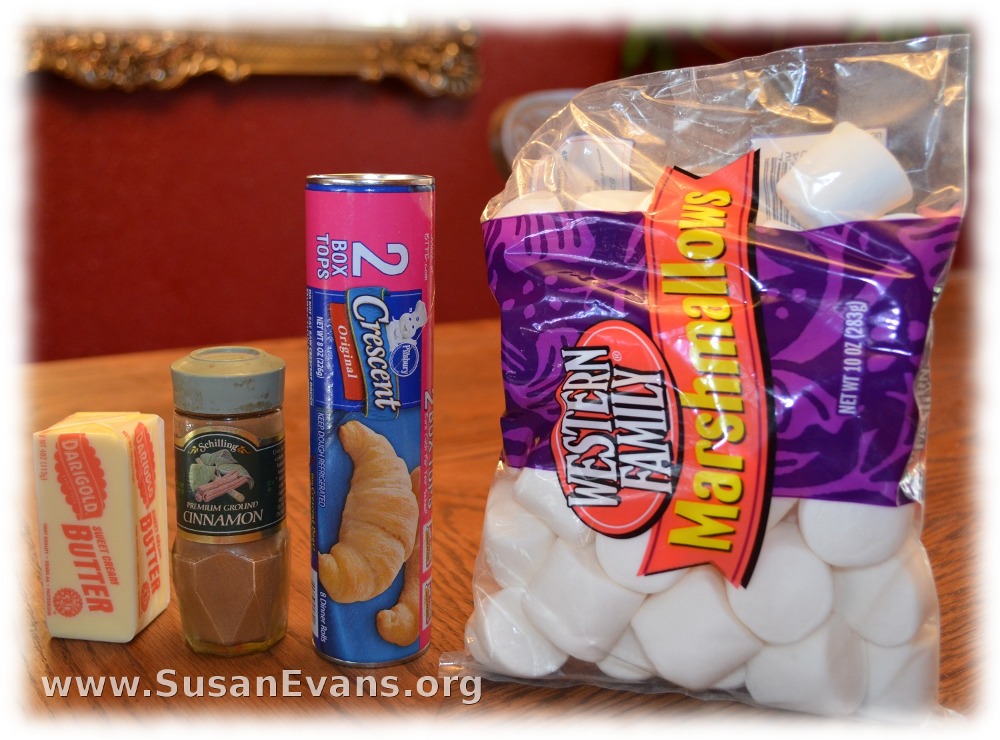
These are the 4 ingredients you will need:

  • large marshmallows
  • a can of crescent roll dough
  • 1/4 cup of butter
  • 1/4 teaspoon of cinnamon

Resurrection-Rolls2

Pre-heat the oven to 375 degrees. Place the butter in a bowl and microwave until the butter melts. (This took me 25 seconds, but each microwave is different.) Stir the cinnamon into the melted butter.

Resurrection-Rolls3

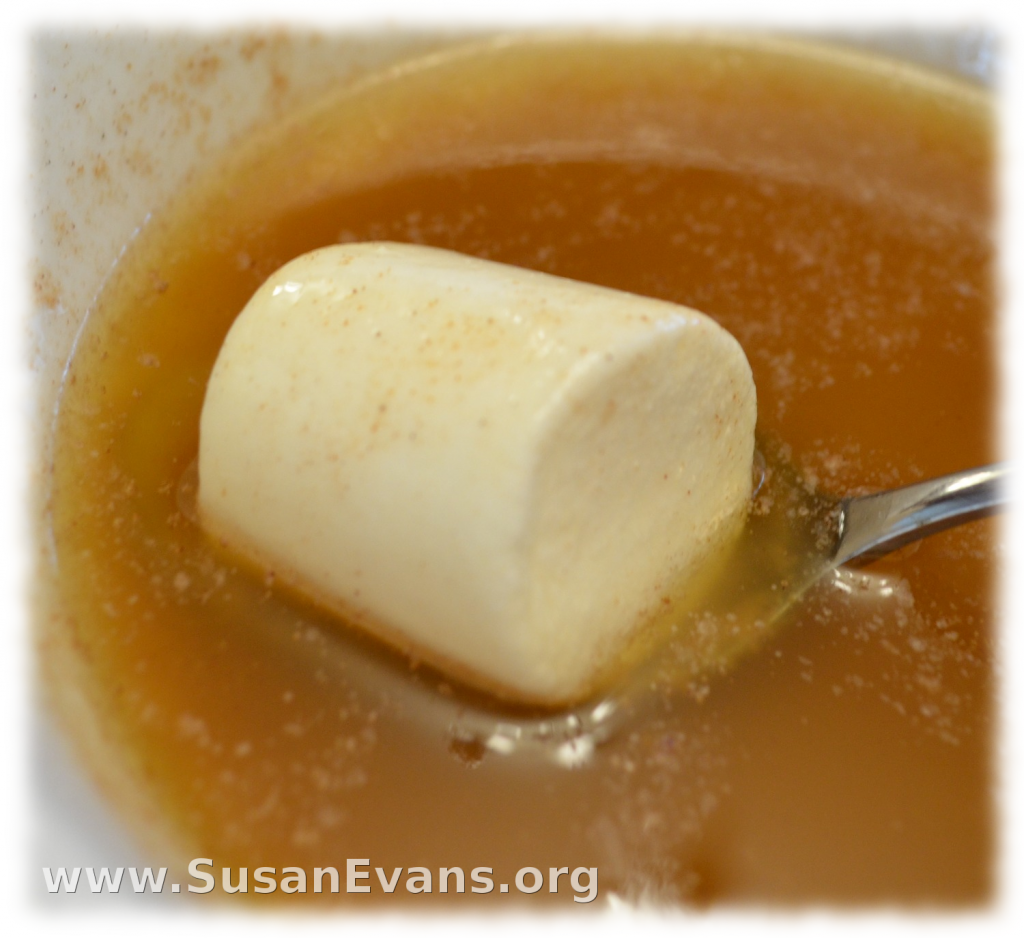
Open the can of crescent rolls and pull apart each piece of dough. Unroll the dough on a cutting board, so that it is ready for the dipped marshmallows. Now dip the marshmallows into the melted butter. It’s almost like you’re baptizing the marshmallow, symbolizing that Christ had to die and be buried.

Resurrection-Rolls4

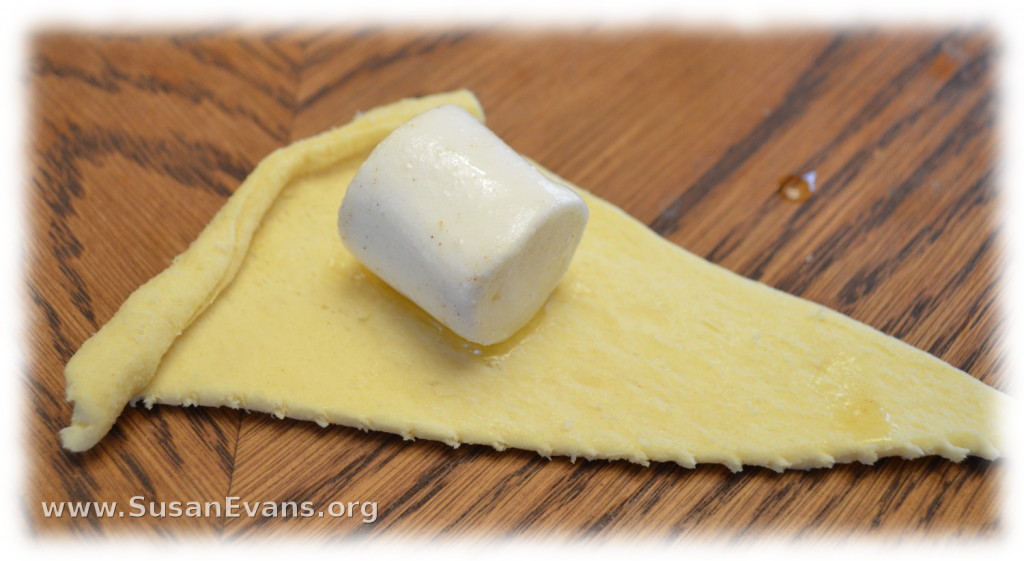
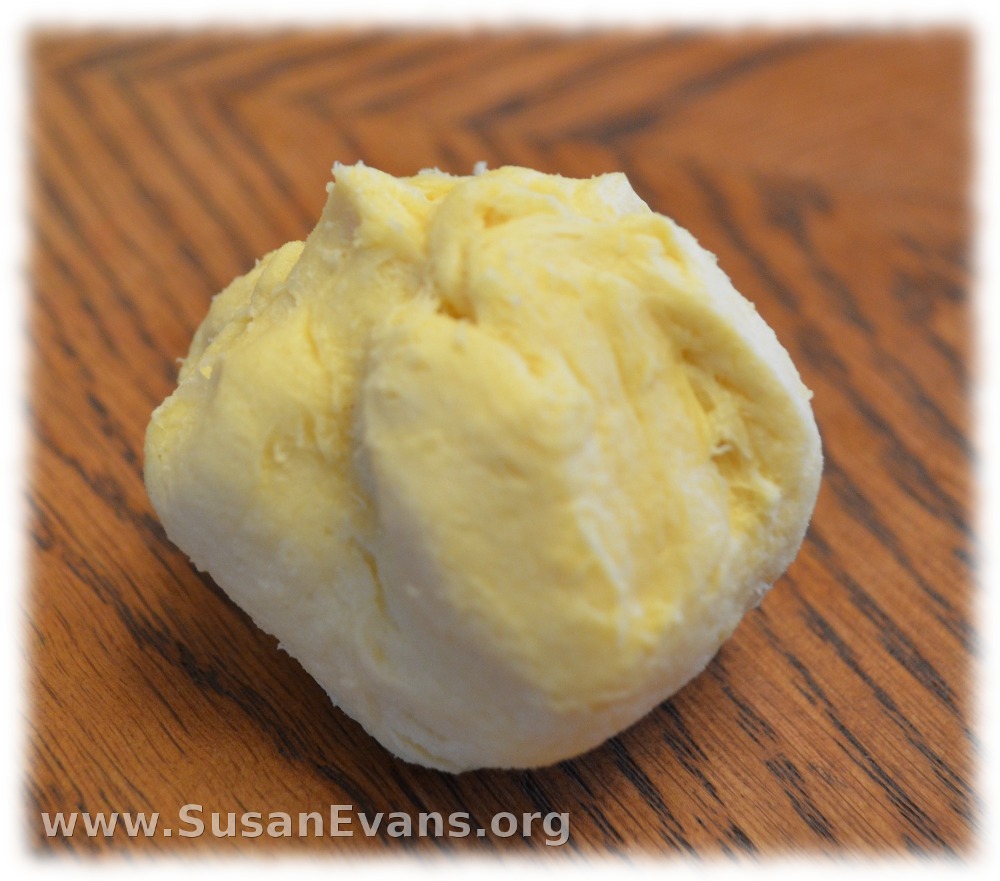
Place the marshmallow into the center of the dough and scrunch the dough around the marshmallow. Christ was buried for three days.

Resurrection-Rolls5

Now put the resurrection rolls into the oven for 10 minutes. When they come out, you will see that the marshmallows have disappeared, leaving an empty tomb.

Resurrection-Rolls6

How to Make Confetti Eggs with Video Tutorial

Thursday, March 22nd, 2012

confetti-eggs

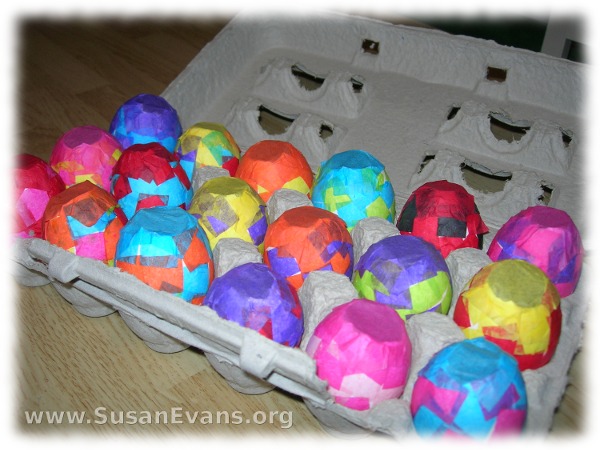
Watch me as I make some fun confetti eggs. You will need egg shells with a hole on the top. (I’ll show you how to do that.) You will also need colorful tissue paper in bold primary colors, scissors, and Elmer’s glue. Make sure you have confetti and a funnel to pour the confetti more easily into the eggs. Here is a video demonstration on how to make the confetti eggs:

Easter Ideas

Tuesday, April 19th, 2011

Easter-IdeasThis post contains affiliate links.

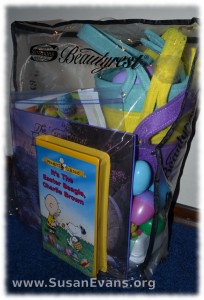
If you would like some Easter ideas, here is a video that will show you some fun and easy Easter crafts as well as ways to organize Easter from year to year. It’s helpful to keep all your Easter supplies in a clear pouch. You can get a durable pouch for free when you buy bed sheets or blankets. These are the items I keep in my Easter pouch:
Easter-organization

  • The Very First Easter – A book that explains the true meaning of Easter with colorful illustrations of the resurrection of Christ.
  • Plastic Easter eggs and stackable baskets for each child for the Easter egg hunt each year.
  • Unused egg dye kits and wire egg holders left over from other kits so that each child has a wire egg holder to dye their Easter eggs.
  • It’s the Easter Beagle, Charlie Brown (a classic cartoon)
  • A plastic bag or decorated folder with clipped magazine pictures for Easter crafts you might want to do with your children in future years.
  • Resurrection Eggs (from Family Life) – The items are made from metal, and each item illustrates something from the Easter story. Lead up to Easter by reading a short devotional each day for the 12 days leading up to Easter. (Well-done and not cheesy.)

Here are some easy Easter crafts to do with your children:

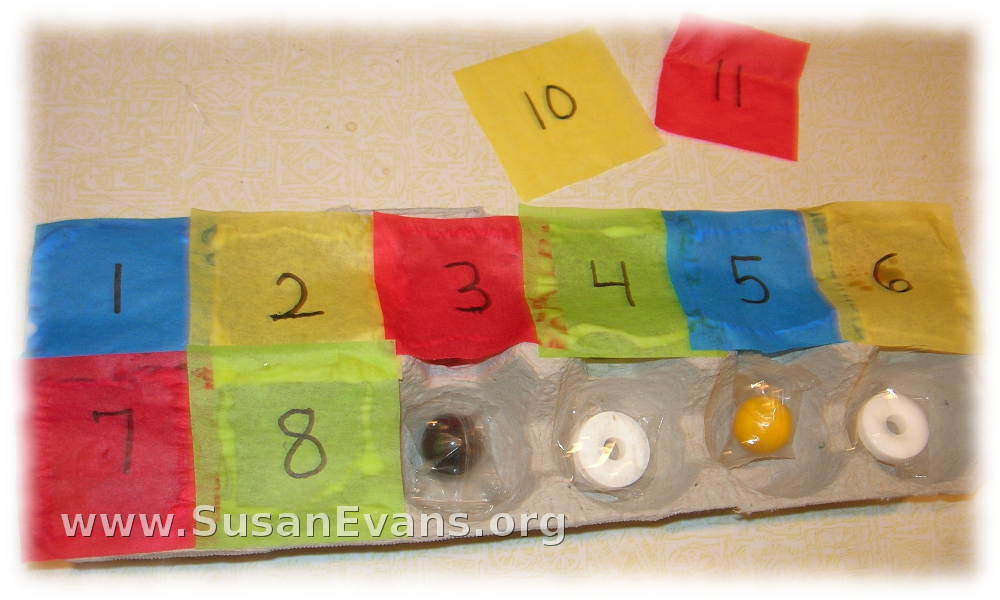
1. Colorful countdown egg carton
Easter-crafts

  • Cut off the top part of a cardboard egg carton.
  • Put candy or the Resurrection Egg items into each compartment.
  • Glue colorful squares of tissue paper to seal each compartment. With a black marker, write the numbers 1-12 on each piece of tissue paper before you glue it in place. Allow it to dry overnight.
  • For the 12 days before Easter, your kids can tear through one number of the tissue paper, getting the candy or item, looking forward to Easter. This is sort of like an Advent calendar, except it’s for Easter instead of Christmas.

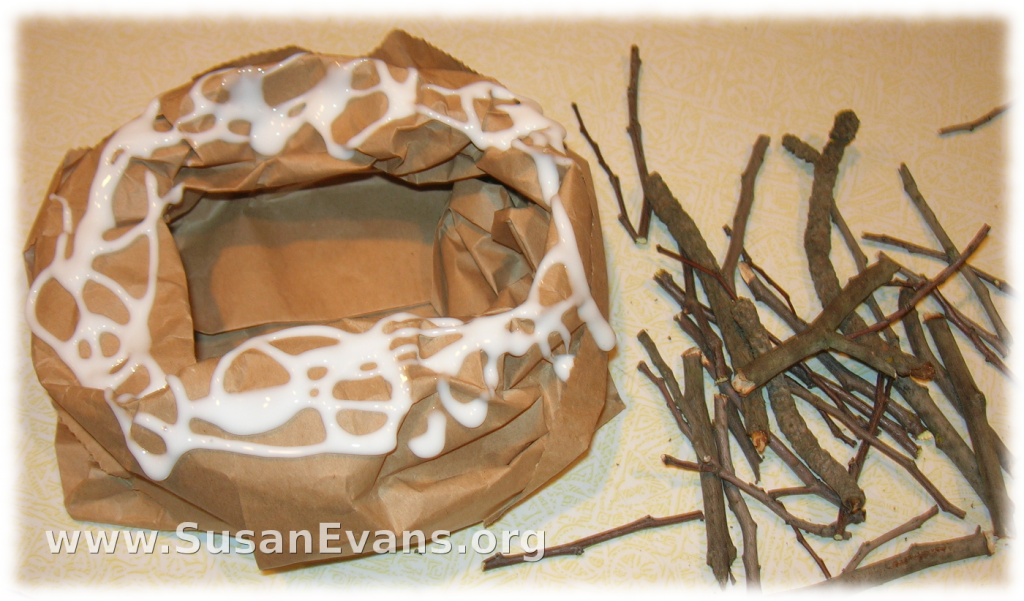
2. Paper sack and twig nest
Easter-crafts-2

  • Scrunch down a paper sack to make the nest.
  • Pour glue over the top.
  • Have your kids glue the small twigs onto the paper sack. Super cute nest, perfect for your glitter eggs.

3. Glitter eggs

  • Get a cold boiled egg from your fridge. Put school glue on the outside of the egg. (Make sure the shell is still on the egg.)
  • Place the egg into a plastic bag with confetti. Shake the egg to coat it completely.
  • Let the beautiful glitter egg dry in the fridge.
  • Place it into the cute twig nest the next day.

Have a great Easter!

Easter-Ideas-3