Posts Tagged ‘experiment’

Vinegar And Baking Soda Experiment

Friday, May 17th, 2013

Erupting volcanoes aren’t the only reason you will want to do a vineger and baking soda experiment with your kids. If you want to see a cool, frothing explosion any time, you can add some blue food coloring to your baking soda in a small container. Stir it well. Now add the vinegar by pouring to into the baking soda, and you will see the blue froth coming out of the container in a fun way. Be sure to put a larger container underneath to catch the excess explosion so that it doesn’t stain your counter.

vinegar-and-baking-soda-experimentThis science experiment takes less than five minutes and is sure to impress any kid, especially young ones who have never seen it before. My own kids have erupted lots of volcanoes this way, adding red food coloring to a film canister inserted into a mud volcano outside. Create four different kinds of volcanoes side by side: cinder cones, composite cones, shield cones, and lava domes. Then have four kids get ready to pour vinegar into their volcano tops. Shout, “Ready, set, go!” See which volcano erupts first.

You can use my Amazon affiliate link to buy a volcano model, which has a hole in the top for doing your vinegar and baking soda experiment. The model shows the inside of a volcano and is good for studying the anatomy of the volcano.
Flower Experiment

Tuesday, May 29th, 2012

flower-experiment

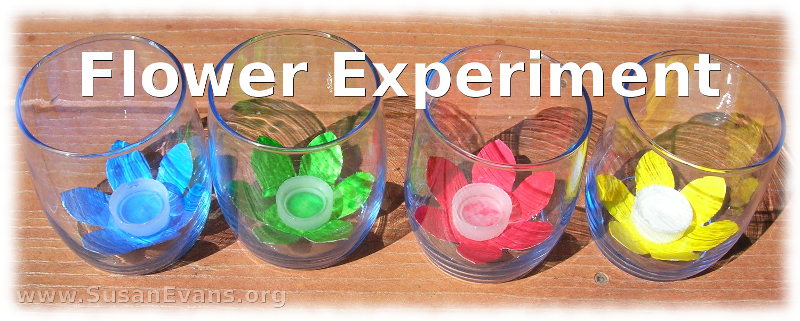
Here is a fun flower experiment: Grab some colorful construction paper, and cut a flower shape in four different colors: blue, green, red, and yellow. Grab four bottle caps, and put sugar water into each. Place the construction paper flowers into each of four clear glasses, with the full bottle caps in the centers. Then put them outside, and watch which bottle cap gets drunk out of the most by bees and butterflies. For some reason, the red color attracts insects more than the other colors…

Extracting DNA

Thursday, April 12th, 2012

extracting-DNA

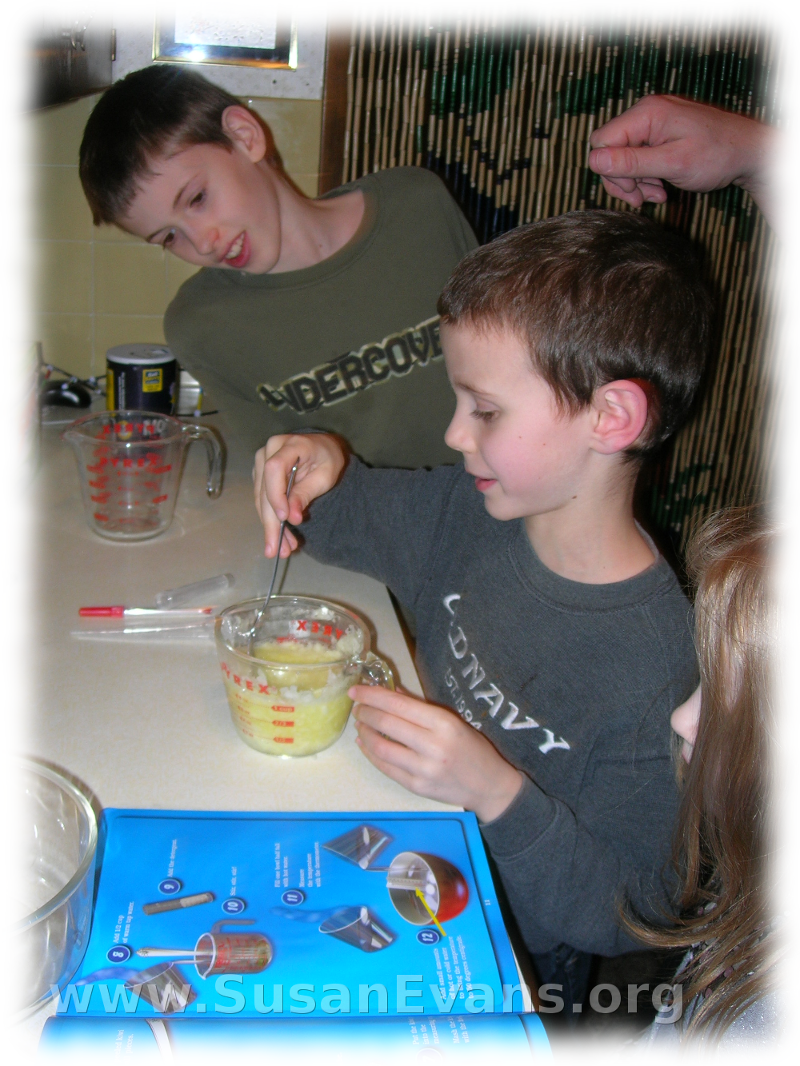
My husband did an experiment with my kids the other night. We had fun extracting DNA from an onion. My 8-year-old son Nathaniel received a DNA kit as a gift, so he was eager to try one of the experiments. First we cut an onion into small pieces, and the kids mashed it in a glass measuring cup. We added half a cup of warm water. Then we added 5 ml of powdered detergent. We stirred it.

extraxting-dna

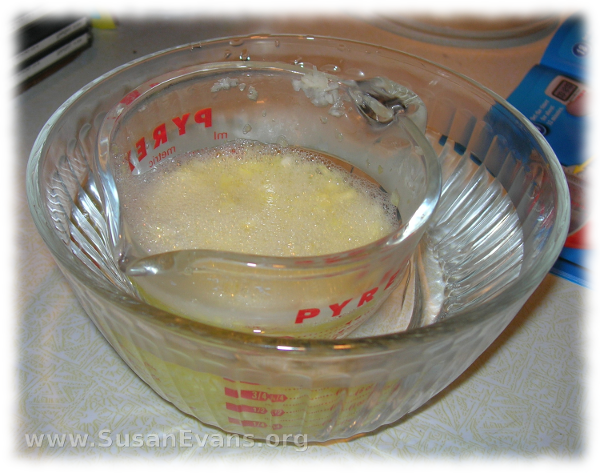
Next we filled a bowl with hot water. We measured the temperature with a thermometer, adding cold water until it was 50 degrees Celcius. We put the measuring cup with the smashed onion bits into the hot water. Then we set the timer for 12 minutes.

extracting-dna-2

We added hot water as needed, to keep the mixture at 50 degrees, stirring from time to time. Also, we got a second bowl and filled it with ice cubes and water.

Ding. (The timer went off.) We took the mixture out of the hot water and put it into the cold water. We set the timer for 5 more minutes.extracting-dna-3

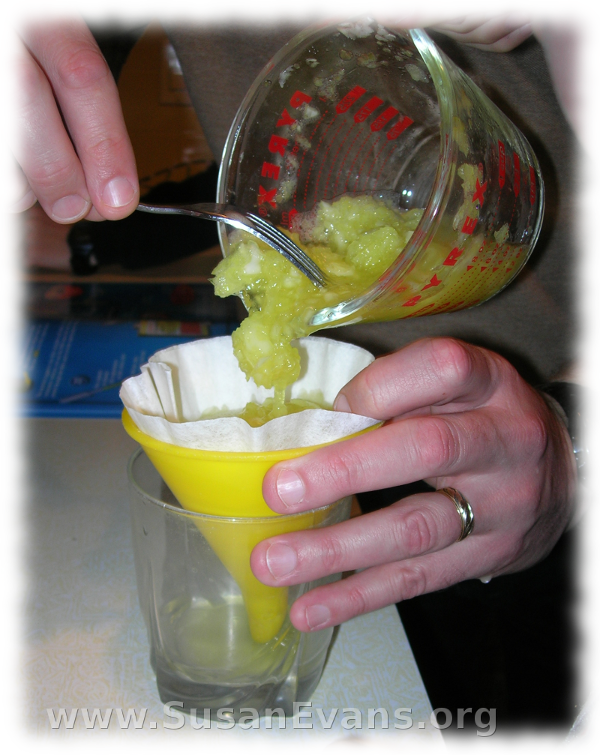
Ding. We grabbed a coffee filter and stuffed it into a funnel. Then we poured the onion mixture through the filter and funnel, and into a glass. The gunk trapped in the filter included “cell walls, cell membranes, and cytoplasmic leftovers, but not the DNA from the cell.” The DNA passed through the filter.

extracting-dna-4

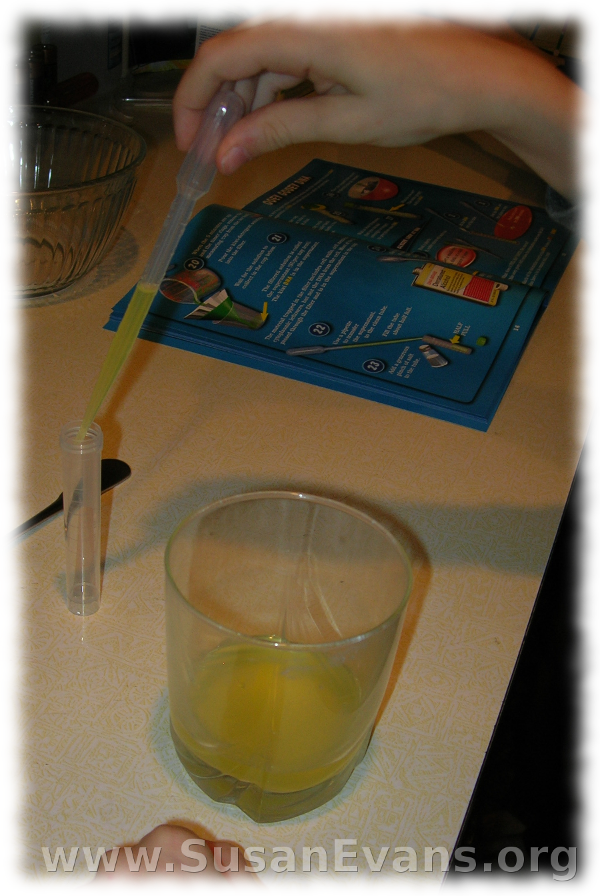
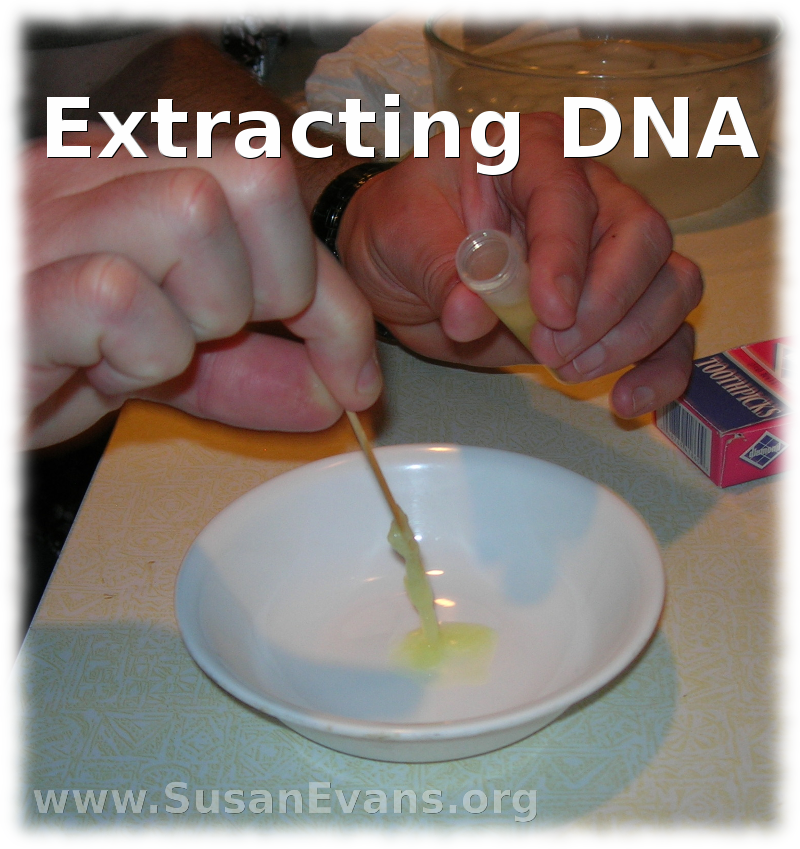
We poured the DNA liquid (called supernatant) from the glass into a test tube, filling the tube halfway. We added a pinch of salt, then dripped chilled (denatured) alcohol down the side of the tube, filling the other half of the test tube. We screwed the cap onto the tube and rocked it back and forth like we were dancing with a maracas. We placed the tube in the freezer and waited at least 10 minutes, tapping our feet impatiently.

Ding. Oh my goodness! The white gloppy stuff is DNA! It feels gooey like mucous, and and it’s stringy, like it has formed chains!

extracting-dna-7

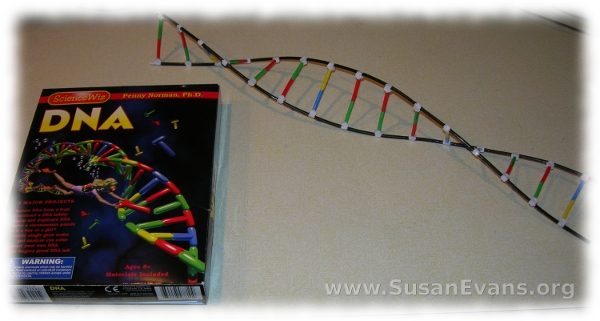
My husband also helped my kids put together a DNA chain with the plastic snap-together DNA pieces. He looked at me and said that he gives this Science Wiz DNA kit a thumbs up. The colorful instructions were easy to follow, and the experiments were fun.

extracting-dna-6Linked to Science Sunday at Adventures in Mommydom:

Science Sunday

Candy Experiments

Wednesday, December 29th, 2010

candy-experiments

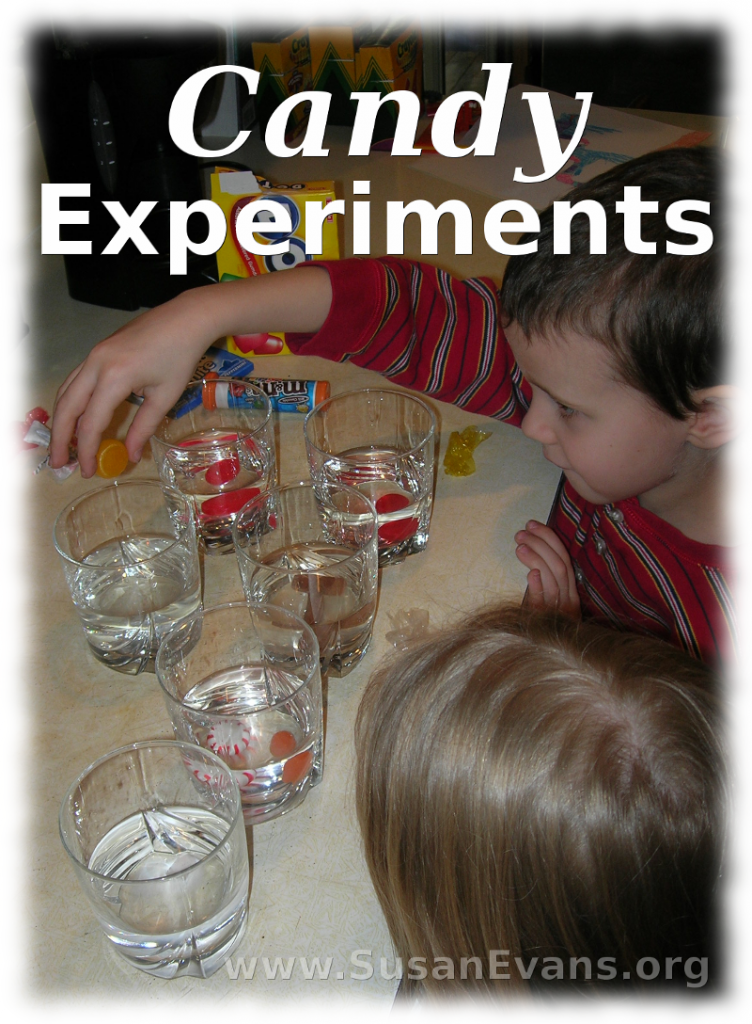
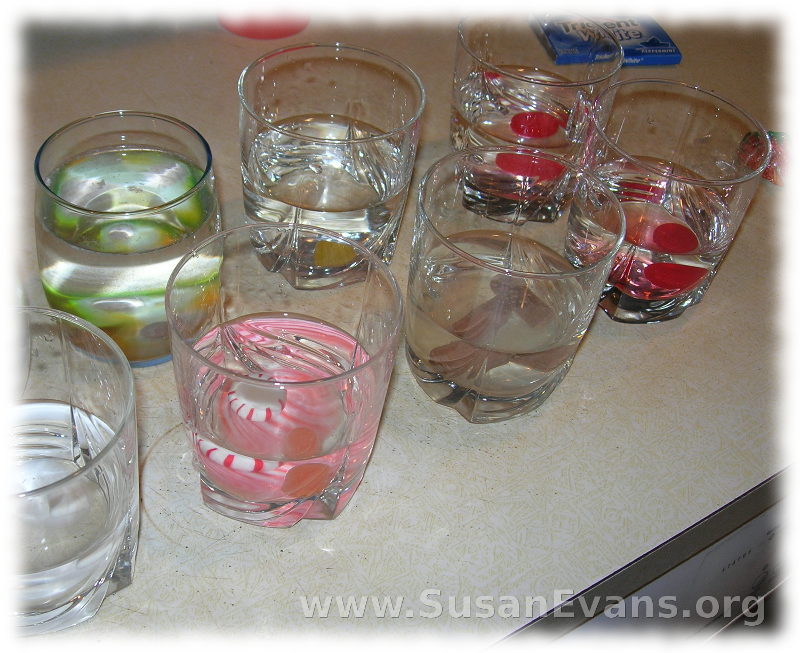
Whenever there is too much candy in the house is a great opportunity to do candy experiments. One experiment is the acid test. Pour water into several glasses, and plunk in a candy into each one. If the candy is sour, it will be more fun. Dump a spoon of baking soda into the water. If bubbles appear, the candy is acidic.

candy-experiments-2

Another experiment is to see whether candy dissolves faster in cold or hot water. (The molecules move faster in hot water, which is why it dissolves faster.)

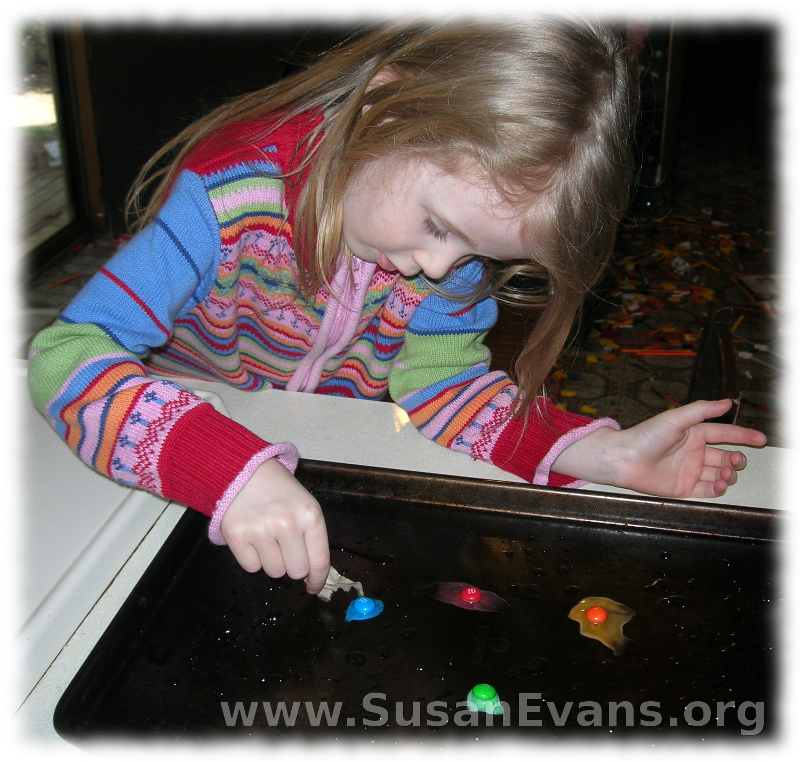
My daughter was watching as M&M’s dissolved in a shallow pan of water. She stuck a paper towel into it and saw the color creep up the paper towel.

candy-experiments-3

You can do a sinking and floating experiment, to see which candies are denser than water. None of our candy floated, since it was hard candy. Lighter candy like 3 Musketeers would float, but who wants to ruin chocolate? Chocolate is never a left-over candy at our house.

candy-experiments-4

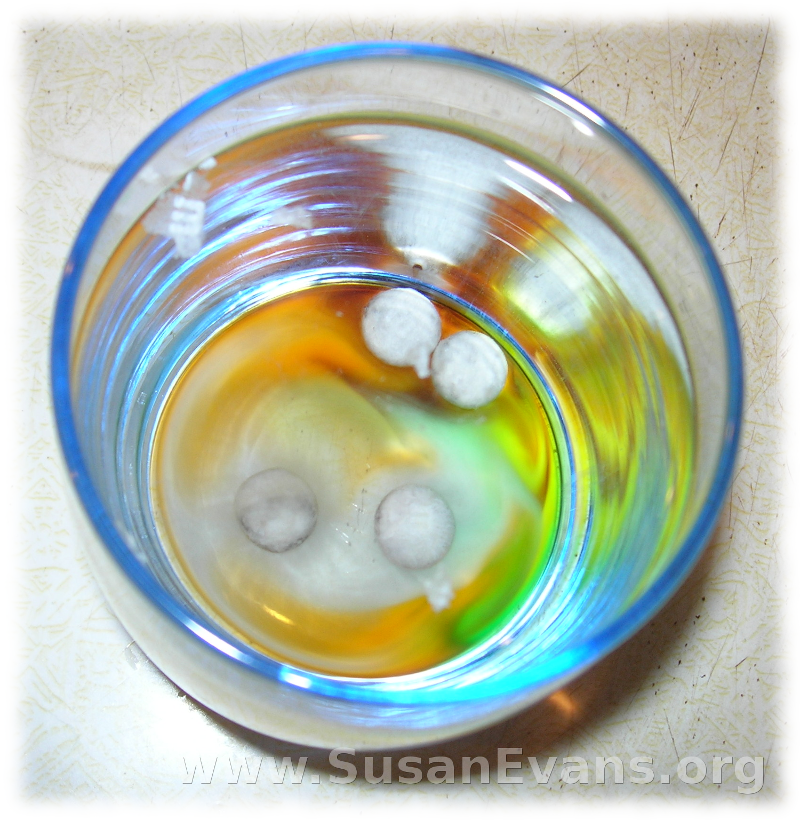
The most fun activity we did during these candy experiments was to throw M&M’s into some water to dissolve. (I know, I’m wasting perfectly good chocolate, but this experiment is worth it.) The M’s began floating on the top of the water, disconnected from the M&M’s. (The wax from the M’s was less dense than water.) It was almost like a magic trick.