Posts Tagged ‘geography’

Huge List of Hands-on Activities for High School

Monday, March 6th, 2017

hands-on-activities-for-high-school

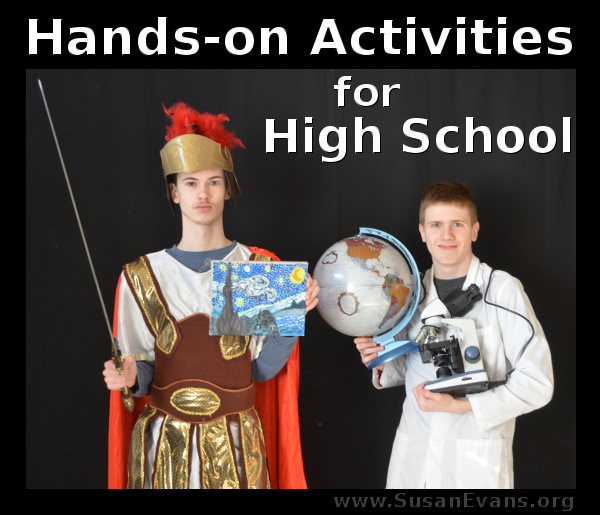
It’s harder to find hands-on activities for high school than for elementary, but just because you are homeschooling teens doesn’t mean that your day has to be boring and tedious. Everyone learns better by doing–this is true for practical skills like driving and cooking, but also for academic knowledge like science and history. Take a look at our enormous list of fun hands-on activities for high school!

Hands-on High School Science Activities

hands-on-high-school-science

High school sciences naturally lend themselves to hands-on activities because of the lab work required. But as you can see in the following list, you can also have fun with food, field trips, LEGOs, and even comedy to bring your science to life!

Biology

Chemistry

Human Anatomy

Hands-on High School History Activities

hands-on-high-school-history

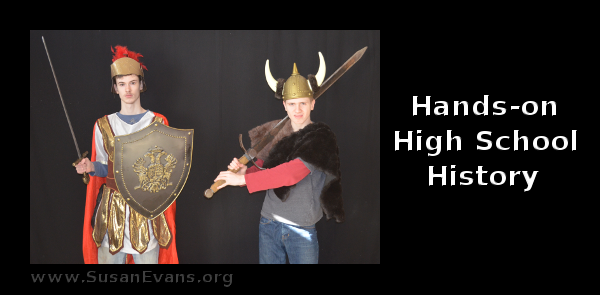
Each of these activities are applicable to high school ancient history, even though we did many of them before the kids were teens. You would just expect more detail on each of the projects, and maybe a demonstration of the projects in front of a group of peers studying the same time period:

Ancient Egypt

Ancient Greece

Ancient Rome

Middle Ages & Renaissance

Civil War

Modern History

Hands-on High School Geography Activities

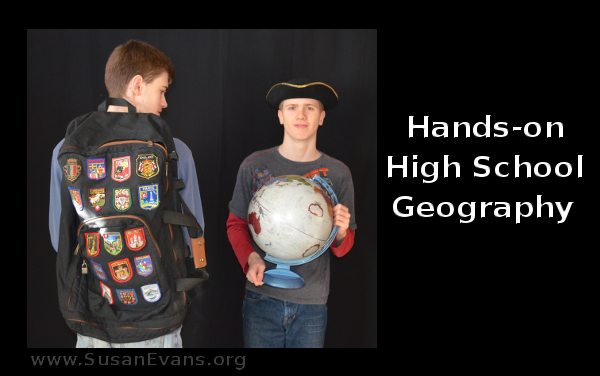
hands-on-high-school-geography

Hands-on High School Math Activities

Hands-on Activities for High School Art

hands-on-high-school-art

My high school students did a wonderful job with each of these famous artists, to learn their basic techniques and enjoy the works of the great artists:

I hope you enjoyed this huge list of hands-on activities for high school! Come back to this page often, as I will be adding more posts, including some new high school government posts with video demonstrations!
 hands-on-homeschool-ideas

Dolls Around the World

Monday, November 21st, 2016

dolls-around-the-world

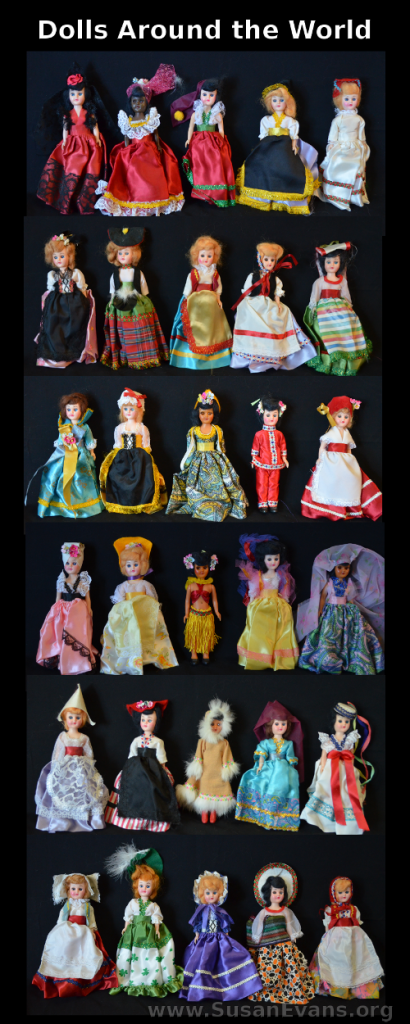
A great geography project for kids to understand the cultures of different countries is to make dolls around the world. Why not have your kids look up the traditional costumes of several countries and sew or hot glue those costumes onto dolls?

You will want to collect lots of scraps of cloth. If you do this with a school or homeschool co-op, one child can sign up for each country, and you can have the child research the costume for that one country. Then they can write a speech or report to go with their doll, and present it on a geography day!

I had always wanted to do this project myself and never had the time. When I saw this homemade dolls around the world set at a resale shop, I was overjoyed that I could show my children the costumes of the different countries while decorating my homeschool room colorfully.

If you don’t want to buy so many dolls, you can make dolls out of toilet paper tubes. Just hot glue cloth and beautiful accessories on them, and you can have a less expensive version of the dolls around the world. When I was a teacher in the schools, I assigned a biography for each of my students, and they made a figure of the person beginning with a toilet paper tube. Most of the students’ figures came out gorgeous!

Looking at all these dolls makes me want to travel the world!

British Teacup Cake

Wednesday, October 12th, 2016

british-teacup-cake

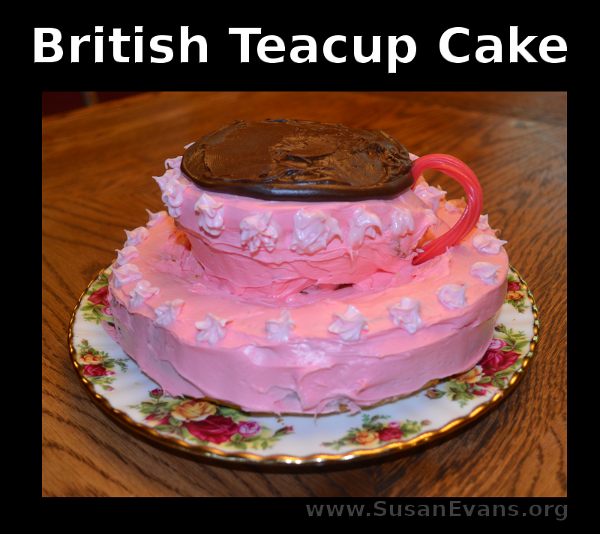
To make this fashionable British teacup cake, you will need one cake mix, two containers of cherry frosting, one container of chocolate frosting, and a strip of licorice. You will also need a round cake pan and a glass oven-safe deep bowl.

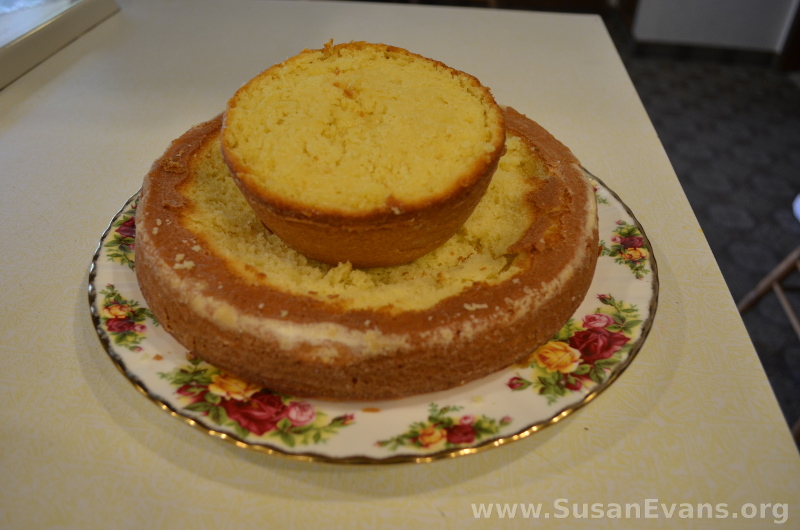
You can see in the picture below that I placed half the cake batter in a regular round cake pan. I put the other half in a deep bowl that was the perfect size and shape for the cup. It was a pyrex glass oven-safe dish. It was rounded and almost pointy on the bottom.

I dug out some cake from the “saucer” part, so that the teacup could rest inside the “saucer.”

cake

I smoothed the top of the “cup” by leveling it with a knife. I suppose if you want the cup to be hollow, you could dig out some of the cake in the “cup.” I wanted it to be full of tea, so I just left it.

cake-of-a-teacup

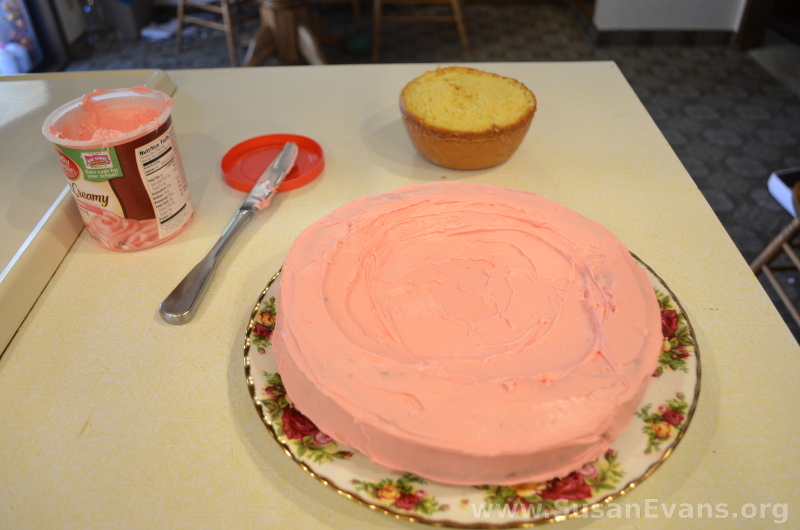
I removed the cup part and frosted the saucer part first. I used cherry frosting.

frosted-cake

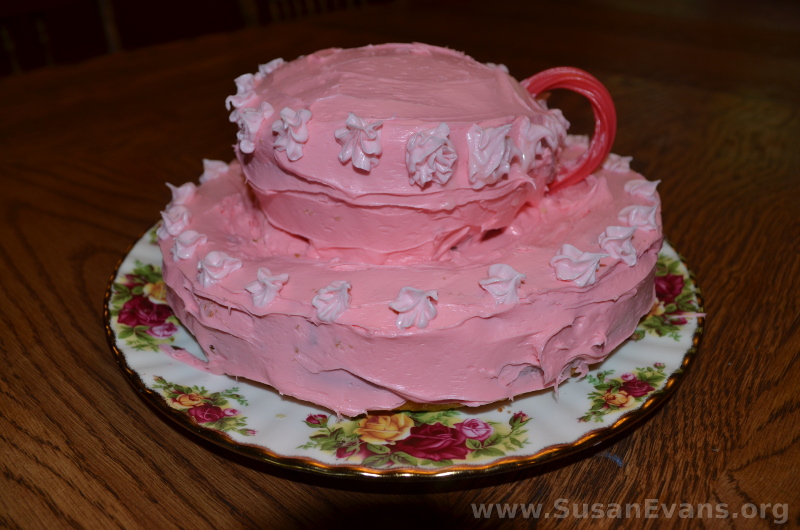
You will need two containers of frosting because it would be nearly impossible to cover the cup after having covered the saucer with frosting so thoroughly. You can decorate further by adding flowers. You can even buy candy flowers to make it look more professional than mine. In this case I used a spray icing that created the flowers, but if you bought vanilla frosting and tinted it pink, you could create a lighter pink for the flowers without spending money on the spray can.

cup-of-tea-cake

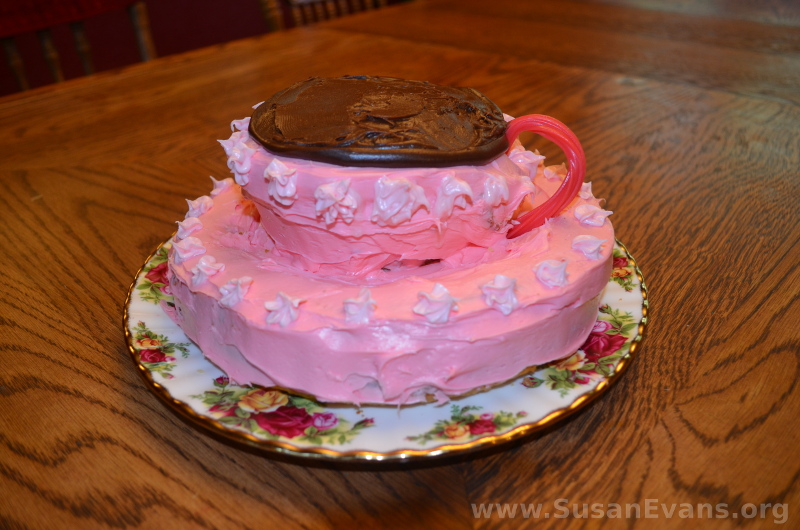
For the finishing touches, frost the top of the cup with chocolate frosting to fill the cup with tea. Then add a handle to the teacup with a strip of licorice.

teacup-cake

There you have it: your finished British teacup cake! If you liked making this cake, you will love my England Unit Study.

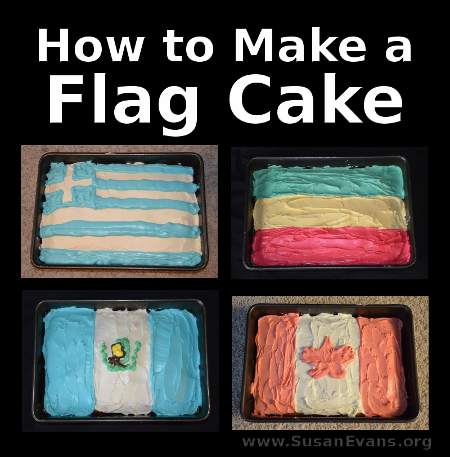
How to Make a Flag Cake

Wednesday, October 5th, 2016

how-to-make-a-flag-cake

Today I’m going to show you how to make a flag cake. These cakes are super easy to make because they are rectangular-shaped. All you need to do is tint icing the correct colors of the flag, and arrange the top of the cake to look like a country’s flag.

Why would you want to decorate a cake as a specific flag? If someone is British, and it’s his birthday, and he happens to be living in the United States, you can make a flag of the United Kingdom to make him smile.

I baked a Canadian birthday cake for my Canadian mother. I made a Guatemalan cake for my dad, who was a missionary in Guatemala for 20 years. You can make a cake with Israel’s flag for Christians who love Israel.

You can also study a certain country with your children, and make a flag cake for that country, especially if you are homeschooling.

How to Make a Flag Cake (Basic Instructions)

  1. First you want to bake a cake in the shape of a rectangle. Cool the cake.
  2. Next you will want to grab a tub of vanilla icing. If there are two colors in the flag, you will want to divide the icing into two bowls. Some flags have two thirds of one color, and one third of another color. In this case, you will want to place two thirds of the icing in one bowl, and one third in another. Use food coloring to get to the desired shade of color.
  3. Decorate the top of the cake to look as close as possible to the real flag.

How to Make a Greek Flag Cake

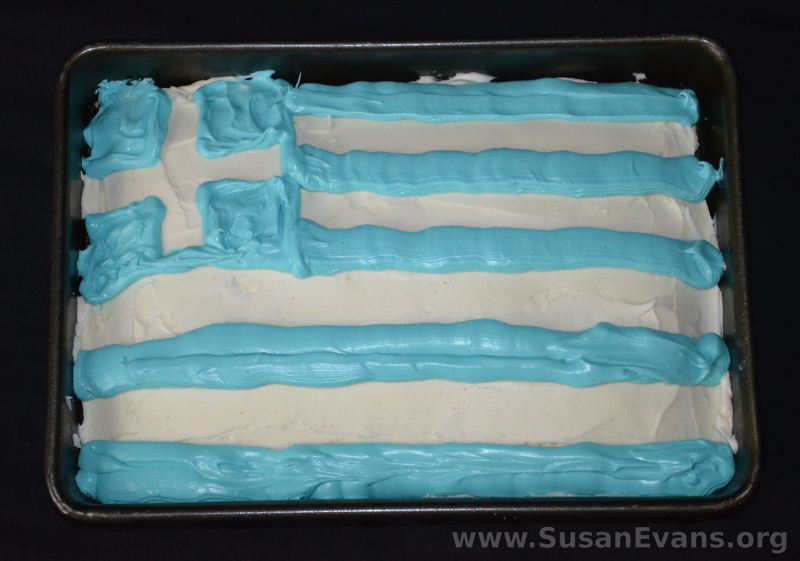
  1. Grab two tubs of vanilla icing. Ice the Greek flag cake completely white.
  2. Scoop the second tub of icing into a bowl, and place drops of blue food coloring into it. Stir into the desired shade of blue.
  3. In the upper left corner, draw a box with blue icing. I scooped the blue icing into a Ziplock bag with the corner cut off. Then I colored four small squares in each corner of that square, with the result of a white cross left in that corner.
  4. Cut the hole larger now in the corner of the bag. Draw the thick blue lines across the remainder of the flag.

greek-flag-cake

How to Make an Ethiopian Flag Cake

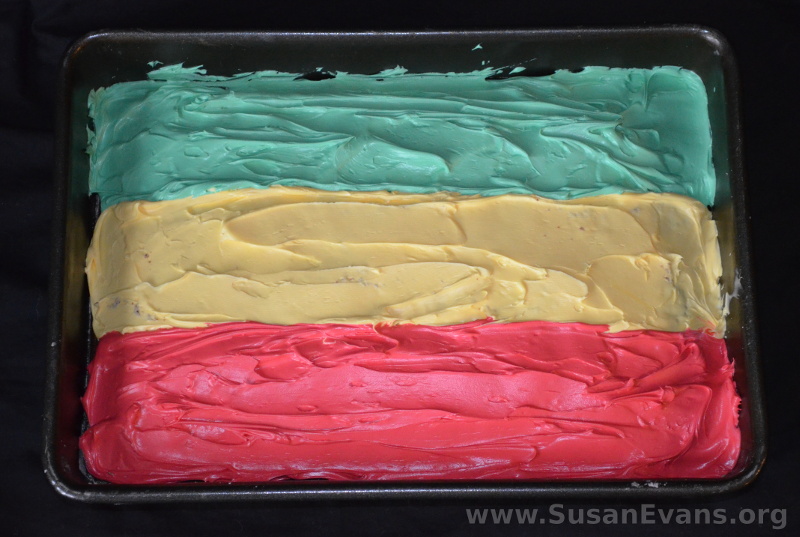
  1. Divide the icing into three bowls. Tint one bowl green, one bowl yellow, and one bowl red.
  2. Frost the cake in thirds. The top is green, the middle is yellow, the bottom is red.

Ethiopia-cake-1

How to Make a Guatemalan Flag Cake

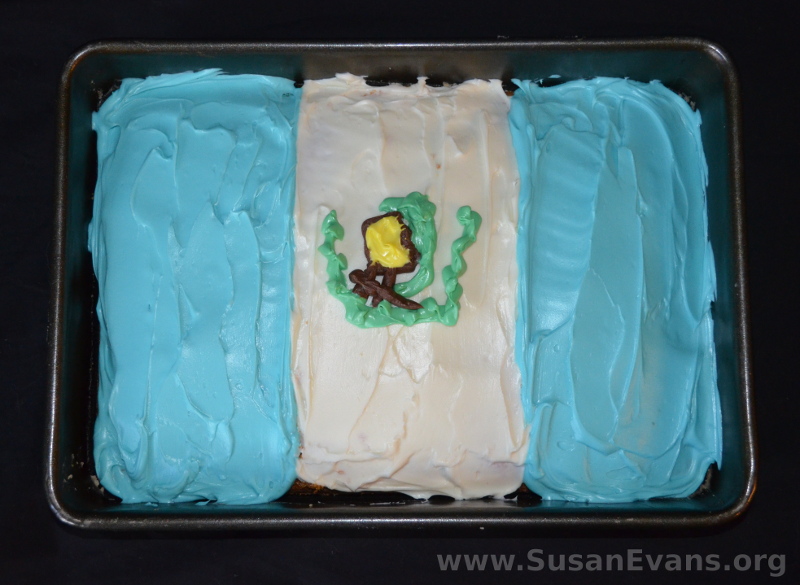
  1. I used two tubs of icing for this one. The first tub I tinted blue. I used this to frost the two sides of the cake.
  2. The second tub of frosting, I left white. I frosted the middle of the cake. I actually frosted the middle first, before frosting the two blue sides, because it’s easier to put blue on top of white than to put white on top of blue, if you make a mistake.
  3. With the remainder of the white frosting, I divided it into three bowls: green, yellow, and brown. I might have used chocolate frosting from a different project for the brown, because it looks too perfect to have been tinted with dye. By the way, when you are dying darker colors, always start with chocolate frosting because then you will need less dye.
  4. Put the green frosting in a Ziplock bag and snip off one corner. Make a U-shape to represent the leaves, and draw the quetzal bird in the middle. You could also use candy leaves if you can find them at a cake supply store. This would look better than the version I made.
  5. The yellow is the paper, and the brown outlines the paper that the bird is holding in the center of the flag. The other brown strokes are branches. Use Ziplock bags and snip off a tiny hole in each end for these two colors.

guatemala-flag-cake

How to Make a Canadian Flag Cake

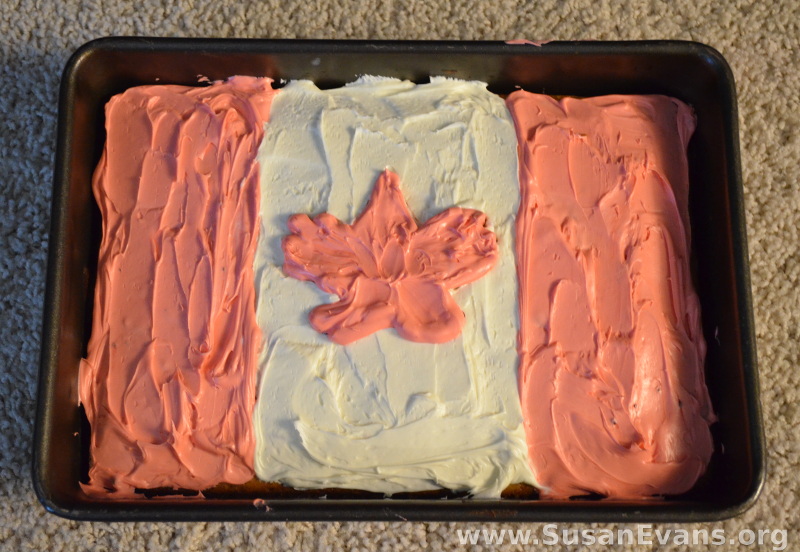
  1. Once again, I used two tubs of icing, even though I probably could have gotten away with one. I iced the cake white first.
  2. I dyed the other icing red, and used that on the two sides.
  3. I grabbed my maple leaf cookie cutter, and I pressed it into the middle of the cake. This gave me the outline I needed to fill in the maple leaf with red icing.

canada-flag-cake

Hopefully now you know how to make a flag cake. Enjoy your creations!

If you want more hands-on ideas for teaching geography, grab Living Geography: Travel the World from your Living Room.