Posts Tagged ‘homemade gifts’

How to Make Beeswax Candles

Monday, April 27th, 2015

how-to-make-beeswax-candles

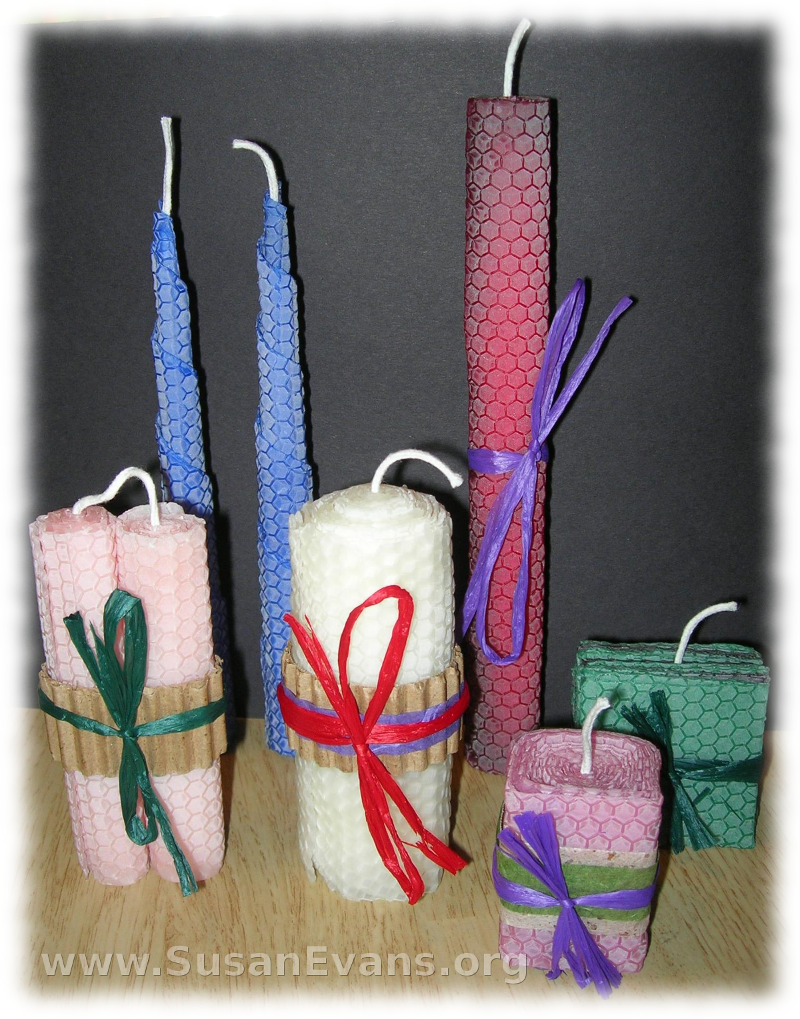
If you are wondering how to make beeswax candles, here is a step-by-step tutorial. All you need is some beeswax, candle wick, and ribbons or embellishments. We got ours in a kit, but you can buy them separately if you want. Beeswax candles are super easy to make, as far as gifts for people that your children can make.

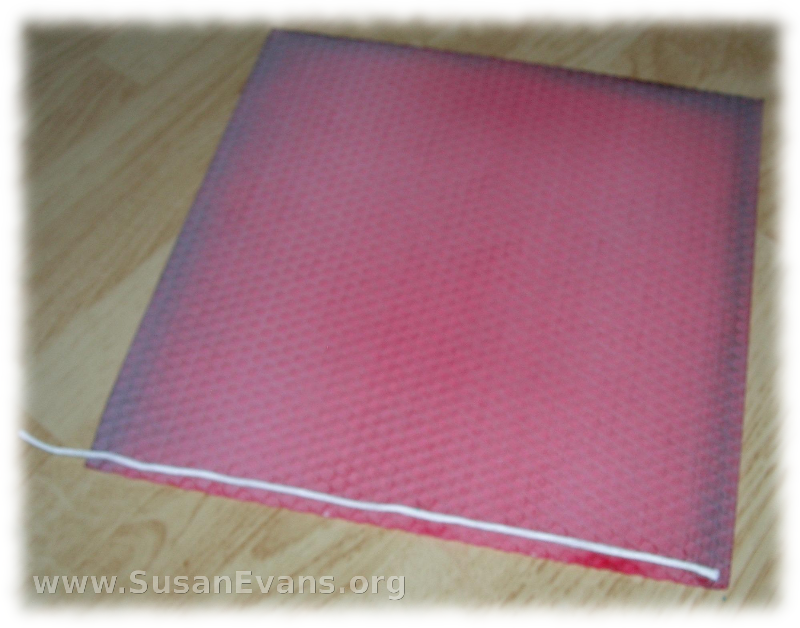
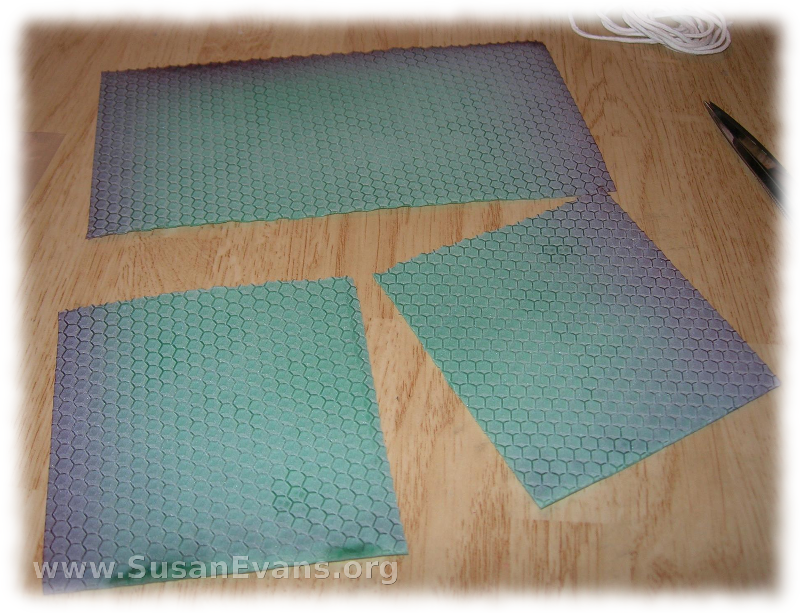
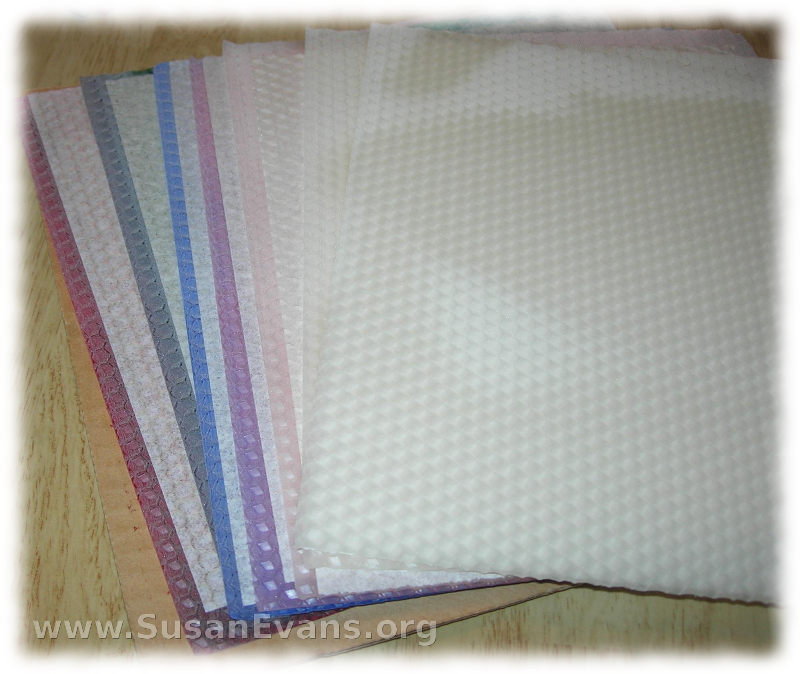
The sheets of beeswax look like this:

sheets-of-beeswax

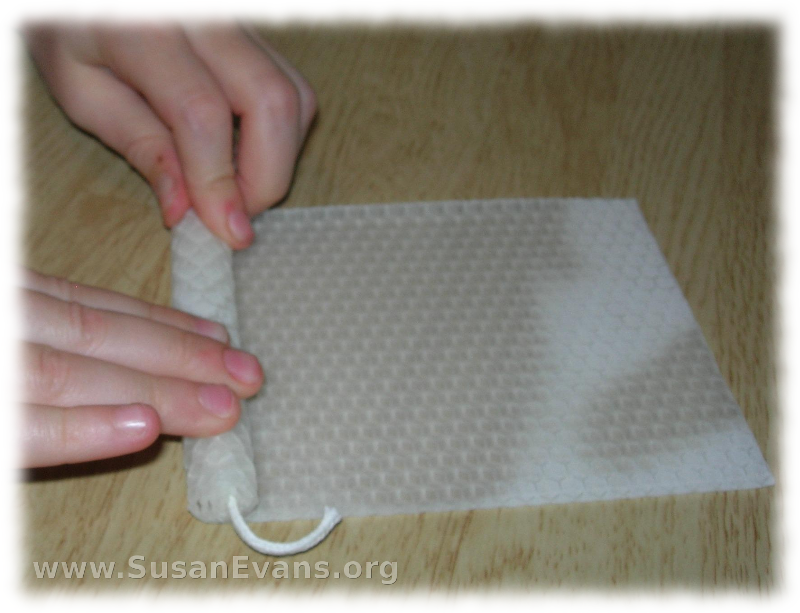
Cut the wick to the right size, lay it down, and roll up the sheet. You’re done!

wrapping-beeswax

Here is a 6-year-old, rolling the candle. See how easy it is?

how-to-roll-beeswax

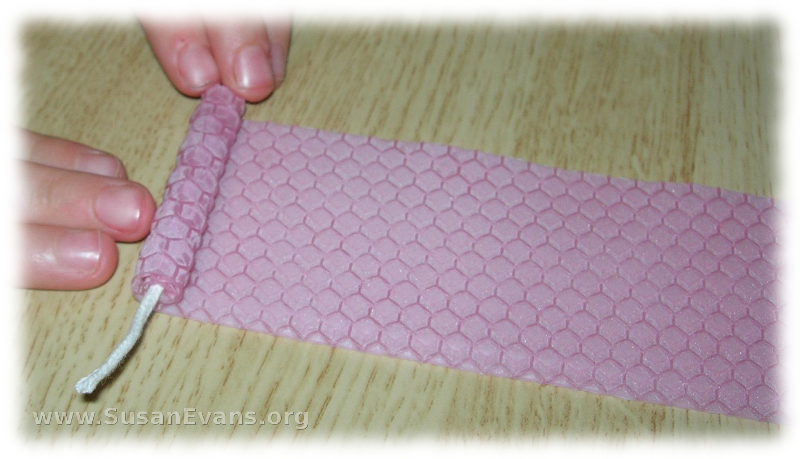
You can make the candle as short or as long as you want.

roll-the-beeswax

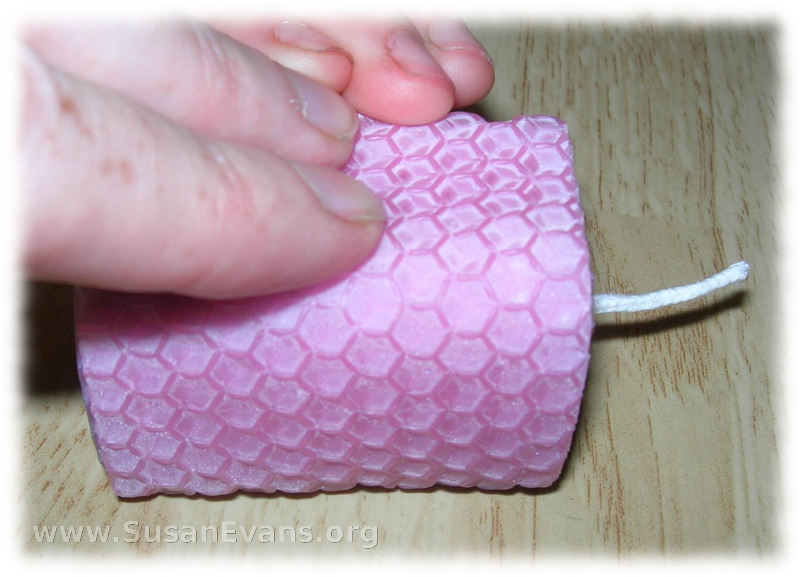
If you want it to look like a square, press it against the table on 4 sides.

square-beeswax-candle

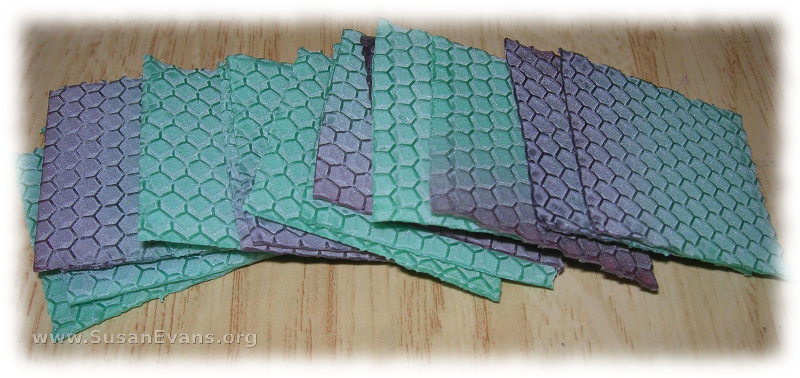
You can cut the wax with scissors or just fold it, and it will break on the fold.

green-beeswax

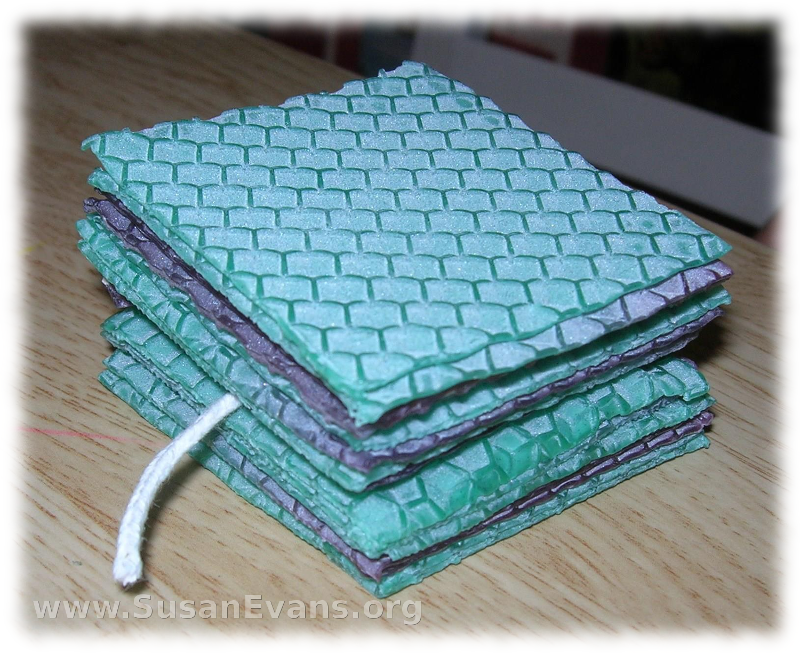
You can make a stack of squares.

stack-of-beeswax

Then put the wick into the middle, and mash it down. Okay, maybe this candle looks a bit weird.  Let’s move on.

beeswax-candles

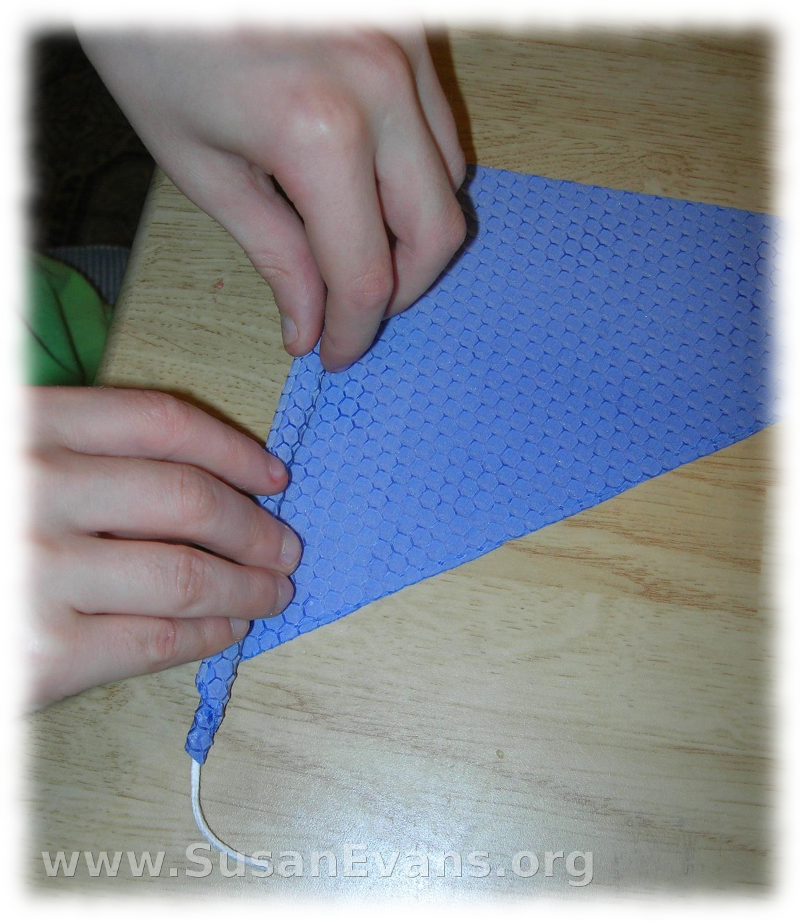
If you have a triangle of beeswax, you will get a tapered look when you roll it.


rolling-a-candle

I hope you enjoyed this tutorial on how to make beeswax candles. See how easy they are to make? Even your toddler can do it!
make-a-beeswax-candle

Make Your Own Bowling Pins

Monday, February 16th, 2015

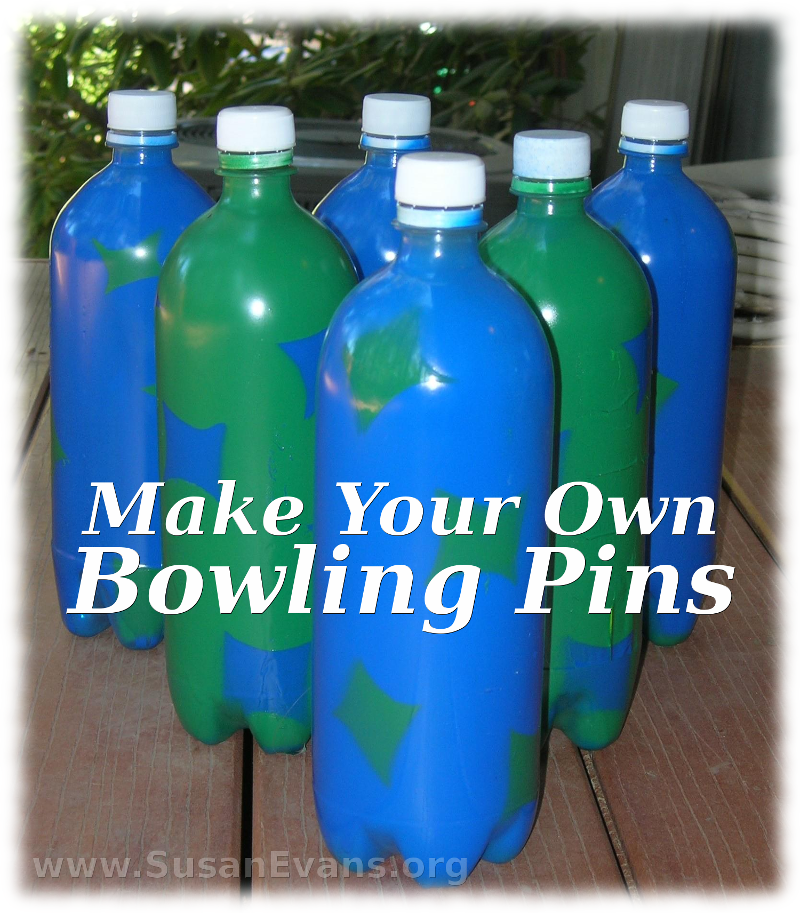
make-your-own-bowling-pins-2Today I will show you how to make your own bowling pins. You need six plastic bottles, spray paint in two colors, and a ball. You will also need a piece of white card stock paper, a pencil, newspaper, and scissors.

First you collect the plastic bottles. Two-liter pop bottles work well. Remove the labels. Take off the caps, but keep them to put on after painting.

You will want to spread out newspaper under your pop bottles before you shake your spray paint cans and spray the pop bottles. I chose to do three green and three blue.

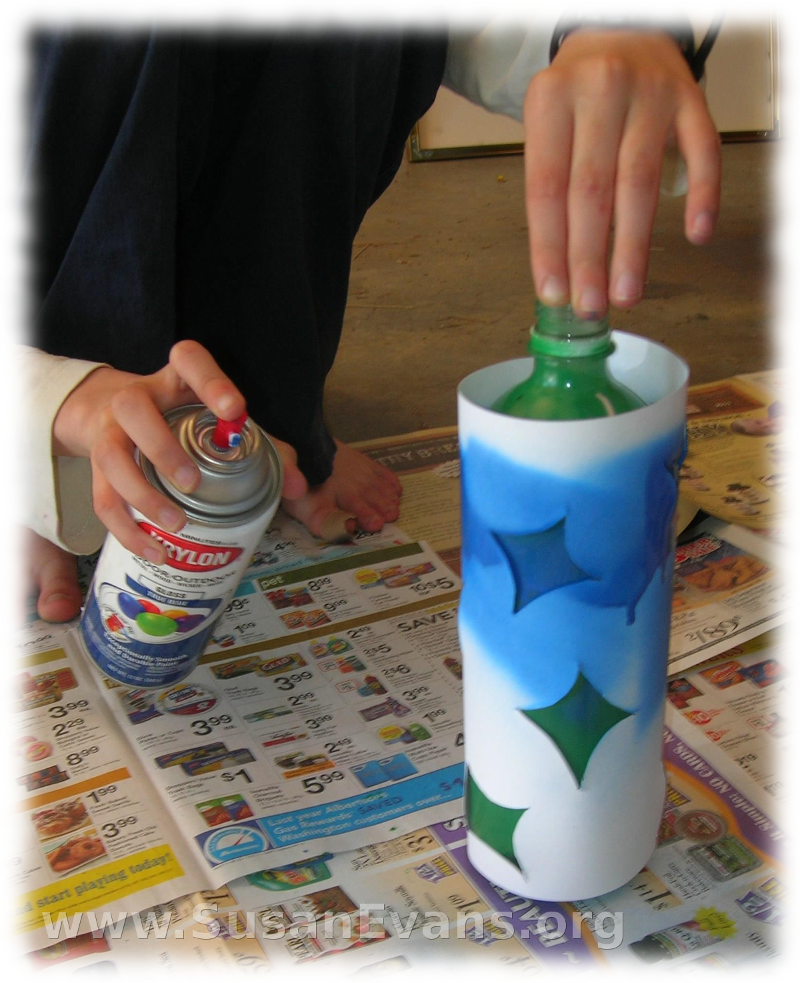
plastic-bowling-pinsNow you will want to make a stencil out of the white card stock paper. With a pencil, draw some large simple designs. Then cut out the designs with scissors. Just stab the scissors into the center of the design and cut around the shapes. Now tape the stencil paper to each pop bottle, and use the inverse color to spray paint the design.

Let the paint dry and remove the stencil paper. Screw the lids back onto the bottles. Your bowling pins are complete.

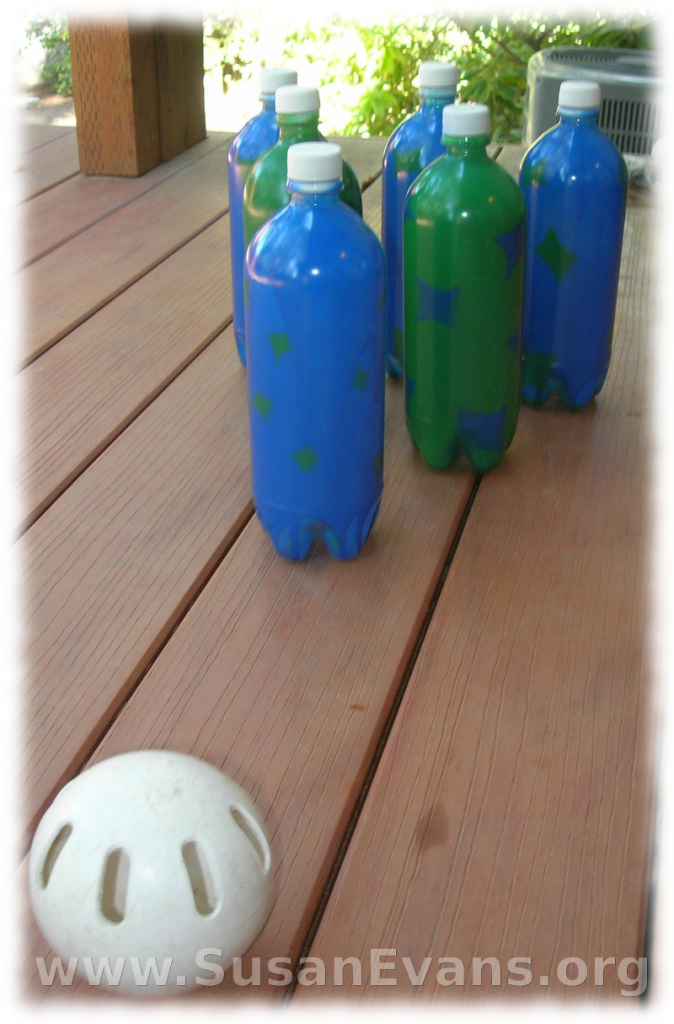
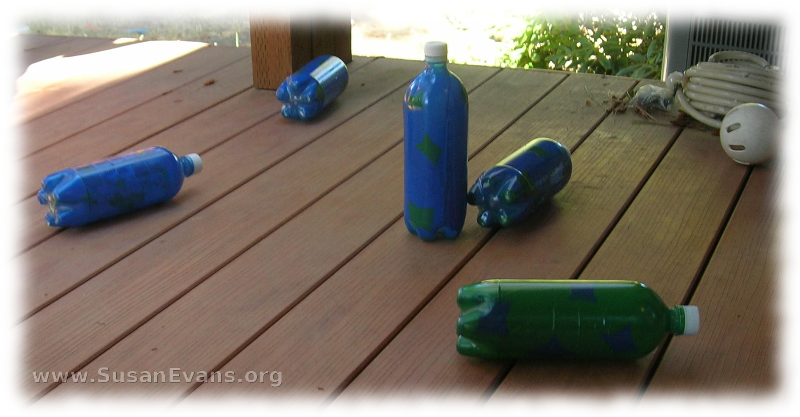
bowling-pinsYou will want to go bowling on a flat surface like a hard floor or a back deck. Grab the ball (we used a wiffle ball), and go bowling. May the best contestant win!

dropped-bowling-pins


Fill Your Own Ornament

Wednesday, December 10th, 2014

fill-your-own-ornament

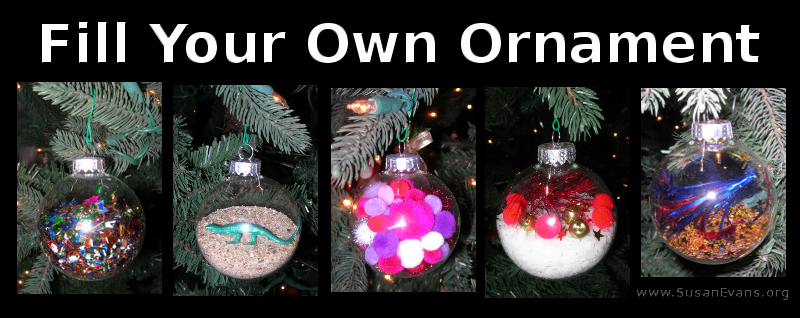
Fill your own ornament, and make your Christmas tree unique! Here are some creative ideas to get you started:

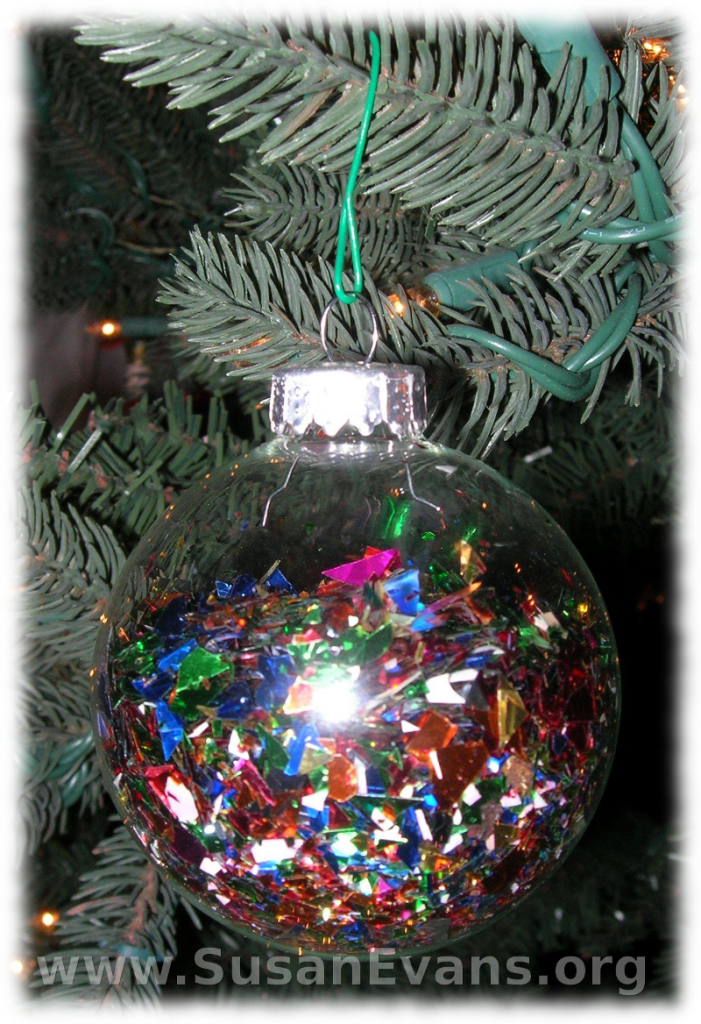
#1 Confetti

ornament-one

First of all, you can simply fill a clear ornament with confetti. Easy and beautiful.

(Actually, the first thing my husband and I thought of to put into a clear ornament is water and a live fish swimming around. But the ornament would be too heavy and not have enough air for the fish to breathe…)

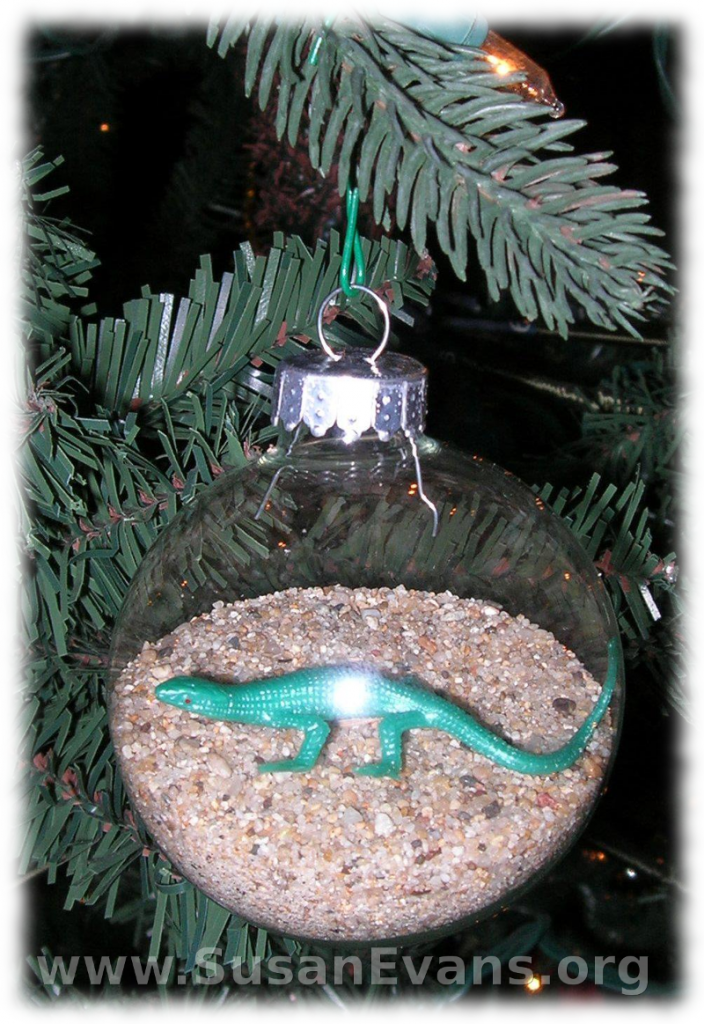
#2 Sand Scene

sand-ornament

Put sand and a lizard in it. You could also have sand and seashells that fit through the hole on the top.

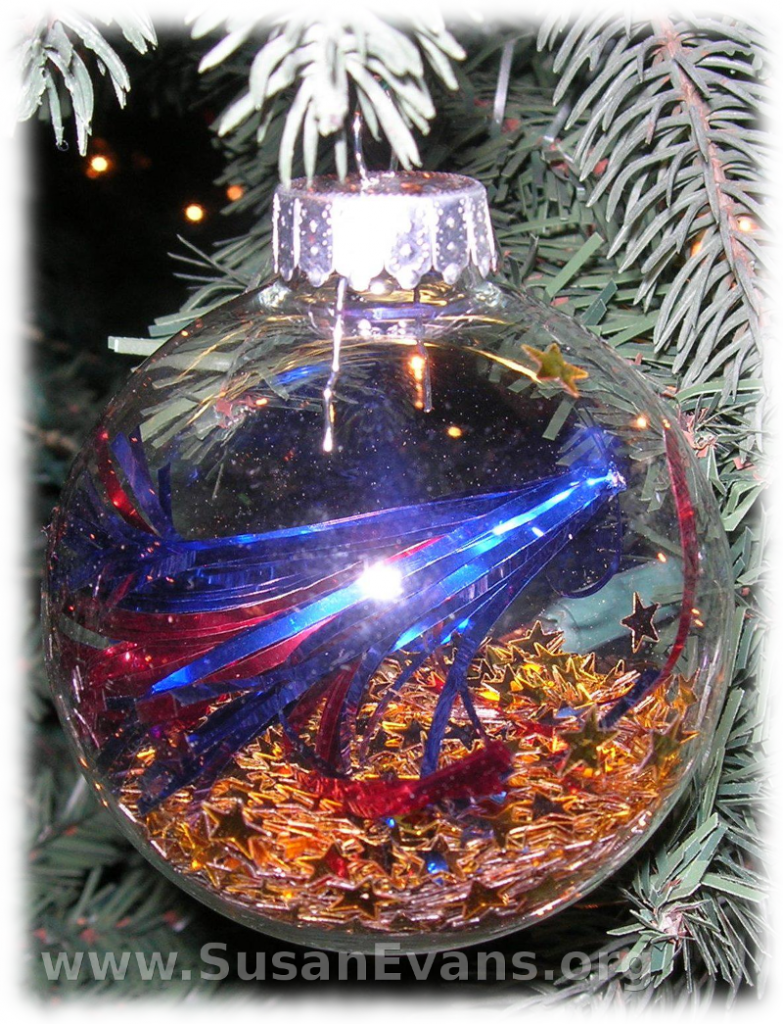
#3 Patriotic Theme

patriotic-ornament

This is my patriotic one. It has gold star confetti on the bottom, and a spray of red and blue. It’s one of those fancy toothpick thingies, with the toothpick clipped off with a pair of big shears.

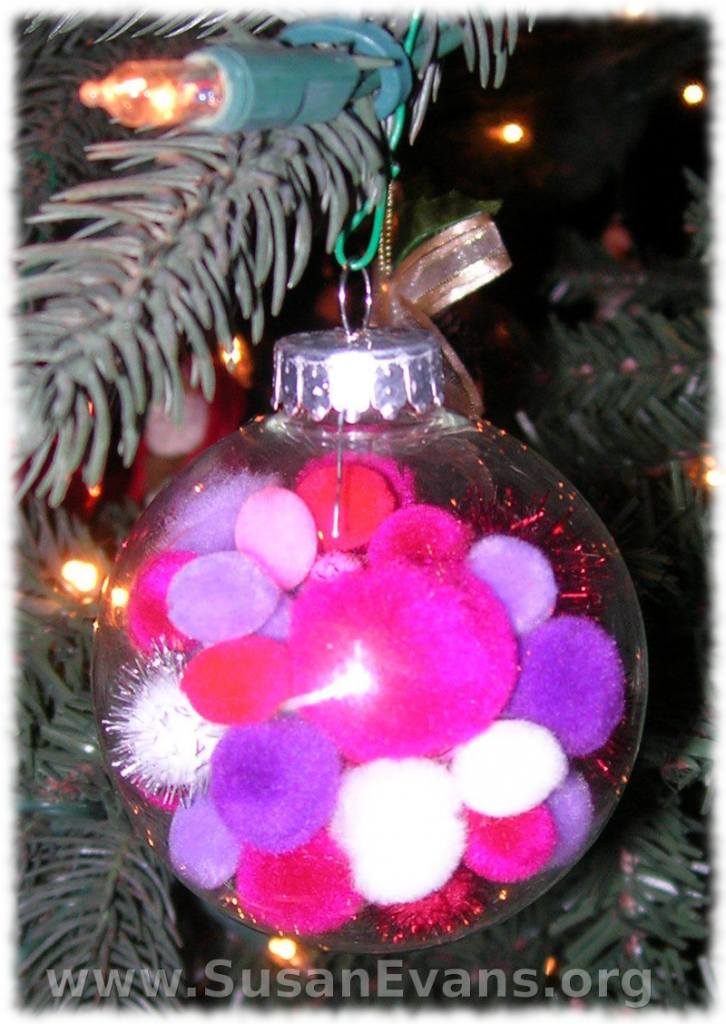
#4 Pom Poms

pom-pom-ornament

My daughter decided to fill hers with small pom poms.

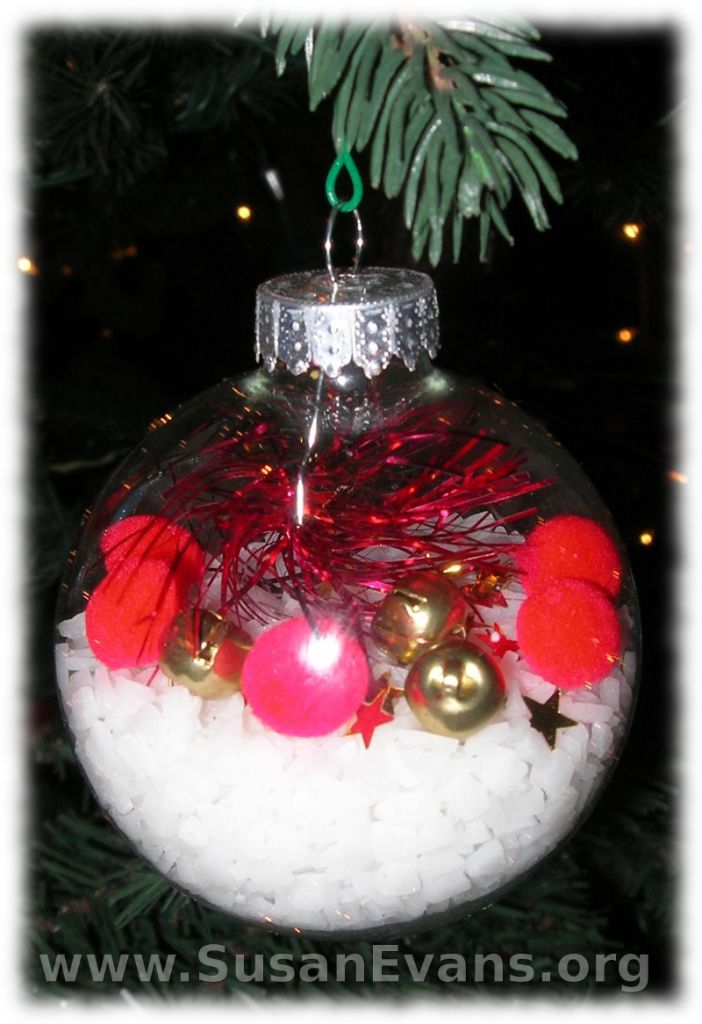
#5 Rock Salt Snow Scene

snow-scene-ornament

If you put rock salt into it, it looks like snow. Then add a sprig of evergreen, and it would look lovely. Or throw in random objects like my son did, almost like an I Spy scene.

How to Fill Your Own Ornaments

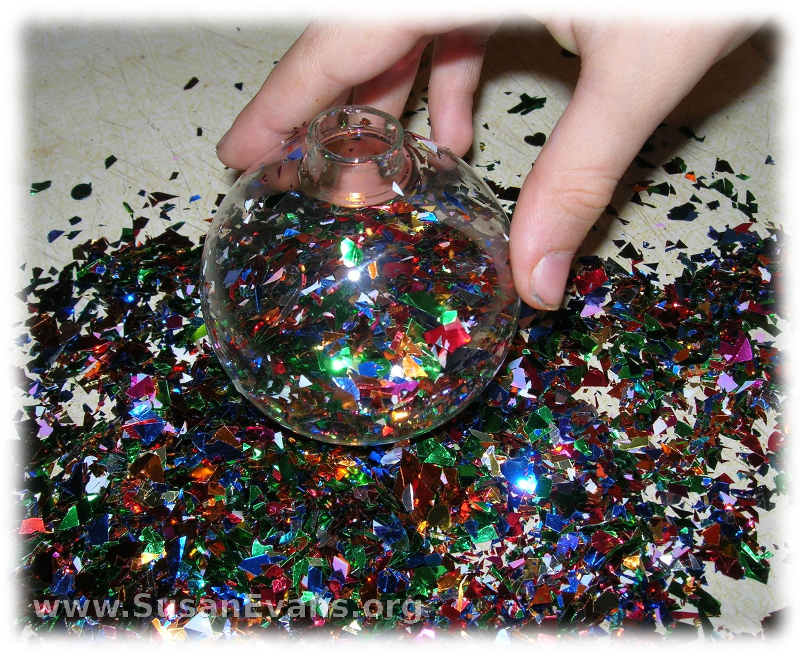
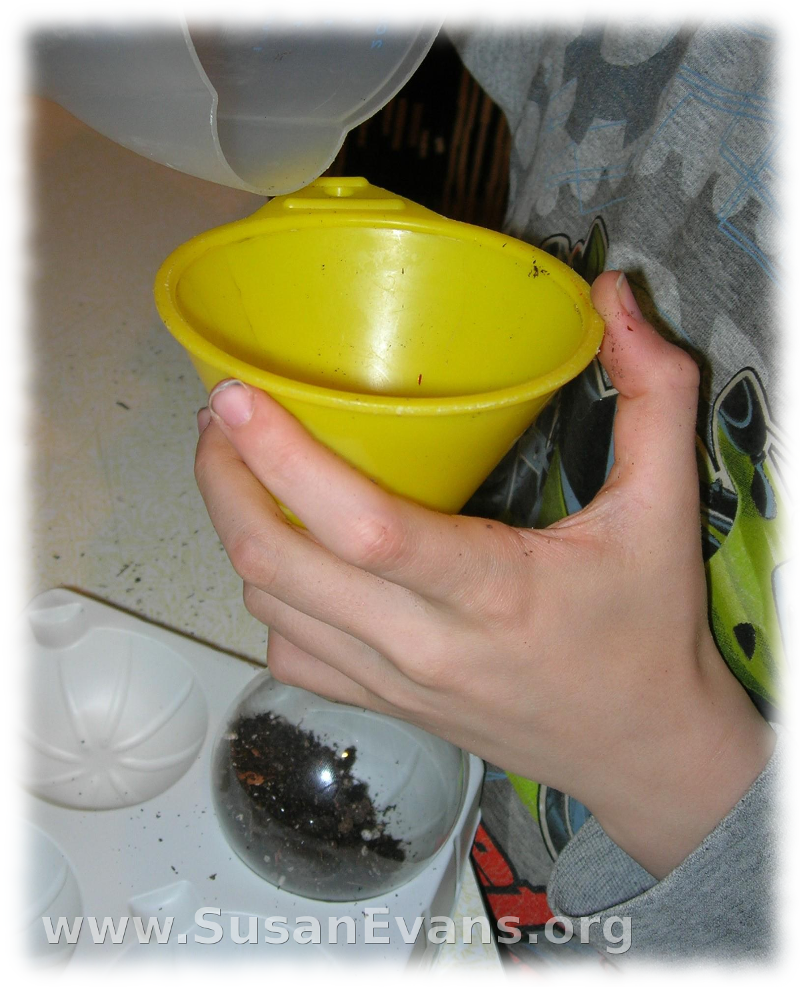
Here we are, throwing the confetti into the clear ornament, just free hand. That’s because my other son was using the funnel to put dirt into his ornament. Yes, dirt.

confetti-ornament

Here is the son with the dirt. Then he threw a plastic centipede into the dirt, and it looked disgusting. We decided to grab the tweezers, pull the centipede out, and dump the dirt out. We washed it with warm water and let it dry before starting over.

dirt

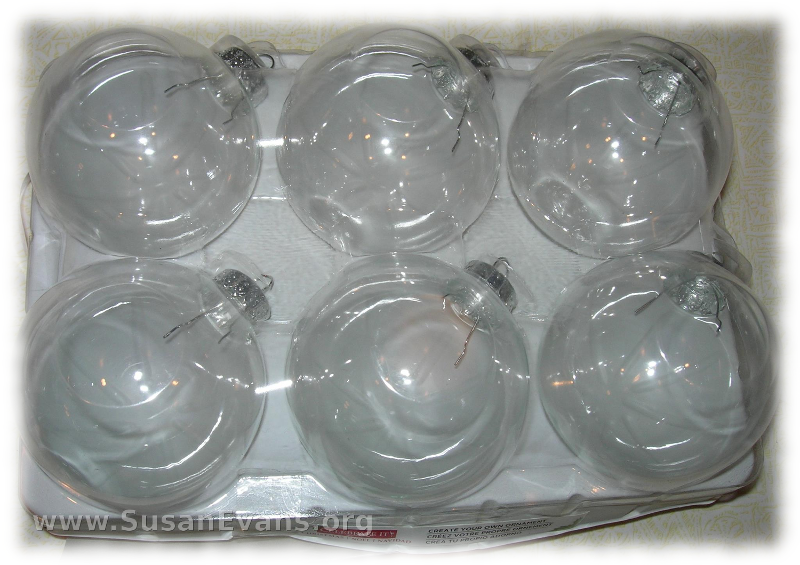
This is what the clear ornaments look like in the store.

clear-ornaments

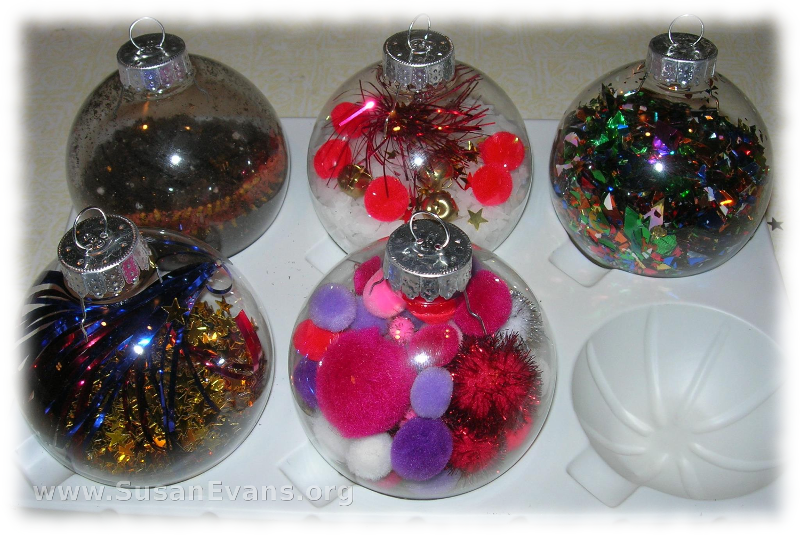
Here are the filled-up ornaments. They were easy and fun. Avert your eyes away from the one filled with dirt; it was nasty and disgusting. Oh, and of course, we cracked one. I thought they were plastic, but no. They were made of glass.

what-to-do-with-clear-ornaments

Make Your Own Clock

Wednesday, November 20th, 2013

make-your-own-clock

I never knew that you could make your own clock, until my sister sent the different parts for my kids to put together. Yes, you can make a clock to fit your home decor. This is a perfect idea for a Christmas or birthday gift, because you can take into account the hobbies and color scheme of the one who will receive the gift.

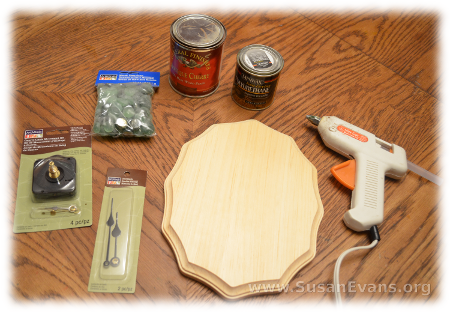
To make your own clock, you will need the following supplies, which you can easily get at most craft supply stores:

  • wood base (whatever shape you want)
  • stain or paint
  • varnish
  • quartz clock movement kit
  • extra clock hands, if you want bigger ones
  • mosaic glass gems (or numbers 1-12)
  • drill with a thick bit
  • hot glue gun

make-your-own-clock-2

First you will want to stain the wood base or paint it. Let it dry overnight, and then put a coat of varnish over the top. Let that dry a couple of days.

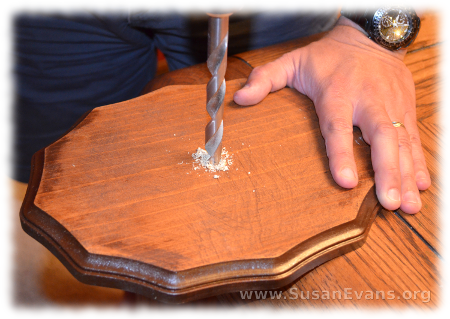
Drill a hole through the middle of the base. I used a ruler to find the exact center of the base. Look at how big the clock movement kit is, to see how big your drill bit should be. Insert the clock movement box to the back of the clock, inserting the hands before doing so. The kit should come with visual instructions on how to do it. It’s really self-explanatory. Make sure to insert a battery after the clock is finished.

make-your-own-clock-3

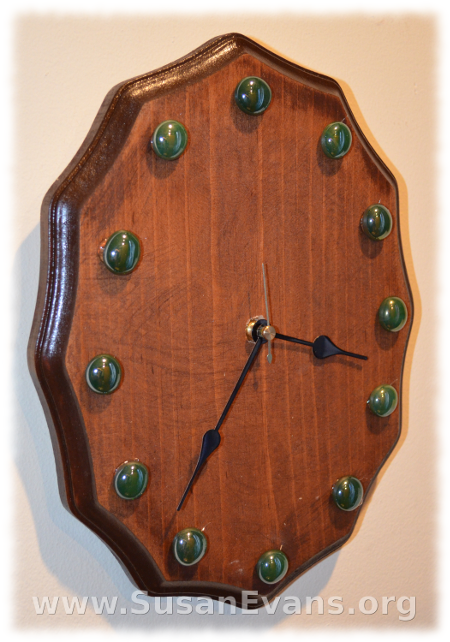
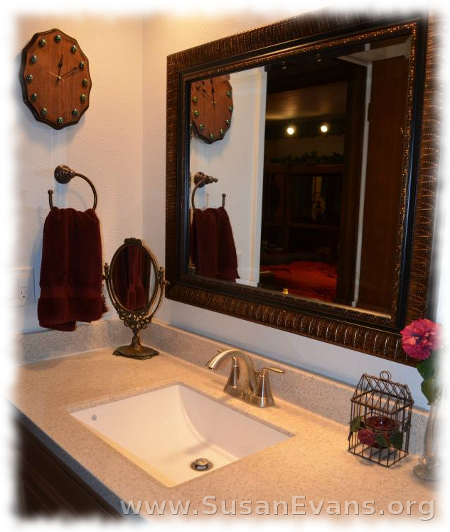
You will want to add embellishments like gems or numbers around the edges. You can also add small, flat decorations like 3-D stickers or doll accessories. For example, if you are giving the clock to a hunter, you can hot glue a small rifle to the clock. If you are giving the clock to a teacher, you can place a large 3-D apple sticker on it. We decided to leave ours simple. It matches our newly refurbished bathroom!

make-your-own-clock-4