Posts Tagged ‘ornaments’

Fill Your Own Ornament

Wednesday, December 10th, 2014

fill-your-own-ornament

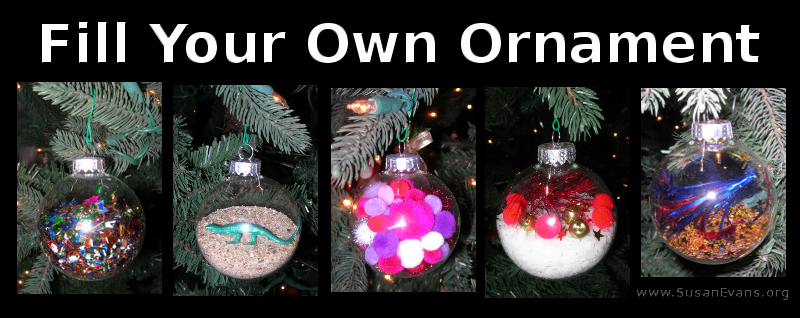
Fill your own ornament, and make your Christmas tree unique! Here are some creative ideas to get you started:

#1 Confetti

ornament-one

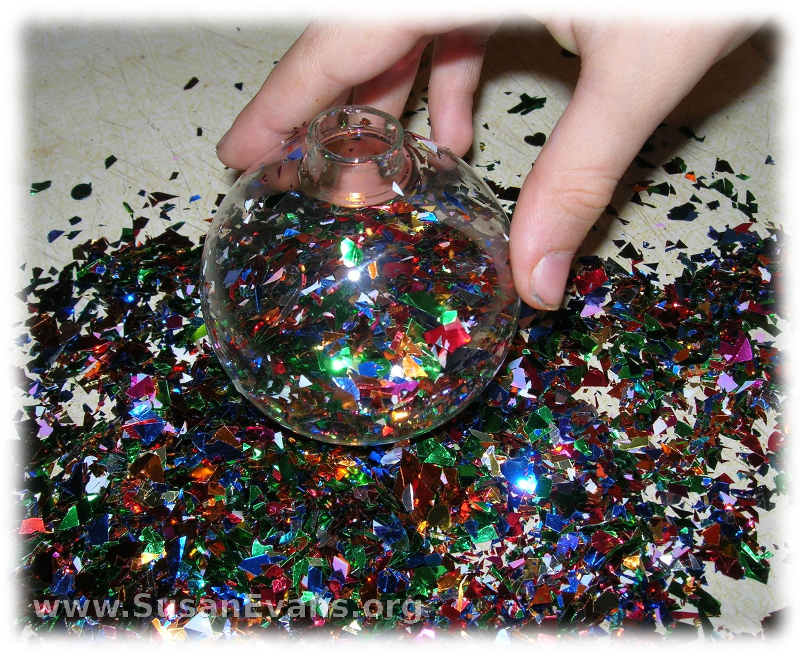
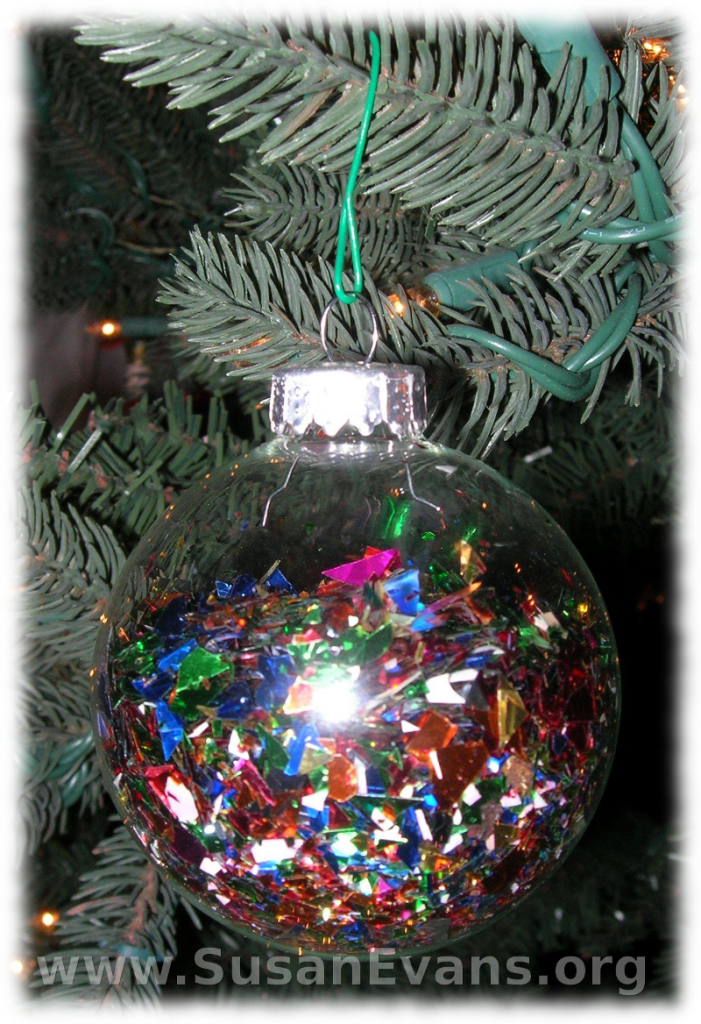
First of all, you can simply fill a clear ornament with confetti. Easy and beautiful.

(Actually, the first thing my husband and I thought of to put into a clear ornament is water and a live fish swimming around. But the ornament would be too heavy and not have enough air for the fish to breathe…)

#2 Sand Scene

sand-ornament

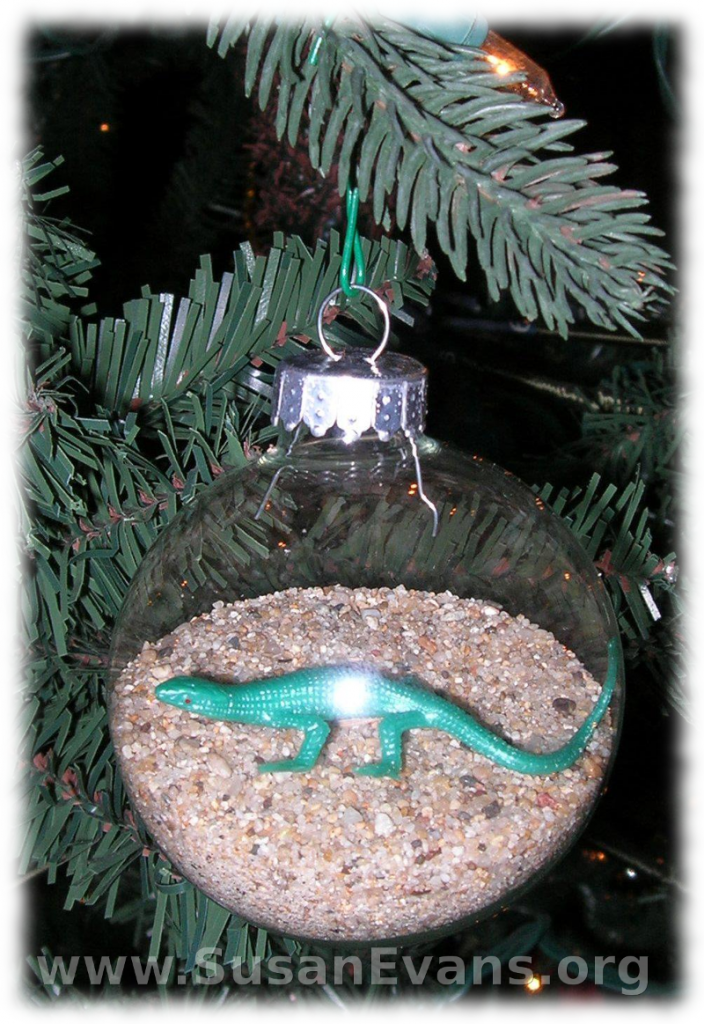
Put sand and a lizard in it. You could also have sand and seashells that fit through the hole on the top.

#3 Patriotic Theme

patriotic-ornament

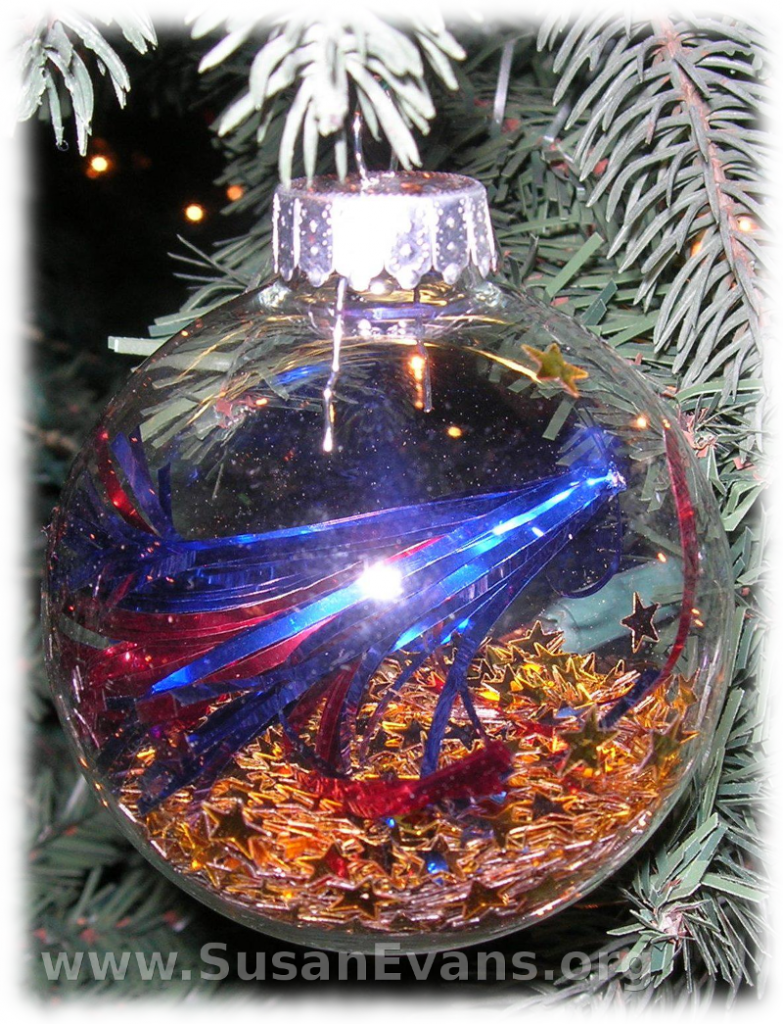
This is my patriotic one. It has gold star confetti on the bottom, and a spray of red and blue. It’s one of those fancy toothpick thingies, with the toothpick clipped off with a pair of big shears.

#4 Pom Poms

pom-pom-ornament

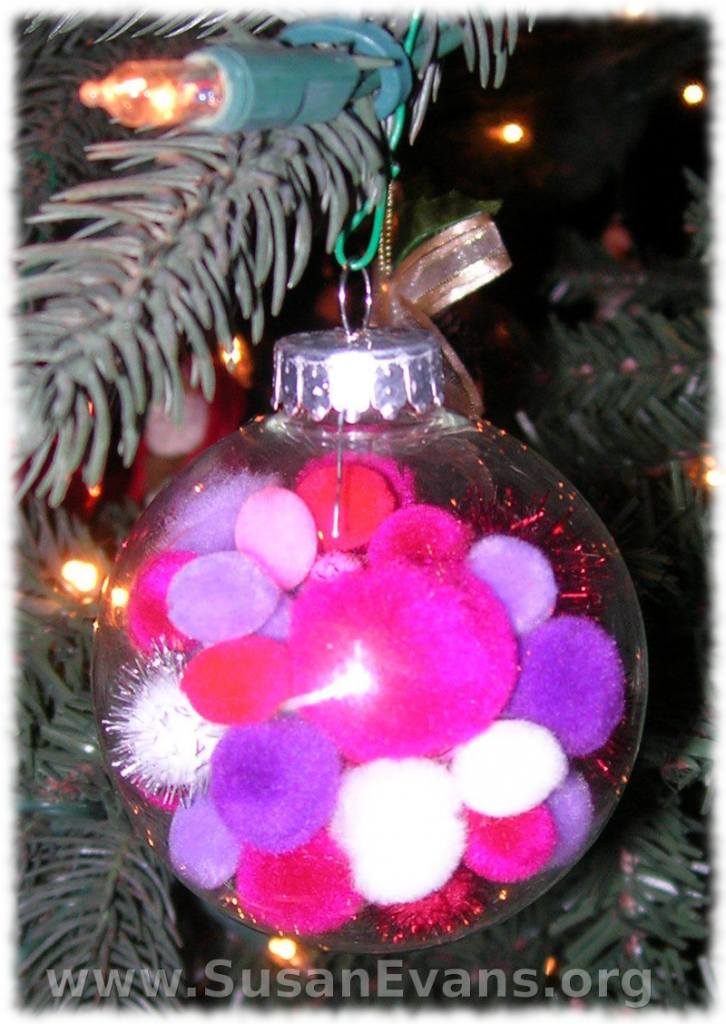
My daughter decided to fill hers with small pom poms.

#5 Rock Salt Snow Scene

snow-scene-ornament

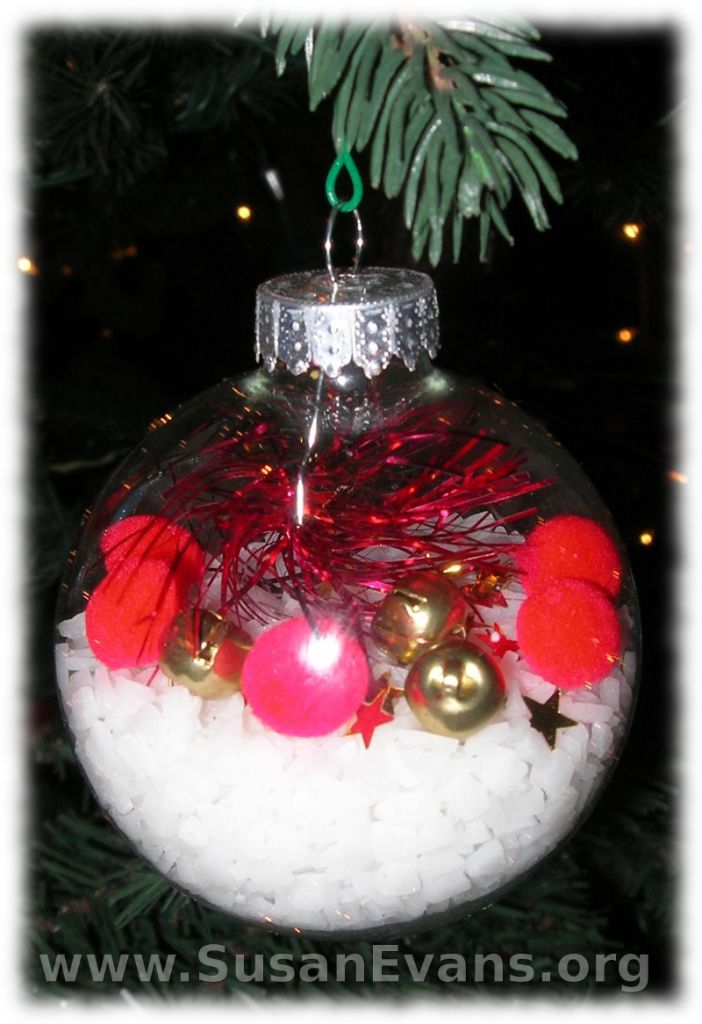
If you put rock salt into it, it looks like snow. Then add a sprig of evergreen, and it would look lovely. Or throw in random objects like my son did, almost like an I Spy scene.

How to Fill Your Own Ornaments

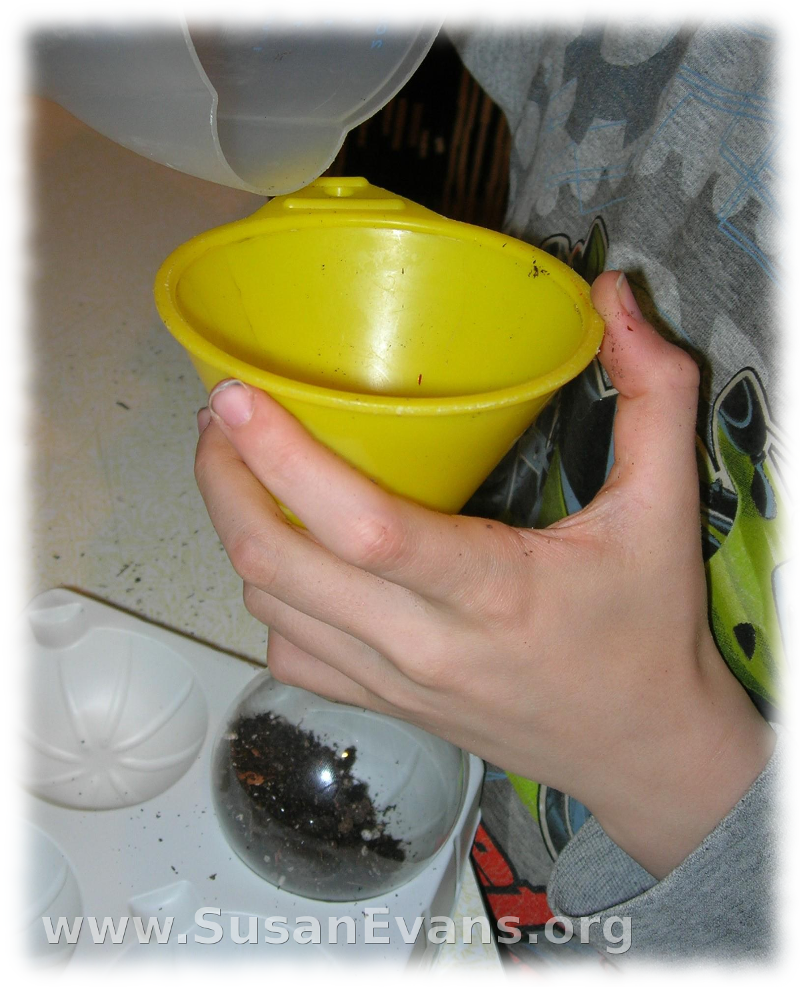
Here we are, throwing the confetti into the clear ornament, just free hand. That’s because my other son was using the funnel to put dirt into his ornament. Yes, dirt.

confetti-ornament

Here is the son with the dirt. Then he threw a plastic centipede into the dirt, and it looked disgusting. We decided to grab the tweezers, pull the centipede out, and dump the dirt out. We washed it with warm water and let it dry before starting over.

dirt

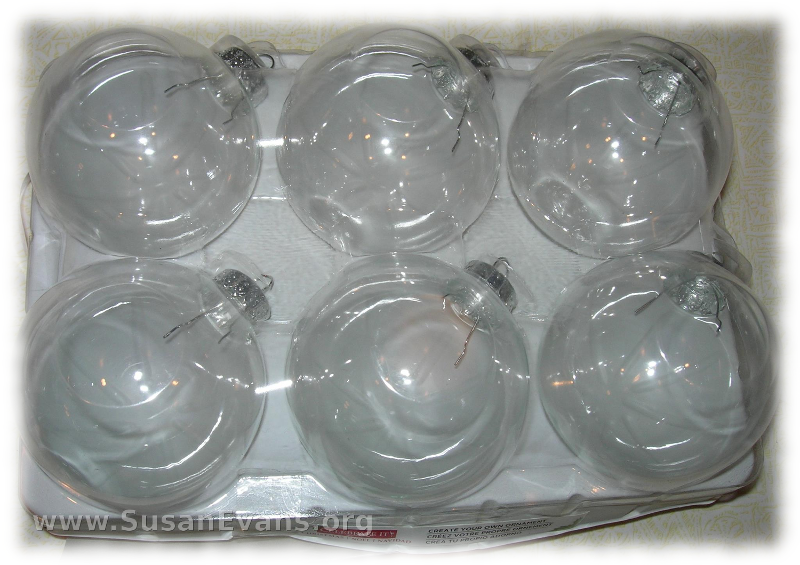
This is what the clear ornaments look like in the store.

clear-ornaments

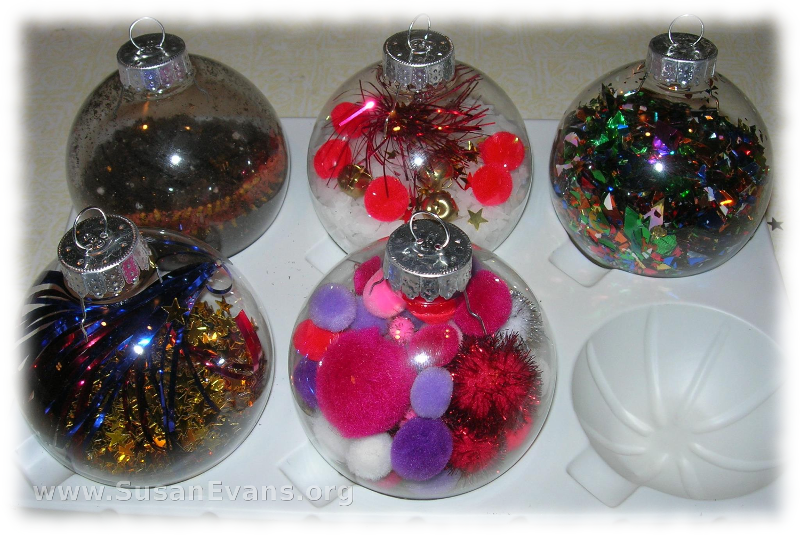
Here are the filled-up ornaments. They were easy and fun. Avert your eyes away from the one filled with dirt; it was nasty and disgusting. Oh, and of course, we cracked one. I thought they were plastic, but no. They were made of glass.
what-to-do-with-clear-ornaments

Goofy & Fun Decorated Ornaments

Tuesday, December 21st, 2010

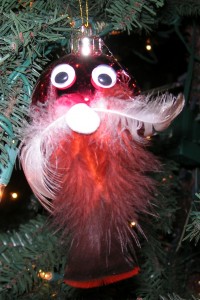
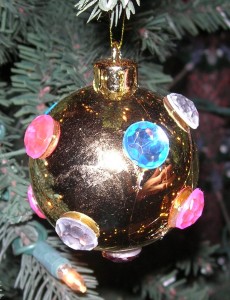
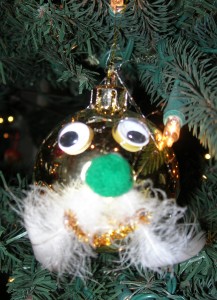
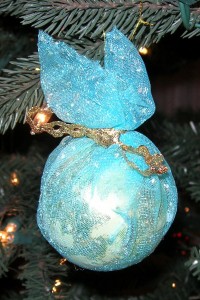
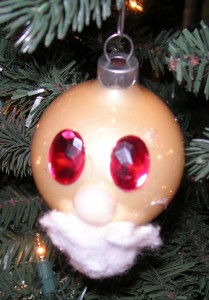
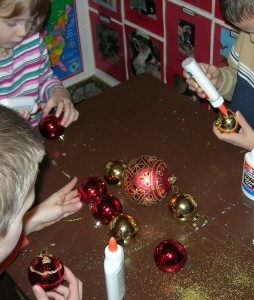
decorated-ornamentsWe’ve been transforming our plain Christmas ball ornaments into unique decorated ornaments that are fun to look at. Some turned out really goofy! I took out my craft supplies, and the kids started making faces with google eyes and beards. I’ve never seen this before, and it looked so funny that my husband had a good laugh. My daughter wanted to wrap a ball in a glittery cloth that had ripped off one of her tutus. We tied a ribbon onto the top of it, and it looked great. Next, my daughter wanted to put fake jewels all over a ball. I put dots of hot glue, and she glued each jewel down. My husband said it looked like a disco ball.

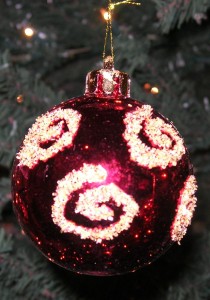
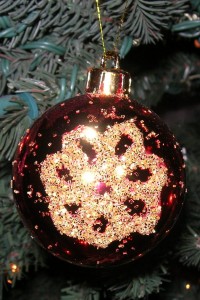
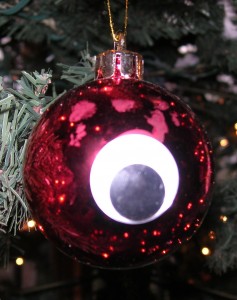
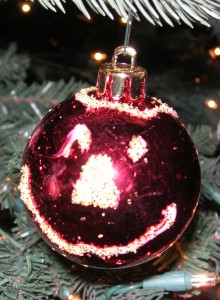
My goofy son hot glued a large eyeball to one ornament. It looked funny, like someone was looking at you, perhaps an alien with one eye. We also put swirls of white school glue on some red balls, and shook some gold glitter on them, and they looked quite good. Someone even made a happy face out of glue, shook sprinkles on it, and hung it to dry on the tree. We loved our decorated ornaments that reflected our children’s personalities!

decorated-ornaments2decorated-ornaments3decorated-ornaments4decorated-ornaments5decorated-ornaments6decorated-ornaments7decorated-ornaments8decorated-ornaments9

Embossed Christmas Ornaments

Monday, December 20th, 2010

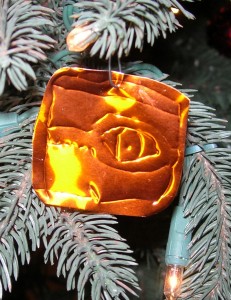
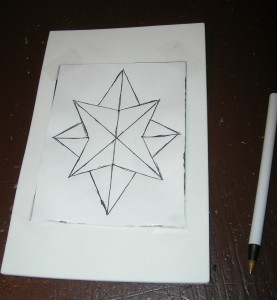
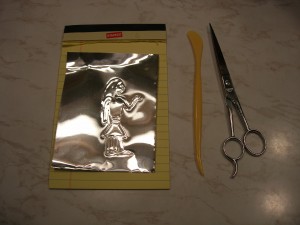
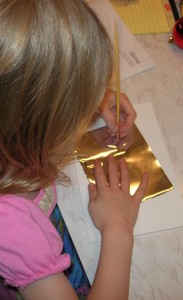
embossed-Christmas-ornamentsembossed-Christmas-ornaments2Ever since I saw a random YouTube video about embossing, I became intrigued with the idea. I love doing crafts with earthy materials like leather, wood, or metal. I don’t particularly like crafts made out of paper (because they look like trash to me), although I sometimes do those with my kids because they love it so much. So when I ordered a roll of copper sheeting, I was excited to get started. Well, my first attempt at embossing was a failure. It just didn’t look right. I was expecting it to be spectacular, and my expectations were way off base. It’s just thin metal with grooves in it, after all.

embossed-Christmas-ornaments4embossed-Christmas-ornaments3Well, this time I tried making embossed Christmas ornaments. I went to a local craft supply store and got a box of 6 metal sheets. (The box is called “Metal Art,” and it cost me $12.99. It had a picture of metal sheets with a pattern of holes in them, like a design. It included a mallet that I never used.) Anyway, I realized that in my Play Doh supplies, I had some cheap plastic sculpting tools. So I grabbed one of those to make the grooves this time, instead of a ballpoint pen. The embossing sheets were thinner, so it was easier to make the grooves. I think the pen actually gave me more controembossed-Christmas-ornaments5l over the drawing than the sculpting tool did, so I recommend the pen after all. Except that you need the sculpting tool to puff out the lines on the other side, by going over the lines (beside the lines) to accentuate the lines. Just look at the YouTube video or my previous blog entry about embossing to give instructions on how to do it. Then we cut out the design and pierced a hole through it with an ornament hanger. It looked okay on the tree, I guess.

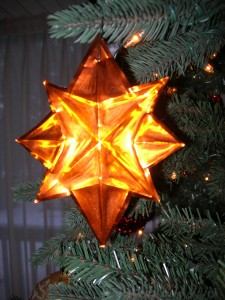
The silver-colored sheeting looks particularly bad, because it looks like you just put up some crumpled foil on the tree. So do I recommend this? Sort of. It was not until I did the star ornament that I truly thought it looked good, and even though I didn’t glembossed-Christmas-ornaments6ue it to velvet cardboard, that would have looked a lot better, because it would have given the ornament more substance. So, yes, you can make a professional, great-looking ornament if you have some black velvet cardboard to glue it to. I didn’t have the money to buy everything in the YouTube video, so I tried to made do with what I had.

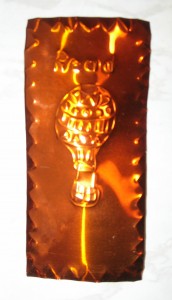
Then it occurred to me that the sheet was thin enough for a bookmark. So my children made bookmarks with it. That was fun and actually looked good. So thumbs up for bookmarks with embossed metal! I wonder what else I can make with it?