Posts Tagged ‘Homeschooling’

25 Christmas Gifts for Children to Make

Friday, November 28th, 2014

25-christmas-gifts-for-children-to-make

Here are 25 fun Christmas gifts for children to make. Twig frames, clocks, bottle cap magnets, and more! They look beautiful and can be custom-made for friends and family:

  1. Twig Frame: Hot glue twigs to a frame. Gorgeous and simple. Make sure to choose a picture to put into the frame.
  2. Clock: Make your own clock by getting the parts at a craft store. Stain or paint the wood, drill a hole for the clock parts to be mounted, and decorate.
  3. Bottle Cap Magnets: Cut circles of paper and decorate them with markers. Glue into bottle caps, and put magnet backing on them.
  4. Pottery: Get some self-hardening clay and a toy pottery wheel, and make some pottery.
  5. Basket: Purchase a basket-making kit and weave a basket.
  6. Decorated Candle: Glue tissue paper onto a jar with a candle inside.
  7. Box of Homemade Cards: Have children decorate homemade cards with card stock paper, cloth fragments, glue, and markers.
  8. Soap Shapes: Use a cookie cutter to make soap shapes.
  9. Shape Books: Create shape books for younger brothers and sisters with paper, a stapler, and construction paper.
  10. Dolls and Pillows: Cut out shapes of felt, stuff them, and sew them together. Add embellishments. (Here is another example)
  11. Pop Bottle Bird Feeder: Make this simple bird feeder with a pop bottle for the bird lovers in your family.
  12. Crazy Hat: Decorate a crazy hat for a younger sibling.
  13. Costume: Make a simple Bible costume, Egyptian costume, Greek costume, or Roman costume to give away as a gift to someone who enjoys theater.
  14. Embossed ornaments: Make some embossed ornaments with an embossing kit. Here are some tips for success in embossing.
  15. Roman Coins: Make Roman coins for someone who likes that time period.
  16. Clay Sculpture: Sculpt a shape out of clay that will delight the recipient. Sculpt a fish for a fisherman, an apple for a teacher, or a pie for a baker.
  17. Coat of Arms: This would be for older children to sew, or you can have younger children glue felt shapes onto a shield shape.
  18. Toy Trebuchet: Get a toy trebuchet kit and have your child put it together for a younger sibling.
  19. Framed Poem and Illustration: Write an original poem and illustrate it. Frame both the poem and the illustration. (These can be heartfelt and poignant or downright silly.)
  20. DVD of a Puppet Show: Have your child write and perform a puppet show, using the video camera on the computer. Burn the show onto a DVD and give it to a younger sibling or to Grandma.
  21. Cross Mosaic: Get an unfinished wooden cross from a craft store and glue tiles onto it. Great as a wall hanging.
  22. Canvas Bag: Decorate a plain canvas bag by sewing embellishments on it or making a design with fabric markers.
  23. Decorated Ornaments: Make faces on regular Christmas balls with any crafts supplies lying around your house. These look goofy!
  24. Box of Snowflake Cards: Make a box of snowflake cards by poking holes and sewing white yarn into black card stock paper.
  25. Framed Textured Art: Create textured art by gluing pieces of fabric together to form a pattern. Frame your masterpiece!
Chemistry Coloring Book

Wednesday, November 26th, 2014

chemistry-coloring-book

I received copies of this book for free and was compensated for an honest review. This post may contain affiliate links.

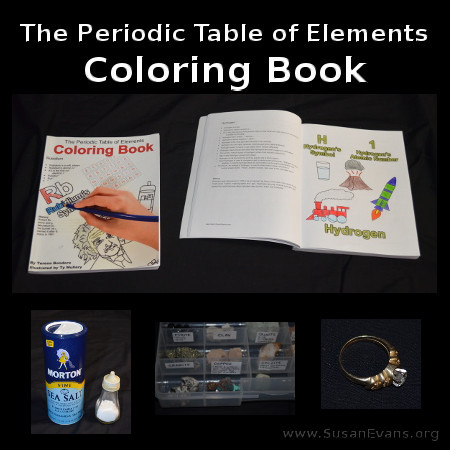
If you’ve been following my blog, you’ve noticed all the cool chemistry experiments we’ve been doing. I have been teaching my younger two kids elementary-level chemistry and my older two kids high school chemistry. I had all four of my kids color one element per day in The Periodic Table of Elements Coloring Book, and we learned a lot about each element!

This chemistry coloring book has one element per page: one side lists bullet points to help us find out about that element, and the other side is a coloring page about that element. By coloring the pictures, you cement in your mind visually what each element is all about. Even though I aced my high school chemistry class years ago, I never learned all the elements so up-close like this!

Here is a video where I explain how I used the book:

I read the bulleted list for one element each day, and it took less than five minutes. While I read the page, the kids colored the coloring page. We located each element on the Periodic Table at the front of the book, and we became familiar with each element as the days went by.

The day we studied Neon, we were driving around in the car, and my 9-year-old daughter pointed to a Neon sign and shouted, “Neon! Atomic number 10! Let’s find more Neon signs, Mom!” She would never have known that Neon was atomic number 10 if we hadn’t studied it that day. The coloring book caused my elementary-aged daughter to become familiar with elements, and she wanted to play games trying to find those elements. She screamed with joy when she recognized the first Neon sign after having colored it in her book earlier that day.

neon-sign

For my high school-level students, you never really get the chance to become familiar with elements like this during a chemistry course. Because my high school students had done one simple coloring page a day, they internalized the lighter and heavier elements in their minds. For example, Hydrogen is atomic #1, and it is the lightest element. When  we were halfway through the coloring book, we knew that the elements that we were familiar with were the lighter elements. The unfamiliar elements were on the bottom half of the chart.  Each number goes up in atomic mass (or weight), so when my high school-level students were trying to find an element on the Periodic Table, they located the elements a lot more quickly because of their familiarity with each element. Like I said, we located one element on the chart per day as we colored the elements.

helium-balloons

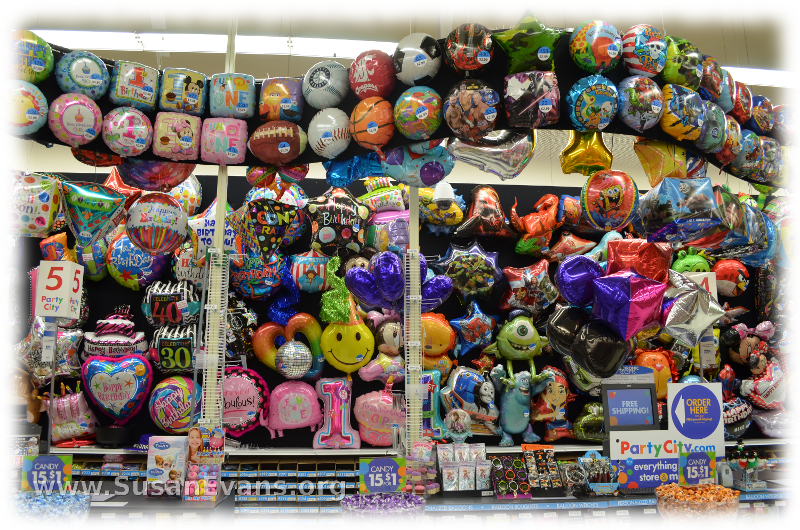
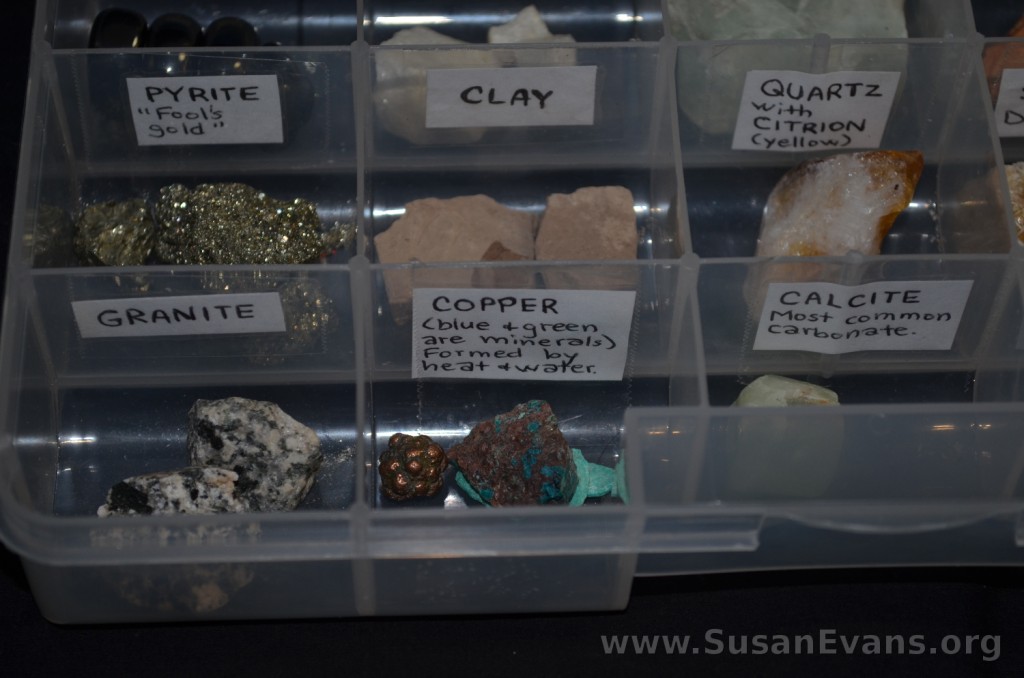
There is plenty of time during a school year to take it one element per day rather than just rushing through them. We also tried to locate those elements in real life each day when we could. For example, Sodium is present in table salt, so you can have a salt shaker in front of you as you read the Sodium page. We found some more elements in our rocks and minerals collection.  When you study Helium, why not go to a party store and buy a Helium balloon to celebrate that element, which is obviously lighter than air!

elements-minerals

There are no drawbacks from this chemistry coloring book aside from a few typos which are common in all books and don’t detract from the great content. Also, the book only covers the first 56 elements, and elements 72-86, which are the most common elements. I’m fine with that. We LOVED the book, and I highly recommend it for all the reasons I’ve mentioned.

After going through The Periodic Table of Elements Coloring Book, whenever we watch a show that mentions any element on the Periodic Table, we know what the show is talking about. Because we are more knowledgeable about the elements, my kids are confident in their study of chemistry.

Elementary Chemistry Series

Monday, November 24th, 2014

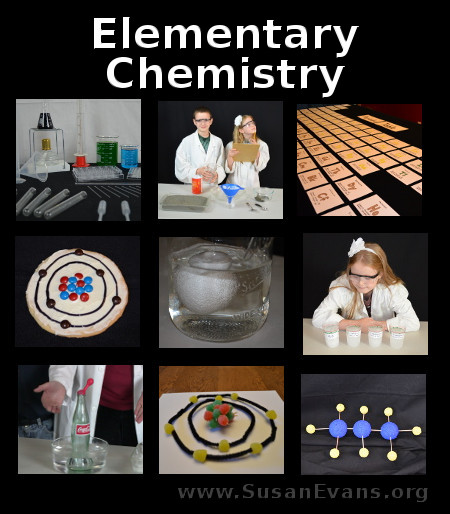
elementary-chemistry

This post contains affiliate links. I was compensated for my work in writing this post.

Can you teach elementary-level kids something as difficult as chemistry? Yes, you can! This year we studied elementary chemistry, and the curriculum we used was Christian Kids Explore Chemistry by Bright Ideas Press. We had a wonderful time doing all the experiments, which helped us to understand basic chemistry concepts.

The book presented these chemistry concepts in a way that even a child could understand. The science experiments used inexpensive household items, and the experiments were not difficult to perform. My high school kids were present when I went through this elementary-level chemistry book with my two younger kids, and my older kids did better in their high school chemistry because the basic concepts had already been mastered, so the more difficult high school-level concepts were easier to understand.

The multiple choice tests for each chapter were hilarious. One of the answers always made my kids laugh hysterically. You still needed to pay attention and learn all the lessons because it was not possible to pick between the other two possibilities unless you knew the material. In this way, my kids began to look forward to the chemistry tests! Can you believe it? That’s definitely a positive aspect of using this curriculum!

In case you missed any of the experiments that we performed, here is an index of the fun chemistry experiments:

1. Chemistry Tools
2. Filtration Experiment
3. Make Your Own Element Cards
4. Mixtures and Compounds
5. How to Build Atomic Models
6. Atomic Cookies
7. Building Molecular Models
8. Breaking Covalent Bonds
9. Acids and Bases
10. Dissolving Calcium with Acid
11. Measuring the Volume of a Solid
12. Testing Charles’s Gas Law
13. Saltwater Experiment
14. Saturated Solutions
15. Freezing Alcohol
16. Hydrocarbons

I hope you enjoyed all these experiments as much as we did!

#16 Hydrocarbons

Monday, November 17th, 2014

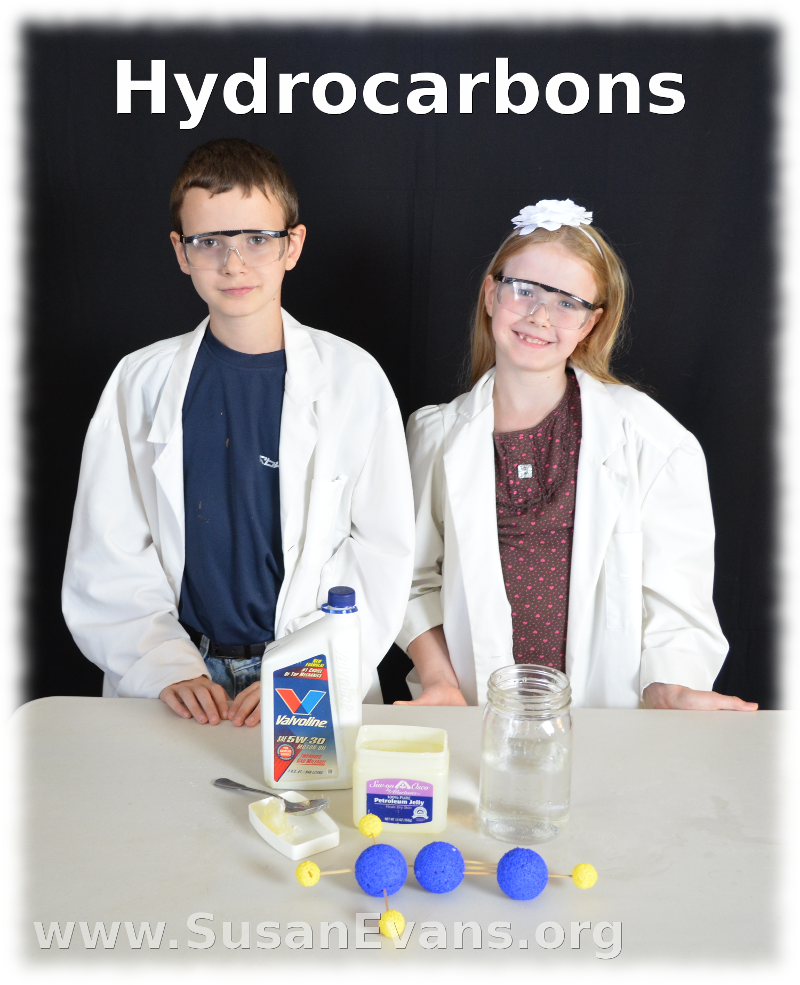
hydrocarbonsThis post contains affiliate links. I was compensated for my work in writing this post.

Today we will be making models of hydrocarbons and then performing an experiment with floating hydrocarbons. We are using Christian Kids Explore Chemistry by Bright Ideas Press, and the last five chapters in the book have to do with hydrocarbons.

What are hydrocarbons?

Hydrocarbons are a family of compounds that are composed of carbon and hydrogen atoms that are connected with covalent bonds that share electrons. We studied three different types of hydrocarbons:

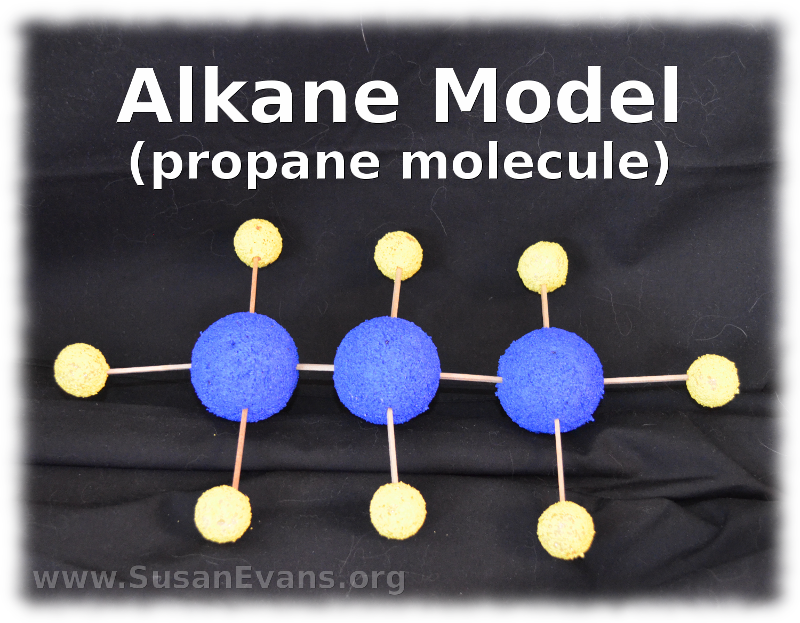
  • Alkanes (single bonds between the carbon and hydrogen atoms)
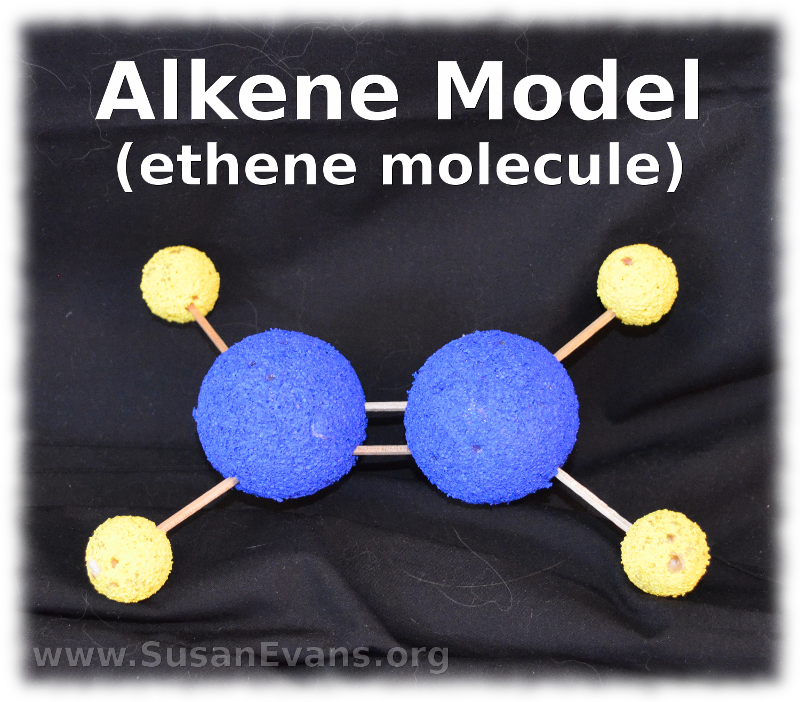
  • Alkenes (at least one double bond between carbon and hydrogen atoms)
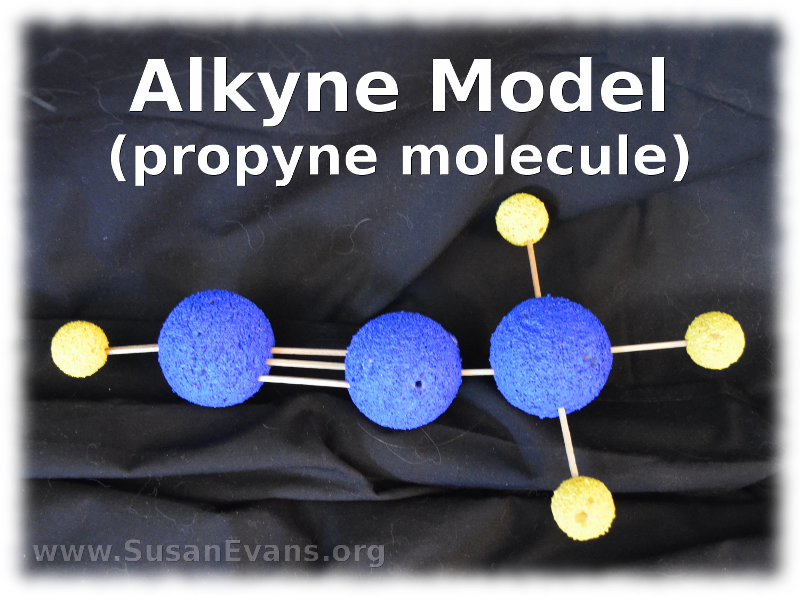
  • Alkines (at least one triple bond between carbon and hydrogen atoms)

We will be making some models of hydrocarbons with styrofoam balls, paint, and toothpicks. You will see my kids assemble these hydrocarbon models in fast motion in the video.

Take a look at an Alkane model:

alkane-model-propaneTake a look at an Alkene model:

alkene-model-etheneTake a look at an Alkine model:

alkyne-model-propyneNow we will perform an experiment with floating hydrocarbons. You will need a mason jar, water, petroleum jelly, and motor oil. Look at what happens when we perform this experiment:

This is our final post for this exciting series of Christian Kids Explore Chemistry by Bright Ideas Press. We hope you have enjoyed our experiments in this series!