Posts Tagged ‘Homeschooling’

Edible Sedimentary Rocks

Monday, March 3rd, 2014

edible-sedimentary-rocks

This post contains an affiliate link. I was compensated for my work in writing this post.

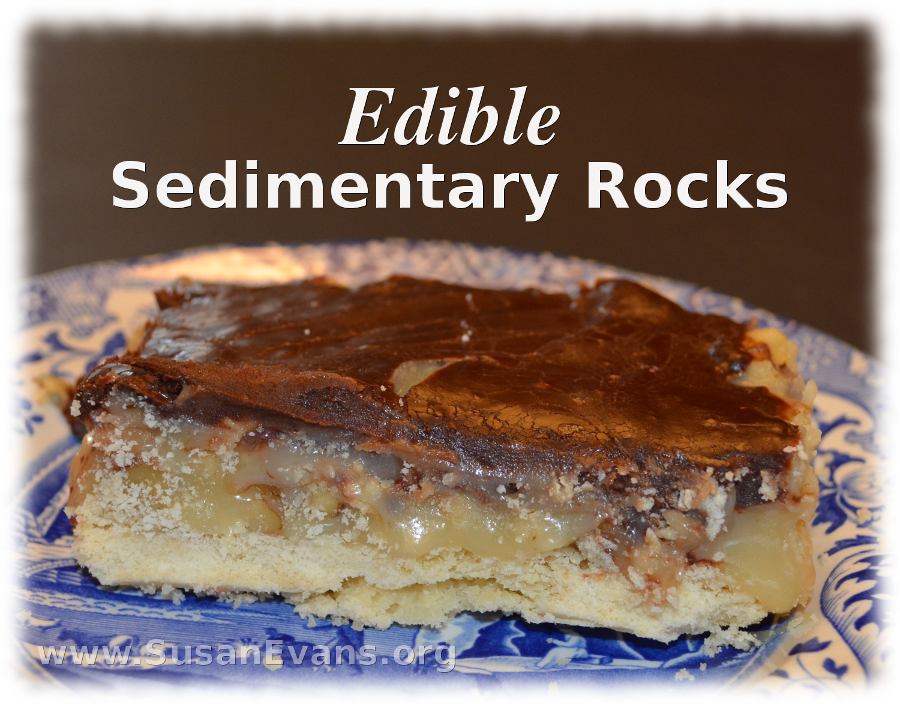
The highlight of our rocks and minerals study was making delicious edible sedimentary rocks, a layered treat overloaded with sugar. Look away from this page if you are on a diet! My own kids are skin and bone, so this treat put some meat on my kids, and a small-ish slice I ate (okay–fine! I had many small slices!) reminds me of the mud pies in Malibu, California.

We are continuing our  homeschooling science posts about Earth and Space by Bright Ideas Press. The recipe for the edible sedimentary rocks comes from this book, and I will give you a video tutorial for how to make this delicious treat at the bottom of this article. If you can’t wait that long, go ahead and scroll down right away to begin your sugar rush.

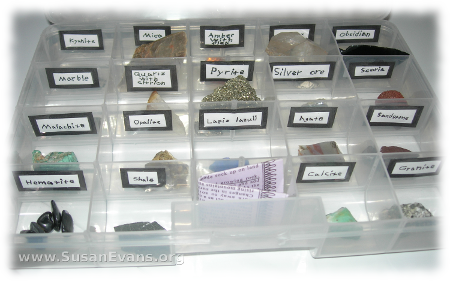
My kids have collected rocks and minerals for years, and when we studied the different types of rocks, they remembered the differences between igneous, sedimentary, and metamorphic rocks. Take a look at one of our collections, which we have organized in a labeled tackle box:

rock-collection

When you are studying rocks and minerals, you should really go ahead and do some experiments on the rocks, like plopping them into vinegar to watch them fizz. Here is a free PDF from the National Museum of Natural History. Scroll down and print out the last page for your kids. This is a chart. Go ahead and do the different experiments listed in the PDF, and have your kids enter the results into their charts. Place the chart into your Earth and Space notebook.

We have now arrived at our grand finale, our pièce de résistance:
How to Make Edible Sedimentary Rocks:

Famous Art to Teach Bible Stories

Wednesday, February 19th, 2014

famous-art-to-teach-Bible-stories

Have you ever thought of using famous art to teach Bible stories to your kids?

I especially love Rembrandt’s paintings of Biblical scenes, which help to bring those Bible stories to life. Make sure that your kids understand that these are not photos but interpretations of what a scene might have looked like when it happened in Bible times. (Also, keep in mind that any art book that you buy or get from the library will probably have nudity in it as well, so just pick the scenes you want to discuss and show those pictures to your kids.)

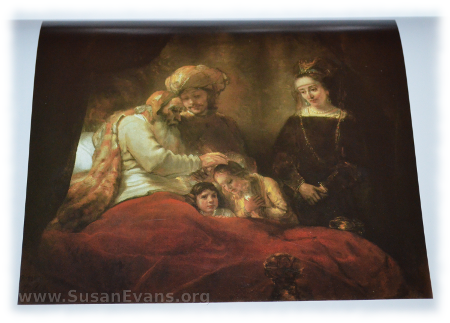
Rembrant’s painting “Jacob Blessing the Sons of Joseph” is one of my favorite scenes. In his old age, Jacob is about to die. He decides to bless the sons of Joseph as if they were his own sons. Jacob lived a very difficult life, since his sons tried to murder Joseph and then sold him into slavery in Egypt. They lied to their father, letting their father believe that Joseph had been killed by wild animals.

When Joseph was finally placed into a position of power, he eventually revealed his identity to his brothers, who told their father Jacob that his son Joseph was still alive. Jacob and all his family moved to Egypt to escape from the famine that was taking place. Now Jacob had the opportunity to see the sons of Joseph.

He crossed his arms and blessed the younger more than the older. This caused Joseph to be disturbed, but Jacob told him he knew what he was doing. Both of his grandsons would be blessed, but the younger would be greater than the older. This was ironic because Jacob is the same person who stole his brother’s blessing because God told his mother that her younger son would be blessed.

Notice the rich red blanket in the picture, probably a gift from his powerful son, Joseph, who is pictured with a turban because he had been living in Egypt. The lighting of the picture is beautiful, with the light coming from behind Jacob, illuminating his grandsons. You can ask your children to point out these details from the scene, causing them to interact not only with the Bible story, but with a famous work of art.

Plate Tectonics and Earthquakes

Monday, February 10th, 2014

plate-tectonics-and-earthquakesThis article contains an affiliate link.

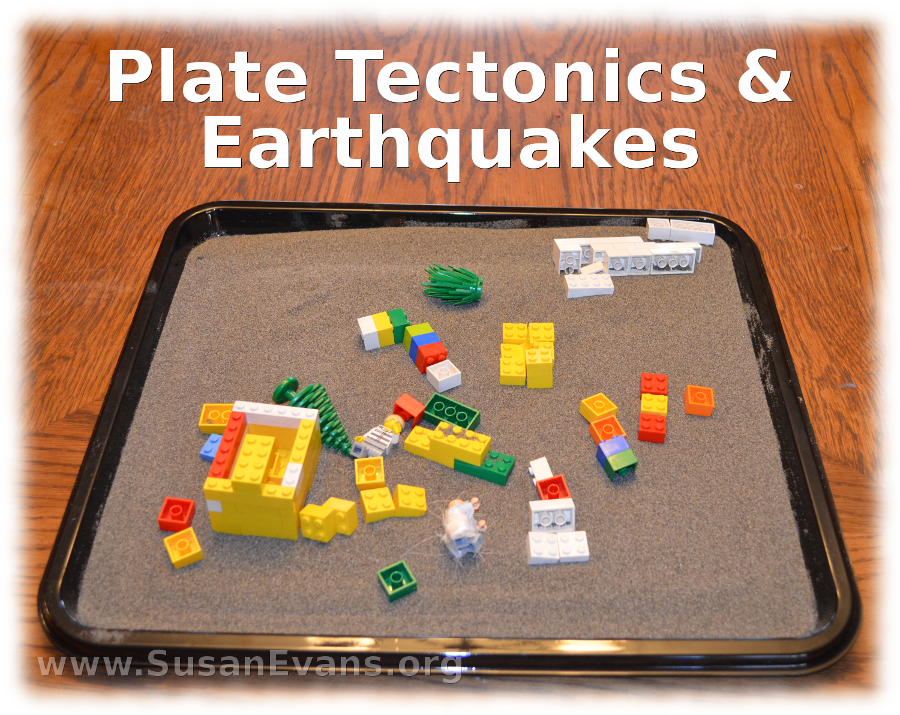
When my kids studied plate tectonics and earthquakes, we did some super fun hands-on activities. We are continuing our study of Earth and Space by Bright Ideas Press, and the highlight of this unit was to shake a Lego city to see what would happen during an earthquake. My kids kept setting up cities and shaking them down all week long.

tectonic-plates-2I’ve actually lived through many earthquakes. I grew up as a missionary kid in Guatemala, and I survived the 1976 earthquake, which was a 7.6 on the Richter scale. I remember the demolished city, where I could see inside the houses with knocked-down walls. It was kind of surreal. I tell you about it in the video. I also show you the hands-on activities we did for this unit:

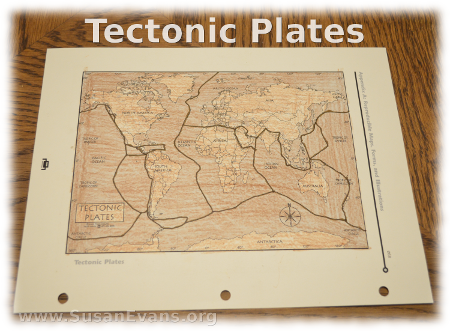
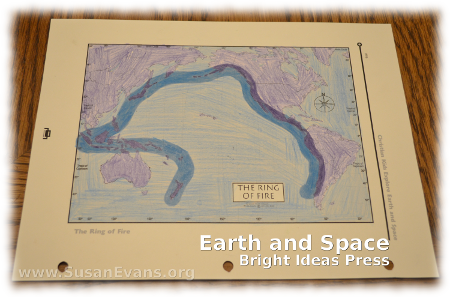
The children looked up a list of cities where large earthquakes have happened, and we noticed that the majority are located around the “Ring of Fire.” This is the edge of the tectonic plates, where lots of volcanoes have formed. We colored a printable that showed where the tectonic plates are located, and another map where the Ring of Fire is located. The children noticed the similarities.

ring-of-fire

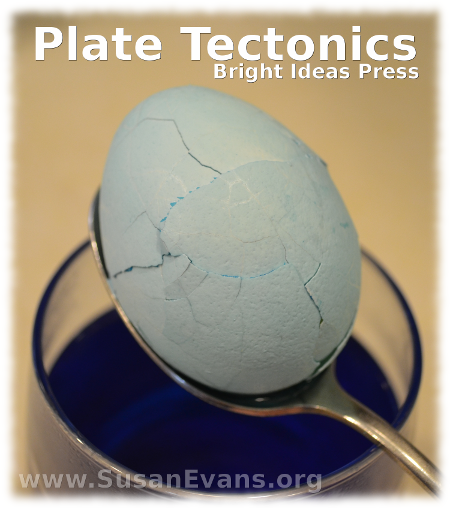
plate-tectonicsTo understand tectonic plates, one of the activities in the book is to boil an egg and crack the outside shell. In order to see the edges of the shell pieces better, you might want to color the egg like an Easter egg, with food coloring. Use 1 cup of boiling water, 2 teaspoons of vinegar, and several drops of food coloring. The longer you leave the egg in the dye, the brighter the “tectonic plates” will be. Make sure you crack the shell before you dye the egg, so that the edges of the shell are darker.

We had fun studying plate tectonics and earthquakes. After the kids were in bed, my husband and I reminisced about how much we missed earthquakes back when we lived in California. Isn’t that funny?

Bright Ideas Press compensated me for blogging about science through using the book Earth and Space.

The Earth: Hands-on Activities

Monday, February 3rd, 2014

the-earth-hands-on-activitiesArticle contains affiliate links. I was compensated for my work in writing this post.

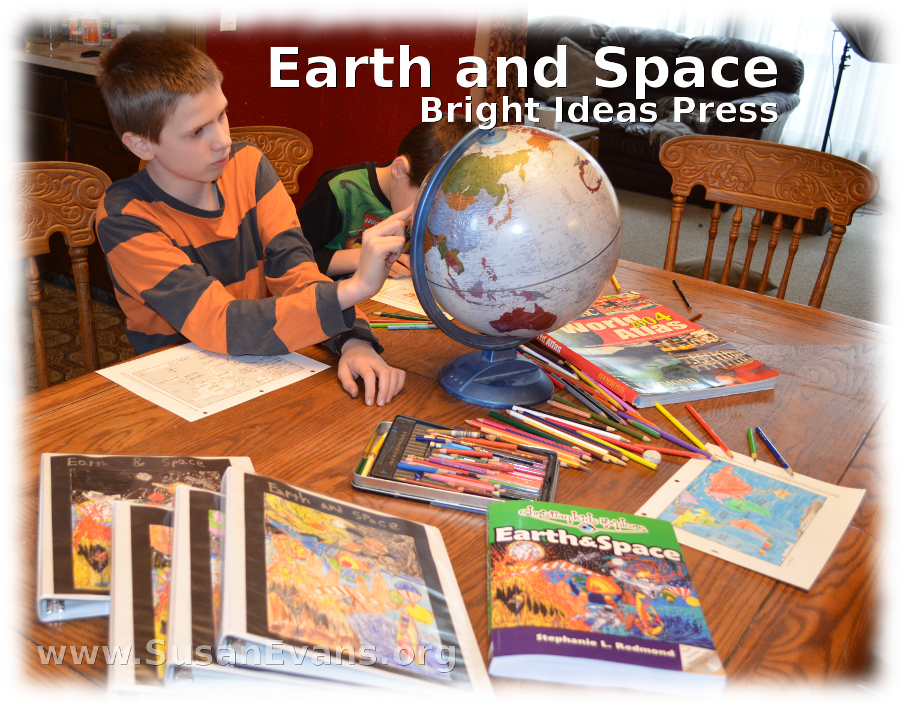
We are starting a study of Earth and Space by Bright Ideas Press. This book was an answer to prayer because my youngest son specifically asked to study rocks and minerals, the weather, and outer space. Who knew I would find them all in one book, with tons of hands-on activities and printables for notebooking, and that I would be compensated for blogging about our homeschooling adventures! Those of you who have heard my finances testimony and understand my prayer life will know how I’m glorifying the Lord right now for embarking on this fun science adventure with my kids!
earth-and-space-bright-ideas-press

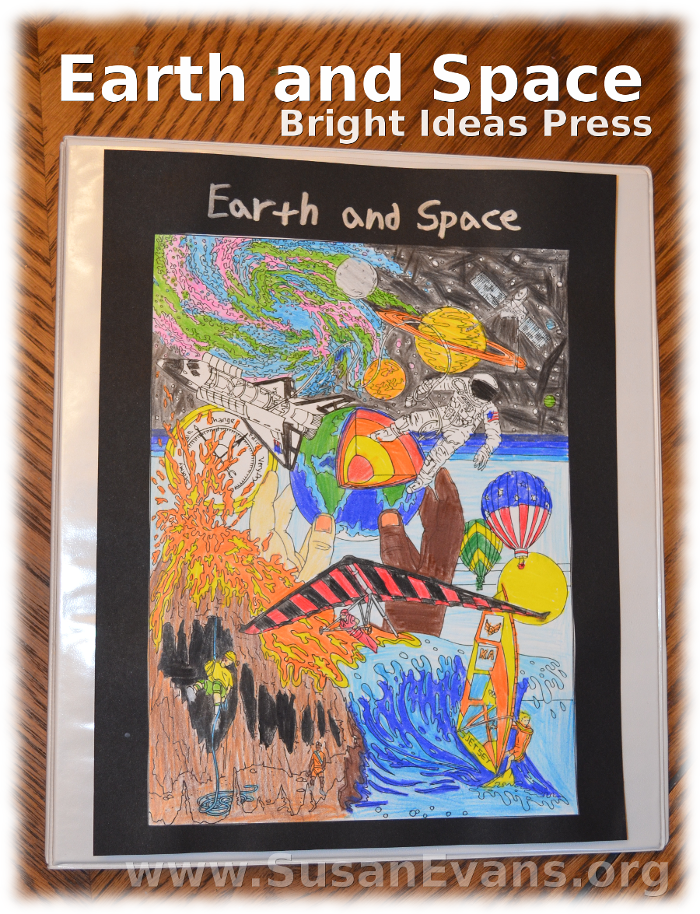
The first two chapters are about Earth and its structure. We colored a picture of creation and glued it onto black card stock paper. We wrote the title on the black page in silver permanent marker, before sliding it into the front of our notebook binders.

earth-and-space-creation

We located the continents and oceans on our maps and on the globe. We talked about the earth’s rotation (spinning), and we dramatized the revolution of the earth around the sun. You can watch these activities in our video demonstration:

layers-of-the-earth

Another hands-on activity was to stab a ball of Play-doh with a toothpick, to show how the earth spins on its axis.

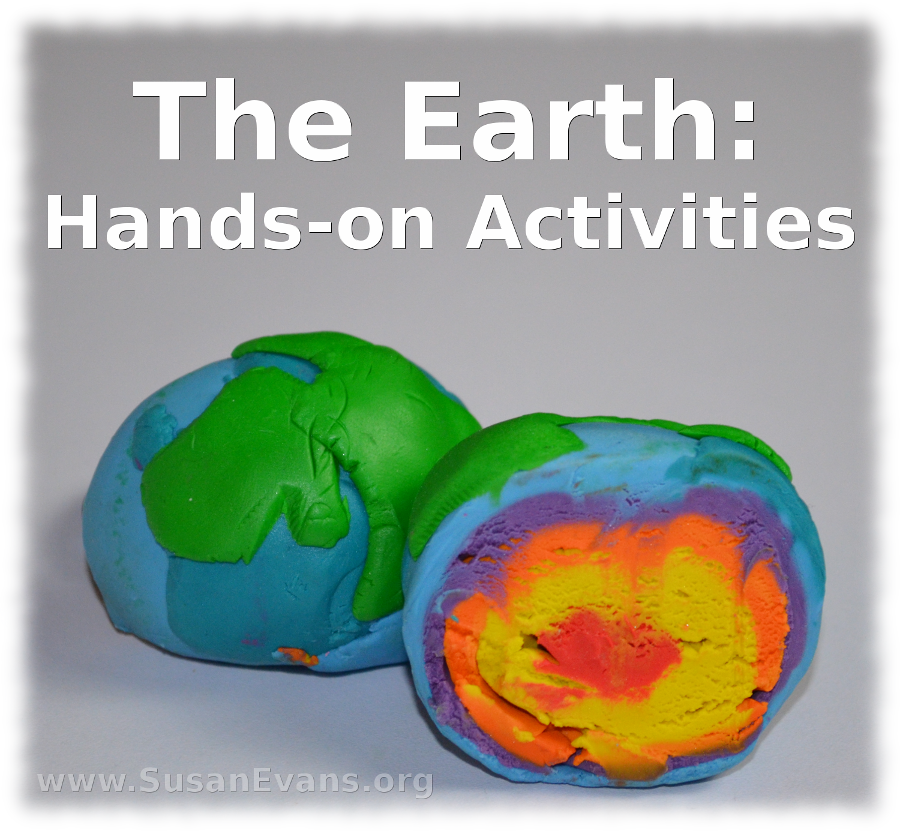
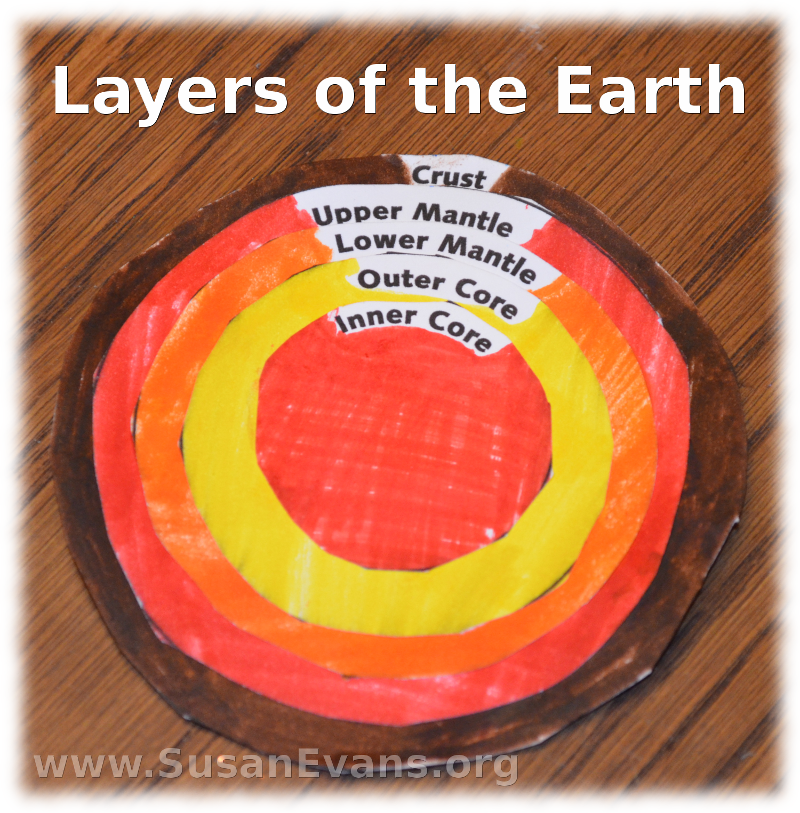
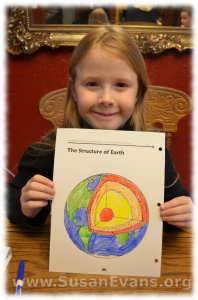
layer-sheetUsing one of the printables, we colored and cut out the different layers of the earth, gluing them on top of each other. Then we created a model of the earth layers out of clay. We had trouble cutting the clay with dental floss, so we used a table knife. This caused the layers of the earth to mix slightly, as you can see from the picture at the top of this page. I almost wish the clay was edible, because it looks good enough to eat!