Posts Tagged ‘kids’

Tips for Gardening with Kids

Monday, March 9th, 2015

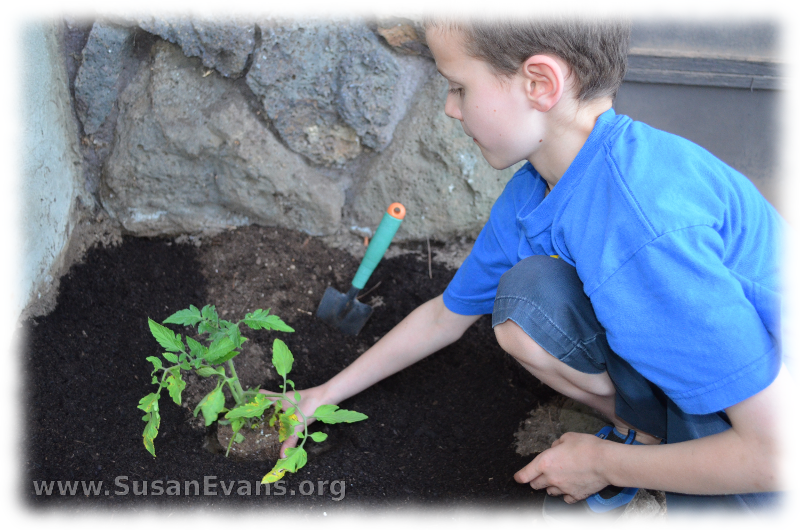
gardening-with-kids

Gardening with kids is a joy! The kids can see a plant growing up out of the soil into a large and beautiful plant. Getting fresh air and sunshine is good for children, and they are more likely to eat fruits and vegetables when they grow their own plants.

gardening-with-kids-3

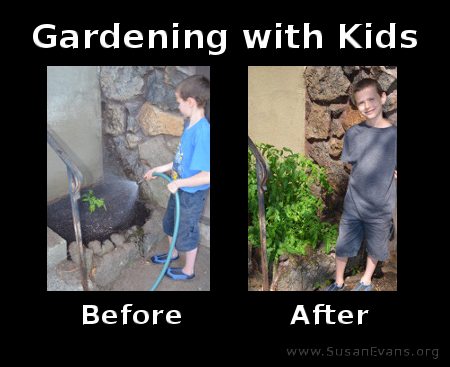
First you will want to find a plot of ground for your child to plant his or her garden. There was a small square plot at the front of our house, and my son chose that space for a small tomato plant. If you look at the picture above, last year his plant grew to ten times the size in just three months! The tomatoes tasted wonderful. He wanted to sell them, but they were just too good. So into his mouth they popped.

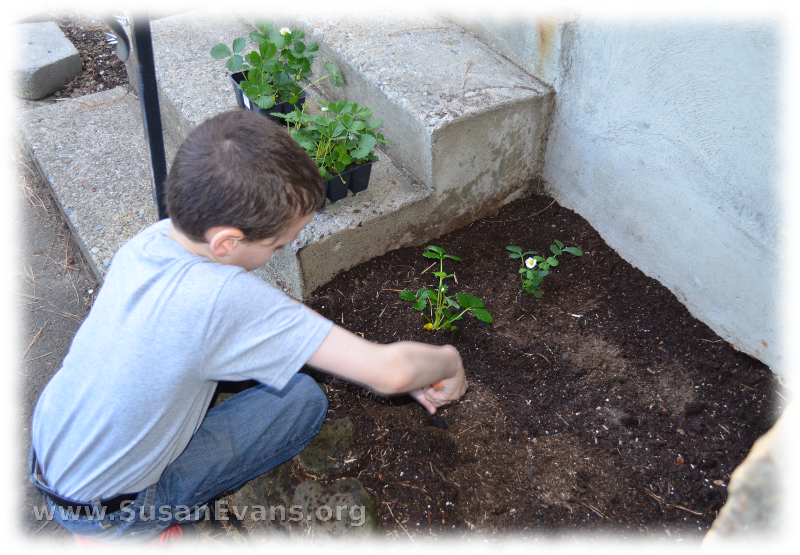
gardening-with-kids-2

This year my son wanted to plant strawberry plants. I told him that a contained area is great for strawberry plants, which tend to take over the whole yard like a weed. The strawberry plants thrived as well.

Tips for Gardening with Kids

  • Make sure that the soil is rich in the area where your child is planting. You will want to dig out the bad soil and replace it with good gardening soil.
  • Don’t forget to water your plants. You might want to place a note on the refrigerator to remind your child to water the plants.
  • Let the child choose the plants. This way they will be more interested in the growth and produce of their plants.
  • Choose plants that are native to your area. You are more likely to succeed if the plants are indigenous to the area. You can find those in local nurseries rather than big chain stores that ship their plants from outside your state.

Have a wonderful time gardening with your kids!
Statue of Liberty Unit Study

Monday, July 1st, 2013

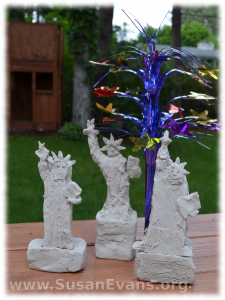
statue-of-liberty-unit-studyMy children had a fabulous time with this Statue of Liberty Unit Study.

We started by making a Statue of Liberty model. We bought a large hunk of white self-hardening clay. I took it out of the box and placed it on wax paper on top of a cutting board. I sliced it with a butcher knife into four pieces, one for each of my children.

At the table, I placed wax paper for easy clean-up. You will be banging your head against the wall if the self-hardening clay dries like cement straight onto your table, so be sure not to skip this step.

Each child should have a picture of the Statue of Liberty, to help the child draw the shape onto the front of the hunk of clay, using a plastic sculpting knife. You should cut away the clay that you don’t want. It comes off like butter. If the head looks flat like Frankenstein, you can always add more clay and fix it. If you want to erase a line, just rub your finger over it.

After getting the main shape, start adding details. Add the torch, the arm with a tablet, and the pedestal at the bottom of the statue. Then add the finishing details: the spikes coming out of the crown, the facial features, and the folds in the clothing. When you are finished, let the clay harden for two days. Take a look at how much fun my kids had with this activity:

We read the book How They Built the Statue of Liberty so that the children could understand how it was constructed. Step by step drawings helped the children see how the statue was assembled.

Here is a printable model of the Statue of Liberty, from Paper Toys. Be sure to print it on white card stock paper and watercolor light green paint on it before cutting it out and gluing it together.

Here is a free printable book full of activities from the National Park Service:

Here is a virtual tour of the Statue of Liberty:

Here is a short video tour of the Statue of Liberty:

Hundreds of unit studies like this are instantly available when you join the Unit Study Treasure Vault.