Posts Tagged ‘Organization’

Organizing Your Kitchen

Wednesday, August 18th, 2010

organizing-the-kitchen

If you have a dishwasher, there is never a reason to stack dishes in the sink. Train everyone to rinse the dish and put it in the dishwasher as soon as they set it down. Then your kitchen sink will always be ready for washing hands or cooking, and it will look relaxing to the eye.

The kitchen is one area that tends to get messed up quickly. People set things down on kitchen counters, and pretty soon you have a pile of stuff that is an eyesore. Designate one time during the day (or you can do it throughout the day) to grab one thing and put it away, and grab another thing, and put it away. If you tidy up while dinner is cooking, you can have a restful environment after dinner.

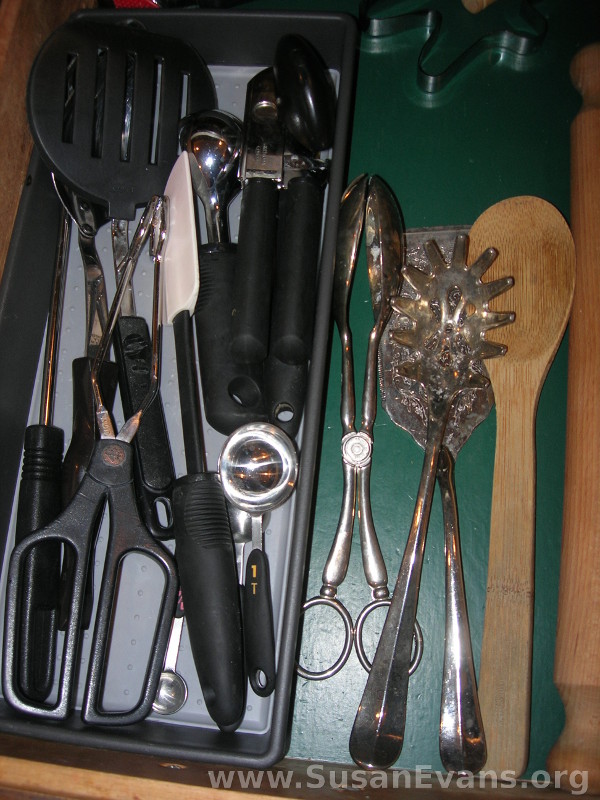
As far as drawer space is concerned, use drawer dividers to help you find utensils more quickly, or group them in a container on the counter. I’m not talking about just the silverware. The more dividers you have in your drawers for your bigger utensils, the easier it will be for you to find each item. You can also hang utensils on the wall on a utensil holder that has hooks for each utensil. Keep cooking utensils near the stove where you need them, and get rid of any duplicate utensils (except for spatulas and wooden spoons; have two of those.)

Put away appliances that you don’t use every day, such as food processors or blenders. The fewer items you have on your counters, the more restful you will feel when you enter the kitchen, and you have a place to prepare food.

kitchen-drawer

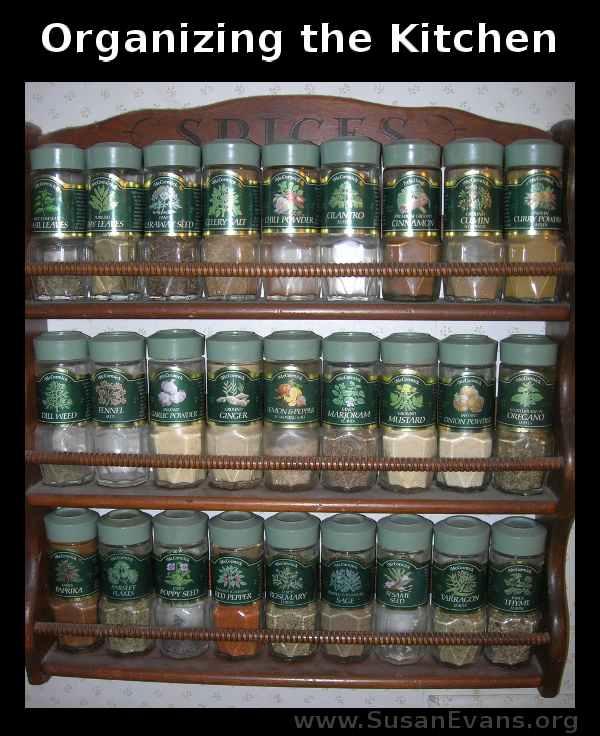
Spices can be stored on a spice rack on the wall to free up cupboard space and enable you to find spices more quickly. You could also use a tiered shelf in your cupboard so that you can see all your spices at one time and not get an avalanche when you open your cupboard door. Also, if you have two containers of cinnamon, dump the one in the uglier container into the one with the prettier container. When a couple gets married, often they will have two of every kind of spice. Another way to sort it is by throwing away the older ones.

Containers for the refrigerator should be stackable and clear so that you can see what’s in them. Place the container in the freezer if you don’t plan to eat it during the next couple of days. You can label them with a Sharpie marker on masking tape. This keeps the fridge from having spoiled food.

If you would like more tips on organizing your kitchen, or if you would like to have a tour of my kitchen, check out my class, Organizing for a Fun Homeschool. The kitchen section is only about 10 minutes, but it helps to picture what I’m saying.
Organizing the Bedroom

Tuesday, August 17th, 2010

organizing-the-bedroom

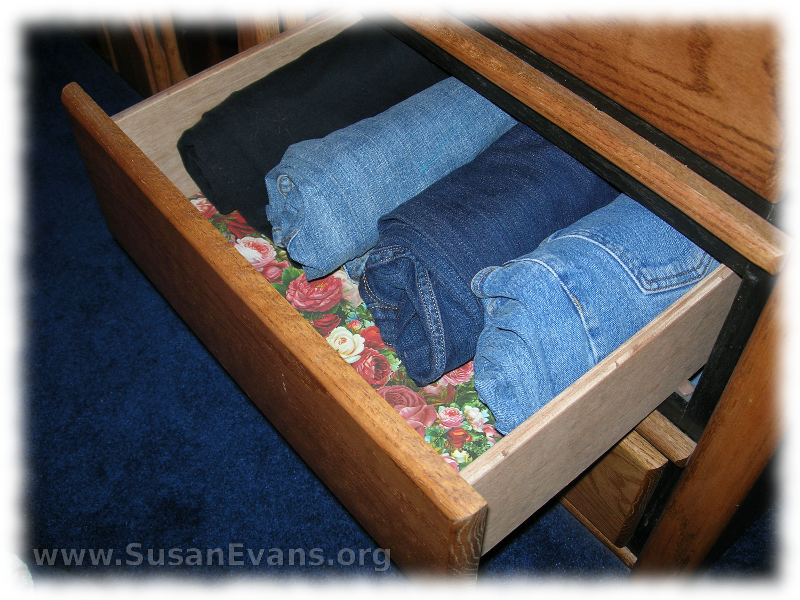
The key to keeping your house organized is to get rid of everything except what you use all the time and what you love. If you can do this one thing, your house will be simpler to organize. When you have fewer things, your cupboards aren’t crowded, and you don’t have to crush your clothes and wrinkle them by pushing them down to close the drawer. You can’t even see what’s in your closet if the clothes are smashed against each other. Get rid of everything you can, and the extra space will bring you tranquility of mind.

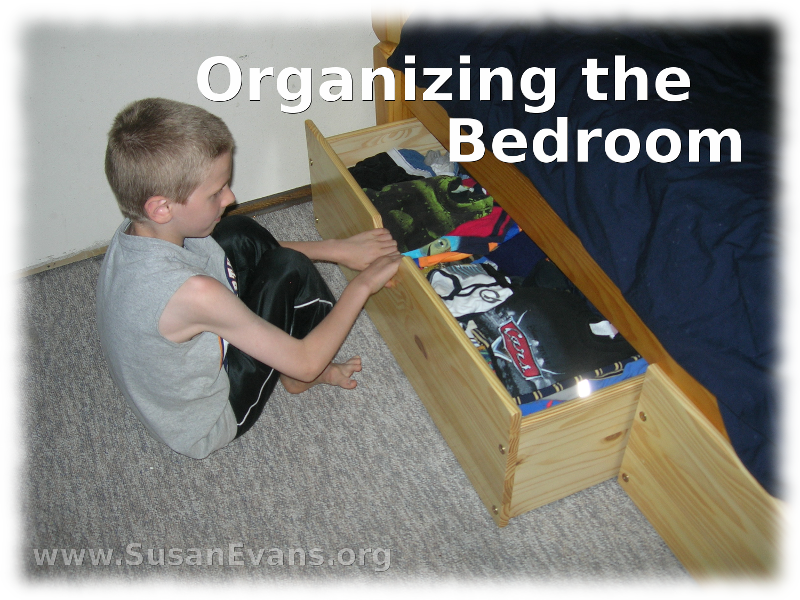
Since I mentioned the bedroom, let’s start there. Open your closet and dump all of your hanging clothes onto your bed. Now grab the items that you use all the time and that you love. Get rid of all the rest. Do the same with your drawers. Dump them out, and put back only what you love and use all the time. Put the rest in a bag for Goodwill. Do the same for shoes, scarves, and anything else in your bedroom. Clear bins are good for storing scarves, snow boots, or other things that aren’t used every day, but that you want to keep. Stack the bins on shelves, or get flat containers to be stored under the bed.

Necklaces can be hung on a wooden rack, with short pegs coming out of a decorated slab of wood. This way your necklaces will not be tangled when you want them, and they are all visible to see what matches your outfit.

The closets in the children’s bedrooms should be rearranged depending on what you have to store. You can lower the bar and add more shelves if your child is small. The shelves can hold bins that are labeled with toys that are similar, like cars and trucks in one bin, and legos in another bin. You might even want to cut out a picture from the original packaging of a toy, and stick it with packing tape onto the bin so a child knows what is in each bin, and how to clean up after playing.

organized-drawer

You should regularly go through your children’s clothing to see if they have outgrown some of their clothes, especially if they’ve just had a birthday. Also, get rid of toys that only keep the attention of your child for five minutes. Open-ended toys are better, and they can even be stored in a pantry, laundry room, or a garage, as long as they are in bins. They can be rotated so that toys are always interesting.

If you would like a virtual tour of my home and how I organize it, check out my workshop Organizing for a Fun Homeschool.

We were named a top organizing and decluttering expert by Redfin. Check out the article we were featured in: 30 Organizing Tips to Maintain a Tidy Home

Goals for my Children

Monday, August 16th, 2010

goals-for-my-children

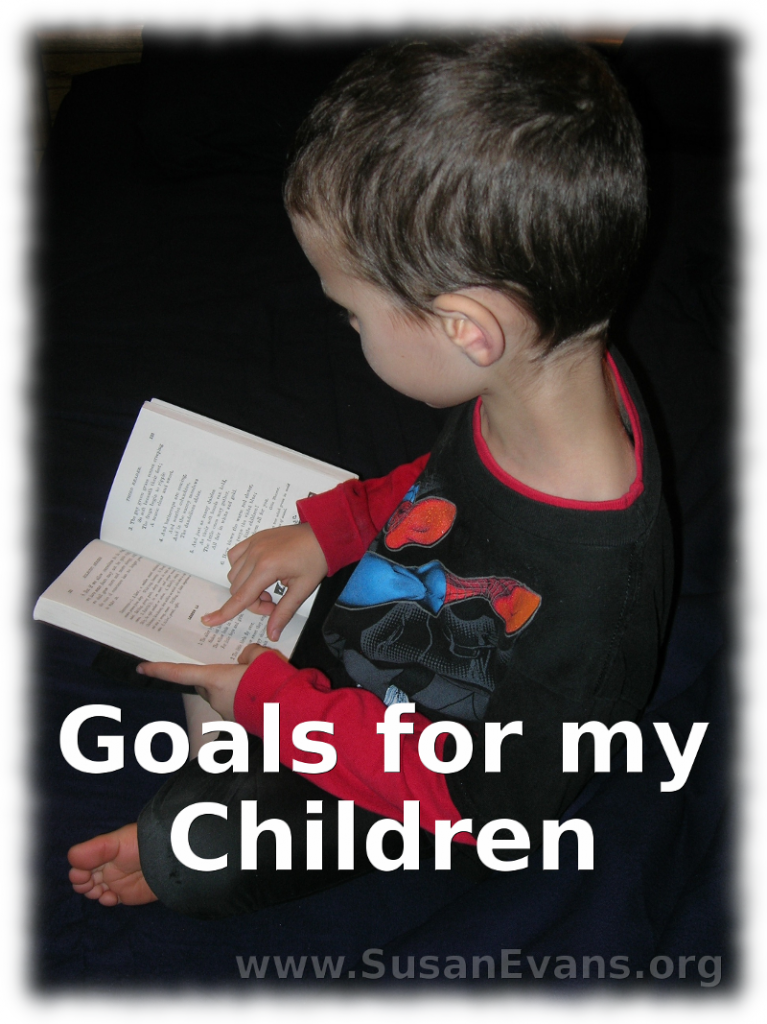
The importance of goals in homeschooling cannot be overestimated. If you have no goals, you don’t know where you are going. It’s important to have long-term as well as short-term goals. What do you want your children to accomplish before they leave home at age 18? A goals list for each subject area will help you do long-range planning, and it can help you eliminate busywork in your homeschool that does not contribute to your goals. Short-range goals might include what you want your child to accomplish in any given year. I have included a list of the long-range goals that I have for my own children. I hope it is helpful as you formulate your own goals.

Bible

  1. Understand the Gospel and be saved.
  2. Learn obedience and self-control.
  3. Grow in their knowledge and love of Christ.
  4. Have a vivid knowledge of Bible stories.
  5. Be able to take notes and learn during a sermon.
  6. Learn the great hymns of the faith.
  7. Learn how to use Bible concordance, atlas, dictionary, handbook.
  8. Understand and experience Jewish traditions and holidays.
  9. Memorize Scripture and the books of the Bible.

Math

  1. Be able to do quick mental math (add, subtract, multiply, and divide).
  2. Have good estimation skills and practical math.
  3. Have financial savvy; budgeting and business skills.
  4. Be able to do math up through calculus, if needed for future job.

Language

  1. Be able to read fluently with understanding.
  2. Write effectively and vividly in all forms of writing.
  3. Give a speech presentation effectively.
  4. Be exposed to drama and theater.
  5. Have sharp listening skills and reasoning skills.
  6. Understand basic logic and have critical thinking skills.
  7. Read and discuss a wide range of classical literature.

Science

  1. Have thorough knowledge and appreciation of God’s creation.
  2. Understand scientific principles including chemistry and physics.
  3. Have earth science and biology knowledge.
  4. Exposure to evolution vs. creation science. Able to logically defend the faith.

History/Geography

  1. Know the states and capitals, and locate states.
  2. Know the location of all countries on earth.
  3. Be exposed to travel in other states and countries.
  4. Understand the flow of history and when major events took place; vividly picture all major time periods.
  5. Understand the “why” behind major events. See God’s hand in His dealings with mankind.

Foreign Language

  1. Exposure to Hebrew and Greek.
  2. Intermediate to advanced knowledge of Spanish.

Art

  1. Have basic drawing skills, painting, and crafting skills.
  2. Have knowledge of great works of art and artists from history.
  3. Exposure to art museums.

Music

  1. Knowledge of great classical composers and music.
  2. Carry a beat (clapping).
  3. Exposure to symphony, jazz festivals, etc.
  4. Sing on key and possibly harmonize.
  5. Learn how to read basic music notes (piano).
  6. Take instrument lessons if interested.

PE/Health

  1. Learn about healthy nutrition and exercise.
  2. Learn how to swim, or at least tread water.
  3. Exposure to sports and other physical activities.
  4. Learn about the digestive system, skeletal system, muscular system, respiratory system, etc.

My Gardening Binder

Friday, May 14th, 2010

my-gardening-binder

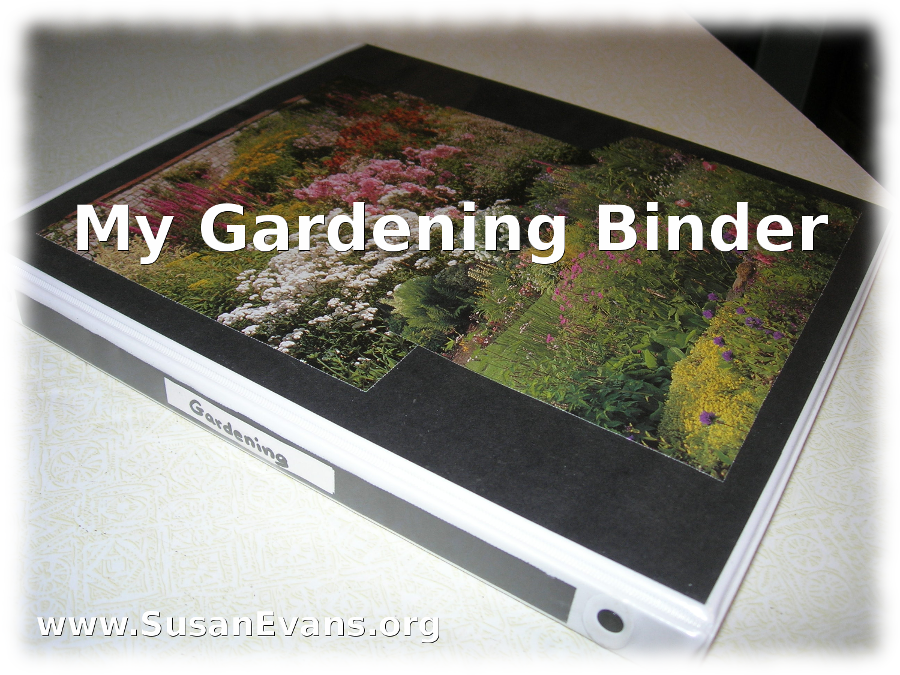
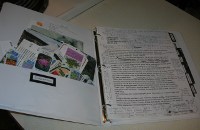
I created a gardening binder with pictures, articles, and blueprints from my backyard. I’ve used this as a source of inspiration for years now.

When I moved into our first house 12 years ago, I saw an overgrown backyard with a lot of potential. I had never really been good at gardening (aside from my boarding school experience). So the entire backyard (and front yard!) loomed like a daunting task, waiting to be magnificent.

My first step was to sign up for an inexpensive gardening class, put on by the local community college. I took copious notes and asked lots of questions. The good thing about taking a local class was that the expert could tell me what grew well in my area.

gardening-binder-2I read some gardening magazines, ripping out any articles that were helpful “how to’s,” such as how to prune a bush correctly or when and how to plant bulbs. I punched three holes into the pages and put them into a binder. I made dividers: perennials, bulbs, herbs, lawn, trees and shrubs, exercises for gardeners, and general advice. I hole punched all my class notes and handouts from my gardening class and categorized them accordingly.

I also cut out pictures of inspiring gardens so that I had an idea of what I liked, and so that I would be excited to do all the work that needed to be done. I grabbed a black sheet of construction paper and glued some beautiful gardening pictures on the front. I slid this into the pocket on the outside cover of the binder. I wrote “Gardening” on a sheet of black paper and slid it down the binding pocket so that when the binder was on a shelf, I could spot it quickly.

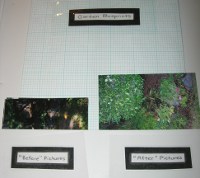
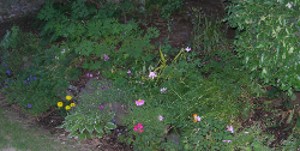
In the back pgardening-binder-3ocket I put “before” and “after” pictures. I went outside and took pictures for the “before” side. I left the “after” side empty for years. Behind the “before” and “after” pictures, in that same back pocket, I put my garden blueprints. I bought a sheet of blueprint paper at the art supply store while taking a landscaping class (another local class). I had to measure my entire yard with a measuring tape, and then measure out where each tree and bush was. I found out that day that I had 23 pine trees in my small backyard in the suburbs. No wonder my soil was acidic!

Over the years I have improved my yard, but I’ve had more failure than success. Being on a tight budget, at first I refused to buy dirt. But my soil was so bad, I really needed to amend it or it would never look good. The thought of buying dirt seemed ludicrous to me, but that was one secret that helped my garden to begin to do well. When I had no money whatsoever for plants, I threw a garden party, where peopgardening-binder-4le brought plants from their yard to share, and swapped their plants for other people’s plants. That was how I began my perennial garden. If you go to people’s houses with fabulous yards, you can compliment them and start letting people know that your garden is pathetic. Sooner or later people will start giving you plants, especially women from church who have seen your real garden and feel sorry for you. Then again, I also told my husband to never buy me flowers unless they had a root attached. In these sneaky ways, I built my garden over time, with virtually no money.