Posts Tagged ‘snow’

Snow-Themed Hands-on Activities

Friday, December 11th, 2020

snow-themed-hands-on-activities

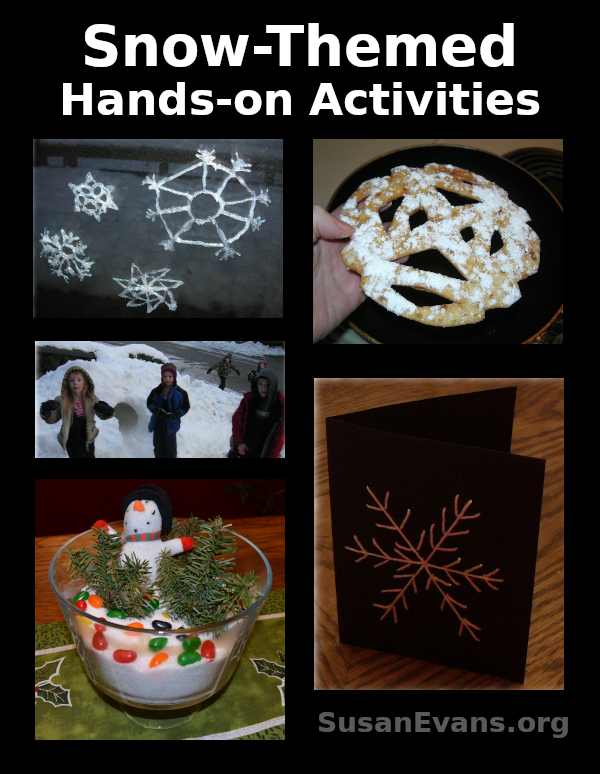
I recently gave a workshop on snow-themed hands-on activities, explaining how to cook snowflake funnel cakes, how to make snowflakes that cling to glass, how to build a successful snow cave, and how to create snow scenes for a centerpiece for your dining room table.

Snow-Themed Hands-on Activities

Here is the workshop with snow-related fun this winter season:

The workshop began with a demonstration of how to make paper snowflakes. This is important in making snowflake funnel cakes because in the same way that you cut out snowflakes on paper, you can cut out snowflakes using flour tortillas.

Cut a piece of paper into a circle, and fold the circle at least twice. With scissors, cut out designs as illustrated in the video. Then unfold the paper to see your unique snowflake. You can glue glitter to your snowflakes or hang them from the ceiling.

Snowflake Funnel Cake

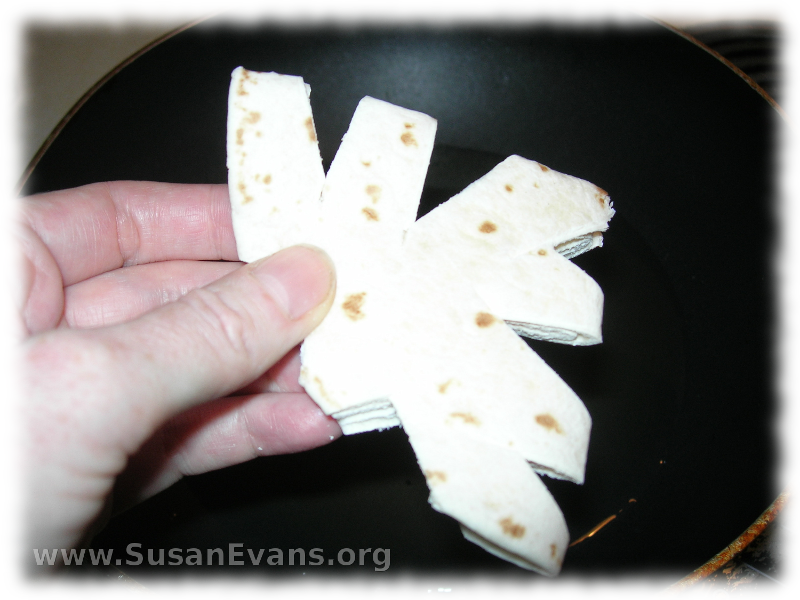
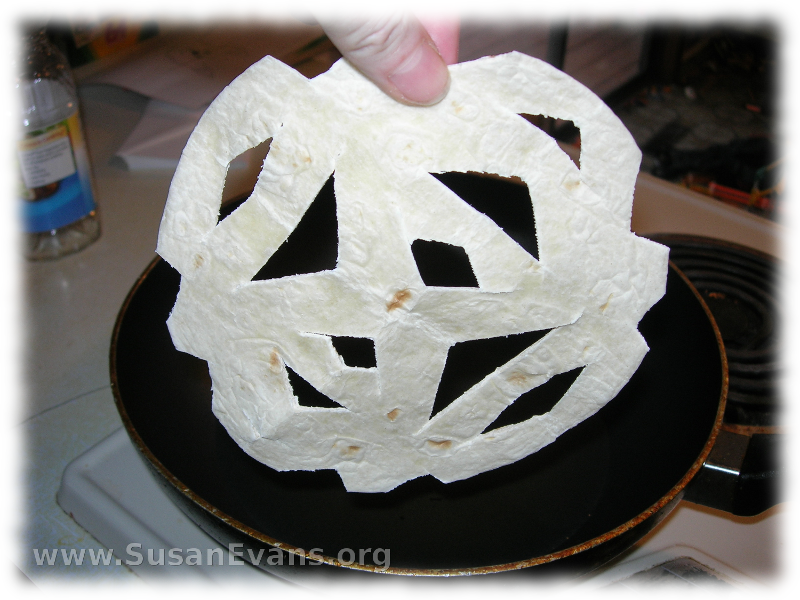
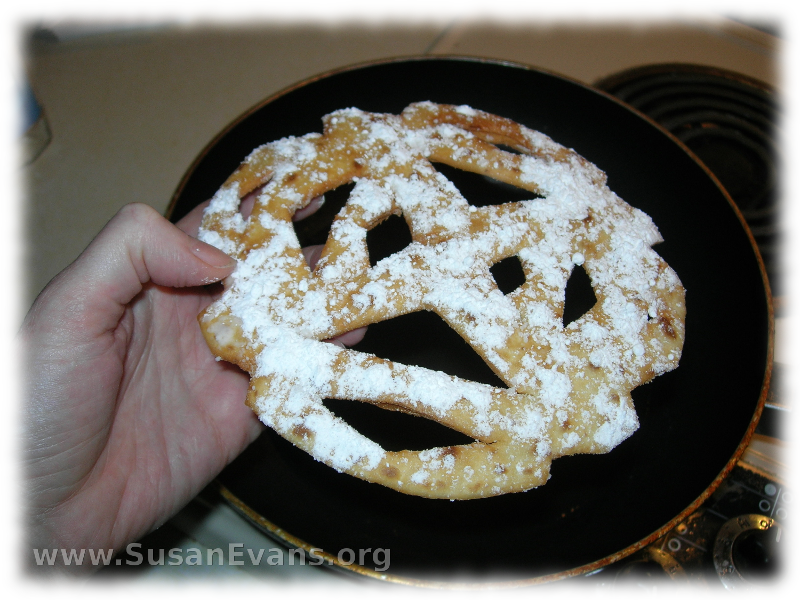
In the same way, grab a fajita tortilla and fold it twice. Using the kitchen shears, cut designs into the tortilla’s folds. Then open the tortilla.

snowflake-funnel-cake

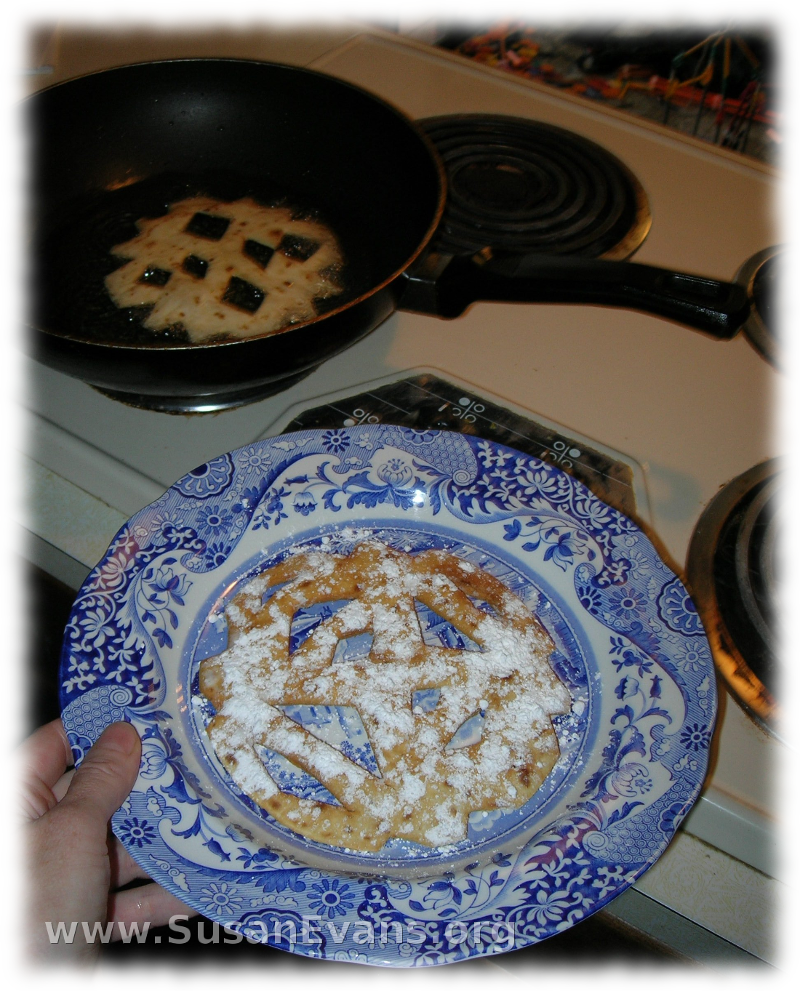
Heat about an inch of oil in a pan, and deep fry the snowflake tortilla on both sides until golden brown. Remove the tortilla with tongs and place it on a plate with a paper towel on it. The paper towel will absorb some of the oil. Sprinkle powdered sugar over the tortilla snowflake. Enjoy eating your snowflake funnel cake!

How to Make Snowflakes that Cling to Glass

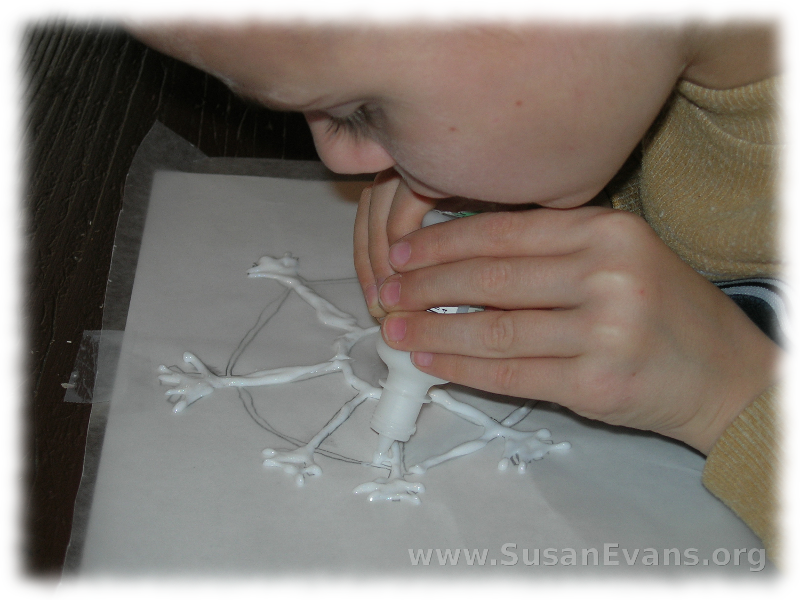
To make snowflakes that cling to glass, you will need dimensional fabric paint (or regular white school glue), wax paper, and a paper and pencil.

tracing-snowflake-glue

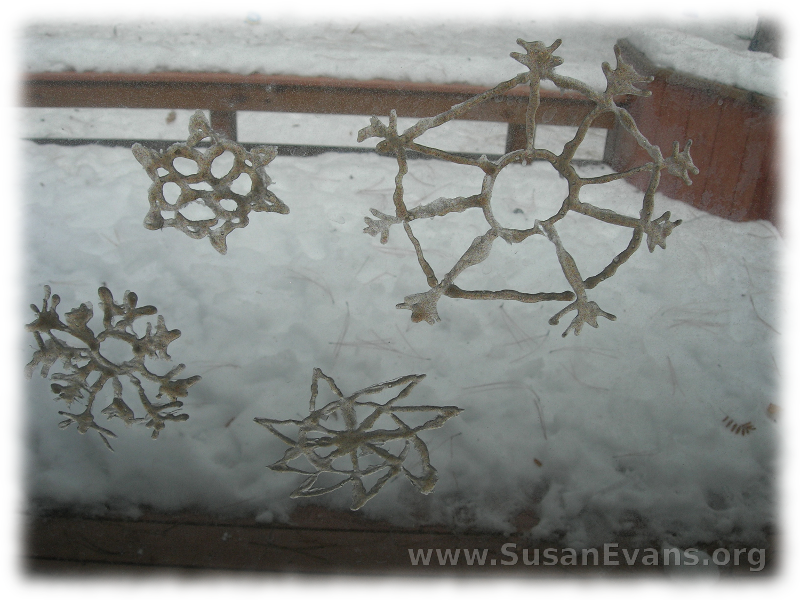
First, draw a snowflake on a piece of paper. If you prefer, you can find a design online, and print it out. Place wax paper on top of it, and tape it down. Have your child trace the design with the dimensional fabric paint (or white school glue). Make sure that there are no thin lines. All lines should be thick so that when you peel the cling snowflake off the wax paper the next day, it will stay together.

snowflakes-that-cling-to-glass

It works much better with the dimensional fabric paint, since it is thicker and more solid, but it can also work with the white school glue. Make sure to dry the snowflake overnight before trying to peel it off the wax paper. You can stick it to a window or a mirror.

How to Build a Snow Cave

snow-cave

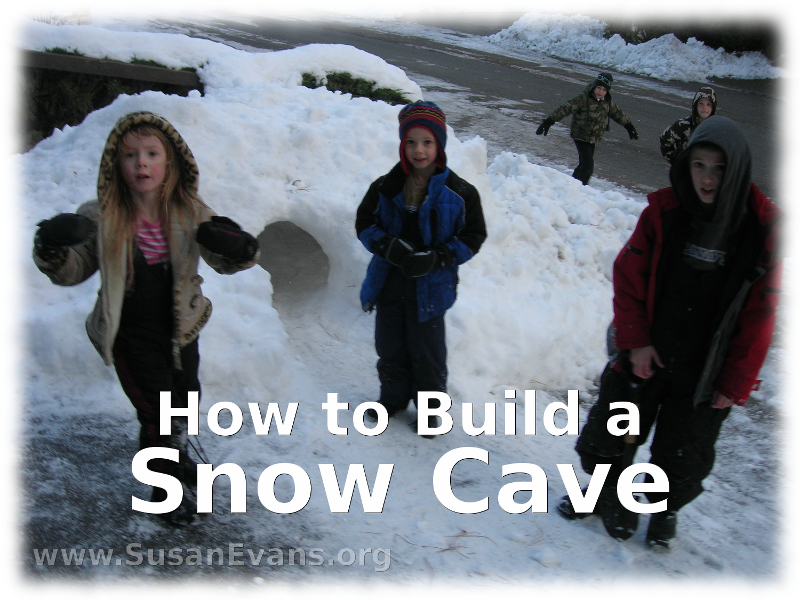
To make a strong snow cave that will not collapse, start by building a mountain of snow. Have the kids climb on top of the hill of snow to compact it down. Then start digging an entrance to the cave. You can make several rooms depending on how big your mountain of snow is. It’s particularly fun to play in the snow cave at night with a flashlight. For more information on building a cave out of snow (and a video of the finished snow cave my kids built), go to: How to Build a Snow Cave.

Snow Scene Centerpiece

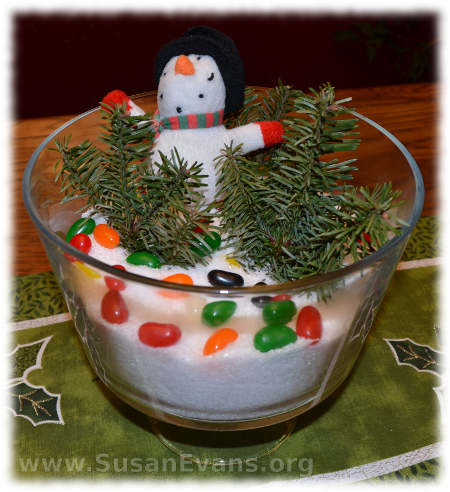
In the video I describe how to make a snow scene centerpiece. You get a glass container and dump rock salt in it. Grab some greenery and some winter decorations (or a nativity scene), and arrange it on the “snow” in your scene. Take a look at one of my creations: Snow Scene Centerpiece.

Bonus: How to Make a Snowflake Card with Yarn

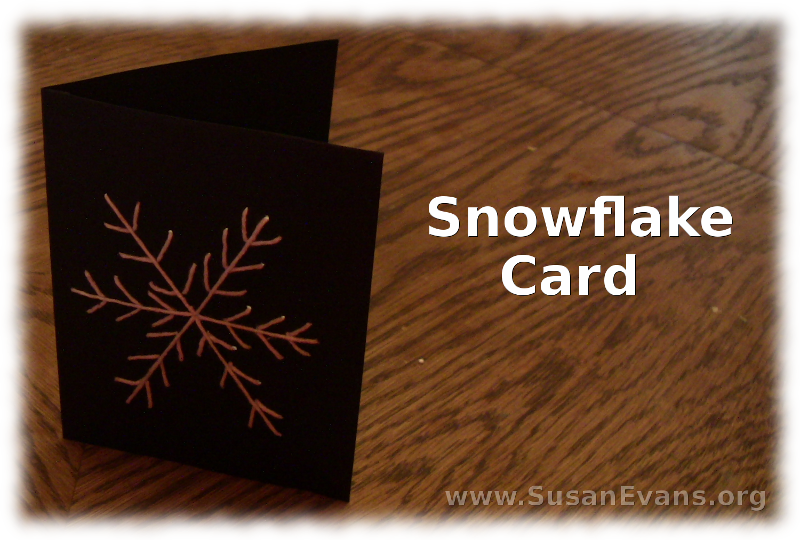
I’ve added a bonus snowflake hands-on activity for you: snowflake cards. I did not discuss this craft in my workshop above, but I give a step-by-step tutorial here: Snowflake Card.

snowflake-card

You will need black card stock paper, white string or yarn, and a thumb tack. Draw a snowflake with pencil on the black paper, and use the thumb tack to punch holes along the lines. Then sew the snowflake onto the card. You can use a thick needle, or just push the string through by hand. It looks gorgeous as a Christmas card!
Snow Scene Centerpiece

Monday, December 16th, 2013

snow-scene-centerpiece

Make a beautiful snow scene centerpiece for your table in less than five minutes. All you need is rock salt (or Epsom salt), a branch of greenery, some Christmas ornaments, and a large glass bowl.

Dump the rock salt into a large clear bowl in the center of your table. Rock salt looks more beautiful, but Epsom salt is more useful, since you can re-use the Epsom salt in your bath after December is over.

Place some greenery into the white salt. You will need to break off small bits of a branch of an evergreen tree, or you can use shears to cut it. I stuck pieces of greenery into the “snow” so that they would look like trees in a forest. But you can also lay them flat in a beautiful way.

Look at the decorations on your tree, and see if you want to showcase one ornament, or if you want to choose several ornaments. A village house would look pretty in the snow. Arrange the ornaments in your bowl. I added jelly beans for color. You could add red berries or a red garland for a similar effect. Just mess with the scene until it looks pretty.

Enjoy your finished snow scene centerpiece! For more fun winter activities, click here.

How to Build a Snow Cave

Friday, December 21st, 2012

how-to-build-a-snow-cave

In this video, I show you how to build a snow cave. Here are some tips for building a successful snow cave that won’t collapse:

  • Pile up a huge mountain of snow wherever you want your snow cave to be. It helps if there is already a huge pile somewhere.
  • Make sure it’s packed down to some degree. Fluffy snow will cave in, and the ceiling will not remain strong unless the entire mound is compacted. Have your children walk on it, but don’t have a adult do it, or it might turn into a chunk of ice.
  • Start digging in one place, right where you want the door to be. Make a tunnel.
  • If it’s large, make different rooms by digging out doorways and caves within the cave.
  • You can bring in light by carving out a window.
  • Your boys can play cops and robbers in the cave. Or they can play that they are at war and are trying to escape from the enemy. They can use walkie-talkies to communicate with each other inside and outside the snow fort.
  • Your daughters can play house in the cave or have a tea party in there with their friends.
  • You definitely need to play in your snow cave at night. Don’t forget to bring a flashlight!

Linked to Snow Day Activities:

SnowDay

How to Make a Snowflake Funnel Cake

Tuesday, December 28th, 2010

snowflake-funnel-cake

To make a snowflake funnel cake, you will need some soft tortillas, vegetable oil, and powdered sugar. You will also need scissors, a pan for frying the tortillas, and tongs to remove the crispy tortilla from the oil. Make sure the tortillas are fresh and have not been in the fridge, or they will break when you fold them.

How to Make a Snowflake Funnel Cake

  • Step 1: Fold a fajita tortilla into fourths and cut it with scissors like a snowflake. You don’t want the tortilla to be too large, which is why I chose the fajita size.
  • Step 2: Throw it into some hot oil. The oil needs to be deep enough to cover the whole tortilla. An inch of oil is plenty. Flip the tortilla in the oil so that it browns evenly on both sides.
  • Step 3: When the tortilla is crispy and light brown, pull it out with tongs, onto a paper towel.
  • Step 4: Sprinkle powdered sugar on it.

Voila! A yummy, beautiful snowflake that tastes just like a funnel cake!

snowflake-tortilla

snowflake-tortilla-sugar

snowflake-funnel-cake-2

Linked to Snow Day Activities:

SnowDay