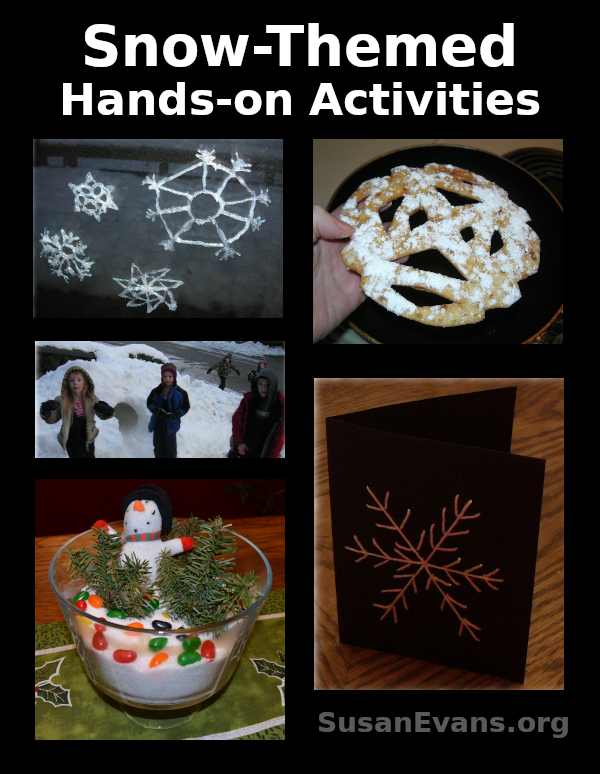
I recently gave a workshop on snow-themed hands-on activities, explaining how to cook snowflake funnel cakes, how to make snowflakes that cling to glass, how to build a successful snow cave, and how to create snow scenes for a centerpiece for your dining room table.
Snow-Themed Hands-on Activities
Here is the workshop with snow-related fun this winter season:
The workshop began with a demonstration of how to make paper snowflakes. This is important in making snowflake funnel cakes because in the same way that you cut out snowflakes on paper, you can cut out snowflakes using flour tortillas.
Cut a piece of paper into a circle, and fold the circle at least twice. With scissors, cut out designs as illustrated in the video. Then unfold the paper to see your unique snowflake. You can glue glitter to your snowflakes or hang them from the ceiling.
Snowflake Funnel Cake
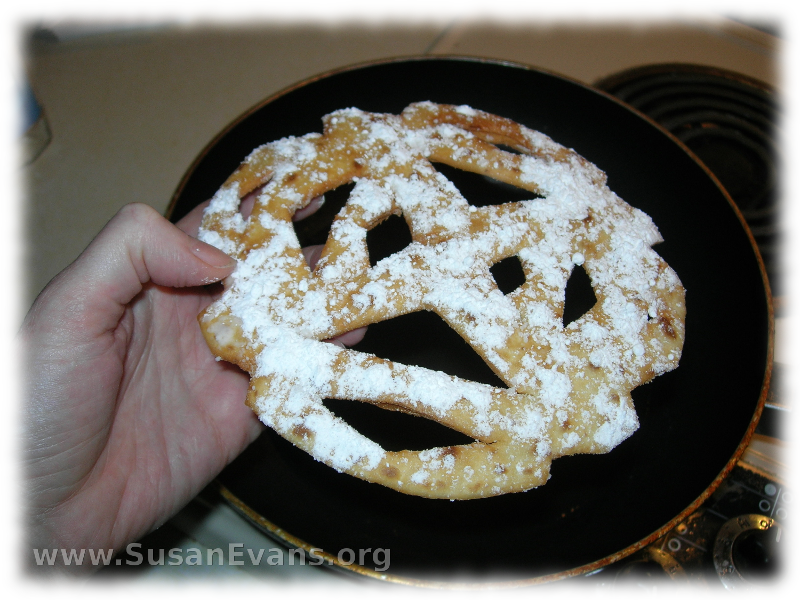
In the same way, grab a fajita tortilla and fold it twice. Using the kitchen shears, cut designs into the tortilla’s folds. Then open the tortilla.
Heat about an inch of oil in a pan, and deep fry the snowflake tortilla on both sides until golden brown. Remove the tortilla with tongs and place it on a plate with a paper towel on it. The paper towel will absorb some of the oil. Sprinkle powdered sugar over the tortilla snowflake. Enjoy eating your snowflake funnel cake!
How to Make Snowflakes that Cling to Glass
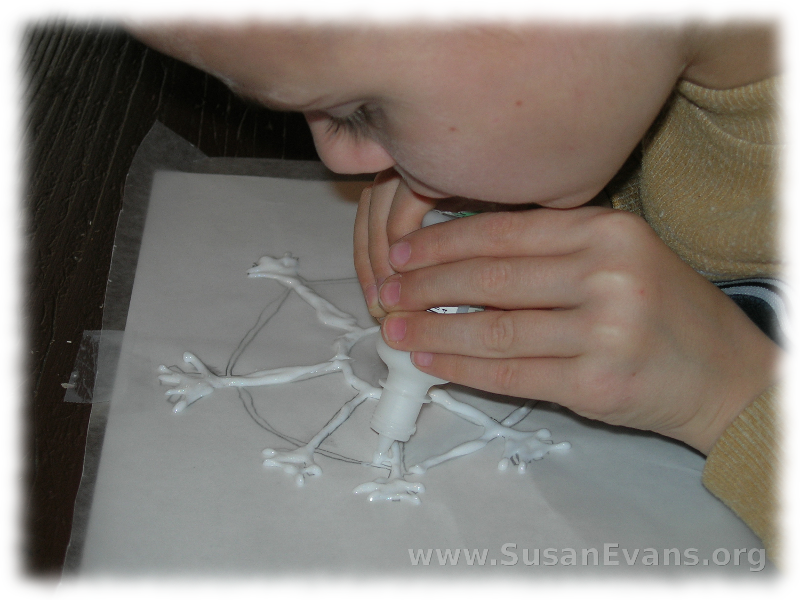
To make snowflakes that cling to glass, you will need dimensional fabric paint (or regular white school glue), wax paper, and a paper and pencil.
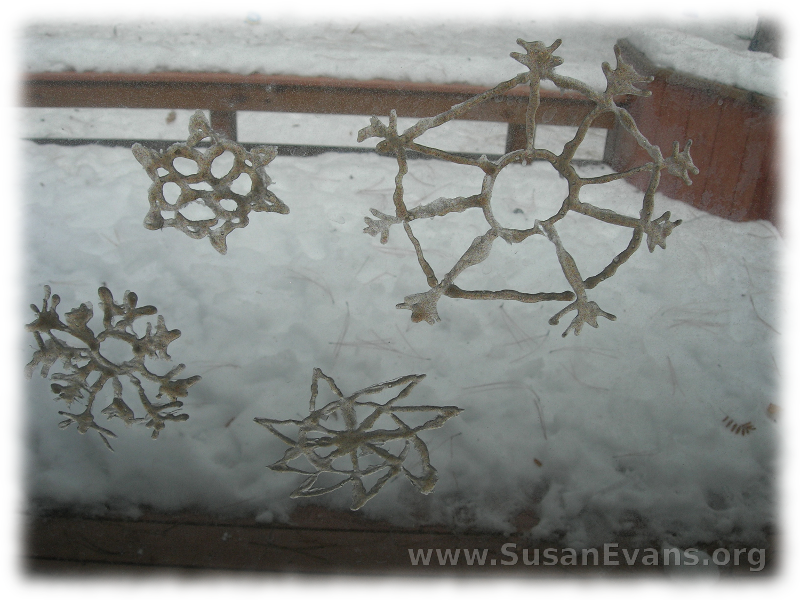
First, draw a snowflake on a piece of paper. If you prefer, you can find a design online, and print it out. Place wax paper on top of it, and tape it down. Have your child trace the design with the dimensional fabric paint (or white school glue). Make sure that there are no thin lines. All lines should be thick so that when you peel the cling snowflake off the wax paper the next day, it will stay together.
It works much better with the dimensional fabric paint, since it is thicker and more solid, but it can also work with the white school glue. Make sure to dry the snowflake overnight before trying to peel it off the wax paper. You can stick it to a window or a mirror.
How to Build a Snow Cave
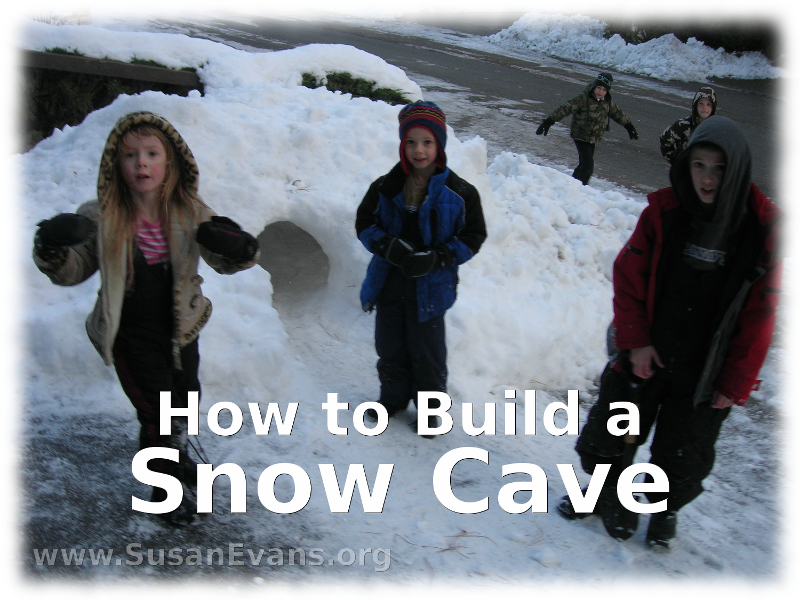
To make a strong snow cave that will not collapse, start by building a mountain of snow. Have the kids climb on top of the hill of snow to compact it down. Then start digging an entrance to the cave. You can make several rooms depending on how big your mountain of snow is. It’s particularly fun to play in the snow cave at night with a flashlight. For more information on building a cave out of snow (and a video of the finished snow cave my kids built), go to: How to Build a Snow Cave.
Snow Scene Centerpiece
In the video I describe how to make a snow scene centerpiece. You get a glass container and dump rock salt in it. Grab some greenery and some winter decorations (or a nativity scene), and arrange it on the “snow” in your scene. Take a look at one of my creations: Snow Scene Centerpiece.
Bonus: How to Make a Snowflake Card with Yarn
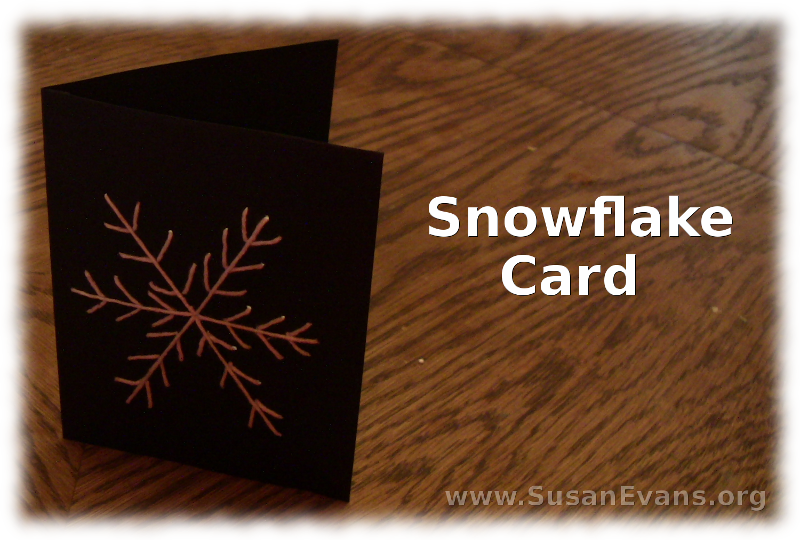
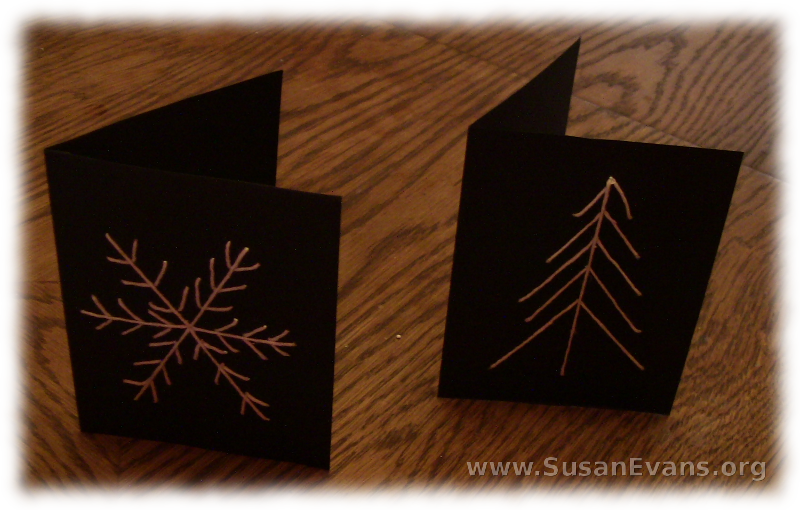
I’ve added a bonus snowflake hands-on activity for you: snowflake cards. I did not discuss this craft in my workshop above, but I give a step-by-step tutorial here: Snowflake Card.
You will need black card stock paper, white string or yarn, and a thumb tack. Draw a snowflake with pencil on the black paper, and use the thumb tack to punch holes along the lines. Then sew the snowflake onto the card. You can use a thick needle, or just push the string through by hand. It looks gorgeous as a Christmas card!
