Posts Tagged ‘spring’

Creative Ways to Use Cookie Cutters #3: Sandwiches

Monday, April 22nd, 2013

creative-ways-to-use-cookie-cutters-4

Next up in our blog series, “Creative Ways to Use Cookie Cutters,” we will be making shape sandwiches, perfect for taking to your next tea party. Last time I attended a women’s tea party, someone brought some delicious circle sandwiches. I thought to myself, “I bet someone used a round cookie cutter, or the lid of a mayonnaise jar. I wonder if I could make a different shape.” Sure enough, I could.
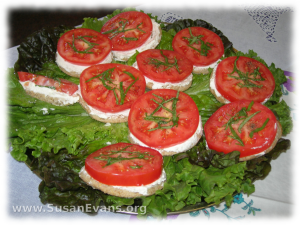
creative-ways-to-use-cookie-cutters-5The good thing about having circle sandwiches was that they had cream cheese and a large slice of tomato, with some chopped fresh basil and pepper on the top. Yum. That was so good, and the tomatoes were the exact right size for the sandwiches. They were open-faced sandwiches, and they looked colorful and fresh.

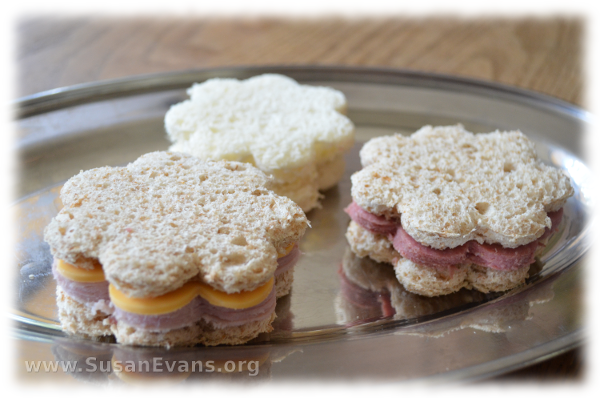
I preferred to use the cookie cutter on the bread, one slice at a time. Then I used the cookie cutter on the ham slices, and the cheese slice. Then I stacked them all on top of each other, after spreading mayonnaise and mustard on the fabulous ham sandwiches.

If you make the ham sandwich, or cream cheese and cucumber, or pastrami, or even peanut butter and jelly, keep in mind that if you mash the cookie cutter on top of the sandwich, you will squash the sandwich, flattening it and making it look ugly. On the other hand, if all you have on the sandwich is cream cheese (no tomato or cucumber), you could press the cookie cutter on top, sealing the cream cheese into the bread. In other words, the top bread squashes itself onto the bottom bread, making a “surprise sandwich” because you don’t know what’s inside. If you make surprise sandwiches, make sure you use flat ingredients.

If you put tuna into the shape sandwich, eat the sandwiches immediately. Just take my word for it…

Stay tuned for the next exciting instalment of “Creative Ways to Use Cookie Cutters #4.” Hint: These were surprisingly beautiful and easy-to-make decorations.
Creative Ways to Use Cookie Cutters #2: Shape Books

Saturday, April 20th, 2013

creative-ways-to-use-cookie-cutters-2

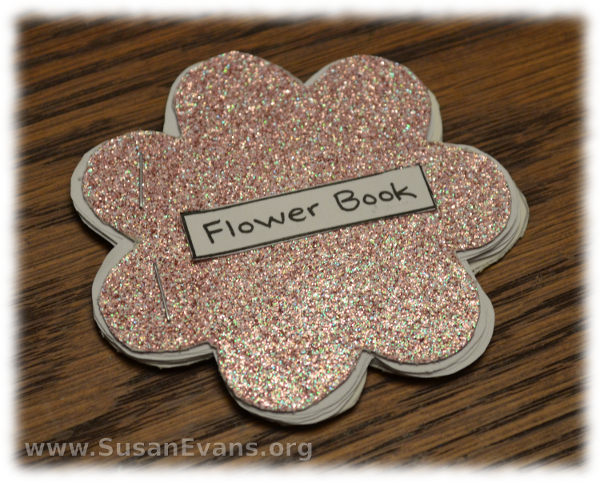
This is the second idea in the blog series “Creative Ways to Use Cookie Cutters.” This time we are making a shape book. If you have younger kids, these shape books can encourage your young writers to write fun stories, descriptions, or summaries. For example, a child can draw (or cut out a small picture from a magazine) and describe a different flower on each page of her flower book.

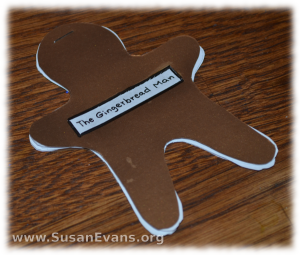
Or your son could summarize the storybook, The Gingerbread Man. Each page can explain a part of the story where the gingerbread man kept telling each character that he couldn’t be caught. He is gobbled up by a fox at the end of the story, so the concluding shape book page can be funny, with cookie crumbs all over it and a fox licking his chops.

creative-ways-to-use-cookie-cutters-3Grab a card stock paper for your front and back covers, and using the cookie cutter as a stencil, use a pencil to trace around the inside of the cookie cutter. Do this to both pieces, and cut them out. Now use the card stock shape as a stencil, cutting a stack of 3-4 sheets of blank paper at a time, to make this process go faster. You can make the book as thick as you want, as long as the staples will go through it. Staple the book all the way through on the side or on the top. Two staples will make the book more sturdy than one staple, but I decided to staple the top of the gingerbread man with one staple through the top of the head, and it was fine.

Now give these cute books to your sweet, dear children. If you don’t have any children, give them away to a Sunday School class at church, for prizes. You can make a shape book of a lamb, and tell the story about how Christ came to earth to be our sacrificial lamb.

Stay tuned for “Creative Ways to Use Cookie Cutters #3.” Hint: This next idea will come in handy at your next tea party.

Creative Ways to Use Cookie Cutters #1: Fruit Shapes

Friday, April 19th, 2013

creative-ways-to-use-cookie-cutters-1

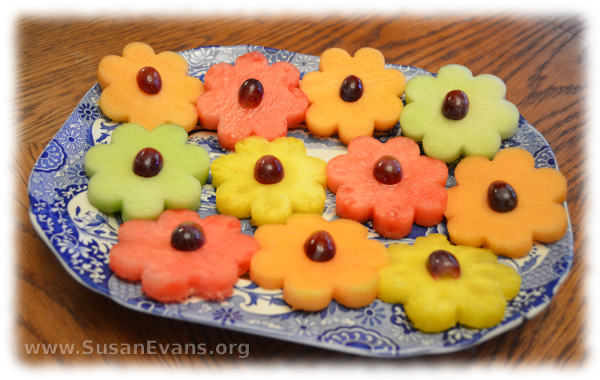
I’m starting a blog series called, “Creative Ways to Use Cookie Cutters.” The first way to use a cookie cutter in an unusual way is to cut fruit into the shape of the cookie cutter. If it’s winter, cut the fruit into snowflakes or gingerbread (fruit) men. If it’s autumn, cut the fruit into a maple leaf shape. If it’s spring or summer, use a flower cookie cutter.

When cutting melon, you need to cut from the side to get a piece flat enough to shove the cookie cutter through. Don’t just cut the melon like you normally would, or the melon will be curved and will look like a lousy wilted flower instead of a cheerful flower that’s not about to die.

I obviously cut the grapes in half for the center of the flowers; otherwise the silly grapes would have rolled off the flowers. I’ve seen flower stores selling fruit flowers stabbed into bamboo skewers, making a gorgeous edible bouquet. You can make these fruit flowers as fancy as you want.

Stay tuned for “Creative Ways to Use Cookie Cutters #2.” Hint: You can’t eat this one; it’s made out of two kinds of paper.

How to Make a Pop Bottle Bird Feeder

Friday, April 12th, 2013

how-to-make-a-pop-bottle-bird-feeder

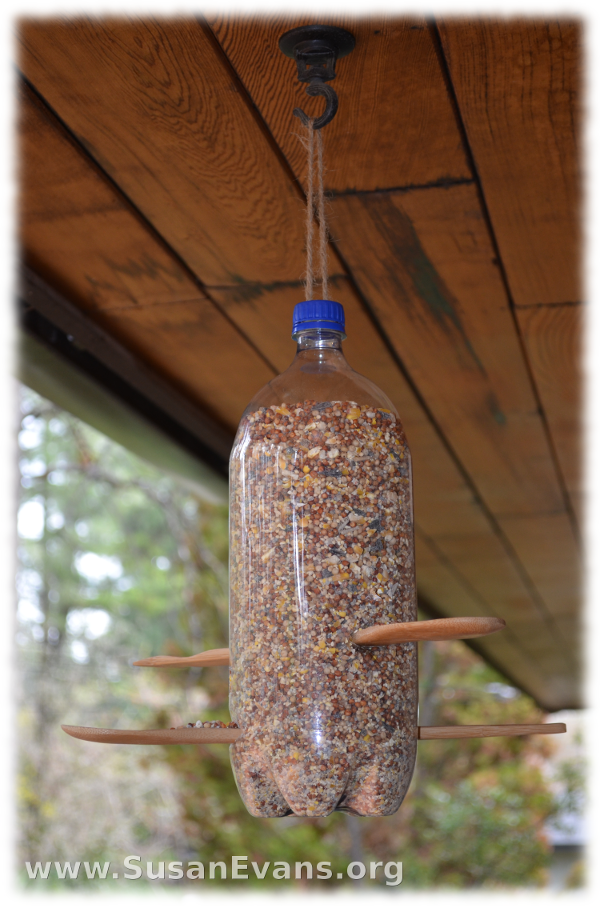
This is how to make a pop bottle bird feeder. We made one last night to attract more birds to our yard. For some reason we haven’t seen as many birds ever since we got a cat. But this handy-dandy bird feeder will bring back all those birds that came last time we made this popular feeder, when our boys were in Cub Scouts. These are the supplies you will need:

  • empty pop bottle with lid
  • bird seed mix
  • two wooden spoons (from dollar store)
  • sharp knife or razor blade
  • twine
  • large hook
  • funnel
  • drill (optional)

how-to-make-a-pop-bottle-bird-feeder-2Cut a slit for the wooden spoon, barely big enough to slide the spoon through. Cut a slit on the other side of the bottle, so that the spoon can come out the other side. Do the same with the second spoon, placing it at a right angle so that two birds can eat at the same time.

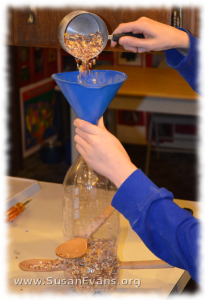
Fill the bottle with bird seed mix. Now make a hole right above the spoon, about 1/2 inch across, so that some seed will come out onto the spoon. Do the same to the other spoon. My husband said cutting the hole works better with the seeds inside the bottle, because the bottle is more sturdy and won’t collapse when you are trying to cut it.

You can drill two holes in the lid and put some twine through it, tying a knot on the inside so it won’t be seen. Or if you don’t have a drill, just tie the twine around the top of the bottle and hang it up on a hook right outside your window.

“How come the birds aren’t coming yet?” asked my daughter the next morning. She didn’t remember the last time we had a bird feeder. The birds fought over the bird seeds like they were starving, with the squirrels eating all the spilled leftovers.

“They need to find the bird feeder. Once they find it, they’ll come,” I said, trying to reassure her.

“Or maybe it’s because the cat is sitting under it,” I thought to myself…