My First Greenhouse

April 5th, 2024

my-first-greenhouse

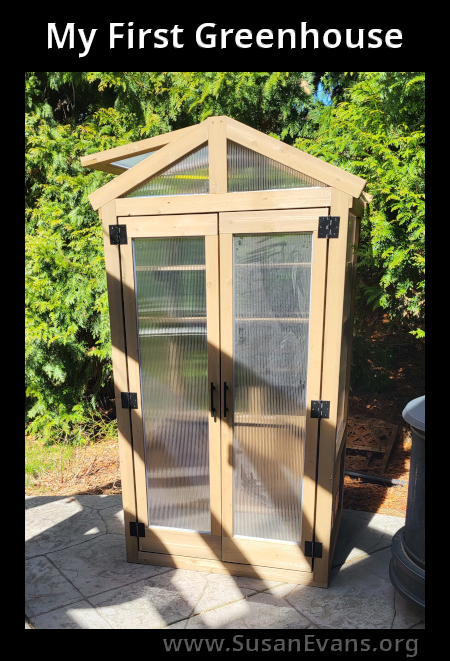
This is my first greenhouse! My husband got it for me from Costco, but it took him 6 hours to put together, and the pre-drilled holes did not line up with the screws that sometimes bumped into each other and had to be drilled in a different location.

The spring loaded mechanism has a temperature sensor, that whenever it gets too hot, it expands and pops the roof door open, which is cool!

My New Greenhouse

Here is a 5-minute tour of my new greenhouse:

Having a greenhouse expands your growing season by being able to start seeds early without having to buy grow lights, especially if you don’t have the indoor space to do it.

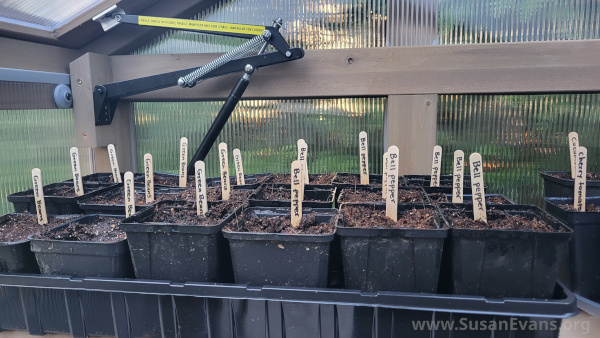
I got trays to go under the small plastic containers, where I placed seed starter soil and wet the soil before planting the seeds to the correct depth. Then I labeled each pot with a black Sharpie marker on a popsicle stick.

greenhouse-seeds

I’m growing more green beans this year, as well as bell peppers that did well last year. Cucumbers did well in a somewhat shaded area that other seeds did not do well in, so I will grow cucumbers again in that first raised bed I showed you last year.

Place your greenhouse in a sunny location if you can, close to your house so you can keep an eye on the moisture of the seedlings, that they don’t dry out before they germinate. Also place an outdoor thermometer in the greenhouse so you can see what the temperature is. One day it was cold, and I placed a large pot of hot water with the lid on, into the greenhouse and set it on the ground. The heat ematated up from it for several hours to keep the seedlings warm.

For more hands-on science ideas, watch Living Science: Bringing the Outdoors into Your Home.

What Style of Homeschooling?

March 14th, 2024

style-of-homeschooling

What style of homeschooling fits your family the best? Here is a crash mini-course that describes each style of homeschooling, along with the pros and cons. It’s important to understand what type of homeschooling suits your family the best. It will depend on your own philosophy of education, and well as the learning styles and personalities of your kids.

1. Textbook Approach

Textbook Approach:
– Uses textbooks and workbooks to teach all subjects.
– Highly structured, age-graded with scope and sequence.

Pros:
– Feels like a safe choice because the schools use it.
– If not sure about homeschooling, easier to transition back to school.
– Great for math for all ages (systematic) and high school sciences.

Cons:
– A huge amount of material is covered in a superficial way.
The same topics are covered year after year.
– Information-dense reading is lifeless compared to living books and real-life projects.
– Tests and quizzes are based on trivia; original thinking is discouraged.
– Lots of grading for the parent; the school day lasts longer than most other approaches.

2. Classical Education

Classical Education
– Emphasizes classical literature, the study of Latin, and the Trivium:
– Grammar stage: (ages 6-10) Mastery of facts through memorization.
– Dialectic stage: (ages 10-14) Study of logic.
– Rhetoric stage: (ages 14-18) Proficiency in written and spoken language.

Pros:
– Well-rounded education that teaches children how to think.
– Students are able to converse in a highly intelligent way; easier to get into Harvard.

Cons:
– Mental fatigue from a long school day crammed with the maximum amount of academics.
– Many students have difficulty with Latin, which is a dead language. Spanish or other modern-day languages can teach the same root words and be useful in life.
– Children are pushed so hard that they don’t have time to develop their own pursuits and hobbies.

3. Charlotte Mason

Charlotte Mason
– Living books; no twaddle; short lessons; narrations.
– Nature study and notebooking.
– Fine arts, music, and poetry.

Pros:
– Whole literature books rather than the usual excerpts in textbooks help the child to experience a work rather than just taste it. The reading is more interesting and not dry.
– Reading aloud and having children do open-ended nature study outside doesn’t require much energy for the parent.

Cons:
– Some topics that require study don’t have living books. Comprehensive study of chemistry, for example, requires a textbook and not just a living biography.

4. Unit Studies

Unit Studies
– Integrate all subjects into one theme.
– Splash into one topic deeply until you master it.
– Hands-on activities and field trips.

Pros:
– Greater retention of material because of immersion into subject.
– Students of all ages learn together and do assignments on different levels.
– Hands-on activities cause children to master the topic rather than just read about it.
– Encourages creativity and open-ended projects based on the subject.
– All learning styles are addressed, especially kinesthetic and visual learners.

Cons:
– More labor-intensive to plan and set up hands-on activities.
– Some students don’t like hands-on activities and would rather read or write about the topic.
– Easy to leave out major topics of study if not systematically covering the topics.

5. Unschooling

Unschooling
– Unstructured and informal.
– Surround the child with a rich environment of learning opportunities.

Pros:
– Natural curiosity of the child is not squashed.
– Freedom to pursue interests as subjects of study.
– Not fatigued from formal study; their mind can process what they’re interested in.

Cons:
– Lack of systematic instruction, especially in skill areas, causes academic weakness.
– Natural laziness of human nature; student will not study what is necessary to learn unless instructed to do so.
– Leads to weakness in character because they only do what they feel like doing.

6.Computer

Computer-Based Education
– Using computer discs or online classes for education.

Pros:
– Self-grading.
– No work whatsoever for the parent.
– Interactive with cartoons and positive re-enforcement.

Cons:
– No interaction with the family; each student isolated from the others.
– No common base of learning; lack of discussion.
– Lack of real-life and hands-on projects.

Hopefully one or more of these styles of education fit your family. Let me know in the comments, which combination of styles is your favorite!

Cardboard Labyrinth with Lights

October 13th, 2023

cardboard-labyrith-with-lights

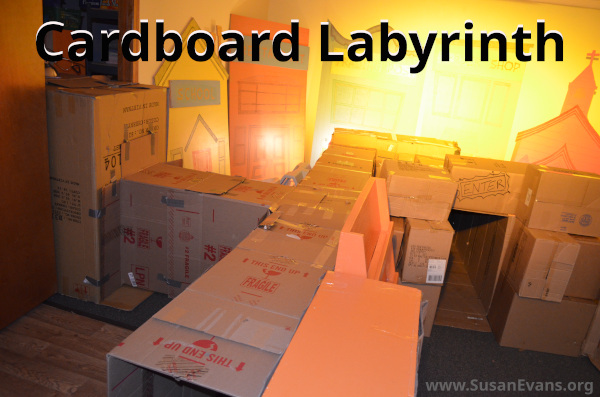
This is one of the most elaborate and exciting mazes I’ve ever seen: a cardboard labyrinth with lights, including black lights! You will need quite a large area, because the bigger the maze, the more fun it is. You can start collecting cardboard boxes from appliance stores and Costco several months before the event. You can set up your maze outside if you want, but then you will have more difficulty in lighting it up with desk lamps, black lights, and even white Christmas lights.

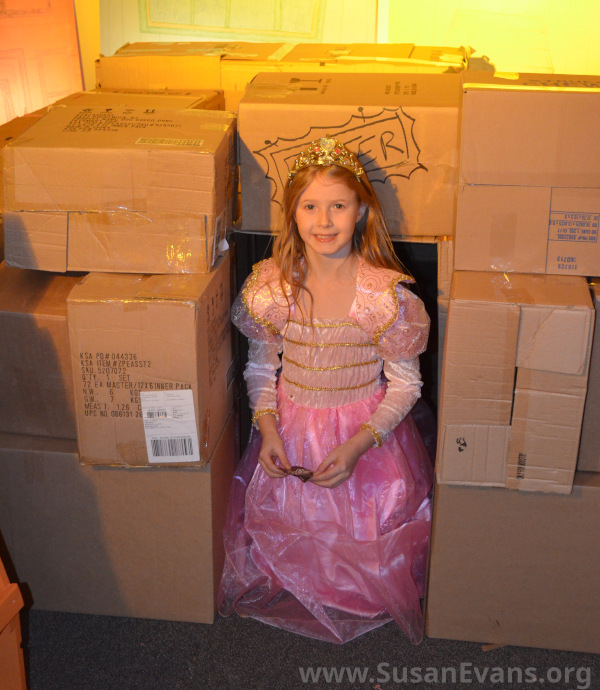
This cardboard labyrith was built in a church, where there was plenty of space. There should be an entrance, an exit, and many twists and turns with several dead ends. You can mark the entrance with a black Sharpie marker above the doorway.

entrance-to-maze

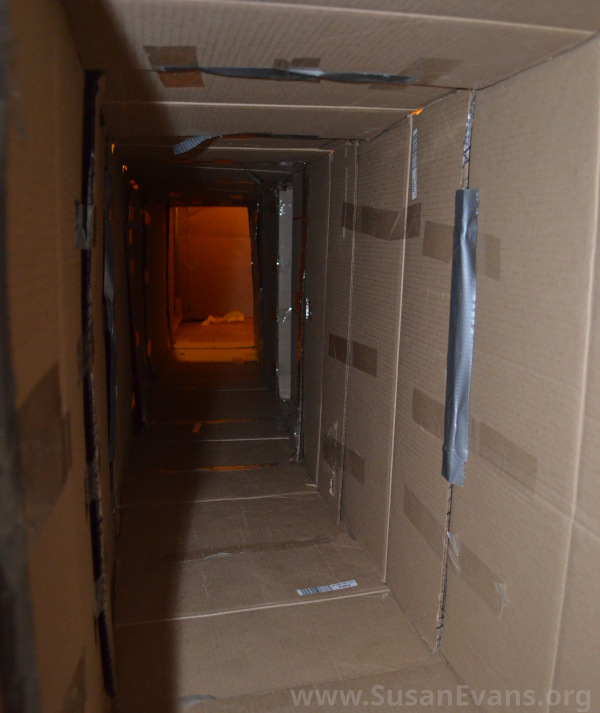
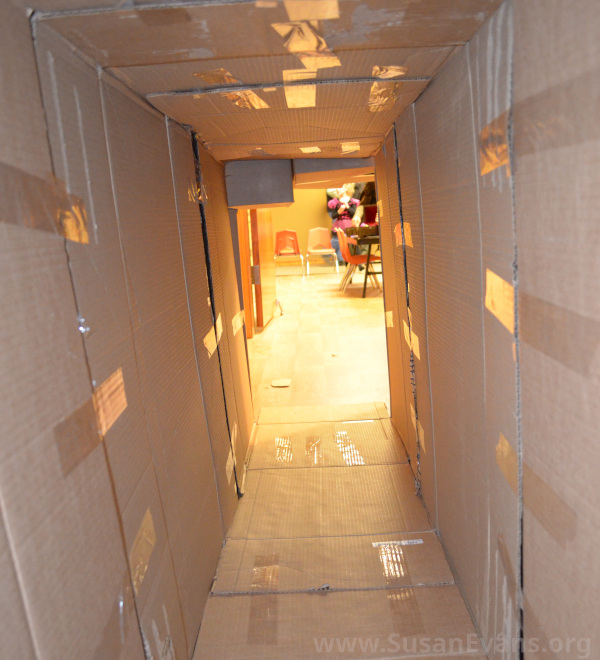
Then you need many spools of packing tape and duct tape. Duct tape is stronger and preferred, but packing tape is also fine and costs less. Set up all the boxes first without taping anything, just in case you change your mind on the design. Once everything is in place, you can start taping the boxes together.

labyrinth-hallway

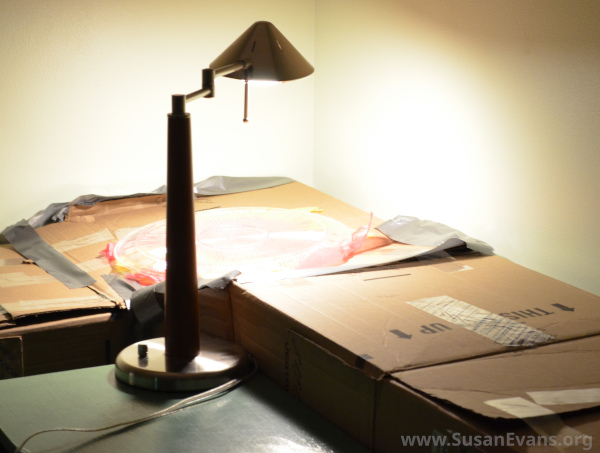
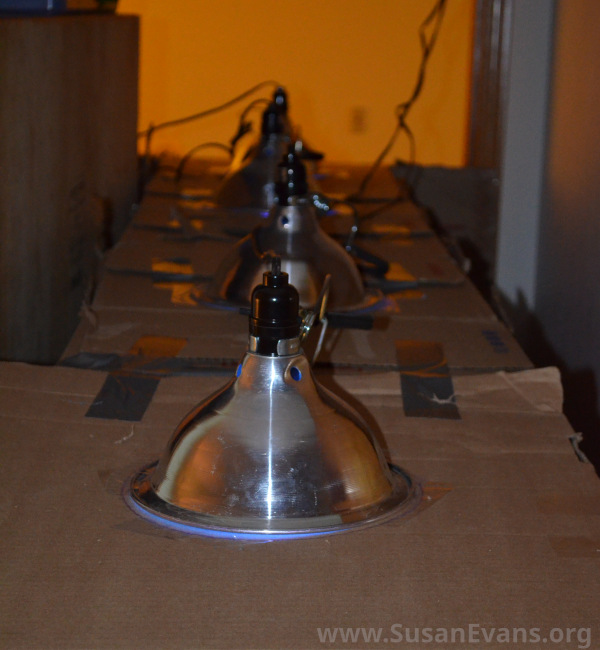
It’s nice to have a light at the end of a tunnel, and a desk lamp works perfect for that. You can place those in the corners. Cut a hole in the top of the corner cardboard box and place a plastic plate on top of it. (You can get those at a dollar store.) This is so that the kids don’t burn themselves on the light bulb. If the dish is a red see-through color, the light will look red.

lights-in-labyrinth

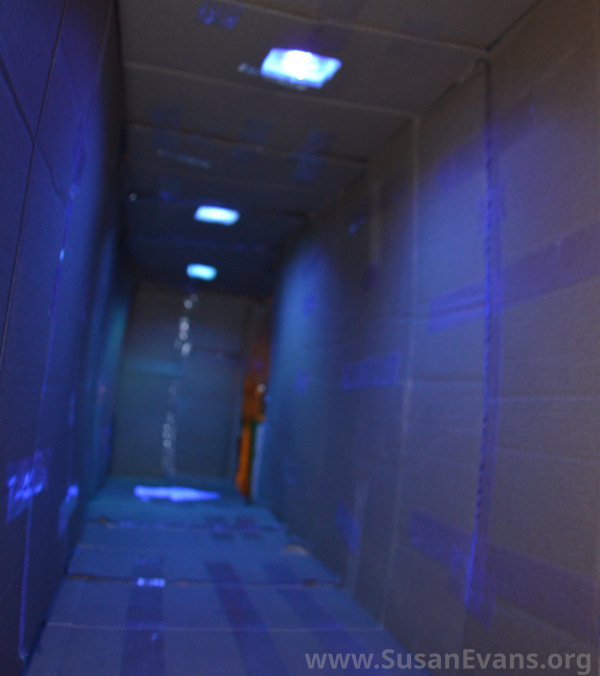
You can also use black lights to make one of the corridors super cool. Cut holes in the tops of the boxes and place the black lights on top.

black-lights-in-maze

This will add ambience, and the kids’ light-colored clothes will glow.

maze-with-black-light

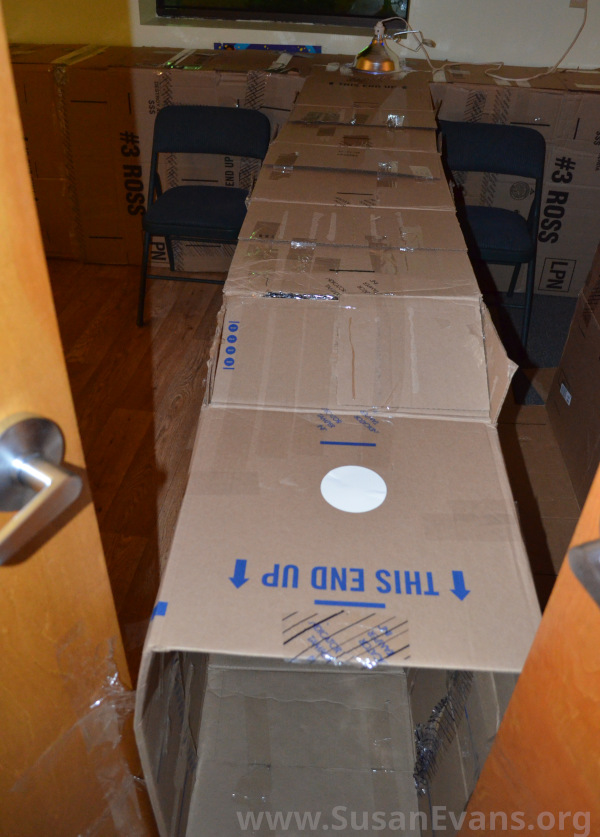
It’s a good idea to use chairs or other furniture at the junctions, to keep the labyrinth from coming undone.

outer-labyrinth

When you exit the maze, you feel like you have truly had an adventure!

end-of-maze

Our family has constructed so many fun things with boxes over the years, so we really enjoyed this lit-up cardboard labyrinth!

New Vegetable Gardens & Companion Planting

May 19th, 2023

raised-bed

I’m feeling so excited and inspired this year to create a new set of vegetable beds! Vegetables are so much yummier from the garden than from the store, and there are no perticides in my backyard because I will be using natural ways to keep pests away.

Once again, I used the sun lamp from the hydroponic garden to start my vegetable seeds this year. I placed an old cookie sheet under the seeds so that water wouldn’t get all over the counter. I am growing three heirloom tomato plants in the hydroponic garden. Then I’m also growing green beans, peas, cucumbers, melon, watermelon, and lettuce. My lettuce grew successfully from seed last year and produced a harvest throughout the entire summer.

Here is a review of last year’s gardening posts:

seedlings

My husband got me a couple of raised cedar vegetable beds, and I found some tall trellises at Lowe’s that were half the price of Costco. We filled the raised beds with good organic soil made especially for vegetables.

raised-vegetable-beds

I’ve been studying about companion planting. Basil is a good herb to grow beside tomato plants because they keep the tomato pests away. Cucumber grows well with green beans and peas. I grabbed a sheet of paper and began scribbling where I would place each plant for maximum happiness for the garden.

plant-map

Come to find out, cucumber doesn’t like basil, so I scribbled it out and placed it next to the peas instead of the green beans. The back of the raised garden bed is where the trellises are, so the green beans and the peas will be climbing those trellises. I have some poles to put the cucumbers on. I found some potato starts at a local gardening store, and green beans produce nitrogen that potatoes need, so I want to put potatoes next to the green beans.

Watermelon and melon grow along the ground, so they can grow around the potatoes and tomatoes, if they run out of space. We also got jalapeño peppers and red and yellow bell pepper plant starts. My husband and third son love jalapeños, and I use bell peppers in salads and other dishes.

I have an apricot tree that hasn’t started producing yet. I placed lupine flowers next to it on both sides, because they produce nitrogen that fruit trees need. Then I placed ruby red bottle brush in front of the fruit tree to draw more bees to pollinate all my produce.

strawberry-beds

The raised bed I showed you last year on my YouTube channel cracked over the winter, so I had one of my sons remove the legs and place it on the ground. I planted strawberries in it, because strawberries are invasive, and I want them contained. The strawberries in the terra cotta strawberry planter mostly came back, surprisingly, after so many freezes and thaws last winter.

blue-flower-pots

On my back porch I’ve planted wisteria in large pots to grow over the pergola and draw more pollinators to the backyard. I also placed annuals inside the pots. One of the annuals is marigolds because they keep mosquitoes away, and I was just bit the other day before I decided to get an insect-repellent flower. Red geraniums have always been an easy flower to plant, and I got some small blue flowers to round out the splash of color.

I’m looking forward to see how successful my vegetable gardens will be. I will try to come back and drop another picture in here, to show you what it looks like when it’s all producing yummy vegetables!

Here is the transformation, a month later: