Archive for the ‘Art’ Category

Make Your Own Bowling Pins

Monday, February 16th, 2015

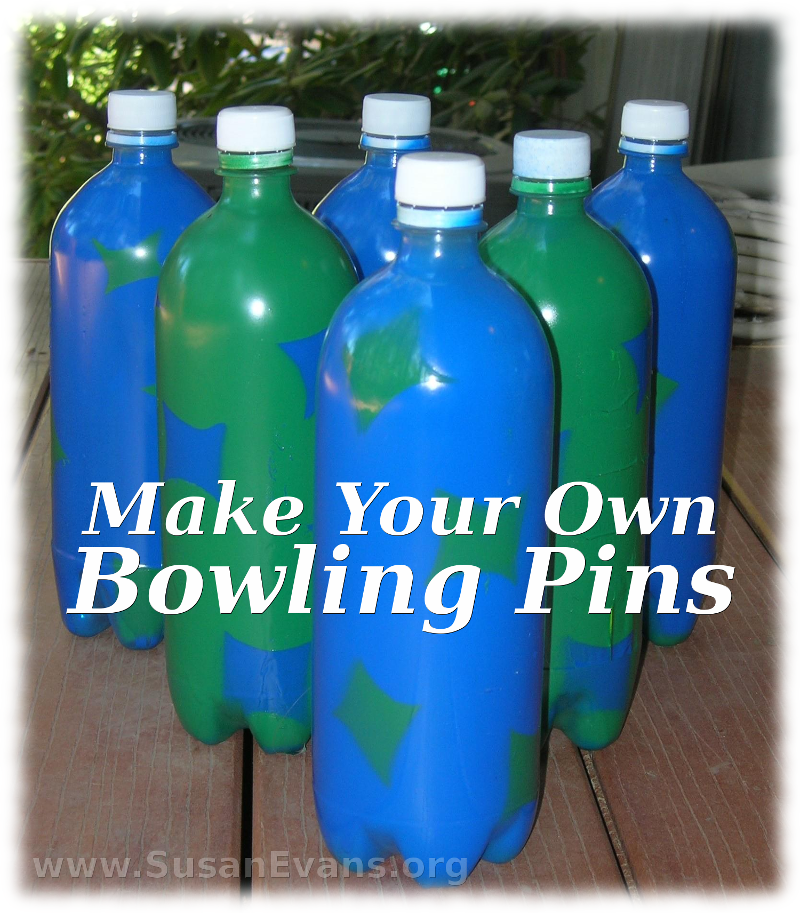
make-your-own-bowling-pins-2Today I will show you how to make your own bowling pins. You need six plastic bottles, spray paint in two colors, and a ball. You will also need a piece of white card stock paper, a pencil, newspaper, and scissors.

First you collect the plastic bottles. Two-liter pop bottles work well. Remove the labels. Take off the caps, but keep them to put on after painting.

You will want to spread out newspaper under your pop bottles before you shake your spray paint cans and spray the pop bottles. I chose to do three green and three blue.

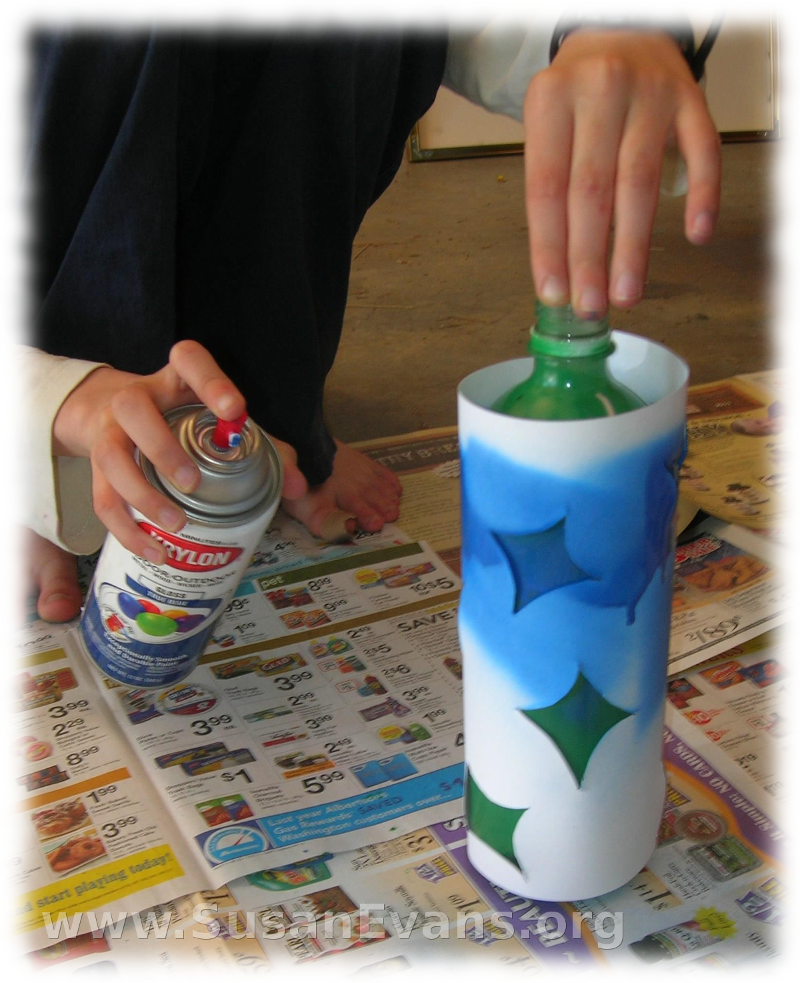
plastic-bowling-pinsNow you will want to make a stencil out of the white card stock paper. With a pencil, draw some large simple designs. Then cut out the designs with scissors. Just stab the scissors into the center of the design and cut around the shapes. Now tape the stencil paper to each pop bottle, and use the inverse color to spray paint the design.

Let the paint dry and remove the stencil paper. Screw the lids back onto the bottles. Your bowling pins are complete.

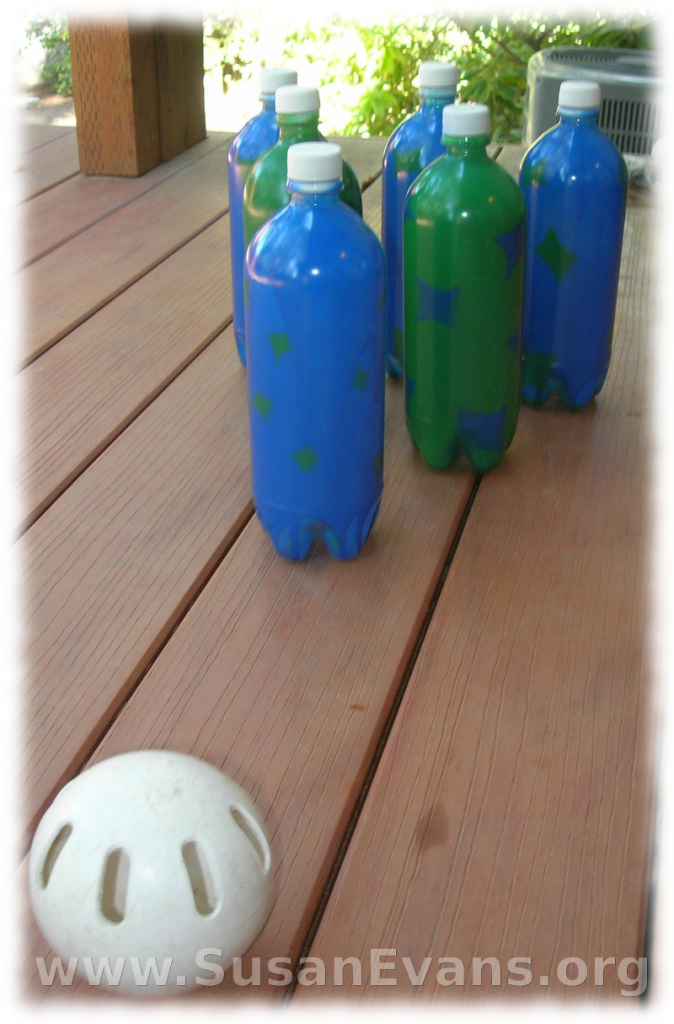
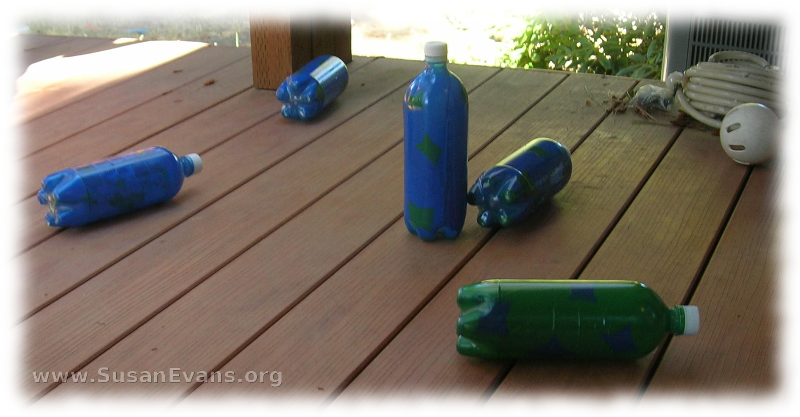
bowling-pinsYou will want to go bowling on a flat surface like a hard floor or a back deck. Grab the ball (we used a wiffle ball), and go bowling. May the best contestant win!

dropped-bowling-pins


Fill Your Own Ornament

Wednesday, December 10th, 2014

fill-your-own-ornament

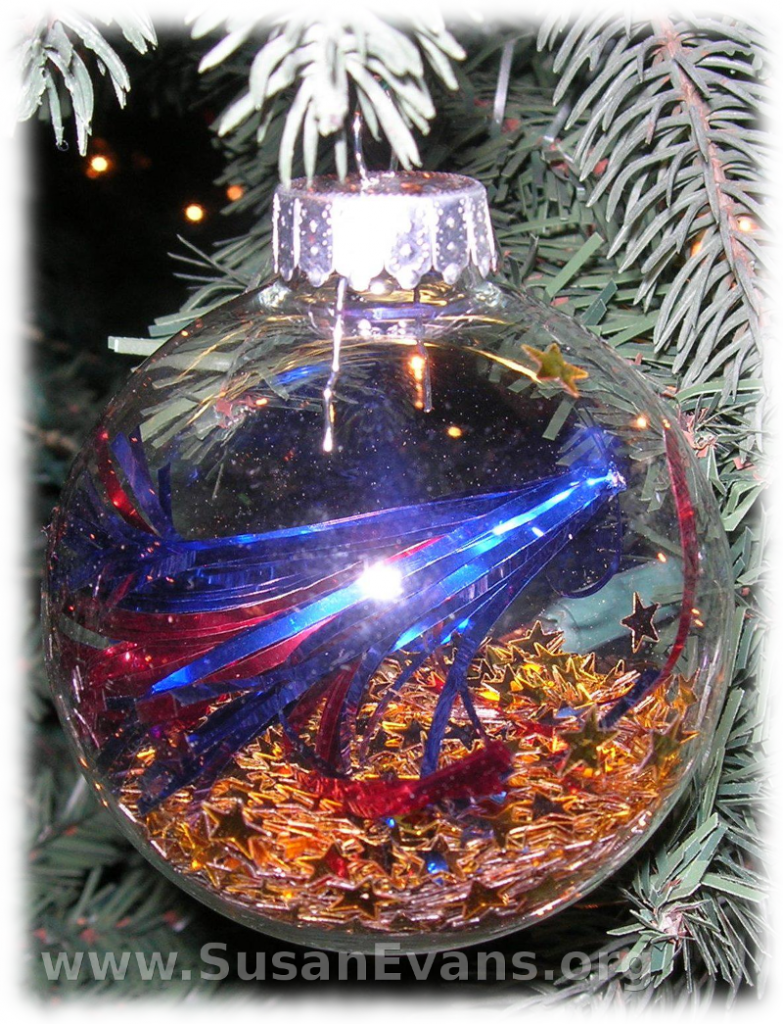
Fill your own ornament, and make your Christmas tree unique! Here are some creative ideas to get you started:

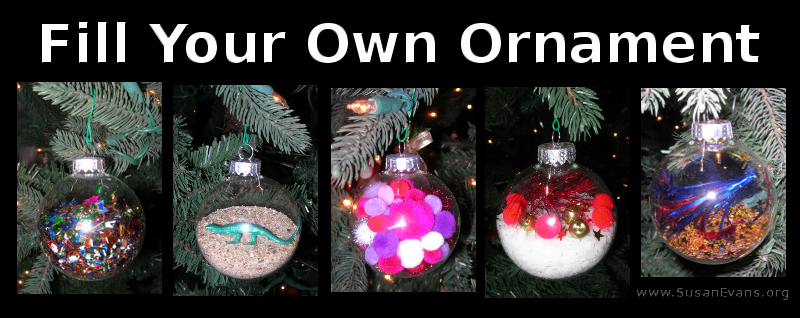
#1 Confetti

ornament-one

First of all, you can simply fill a clear ornament with confetti. Easy and beautiful.

(Actually, the first thing my husband and I thought of to put into a clear ornament is water and a live fish swimming around. But the ornament would be too heavy and not have enough air for the fish to breathe…)

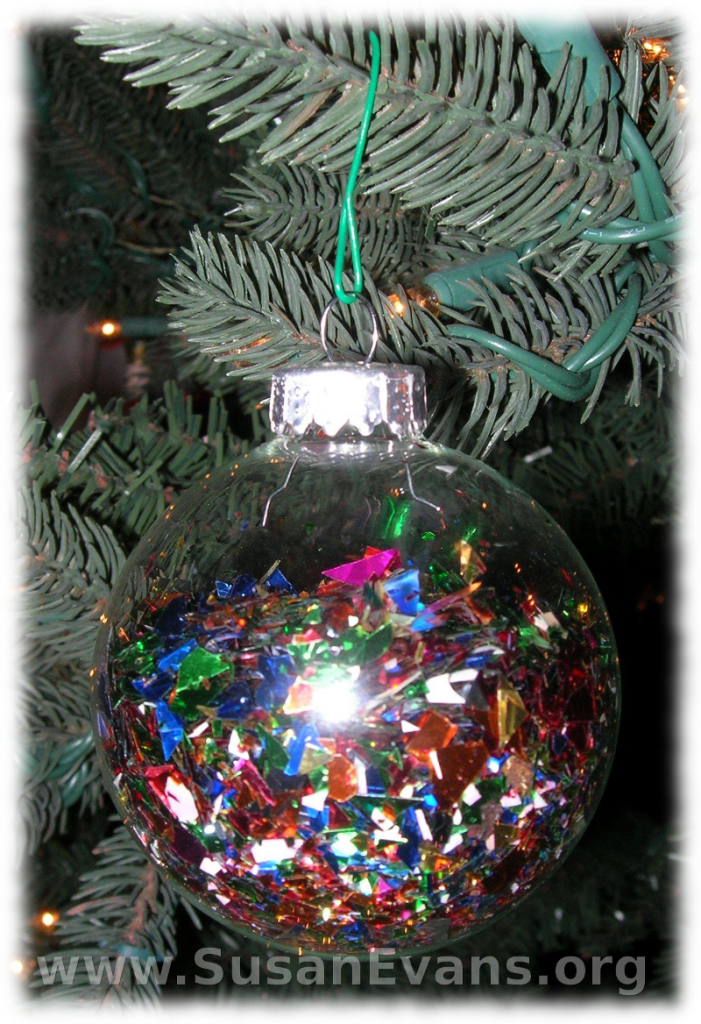
#2 Sand Scene

sand-ornament

Put sand and a lizard in it. You could also have sand and seashells that fit through the hole on the top.

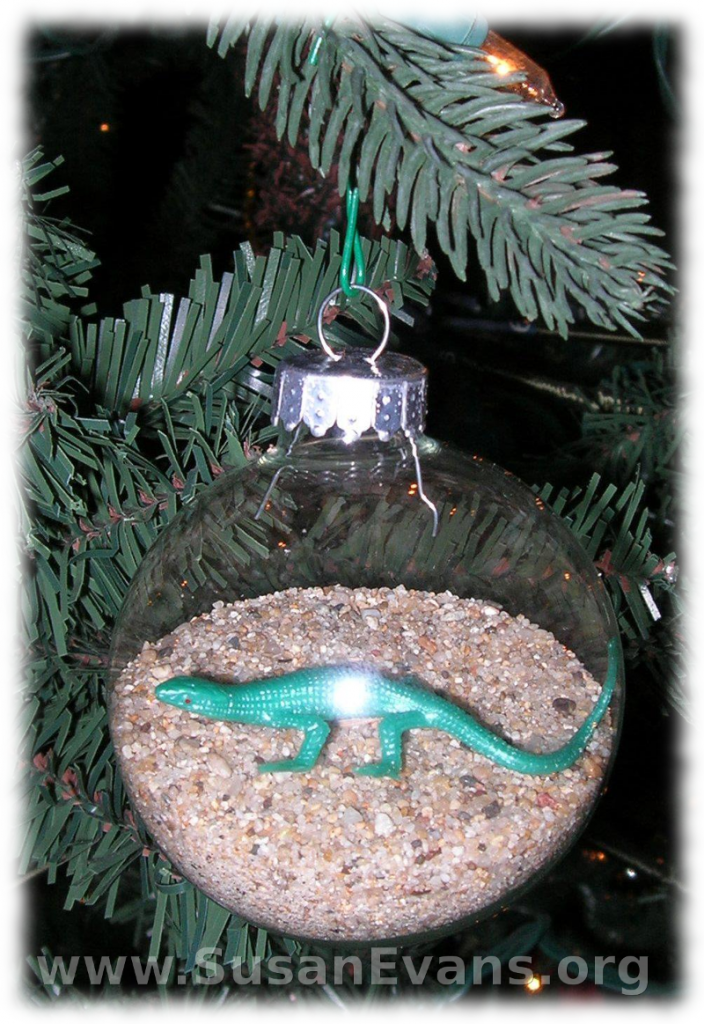
#3 Patriotic Theme

patriotic-ornament

This is my patriotic one. It has gold star confetti on the bottom, and a spray of red and blue. It’s one of those fancy toothpick thingies, with the toothpick clipped off with a pair of big shears.

#4 Pom Poms

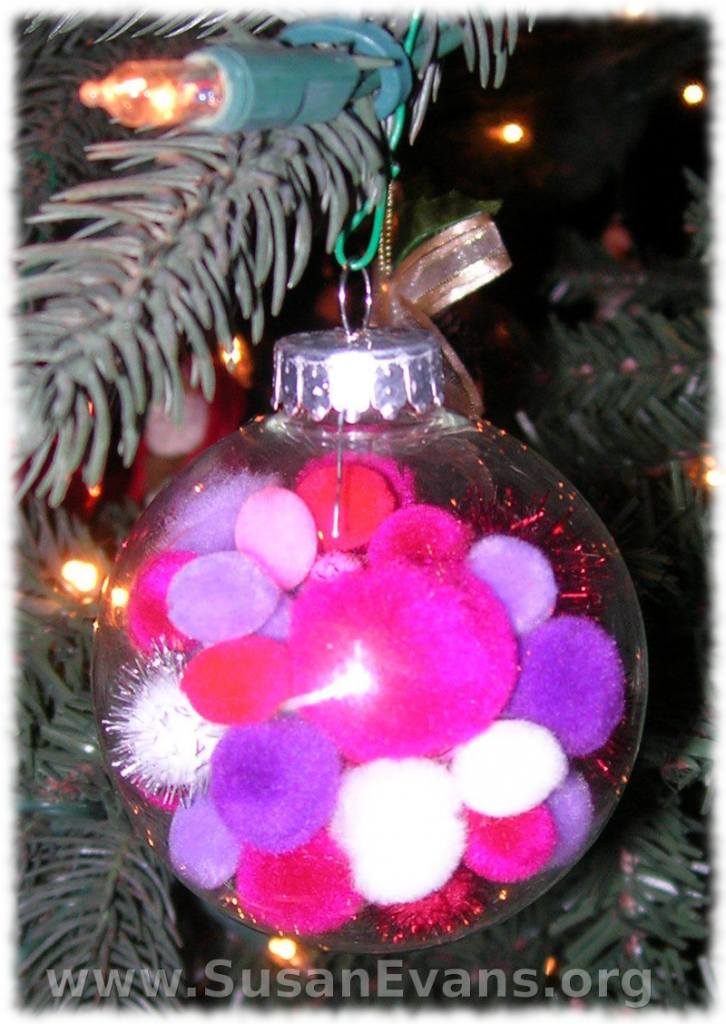
pom-pom-ornament

My daughter decided to fill hers with small pom poms.

#5 Rock Salt Snow Scene

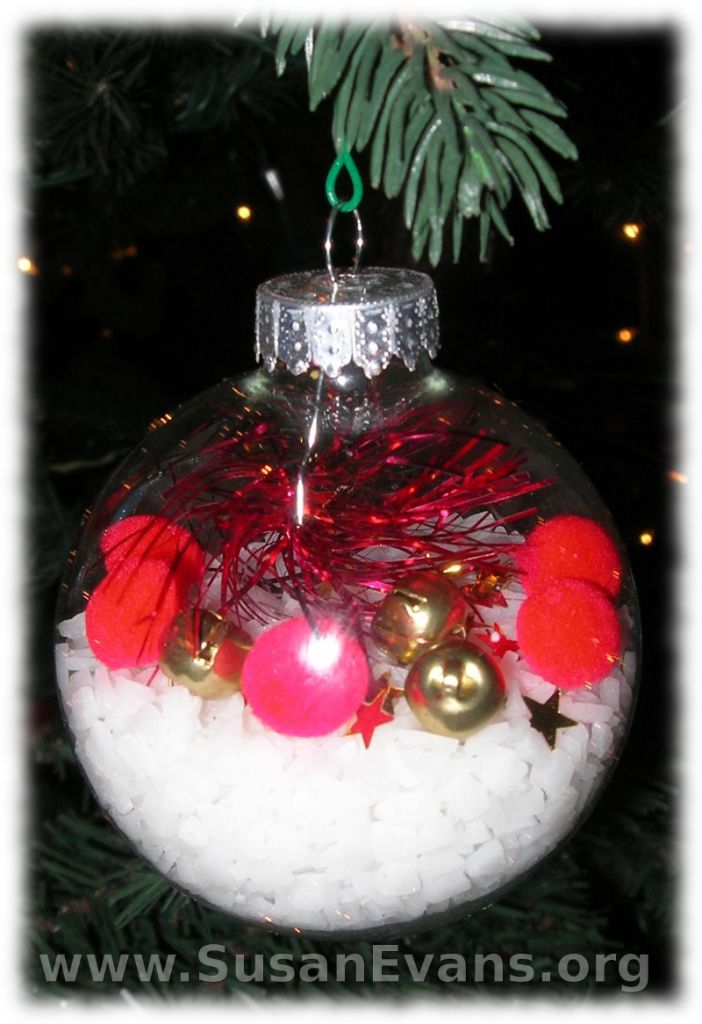
snow-scene-ornament

If you put rock salt into it, it looks like snow. Then add a sprig of evergreen, and it would look lovely. Or throw in random objects like my son did, almost like an I Spy scene.

How to Fill Your Own Ornaments

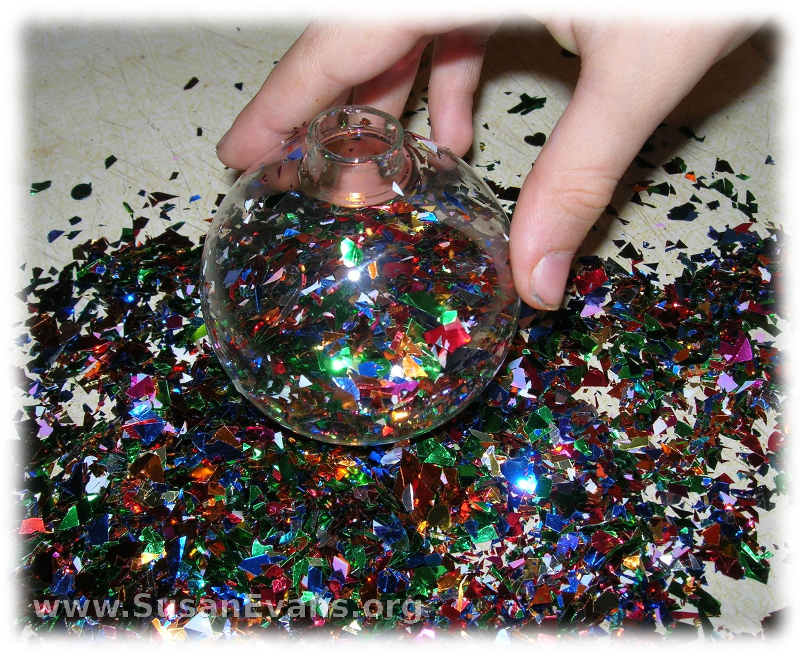
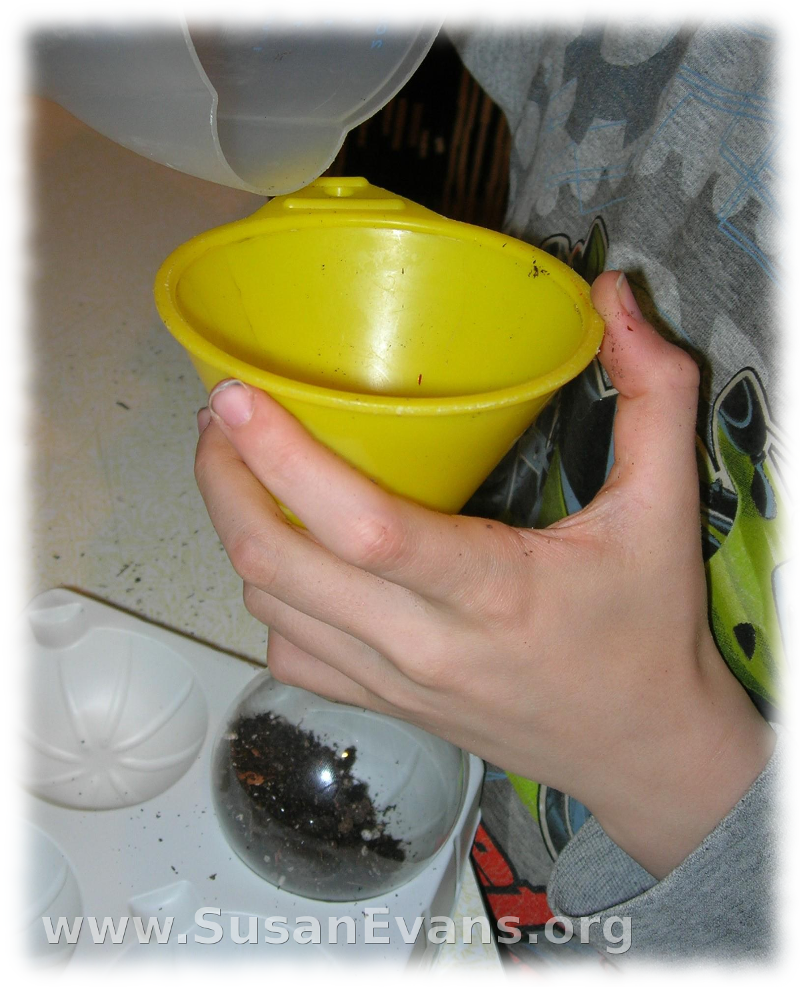
Here we are, throwing the confetti into the clear ornament, just free hand. That’s because my other son was using the funnel to put dirt into his ornament. Yes, dirt.

confetti-ornament

Here is the son with the dirt. Then he threw a plastic centipede into the dirt, and it looked disgusting. We decided to grab the tweezers, pull the centipede out, and dump the dirt out. We washed it with warm water and let it dry before starting over.

dirt

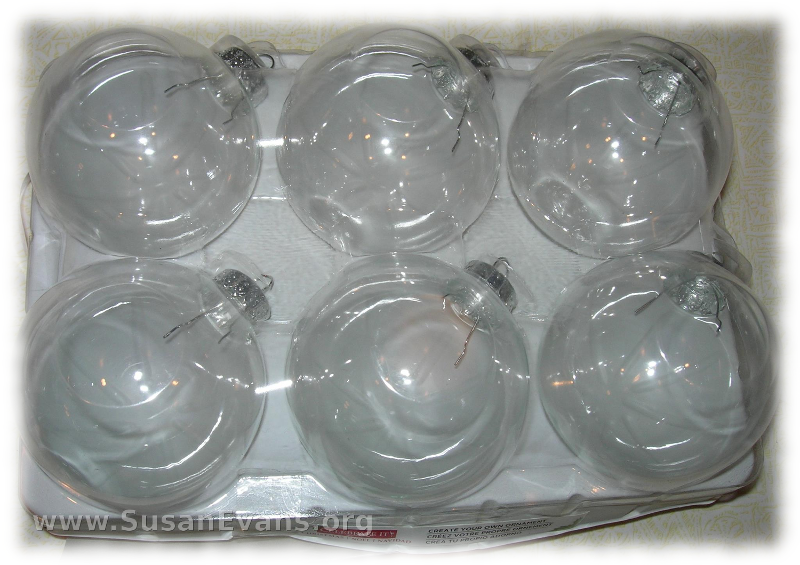
This is what the clear ornaments look like in the store.

clear-ornaments

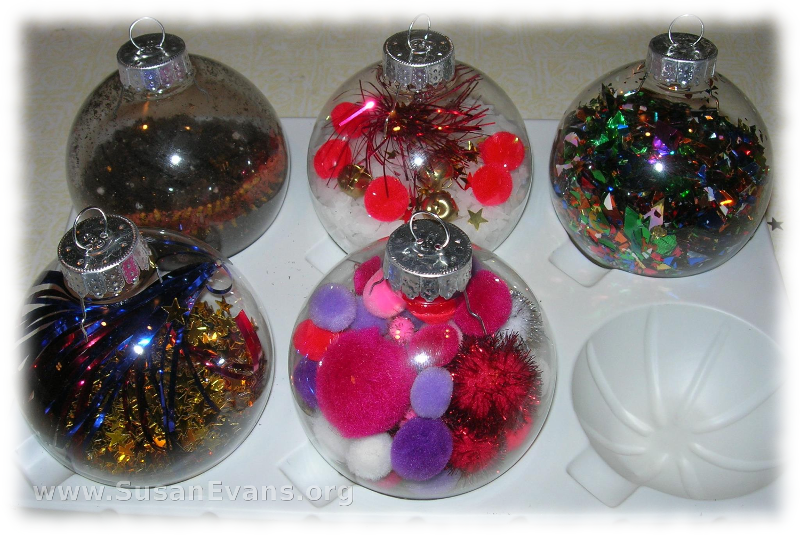
Here are the filled-up ornaments. They were easy and fun. Avert your eyes away from the one filled with dirt; it was nasty and disgusting. Oh, and of course, we cracked one. I thought they were plastic, but no. They were made of glass.

what-to-do-with-clear-ornaments

25 Christmas Gifts for Children to Make

Friday, November 28th, 2014

25-christmas-gifts-for-children-to-make

Here are 25 fun Christmas gifts for children to make. Twig frames, clocks, bottle cap magnets, and more! They look beautiful and can be custom-made for friends and family:

  1. Twig Frame: Hot glue twigs to a frame. Gorgeous and simple. Make sure to choose a picture to put into the frame.
  2. Clock: Make your own clock by getting the parts at a craft store. Stain or paint the wood, drill a hole for the clock parts to be mounted, and decorate.
  3. Bottle Cap Magnets: Cut circles of paper and decorate them with markers. Glue into bottle caps, and put magnet backing on them.
  4. Pottery: Get some self-hardening clay and a toy pottery wheel, and make some pottery.
  5. Basket: Purchase a basket-making kit and weave a basket.
  6. Decorated Candle: Glue tissue paper onto a jar with a candle inside.
  7. Box of Homemade Cards: Have children decorate homemade cards with card stock paper, cloth fragments, glue, and markers.
  8. Soap Shapes: Use a cookie cutter to make soap shapes.
  9. Shape Books: Create shape books for younger brothers and sisters with paper, a stapler, and construction paper.
  10. Dolls and Pillows: Cut out shapes of felt, stuff them, and sew them together. Add embellishments. (Here is another example)
  11. Pop Bottle Bird Feeder: Make this simple bird feeder with a pop bottle for the bird lovers in your family.
  12. Crazy Hat: Decorate a crazy hat for a younger sibling.
  13. Costume: Make a simple Bible costume, Egyptian costume, Greek costume, or Roman costume to give away as a gift to someone who enjoys theater.
  14. Embossed ornaments: Make some embossed ornaments with an embossing kit. Here are some tips for success in embossing.
  15. Roman Coins: Make Roman coins for someone who likes that time period.
  16. Clay Sculpture: Sculpt a shape out of clay that will delight the recipient. Sculpt a fish for a fisherman, an apple for a teacher, or a pie for a baker.
  17. Coat of Arms: This would be for older children to sew, or you can have younger children glue felt shapes onto a shield shape.
  18. Toy Trebuchet: Get a toy trebuchet kit and have your child put it together for a younger sibling.
  19. Framed Poem and Illustration: Write an original poem and illustrate it. Frame both the poem and the illustration. (These can be heartfelt and poignant or downright silly.)
  20. DVD of a Puppet Show: Have your child write and perform a puppet show, using the video camera on the computer. Burn the show onto a DVD and give it to a younger sibling or to Grandma.
  21. Cross Mosaic: Get an unfinished wooden cross from a craft store and glue tiles onto it. Great as a wall hanging.
  22. Canvas Bag: Decorate a plain canvas bag by sewing embellishments on it or making a design with fabric markers.
  23. Decorated Ornaments: Make faces on regular Christmas balls with any crafts supplies lying around your house. These look goofy!
  24. Box of Snowflake Cards: Make a box of snowflake cards by poking holes and sewing white yarn into black card stock paper.
  25. Framed Textured Art: Create textured art by gluing pieces of fabric together to form a pattern. Frame your masterpiece!

How to Decorate a Heart Shaped Box

Thursday, February 13th, 2014

how-to-decorate-a-heart-shaped-box

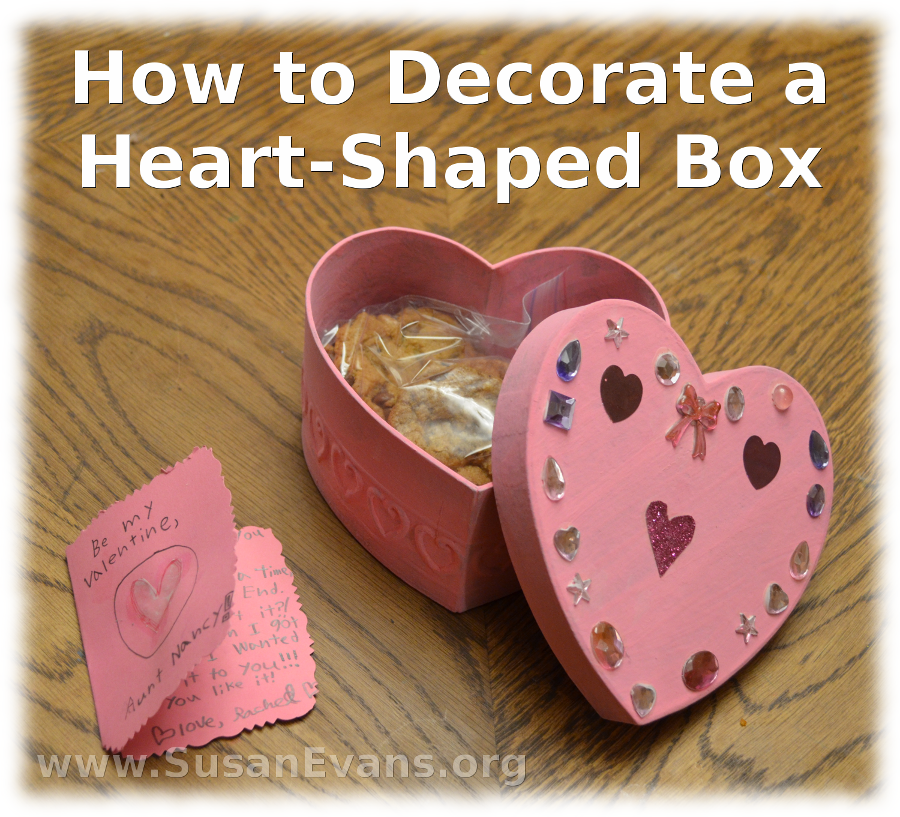
If you’re wondering how to decorate a heart shaped box, I’m here to tell you that it’s quite easy. Buy an inexpensive cardboard heart shaped box at any craft supply store during the month of February, when heart shaped crafts abound in profusion, almost to the point of nausea.
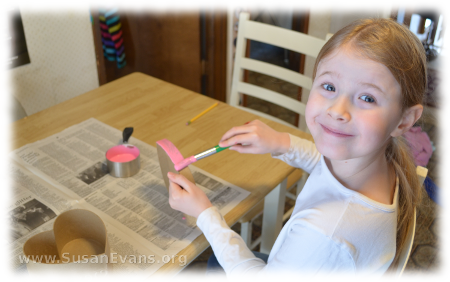
how-to-decorate-a-heart-shaped-box-2Make sure you have pink paint, fake jewels, and heart stickers. You can also use pink feathers, tissue paper, ribbon, or any other pink craft embellishments.

Paint the box pink inside and out, and let it dry overnight. If the box is for a man, paint it red, because pink is a girl color and is awfully sissy for a man.

If you’re in a hurry to give the heart shaped box to the love of your life, and you have no time to let it dry overnight, grab a hair dryer and dry the paint. Don’t hold the hair dryer too close to the box, or you might set it on fire.

If you are a sensible person, you will let the paint dry overnight like I told you in the first place. The next day you can wake up bright and cheerful, have a nice cup of coffee, and proceed with decorating your heart shaped box.
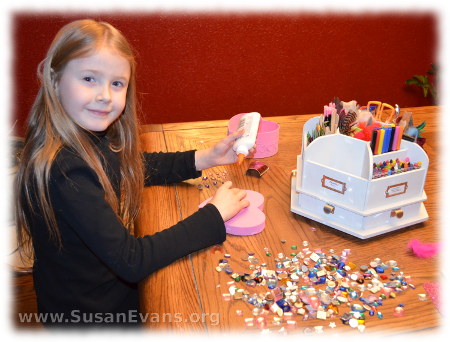
how-to-decorate-a-heart-shaped-box-3Glue fake plastic jewels all the way around the edges of the top of the box. Use jewels that match the box. If you are using a pink box, use pink, white, and lavender jewels. Don’t use green and blue jewels on a light pink box, or it will look ugly.

Conversely, if you have a red box, use complimentary colors that don’t clash.

Glue ribbon around the rim of the lid, on the side of the lid. This will dress up the box. I didn’t think about this until after my daughter sent this box in the mail, so it was too late for us. But ribbon would really add some extra embellishment that would look awfully nice, like you went the extra mile.

My daughter filled this heart shaped box for her aunt (my sister), whom she loves very much. My daughter is constantly writing letters to her aunt, and she sometimes seals the envelope before I even know what’s in it. I know, she might be saying incriminating things, like the time I accidentally left her at the park. I had three kids in the car instead of four. Honestly, how come none of her three brothers told me she was missing? I mean, whose fault was that anyway? Ahem. Less than five minutes transpired before we realized that we were short by one child, and my husband went back to the park to get her. Sad, but true. These overworked homeschooling parents need a vacation. Go ahead and buy our products so that we can go on a much-needed vacation and avoid such mis-haps in the future.

Back to how to decorate a heart-shaped box: make sure to fill it with goodies. We baked home-made chocolate chip cookies, but you can fill it with chocolates or other fun stocking stuffers that you would put into the stocking of your loved one at Christmas time.

Then send it to your loved one, or hand it to them in person, saying, “I love you!” Hopefully they will not throw it on the ground and stomp on it. No… Hopefully they will open it and be delighted at your kindness and love, rewarding you with a big hug.