Archive for the ‘Homeschooling’ Category

The Crucifixion and Resurrection of Jesus

Thursday, November 13th, 2014

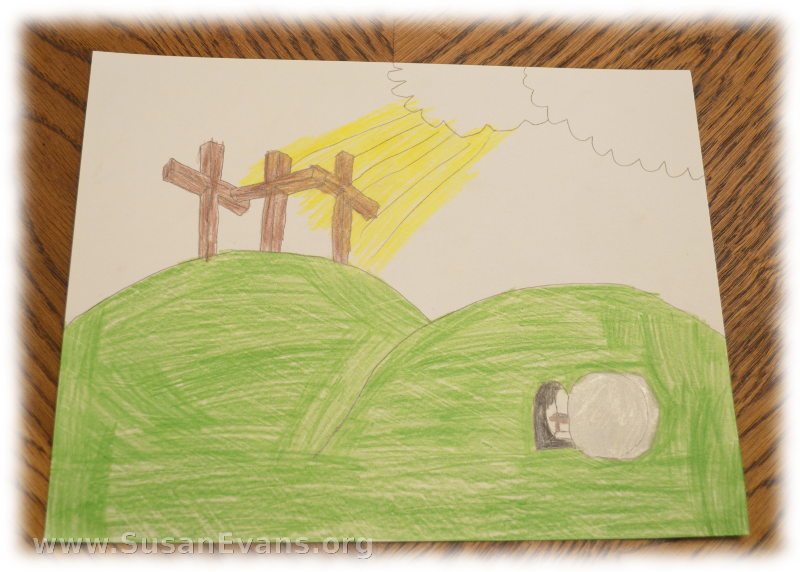
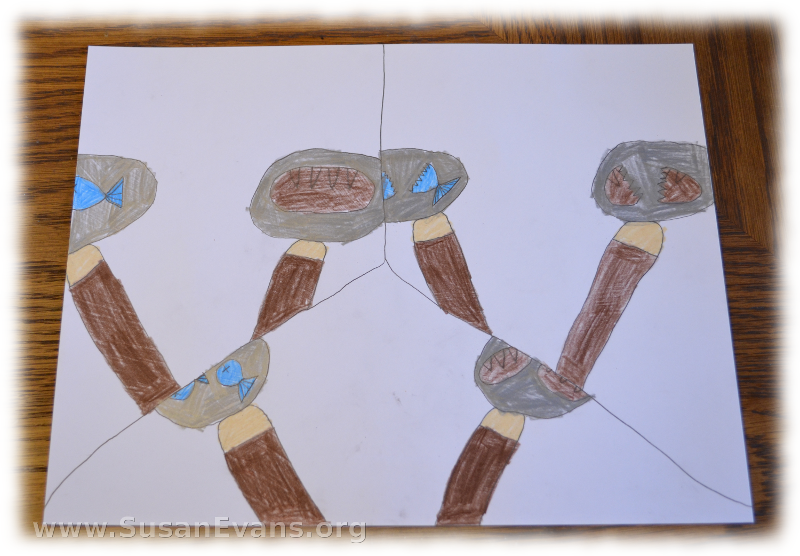
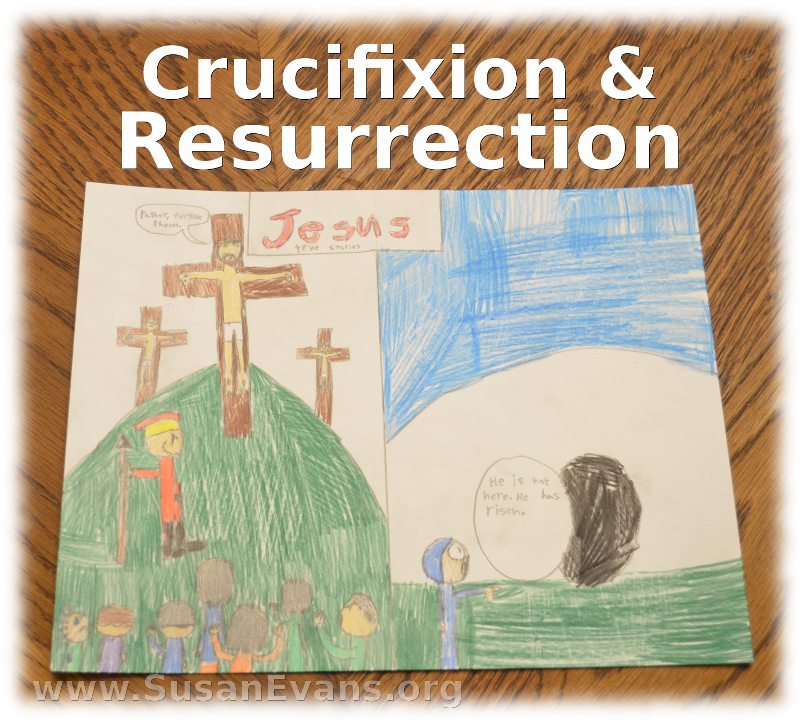
crucifixion-and-resurrectionMy children drew the crucifixion and resurrection of Jesus, and we did many hands-on activities to understand this powerful event. First we read about the crucifixion and resurrection. You can find the story in Matthew, Mark, Luke, and John. A great time to study the resurrection of Christ is the week preceding Easter. You can start by re-enacting Palm Sunday by waving branches in the air and shouting “Hosannah!” to the Lord.

By the time Jesus was eating His last supper, His disciples were told that one of them would betray Him. Judas ran out of the room, accepted 30 pieces of silver in exchange for handing Him over to the authorities to be crucified, and then went and hung himself.
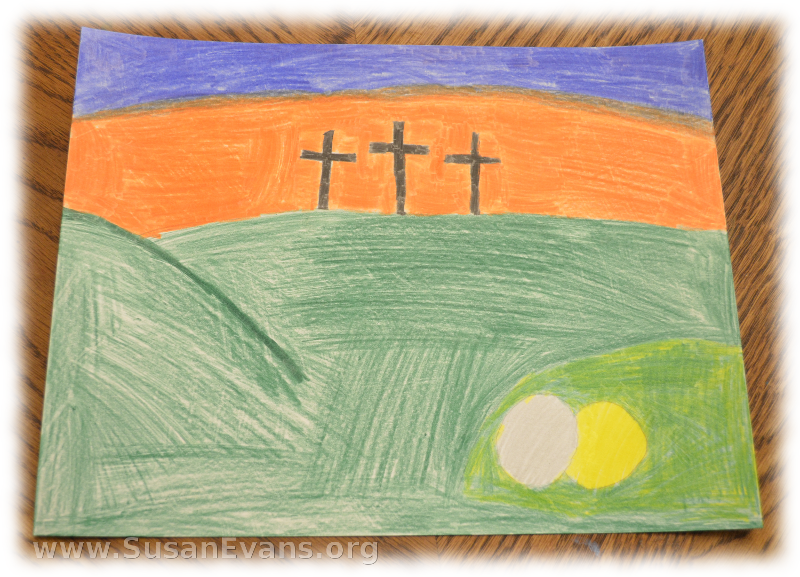
crucifixion-of-Jesus-drawingMeanwhile Jesus was arrested in the Garden of Gethsemane, interrupting His deep hours of prayer where He was crying out for the cup to be passed from Him. But He wanted the Father’s will, even if it meant suffering and death.

Crown of Thorns

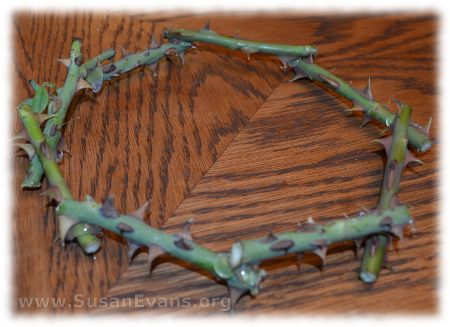
The soldiers placed a purple robe on Him and a crown of thorns, and they mocked Him. Here is a painful craft, which will help you to understand how painful thorns can be:

crown-of-thorns

The Cross

Jesus was sentenced to die on a cross, even though Pilate had washed his hands of it and said he found no fault with Him. To understand the story of the crucifixion, we went to a living re-enactment of the life of Christ, culminating in His crucifixion and resurrection:

cross-mosaic

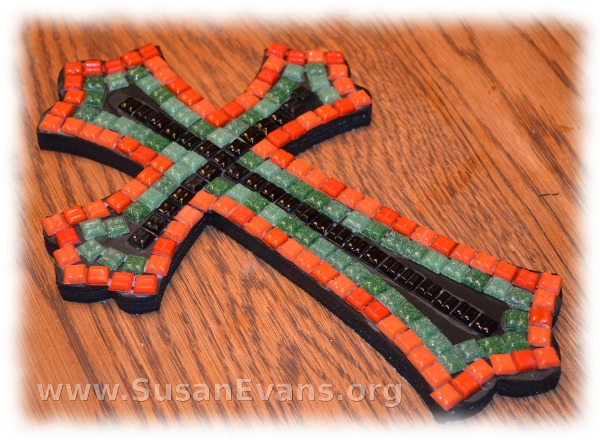
You can make a beautiful cross mosaic to commemorate the fact that Jesus died to take away our sin:

crucifixion-resurrection

The Resurrection

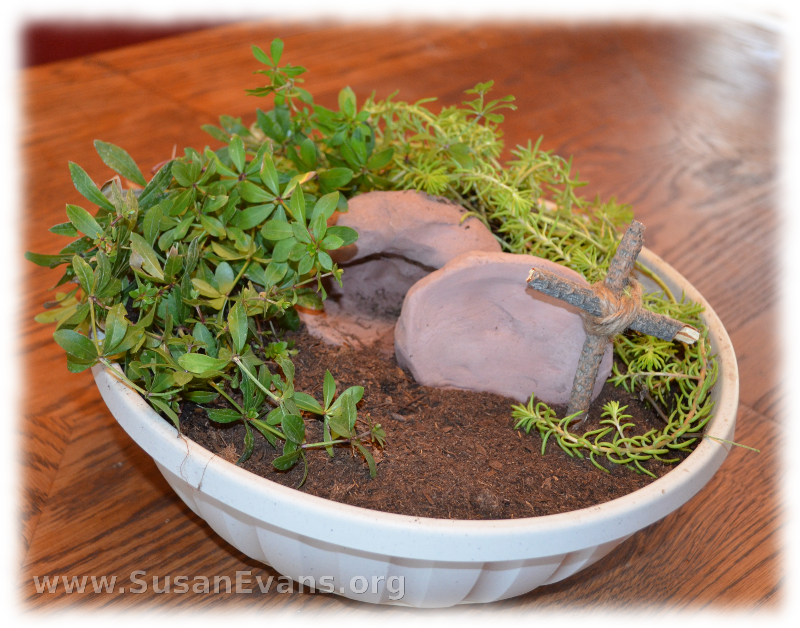
But Jesus did not stay in the grave. On the third day, He rose again, claiming victory over death. Here are two fun activities to do with children to show the resurrection:

resurrection-garden

Sign up below for a free Bible crafts e-book!

If you enjoyed these crucifixion and resurrection of Jesus activities, you will love the huge Bible section inside the Unit Study Treasure Vault.
Triumphal Entry

Wednesday, November 12th, 2014

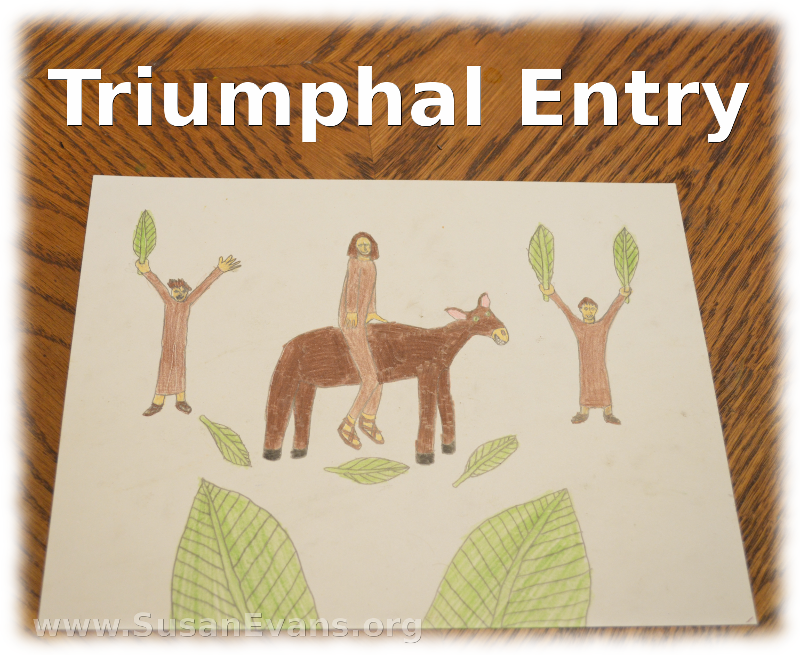
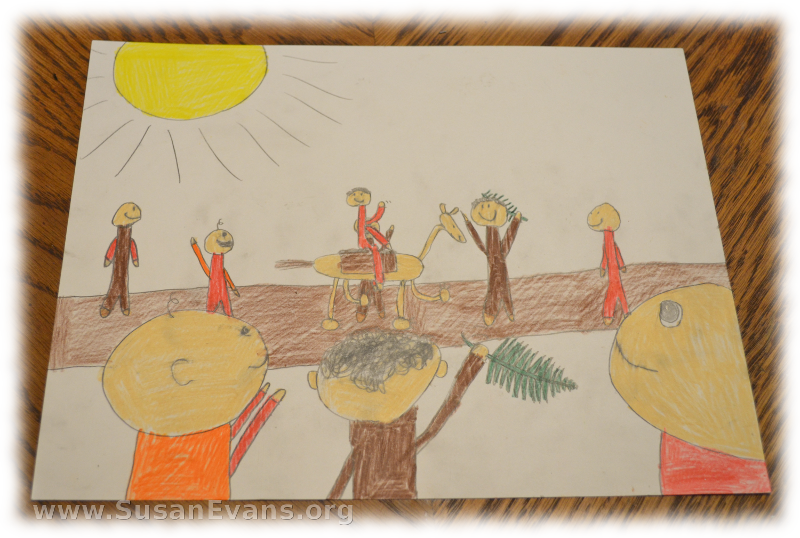
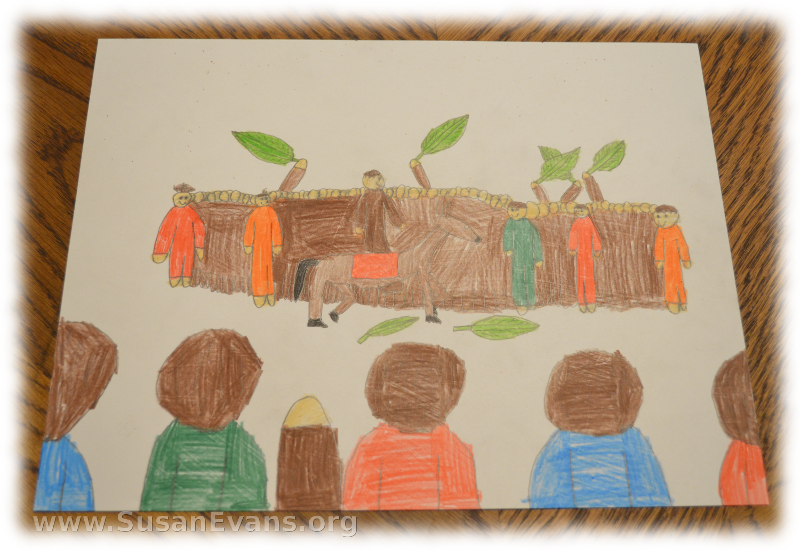
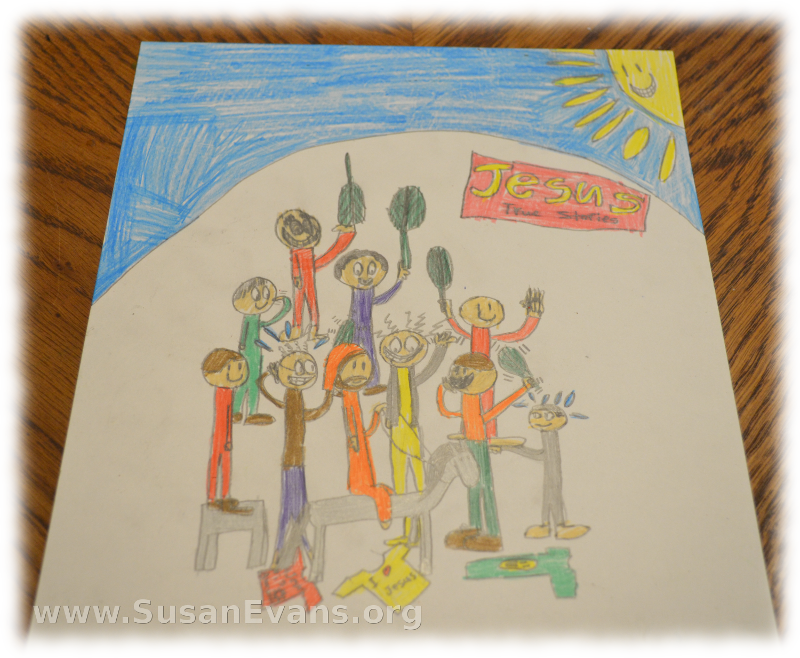
triumphal-entryMy children drew the triumphal entry of Jesus into Jerusalem on the week ending with His crucifixion. The people were hailing Him as king and saying, “Hosanna! Blessed is He who comes in the name of the Lord!”

The Pharisees wanted Jesus to rebuke the people for glorifying Him, but He told the Pharisees that if He quieted the people, even the very rocks would cry out in praise to Him!

triumphal-entry-of-JesusOf course, the Pharisees hadn’t realized that Jesus was God because they were too busy being jealous of His popularity with the people and of His wisdom in disarming all their cunning traps to catch Him in what He said. He always had supernatural wisdom which surprised and silenced them.

triumphal-entry-of-ChristJesus rode on a donkey. This donkey was pre-chosen by God. When the disciples untied the donkey, the owner asked what they were doing. “The Master has need of it,” was what the disciples said, and the owner let them borrow his donkey for the day.

palm-sundayThe triumphal entry fulfilled the prophecy that Jesus would come into Jerusalem seated on a donkey (Zechariah 9:9). The people waved palm branches and laid out clothes for a path for Him to ride through the city. They were rejoicing in the Lord.

I find it ironic and poignant that these very people who were shouting hosanna’s right now will be shouting “Crucify Him!” near the end of this week.

Sign up below for a free Bible crafts e-book!

If you enjoyed these drawings, you will love the whole series on Drawing through the Bible!

Feeding the 5,000

Tuesday, November 11th, 2014

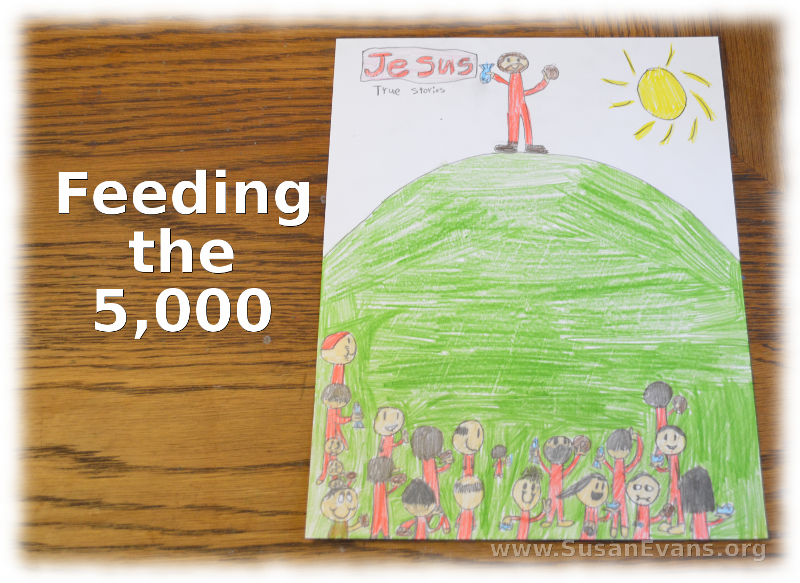
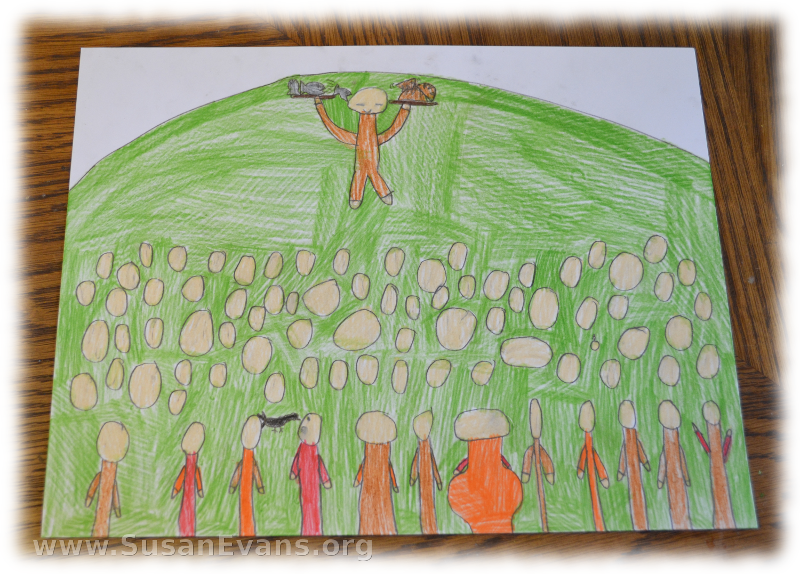
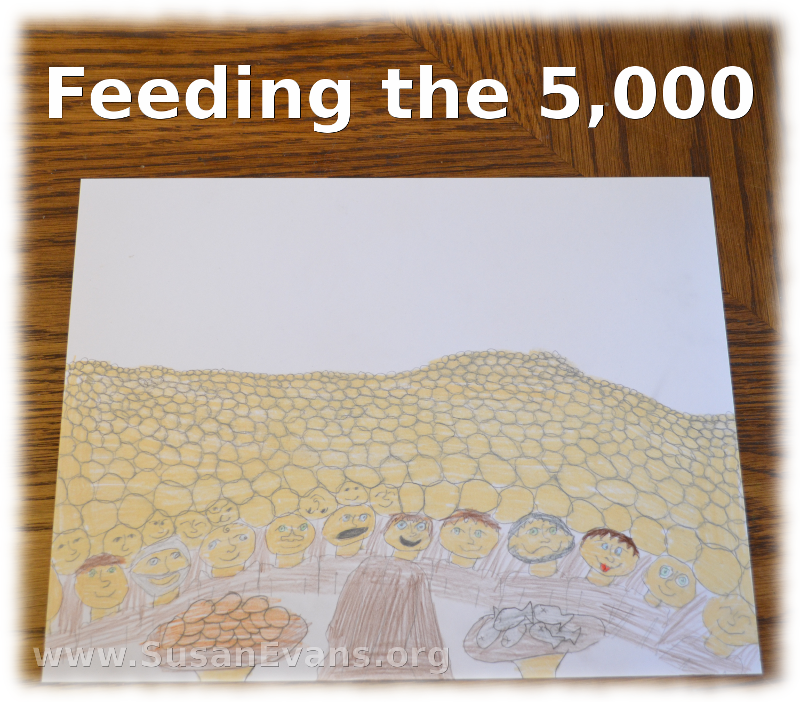
feeding-the-5,000My children drew pictures of Jesus feeding the 5,000. The story is found in Matthew 14: 15-21, Mark 6:33-44, Luke 9:12-17, and John 6:1-14. The disciples told Jesus to send the people away because it was getting late. The Bible says this took place “when it was evening.” For some reason I always picture it during the daytime. It might have been early evening, maybe around dusk, while it was still light outside.

Jesus turned to the disciples and said, “You give them something to eat!” The disciples looked at Him like He was insane because it would cost a lot of money to feed 5,000 people!

multiplying-bread-and-fishThe disciples found a boy with five loaves of bread and two fish, so they gave those to Jesus. Looking up to heaven, Jesus blessed the food and began breaking it apart and putting it into baskets. The food began multiplying itself. This was not the first time that food had multiplied itself. Elijah and Elisha had caused food to be multiplied many years before (through the power of God in prayer), to take care of widows who were starving during famine.

God is able to multiply food because He is in control of all the atoms in the universe and created everything from nothing anyway (Hebrews 11:3).

multiplying-food

The people were told to sit in groups of 50, and the disciples served as the waiters of a huge restaurant on the green grass. After everybody was fully satisfied, the disciples picked up 12 baskets of leftover food. The leftovers were more than what they started with!

Here is a hands-on activity to leach the lesson of Feeding the 5,000. It includes a diorama and some kids placing fish crackers in piles of 50 on a large blanket:

feeding-the-5000

Sign up below for a free Bible crafts e-book!

If you enjoyed this “Feeding the 5,000” children’s drawing activity, you will love the huge Bible section inside the Unit Study Treasure Vault!

#15 Freezing Alcohol

Monday, November 10th, 2014

freezing-alcohol

This post contains affiliate links. I was compensated for my work in writing this post.

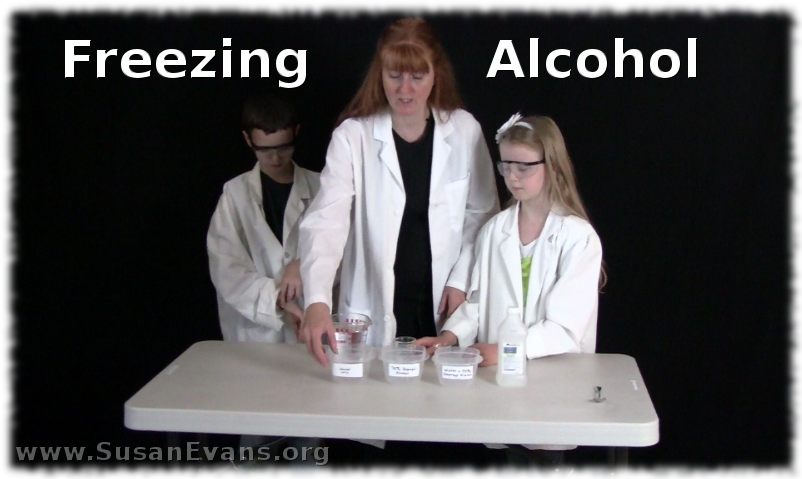
Today we are doing a “Freezing Alcohol” experiment where we will put different amounts of alcohol combined with water in the freezer to see which will freeze first. My younger two children are using Christian Kids Explore Chemistry by Bright Ideas Press, and this is one of the experiments in the book.

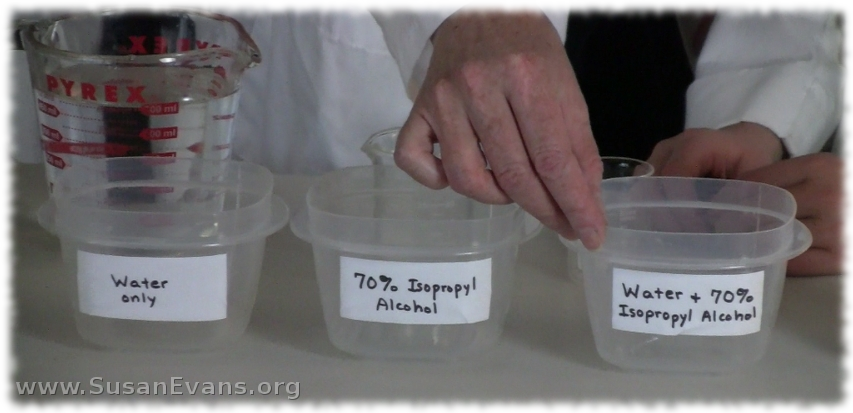
Grab three plastic containers with lids. You need lids because alcohol evaporates so easily, and we don’t want the alcohol to evaporate out of the containers and affect our results.

Label the three containers by writing on paper with a black permanent marker. Attach the labels with packing tape. Here are the three labels:

  • Water only
  • 70% Isopropyl Alcohol
  • Water + 70% Isopropyl Alcohol

The water only container is the control. We will see how fast normal water freezes and compare that to the amount of time it takes for alcohol to freeze, if it freezes at all.

Grab your rubbing alcohol from your medicine cabinet. This alcohol will say “70% Isopropyl Alcohol.” Pour the alcohol into the second container.

The third container should have half alcohol and half water. If you put 100 ml of water in the first container and 100 ml of alcohol into the second container, you will want to put 50 ml of water and 50 ml of alcohol into the third container.

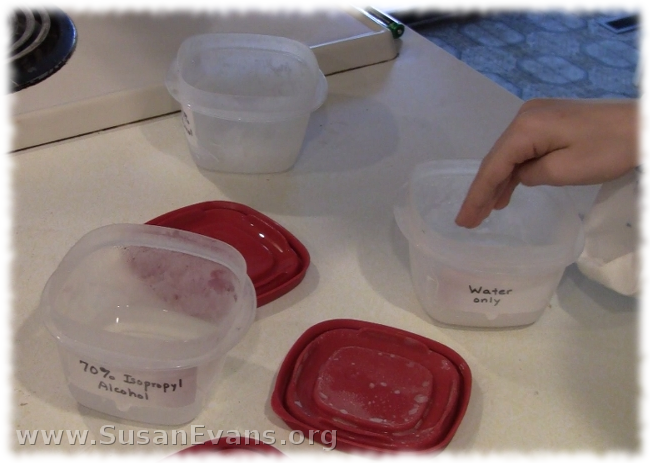
freezing-alcohol-2Place all three containers into the freezer and wait two hours. Then pull them out and remove the lids to see what is going on. The first container was frozen solid. The second container was sort of frozen on the bottom, but liquid on the top. The third container was completely liquid with no ice whatsoever.

Even after 24 hours, we have similar results, except for the second container. Take a look:

Alcohol definitely has a lower freezing point than water does. In fact, a normal household freezer (which is around 0 degrees) will never be able to freeze the alcohol unless the temperature of the freezer is lowered considerably! Of course, you would not want to do that to your freezer, or all your food would get freezer burn!

freezing-alcohol-3