Archive for the ‘Homeschooling’ Category

Drawing Proverbs

Friday, May 16th, 2014

drawing-proverbs

A fun way to gain wisdom is drawing Proverbs. These illustrations can be really fun, since many Proverbs contain pithy statements that have two opposites. The righteous and the wicked are compared. What other antithetical character qualities are compared?

  • The diligent vs. the slothful
  • The wise vs. fools
  • Gentleness vs. anger
  • Cheerfulness vs. a broken spirit
  • Humility vs. pride
  • The rich vs. the poor
  • Restraining speech vs. gossip
  • The Proverbs 31 woman vs. the constant dripping of a quarrelsome wife

Go ahead and choose a fun Proverb from the Bible, and try to illustrate it. An easy way to do this is to divide the paper in half, drawing the first part of the verse on the first half, and the second part in the second half.

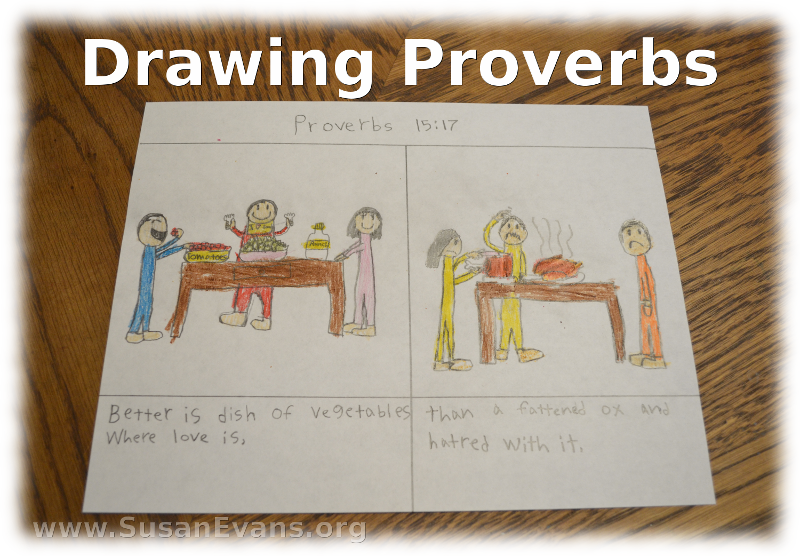
The illustration at the top of the page is: “Better is a dish of vegetables where love is, than a fattened ox and hatred with it.” Proverbs 15:17 NASBĀ  My daughter drew a table with vegetables on it, where everyone was happy. Then she drew another table with meat, where everyone was angry at each other.

drawing-proverbs-2

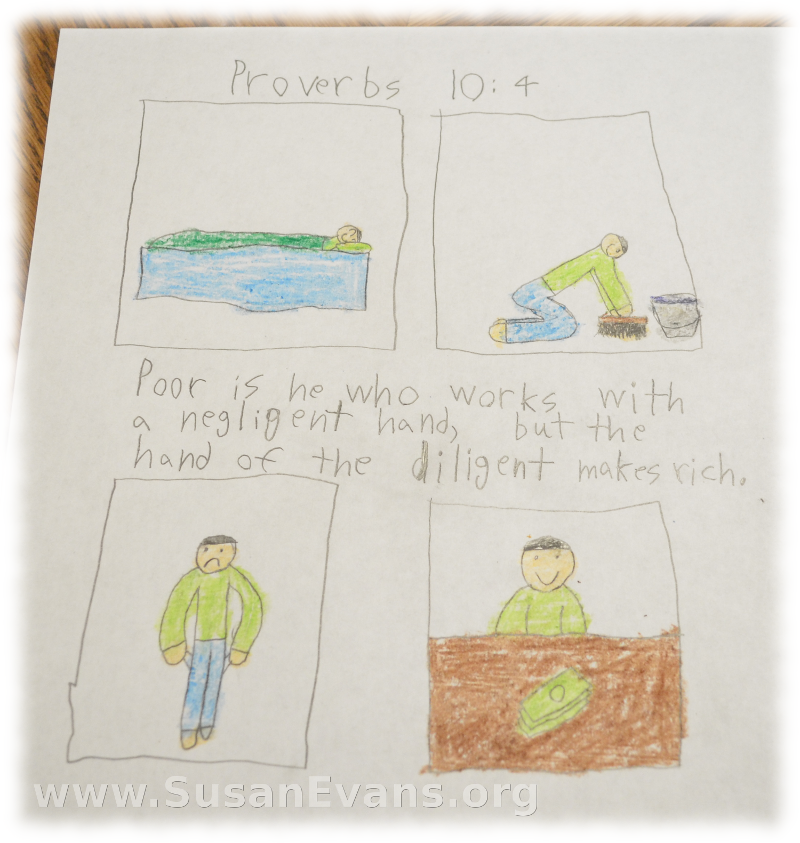
This next picture has four boxes. My son illustrated actions and their consequences. You can discuss consequences of actions with your kids. Proverbs 10:4 says “Poor is he who works with a negligent hand, but the hand of the diligent makes rich.” (NASB) First a lazy man is sleeping, and he has empty pockets. Another man works hard scrubbing the floor, and he has lots of money.
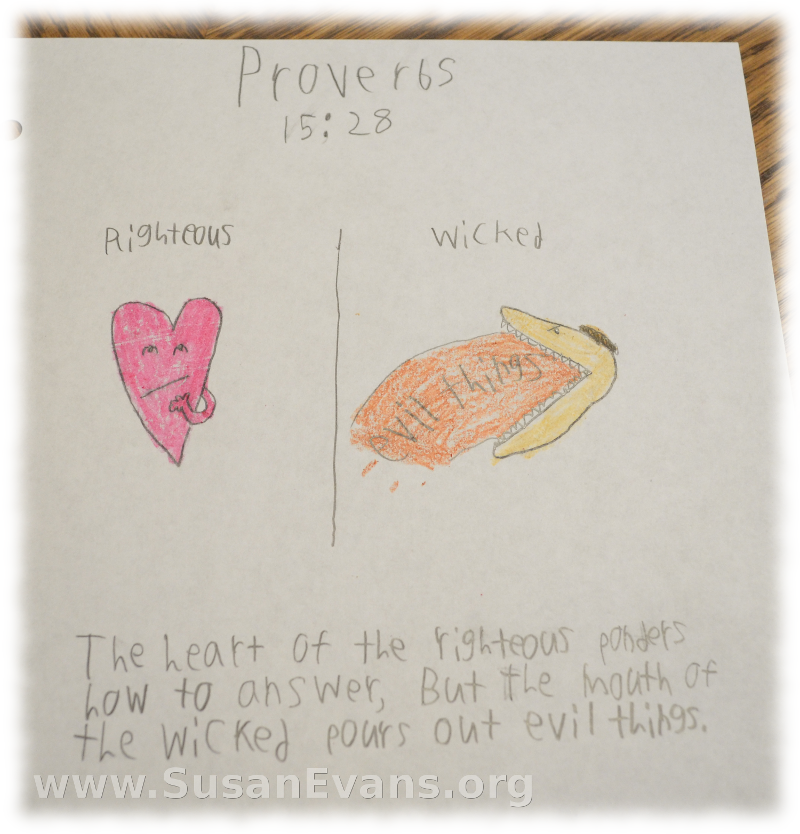
drawing-proverbs-3The third illustrated Proverb is found in Proverbs 15:28: “The heart of the righteous ponders how to answer, but the mouth of the wicked pours out evil things.” A heart is pictured, looking like he is pondering. Then a mouth pours out evil things.

drawing-proverbs-4

This last illustrated Proverb is about getting counsel from wise people before making big decisions. “Where there is no guidance, the people fall, but in an abundance of counselors there is victory.” Proverbs 11:14 NASBĀ  My son drew a cliff with a guy going off the cliff because he had no good advice from anyone. In the second picture, the man is getting advice and avoids falling over the cliff.

If you enjoyed this Drawing Proverbs activity, you will love the huge Bible section inside the Unit Study Treasure Vault!
Solar System Cake

Monday, May 5th, 2014

solar-system-cake

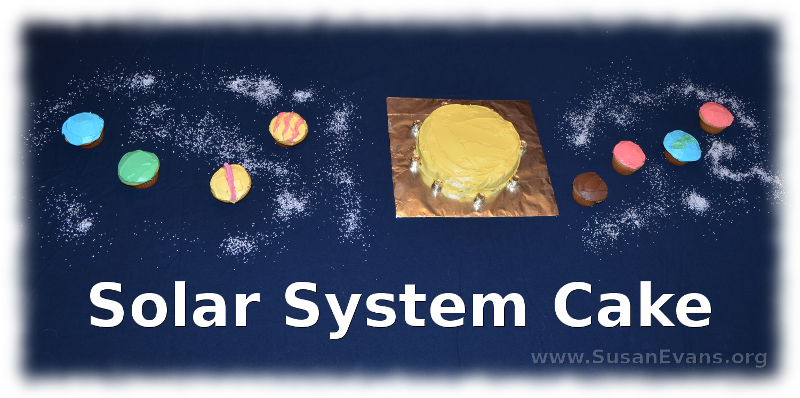
We finished our study of outer space by making this cool Solar System cake! One night at dinner I was brainstorming with the kids how to make a cake look like the sun and the planets. I was thinking I would do a rectangular cake with dark blue icing and draw the sun and planets with icing gel.

But dark blue frosting is very hard to make because icing starts white. And it seems like a lot of work to draw the sun and planets with frosting, especially if your hands start trembling because you want to make it perfect.

I could use candies for the different planets instead of drawing them, choosing the correct colors and sizes for the candy for each planet.

Suddenly a different idea it hit me: Bake one cake in a circle pan, and frost it yellow. Then make the planets cupcakes! “Brilliant!” I shouted at the dinner table, beginning to sing the Halleluyah chorus. The kids cheered, laughing hysterically at my singing. Of course the kids approved, since making cake means eating cake.

solar-system-cake-2

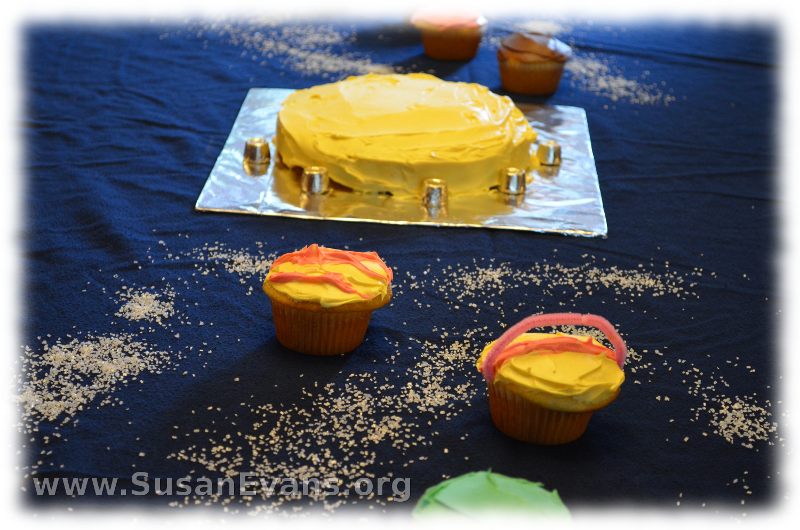
I cut a piece of cardboard slightly larger than the circle cake, taping foil on it, before plopping the cake down on it. After the cake cooled, we frosted it yellow. I placed gold-wrapped Rolo candies around the edge to make the sun fancy, but you could use any yellow candy.

I mixed different colors of icing, and I frosted the cupcakes according to the color of the planets. I frosted Mercury with chocolate frosting instead of trying to make gray frosting. (Yuck! Who would want to eat that?) The Earth cupcake was first frosted with blue, then green blobs for the continents. Jupiter was yellow with swirls of red. Saturn was yellow, and I stabbed a pink pipe cleaner as a ring around it. You could also use licorice.

I placed the Solar System cake on a dark blue sheet that I threw on the table, and I used white candy sprinkles for space dust. Don’t you just love it?

Earth and Space Series

Monday, April 28th, 2014

Earth-And-SpaceThis post contains affiliate links. I was compensated for my work in writing this post.

We’ve had such a great time this year, doing all the hands-on activities in the book Earth and Space by Bright Ideas Press. We’ve formed Earth layers out of clay, dramatized the moon revolving and rotating around the sun, shook sandy earthquakes, dyed plate tectonic eggs, erupted a volcano, grown stalactites, cooked layered sedimentary rocks, performed skits of the water cycle and ocean currents, raced slow glaciers down a ramp, watched how groundwater sinks through layers of sand and pebbles, painted an atmosphere mural, made homemade weather instruments, created a tornado in a bottle, performed a ridiculous weather report, colored the phases of the moon on paper plates and Oreos, made sun prints, and created fun planet cards for the solar system. We did lots of other activities, too, which I mention in the videos contained in each blog post.

Besides all the wonderful hands-on activities in the Earth and Space book, the text was fun and conversational and included plenty of rich vocabulary for each topic. The printable diagrams were great, and all the printables were on a computer disc that came with the book. (The disc is attached to the back inside cover and can be removed after purchasing the book.) This makes the pages easy to copy, since you don’t have to slap a large book on the photocopier. (You are allowed to print copies for your own family.) My kids enjoyed coloring the gorgeous coloring pages, too, so make sure to have some quality colored pencils on hand before beginning the book. We placed all the pages into a notebooking binder, and we decorated the outside of the binder. (I show you how we did this in the first video tutorial below.)

I thought it would be easier for people to find all the posts if I made an index page, so here it is. When you use the book Earth and Space by Bright Ideas Press, be sure to come back and watch the experiments to help you see how they can be done.

Earth and Space Series:

  1. The Earth: Hands-on Activities
  2. Plate Tectonics and Earthquakes
  3. Make Your Own Volcano
  4. Caves Unit Study
  5. Edible Sedimentary Rocks
  6. Water Unit Study
  7. Groundwater Experiment
  8. Atmosphere Unit Study
  9. Hands-on Activities for Weather
  10. Ridiculous Weather Report
  11. Moon Unit Study
  12. Solar System Unit Study

Solar System Unit Study

Monday, April 21st, 2014

solar-system-unit-studyThis post contains affiliate links. I was compensated for my work in writing this post.

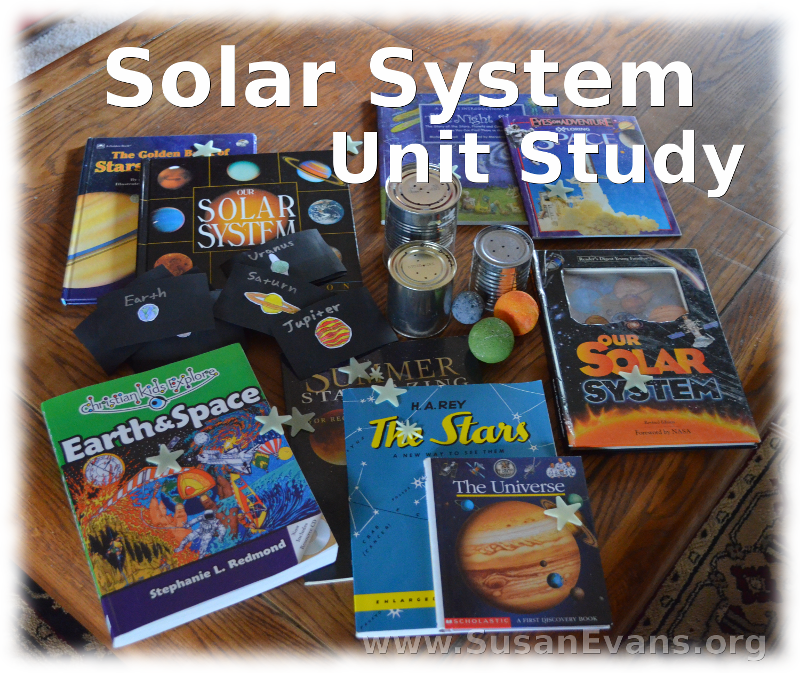
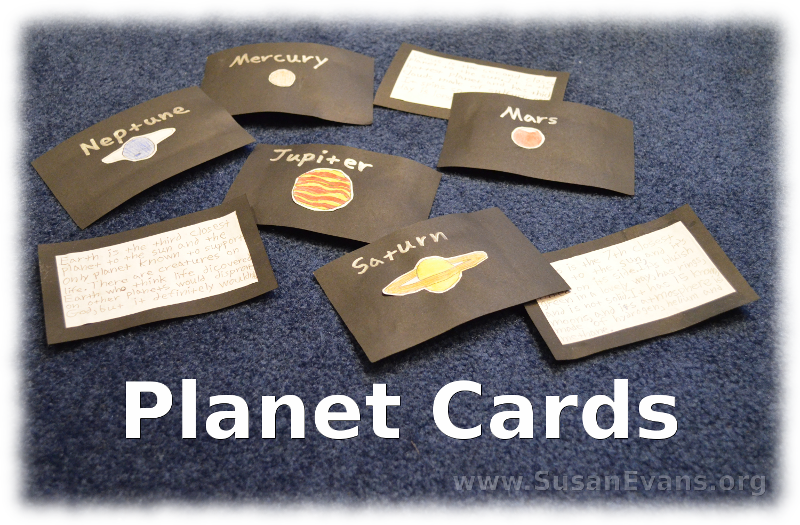
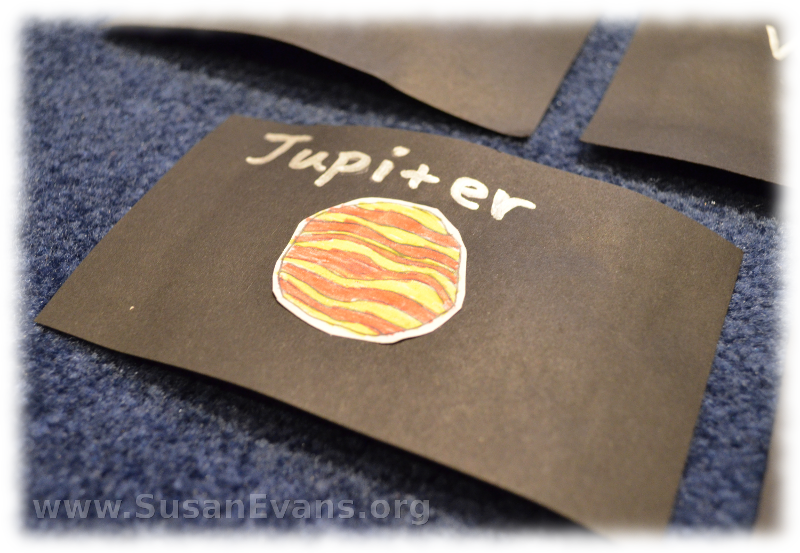
We did a super fun solar system unit study during the past month, and these are the hands-on activities that we did. As we were doing the last four chapters in Earth and Space by Bright Ideas Press, we came across the brilliant idea to make our own planet cards. The book recommends using 3 by 5 cards, and there is no reason why you can’t cut these out from black card stock paper so that the planets are pasted against a black sky. You draw the planets on one side of the card, and you write a description of each card on the other side.

planet-cards

Be sure to check out plenty of planet books from the library so that your kids can do research on each planet. We also had a DVD about the planets, which my kids have enjoyed over the years.

You can make model planets with styrofoam balls, painting them in bright colors. We did this years ago, and I used a sewing needle to stab into the ball’s edge in order to hang them up in my sons’ bedroom.

planet-cards-2

Go to a planetarium if you can, so that you can get a description of what the universe looks like. You will also want to go to an observatory to see the far reaches of space. At the very minimum, you should go stargazing out in the country. Try to pick out the constellations. Here is a description of how to go stargazing:

You can also make tin can constellations. I give you a description of how to do this in the demonstration video at the bottom of this post.

sun-prints-3

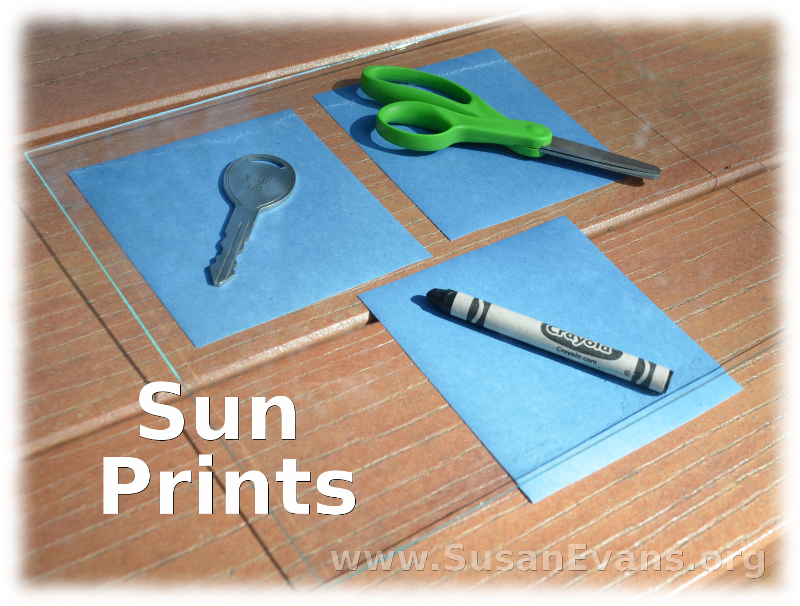
Besides the planets and stars, you will want to study the sun. There is one chapter in the Earth and Space book about the sun, giving a rich description of the center of our solar system. The hands-on project for that chapter was to make sun prints. You will have to watch the following video to see how we make the sun prints. Or you can read about how we made sun prints several years ago:

Here is a demonstration video for our solar system unit study:

We have enjoyed using Earth and Space by Bright Ideas Press this year. Why not pick up a copy of the book for your science curriculum next year? You will love it!