Archive for the ‘Homeschooling’ Category

Drawing the Days of Creation

Wednesday, January 15th, 2014

drawing-the-days-of-creation

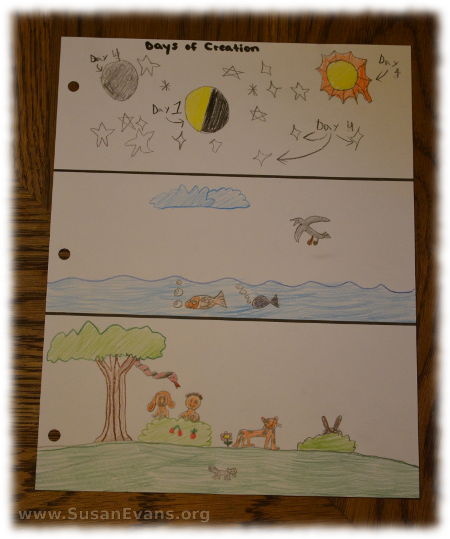
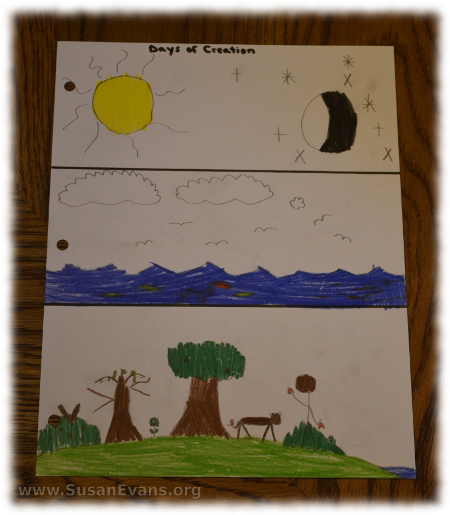
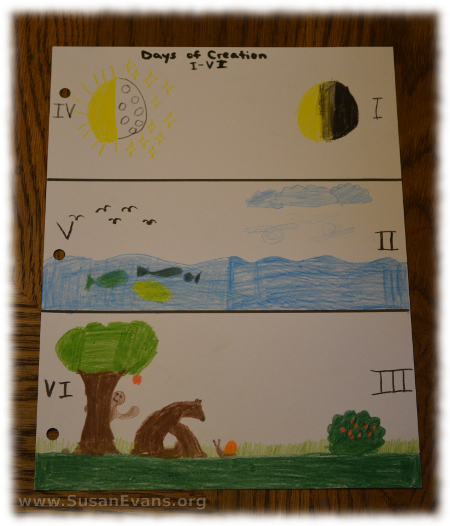
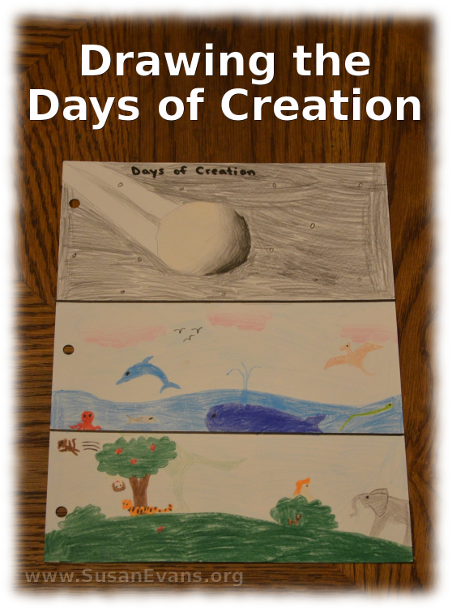
I came across a fabulous tutorial from Answers in Genesis on drawing the days of creation. First you divide the paper into thirds, separating the three sections with a black permanent marker. Next we read the days of creation from Genesis 1. For each day, we drew what was created:

  • Day 1: Light and darkness
  • Day 2: Separating the waters from the clouds
  • Day 3: Plants and trees
  • Day 4: Sun, moon, and stars
  • Day 5: Birds and fish
  • Day 6: Animals and people
  • Day 7: God rested

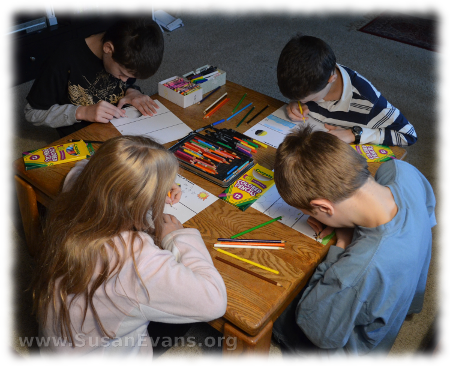
Days 1 and 4 are drawn on the top part of the page, days 2 and 5 are drawn in the middle of the page, and days 3 and 6 are drawn on the bottom of the page. I was delighted to see how organized creation was, because days 1, 2, and 3 go from the top to the bottom of the page, creating a habitat for what was created in days 4, 5, and 6. I had never seen this done before, and my kids enjoyed drawing the days of creation this way.

drawing-the-days-of-creation-4drawing-the-days-of-creation-3drawing-the-days-of-creation-2drawing-the-days-of-creation-5

Sign up below for a free Bible crafts e-book!

For more awesome activities to teach your children the Bible, pick up Using Simple Costumes and Props to Teach the Bible. Or you can get this workshop for free when you join the Vault, which has a huge hands-on Bible section!

Timelines for Homeschool

Monday, January 13th, 2014

timelines-for-homeschool

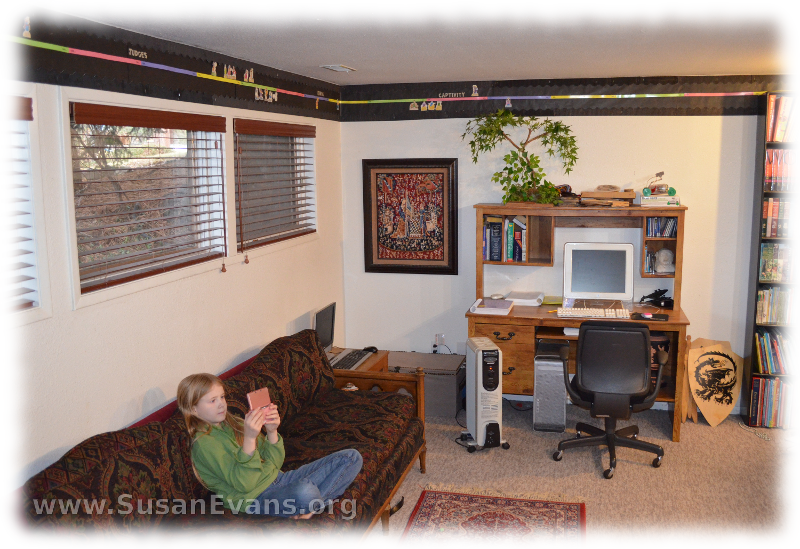
I was asked to be a panelist for an upcoming Google+ Hangout: History Timelines for Homeschool. (The show airs live Tuesday, January 14th, 2014, at 2pm Central time.) I thought I would snap a picture of my main timeline downsairs that I’ve used over the years. On the hangout I will also be showing an accordion-style timeline that I’m using for our Bible Notebooks this year. I will also show a timeline from our Ancient History notebook, which is not accordion style; the figures were glued to black card stock paper punched by a 3-ring hole punch. These two timelines are perfect alrernatives if you do not have the wall  space for a timeline. For this article, I will focus on wall timelines, which are my favorite.

What can you gain by displaying a timeline in your home, and adding figures as you study them in history?

Your children will begin to gain perspective on time. You can step back and see how all the pieces fit together. You can map out in your mind, for example, that certain events occurred before Christ, and other events occurred after Christ. You can begin to conceptualize the rise and fall of empires and nations. You will be able to talk more intelligently about history. You have something in your mind on which you can hang events.

Use black paper as a background for your timeline.

I have a definite opinion of how wall timelines should be done to make them look great, like a natural and elegant part of your home. Use black paper as a background for your timeline. Black is elegant and beautiful and causes everything else on it to pop. That’s why, when you wear a beautiful necklace, you usually will wear a black dress to showcase the jewelry. It’s the same way with timelines. The great thing about black is that you can make anything look good. Even if all you have is young children who scribble outside the lines, if you cut out their artwork and put it on black, it will look fabulous.

Border the paper with black teacher bulletin board trim. This will cause the timeline to disappear into the wall, and your attention is not drawn to it.

There are no rough edges on the top or bottom paper if it’s bordered. It also looks polished and finished as a display. I use staples to put the trim up, but you can use sticky tack. Black flat thumb tacks would work also, because they would be camouflaged into the timeline.

I like to circle a large room once, along the top of the wall.

The only drawback of having it so high up is that your kids can’t see it as closely. Instead, it causes them to step back and have perspective on time, which is the whole point of having a timeline.So for me, it works better to have it along the top of the wall, where the rest of the room can have regular home decor. The room looks like a home instead of a classroom. Besides, they’ve already seen each figure up close as you study that person or event, and all they need is a small visual reminder of how that figure fits in to the rest of history.

I hope you enjoyed my tips on how to make timelines look fabulous on your wall. More fun ideas for using timelines for homeschool will be covered in the Bright Ideas Press Google + Hangout tomorrow, January 14th, 2014, at 2pm Central time. Join us!

If you missed the show, here is the replay:
Oil Pastels on Black Paper

Monday, January 6th, 2014

oil-pastels-on-black

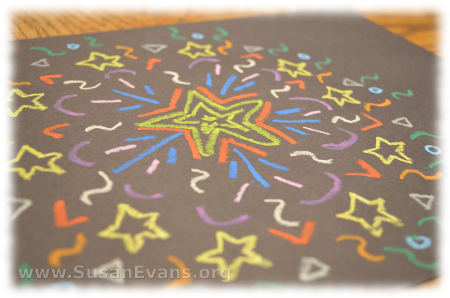
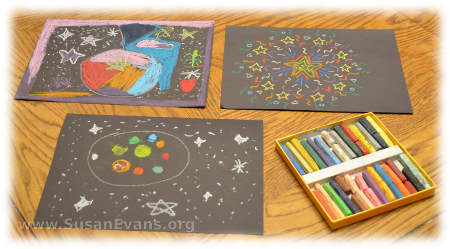
A simple yet elegant art project to do with kids is to color with oil pastels on black paper. The bold colors really pop against the black. You can do an outer space scene, a night time scene, or a cave. You could draw confetti or fireworks against a dark sky. Another design would be to start in the middle of the page with a star or circle, and draw designs outward from it, making everything symmetrical in a radial pattern.

Oil pastels are brighter than regular crayons, and you can get them in the art supply section of most stores. The lighter colors show up better than the darker ones, if you are using a piece of black card stock paper or construction paper for the background.

oil-pastels-on-black-2

Here are some other ideas for night time scenes:

  • a city with all the windows of its buildings lit up
  • the Milky Way
  • the phases of the moon going across the sky
  • Big Ben in London
  • trees with snow silhouetted against the night sky
  • an observatory
  • a spaceship moving through outer space
  • an owl swooping down to catch a mouse
  • bats hanging upside-down on a tree branch

Make sure you have plenty of black paper before you begin! You can also spread out a huge black paper on the wall, and kids can use oil pastels to draw on the black wall!

Bible Reading Chart (Free PDF)

Wednesday, January 1st, 2014

Bible-reading-chart

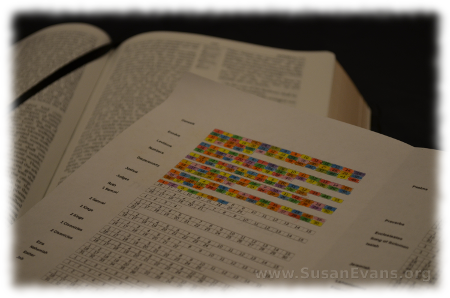
This free Bible reading chart can be helpful as you are reading through the Bible, to see how much progress you are making. I like visual ones that have boxes for each chapter, so that you can color in the boxes as you go. My husband created this chart to help you as you read through the Bible this year:

My husband and I are attending a small group Bible study from our church, and we are reading through the Bible. Even though my husband and I have read through the Bible many times, we’ve never read the entire Bible with each other as a couple before. It’s fun taking turns reading to each other and commenting on what we are reading. Simply reading the Bible can draw couples closer together spiritually, especially when you pray together as a couple. (Exception: the dry genealogies–you might want to play those on audio off your cell phone, so you don’t have to figure out how to say all those names! My husband sets his cell phone on the coffee table, and we listen to a free Bible app.)

Depending on what you are going through in your life, different things will pop out at you. Since I’ve been teaching about prayer this past year, every verse about prayer seems to pop out at me. I’m surprised by how many times fasting is connected to prayer, as I never noticed that before.

Other times I’ve been convicted of specific sins while reading the Bible. My eyes have been opened to all the verses about anger, and what results from it.

Reading through the entire Bible in one year will help you get a sweeping panorama of history and how God has worked throughout the ages, to give you a more complete picture of God.