Archive for the ‘Homeschooling’ Category

Orange Globe

Wednesday, December 11th, 2013

orange-globe

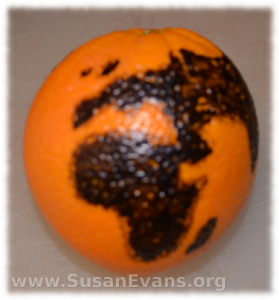
orange-globe-2When I was a little girl, I saw this orange globe activity in many books. Recently my daughter read about it in a McGuffey reader, and I decided to make this fun orange globe to understand why flat maps are distorted on the top and the bottom of the maps.

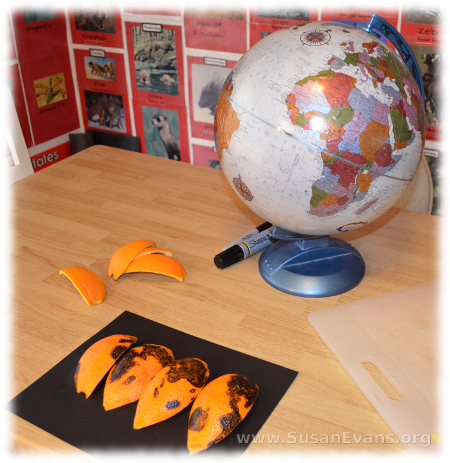
First you will need an orange, a black Sharpie marker, and a knife. Draw a globe on the orange, using a real globe or a picture of a globe to draw the outlines of the continents. Then fill in the continents so that they are solid black.

If you have more than one orange, you can show your children the equator by slicing the orange in half right at the middle. The top part of the orange is the Northern Hemisphere, and the bottom part of the orange is the Southern Hemisphere. You can talk about lines of latitude and longitude.

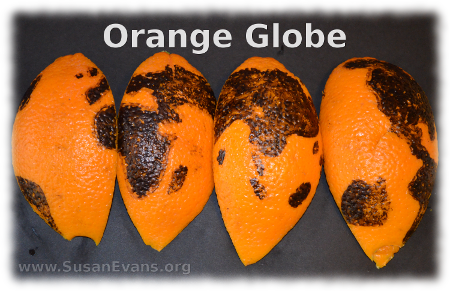
But if you only have one orange, you will want to cut it into quarters from top to bottom. Scoop the juicy orange out of the peel, being careful not to smudge the marker. Then flatten the pieces of orange on a piece of black card stock paper. Now you will be able to compare this to a flat map of the world. Your kids will laugh at how stretched out the flat maps are, compared to the orange segments.

orange-globe-3

Since the earth is round, a flat map must be distorted in order to show the globe. This is why globes are a more accurate representation of the continents than flat maps. However, flat maps are more useful for many practical reasons, including trying to find your flight at the airport, to find the most direct route to your destination. To see the entire earth at one time, we must make the map flat.

Here is a short video showing how to make this orange globe:

If you enjoyed making this orange globe, you will love Living Geography: Travel the World from your Living Room.
Decorate Your Own Canvas Bag

Monday, December 9th, 2013

decorate-your-own-canvas-bag

Here is a tutorial for how to decorate your own canvas bag, making it unique to keep or to give away as a gift. My 8-year-old daughter wanted to learn to sew, so she was excited to start this activity.

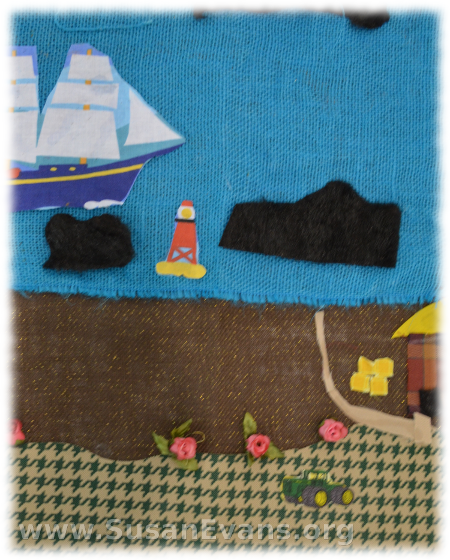
You will need a plain canvas bag, which you can buy at any craft supply store. You will also need a needle and thread, fabric scissors, and some scraps of cloth. Design your own scene, using the scraps of cloth. If you don’t want to sew, you can use fabric glue and be finished in about 5 or 10 minutes. Otherwise you can pin the pieces in place, one by one, layer by layer like we did.

decorate-your-own-canvas-bag-2

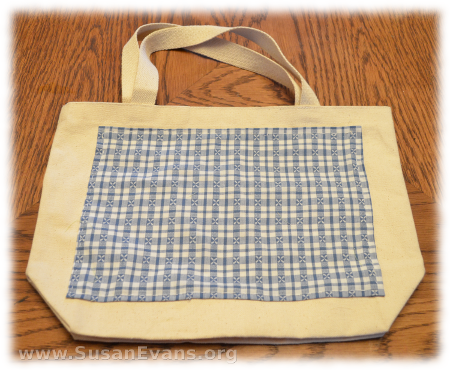
First my daughter wanted to sew a sky onto the whole scene as a backdrop. I ironed a rectangle of blue patterned cloth, folding down the 4 edges and ironing them. I pinned the blue cloth onto the canvas bag. My daughter sewed the cloth onto the bag.

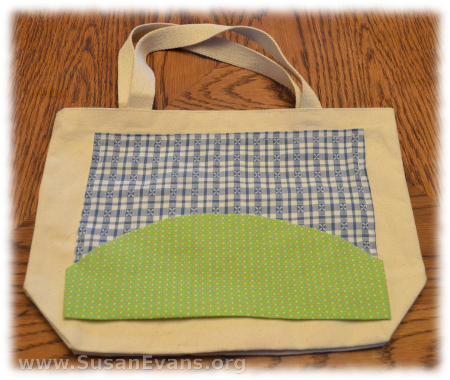
She wanted to add a green meadow, so we added some green. After ironing the cloth and folding down the 3 straight sides, we pinned and sewed the green hill.

make-your-own-canvas-bag-3

Next we wanted some trees for a forest. You could use some green felt, cutting out trees. (If you use felt for everything, you will never need to iron or hem, because felt doesn’t become unravelled. This makes it perfect for the finishing touches to decorate your own canvas bag.)

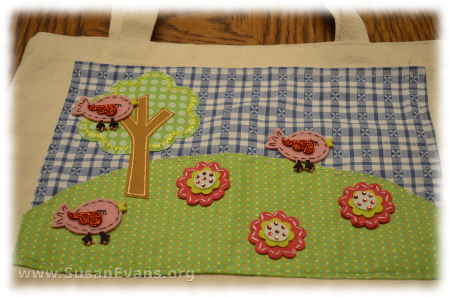
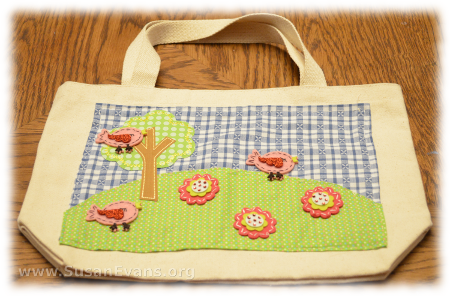
One short-cut is to get patches at a craft supply store. You can sew these on, iron them on, or just use fabric glue to attach them. We found a tree, some birds, and some flowers. My daughter arranged them on the canvas bag and glued them down with fabric glue.

When you decorate your own canvas bag, it will look something like this:

decorate-your-own-canvas-bag-4


Textured Art

Wednesday, December 4th, 2013

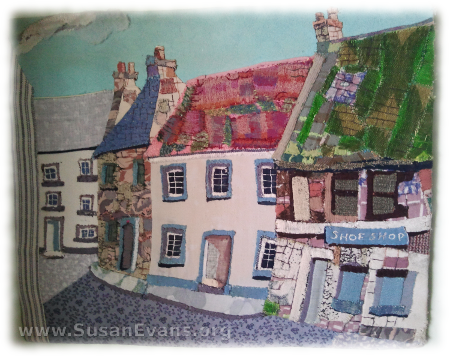
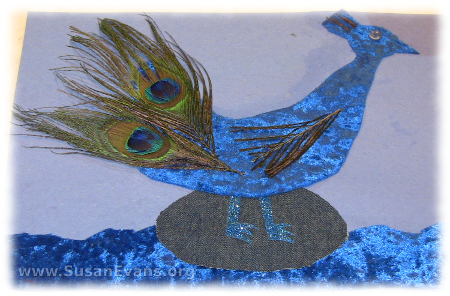
textured-artYou can create textured art by finding a diversity of cloths and making a picture to frame and hang on your wall. I saw this hanging on the wall of a dear friend, and I loved the idea!

If you want to create a village like this, start with the background cloth. Then add the houses and the street. You can go ahead and use fabric glue to put together the town. You might want to think through your color scheme so that the colors will blend harmoniously and not clash. Conversely, you might want to use only bold colors or pastel colors.

After getting the main shapes in place, you will want to add details. Make the doors and windows, and add even more embellishments until you have exquisite detail. If you add fuzzy moss to the rooftops, you can choose fabric that will create this illusion. Shiny fabrics can work well for metals, and velvet looks soft and mossy. You could also add lace if you are making a frilly picture.

Add any other details, like clouds in the sky, or stars and a moon. If you want shapes of animals and people to populate your village, go ahead and add them. Otherwise a beautiful town in the sunshine can be a charming piece of textured art, hanging on your living room wall.

textured-art-6

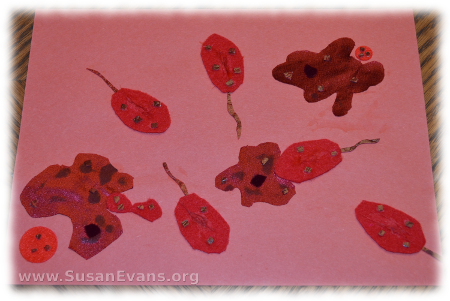
You can simplify this activity for your children by giving them one color for their textured art. For example, one of my sons loves green, so I dumped lots of green bits of materials on the table. I gave him a piece of green construction paper as a backdrop, and he had scissors and glue to create a work of art in green. My other children chose blue, pink, and red. As you can see, my son who wants to be a microbiologist has designed a red textured art piece that shows amoebas eating bacteria!

textured-art-2
textured-art-5
textured-art-3
textured-art-4

Greek Art for Kids

Monday, December 2nd, 2013

greek-art-for-kids

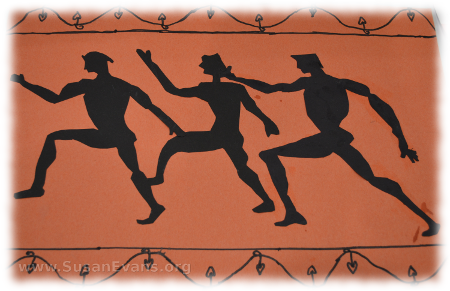
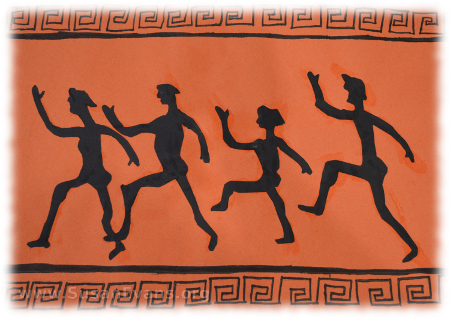
Are you looking for super easy Greek art for kids? This art activity is the easiest I’ve ever seen! I saw this entry at the state fair and decided to do it with my own children. All you need is orange and black construction paper, scissors, and a black marker.

You will use the orange construction paper as the background of your project. We have chosen orange because it looks like the terra cotta pottery from Greece. Now you can cut out shapes of people from the black construction paper. It might be easier to draw the figures in pencil before cutting them out. Make sure the figures all face the same direction.

For the finishing touches, take your black marker and add embellishments and twirls to the top and bottom of your paper. If you need to look at Greek pottery designs, you can look here for inspiration.

If you liked this simple Greek art for kids activity, you will love my free Ancient Greece Unit Study. You might want to subscribe to my YouTube Channel to not miss any upcoming unit study videos.

greek-art-for-kids-2