Archive for the ‘Homeschooling’ Category

How to Make a Pop Bottle Bird Feeder

Friday, April 12th, 2013

how-to-make-a-pop-bottle-bird-feeder

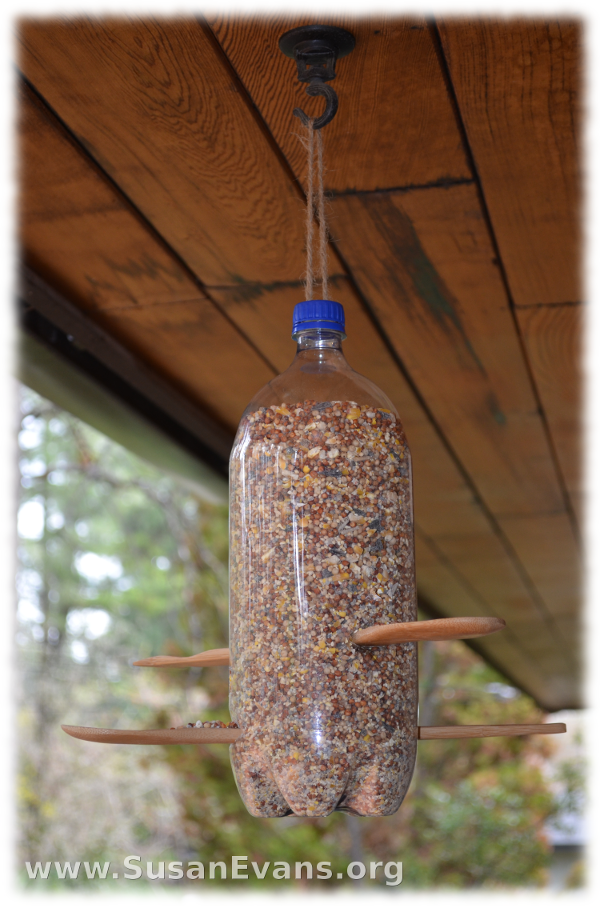
This is how to make a pop bottle bird feeder. We made one last night to attract more birds to our yard. For some reason we haven’t seen as many birds ever since we got a cat. But this handy-dandy bird feeder will bring back all those birds that came last time we made this popular feeder, when our boys were in Cub Scouts. These are the supplies you will need:

  • empty pop bottle with lid
  • bird seed mix
  • two wooden spoons (from dollar store)
  • sharp knife or razor blade
  • twine
  • large hook
  • funnel
  • drill (optional)

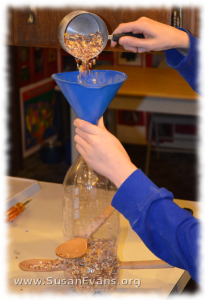
how-to-make-a-pop-bottle-bird-feeder-2Cut a slit for the wooden spoon, barely big enough to slide the spoon through. Cut a slit on the other side of the bottle, so that the spoon can come out the other side. Do the same with the second spoon, placing it at a right angle so that two birds can eat at the same time.

Fill the bottle with bird seed mix. Now make a hole right above the spoon, about 1/2 inch across, so that some seed will come out onto the spoon. Do the same to the other spoon. My husband said cutting the hole works better with the seeds inside the bottle, because the bottle is more sturdy and won’t collapse when you are trying to cut it.

You can drill two holes in the lid and put some twine through it, tying a knot on the inside so it won’t be seen. Or if you don’t have a drill, just tie the twine around the top of the bottle and hang it up on a hook right outside your window.

“How come the birds aren’t coming yet?” asked my daughter the next morning. She didn’t remember the last time we had a bird feeder. The birds fought over the bird seeds like they were starving, with the squirrels eating all the spilled leftovers.

“They need to find the bird feeder. Once they find it, they’ll come,” I said, trying to reassure her.

“Or maybe it’s because the cat is sitting under it,” I thought to myself…
Macbeth Poem for Kids

Monday, April 8th, 2013

Macbeth-poem-for-kids

This Macbeth poem for kids was written by my 11-year-old son when he was given the assignment to write a summary of Macbeth. He decided to do the summary as a poem. My kids said that Macbeth was the worst story they ever read, and we talked about how ambition led Macbeth to take matters into his own hands. I’m doing a Bible study on the life of David, and we compared Macbeth to King David. Both men had predictions that they would be king. But David waited on God. He did not take matters into his own hands, even when he had the chance twice to kill Saul. David was a man of integrity, whereas Macbeth thought he had to keep killing people to cover up his previous murders. Macbeth even had his best friend Banquo killed, and after he won the crown, he couldn’t even enjoy it but was miserable. All sin ends in misery.

Macbeth – by Stephen Evans (age 11)

I’ll tell you a gruesome tragedy,
The worst you ever read.
Three witches caused Macbeth to act,
And everyone ends up dead.

Macbeth had won a victory
Against the thane of Cawdor.
Lady Macbeth contrived a plan
That was so full of gore.

Macbeth was to kill King Duncan
And take the crown for himself,
Framing the sleeping guards,
And sneaking away with stealth.

Banquo thought he was a friend,
But Macbeth had him killed.
Banquo’s ghost showed up at a feast;
With insanity Macbeth was filled.

Macbeth revisited the witches,
Who told him, “Beware Macduff
And watch out for Birnam Wood.”
Then they disappeared with a puff.

Macduff, Duncan’s son, and an army
Made camp in Birnam Wood.
When Macbeth looked over the battlements,
At once he understood.

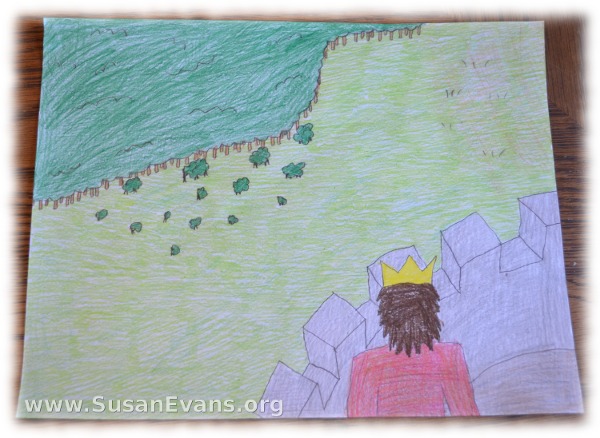
The soldiers hidden by branches
Marched against Macbeth.
Macduff sank his sword into his foe,
And Macbeth fell down in death.

*Artwork above poem by Bryan Evans (age 12)
“Macbeth Sees Birnam Wood Advancing”

Related product: Romeo and Juliet Unit Study

Spring Scavenger Hunt (free PDF)

Wednesday, April 3rd, 2013

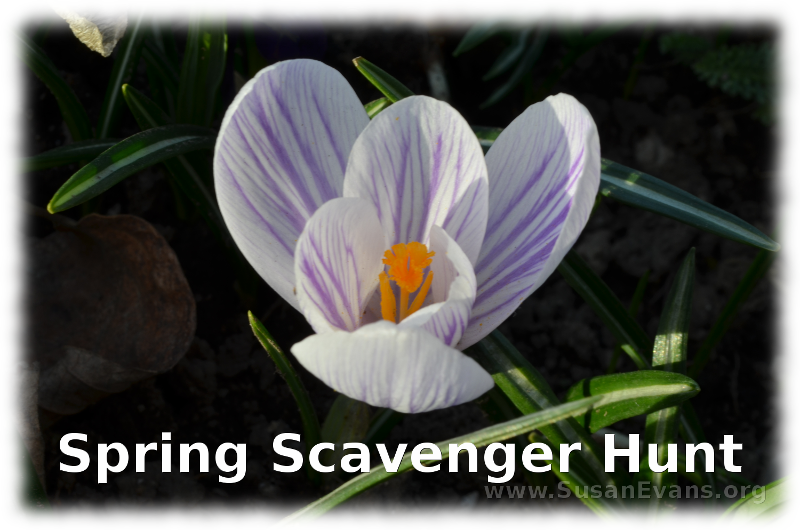
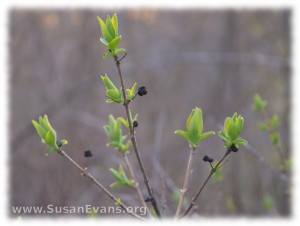
spring-scavenger-huntWhy not celebrate the coming of spring with a Spring Scavenger Hunt? Go on a fun nature hike and see if you can find the following items. Snap a picture of each item as you find it, and add the pictures to your nature journal. You can add descriptions under the photos, or older students can sketch the items into their journals, using the photos as a guide.

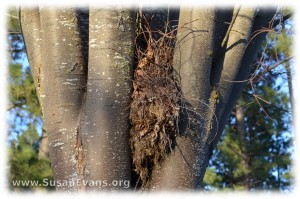
  1. bird nestspring-scavenger-hunt-2
  2. buds on tree branches
  3. daffodils
  4. sapling (young tree)
  5. ducks on a pond or river
  6. caterpillar, cocoon, or butterflyspring-scavenger-hunt-3
  7. new cones on evergreen trees
  8. plants pushing up out of soil
  9. cumulus cloud
  10. tulips
  11. new grass
  12. feathers
  13. crocuses
  14. lichen growing on rocks
  15. dandelionsspring-scavenger-hunt-5
  16. squirrel
  17. egg shells
  18. seeds
  19. hyacinths
  20. bees buzzing around flowers

You can print out a copy of this scavenger hunt here:

Cross Mosaic

Friday, March 22nd, 2013

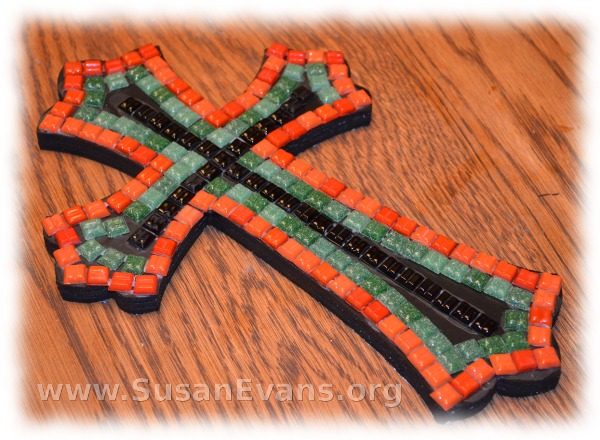
cross-mosaic

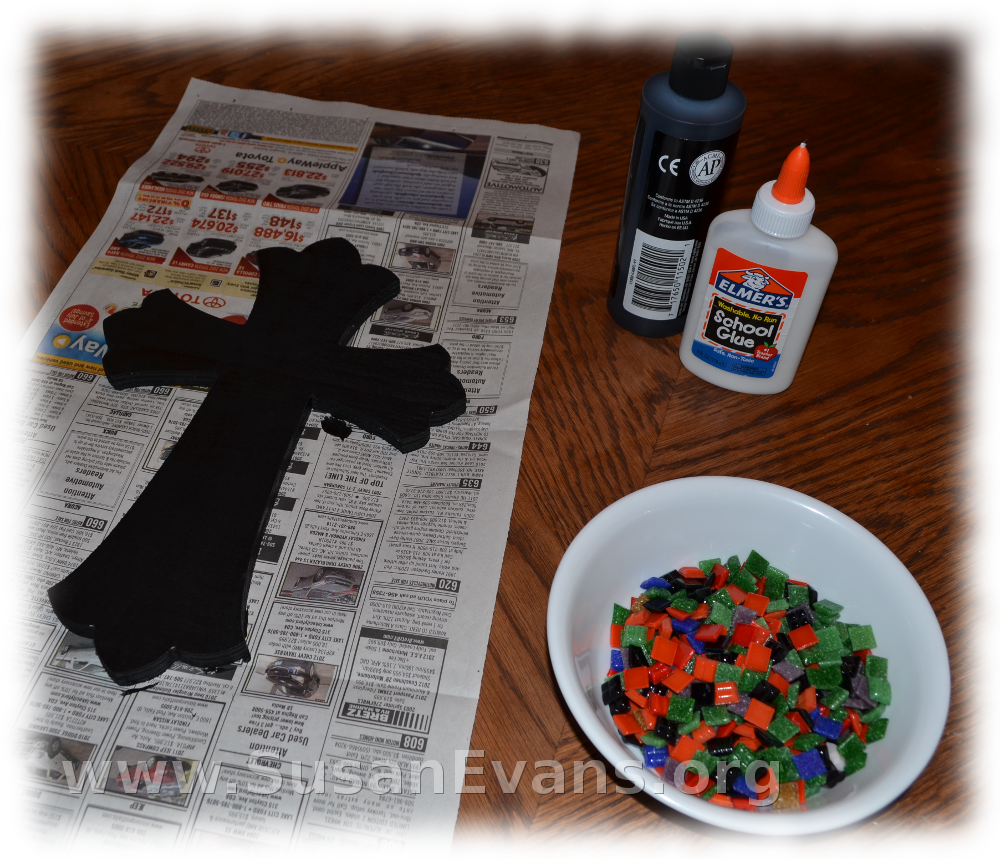
This beautiful cross mosaic is easy and fun to make. You will need the following supplies:

  • wooden cross (buy at craft supply store)
  • mosaic tiles
  • black paint
  • school glue
  • paintbrush
  • newspaper

cross-mosaic-2

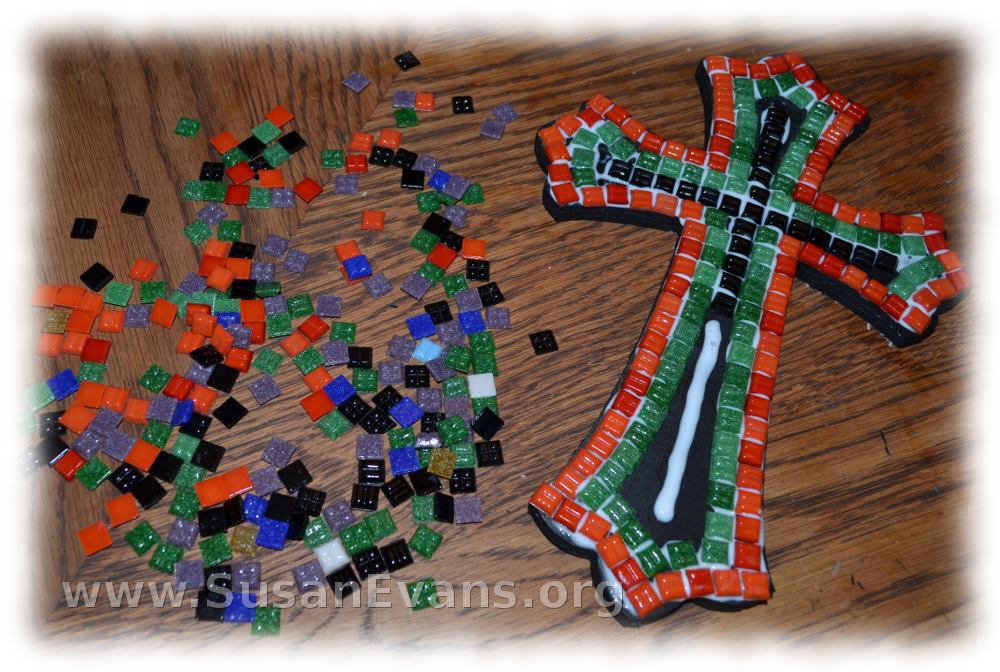
First you will want to paint the cross black. Place newspaper under your cross to avoid getting paint on your table. Let the paint dry.

cross-mosaic-3

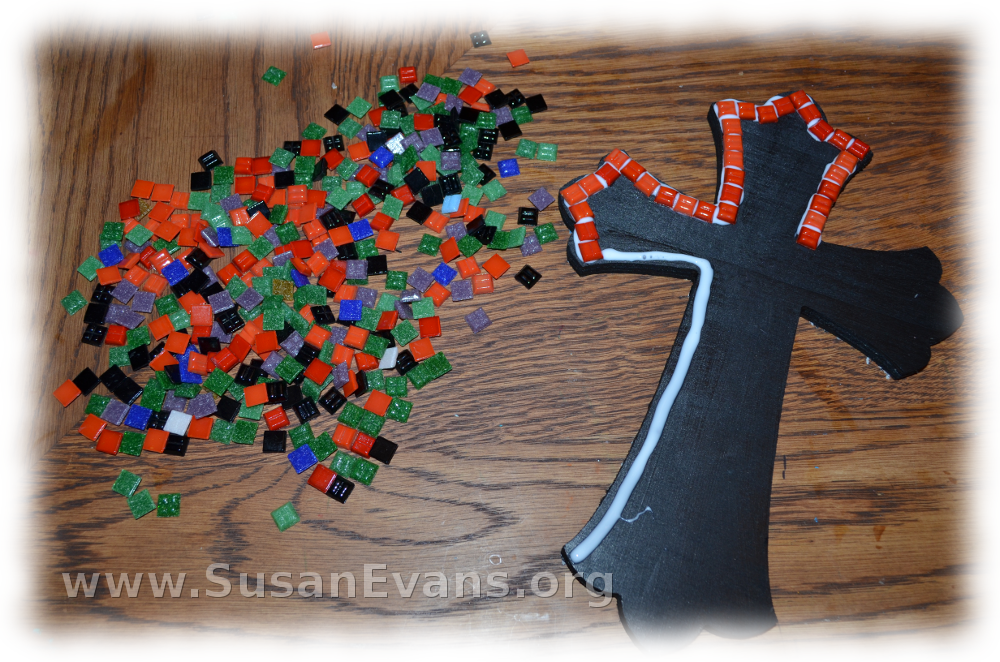
Next you will spill out your tiles. You might want to sort them by color. Get your school glue and make a line with the glue around the edge of the cross. Choose one color to outline the entire edge of the cross. Set the tile into the glue.

cross-mosaic-4

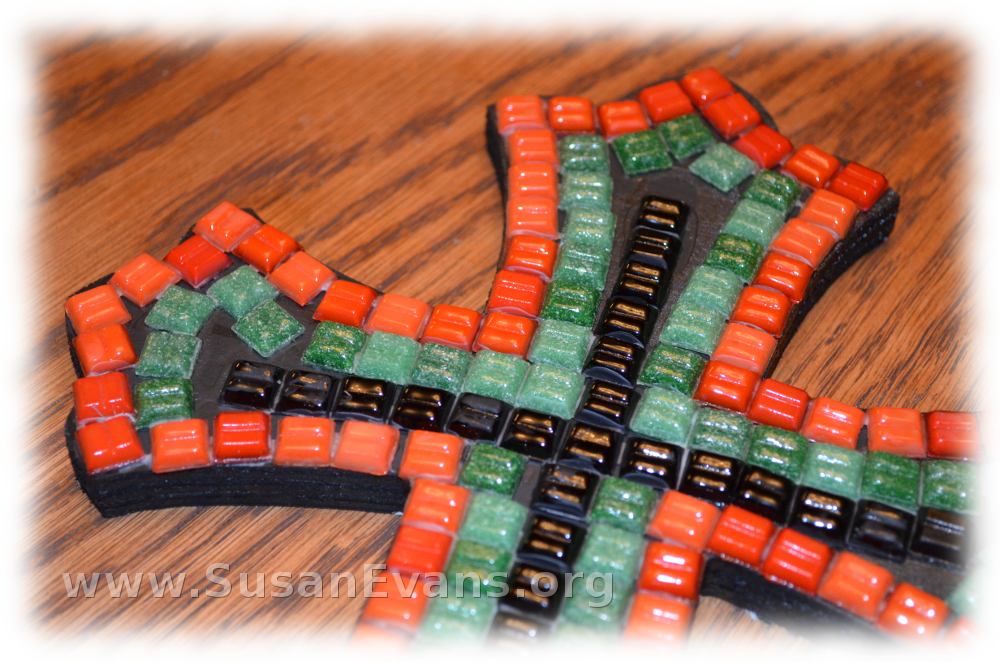
Without waiting for it to dry, make a second row of tiles inside the first row. Decide how you want to arrange your tiles based on how big your cross is. At this point I started gluing down the black cross in the center, since I realized that there was not enough space to put the green tiles all the way around the two arms of the cross. The black line of tiles was more important to me, so I glued that down at the same time I was gluing down the green tiles.

cross-mosaic-5

It took me less than half an hour to glue all the tiles, so the glue was wet enough to push the red tiles over slightly to fit in the green and black tiles. After a few hours, the glue dries clear. The cross mosaic is now finished and ready to hang on the wall.

cross-mosaic-6