Posts Tagged ‘art’

How to Make a Felt Clover Pillow

Wednesday, March 6th, 2013

st-patricks-day-crafts-5I’ve been writing a series of St Patricks Day crafts to go with a one-day unit study on Saint Patrick. Today’s craft is a simple sewing project that kids of all ages can enjoy. You will need the following supplies:

  • two dark green pieces of felt
  • one light green piece of felt
  • black permanent marker
  • needle
  • green thread
  • fabric scissors
  • pins
  • sheet of white card stock paper

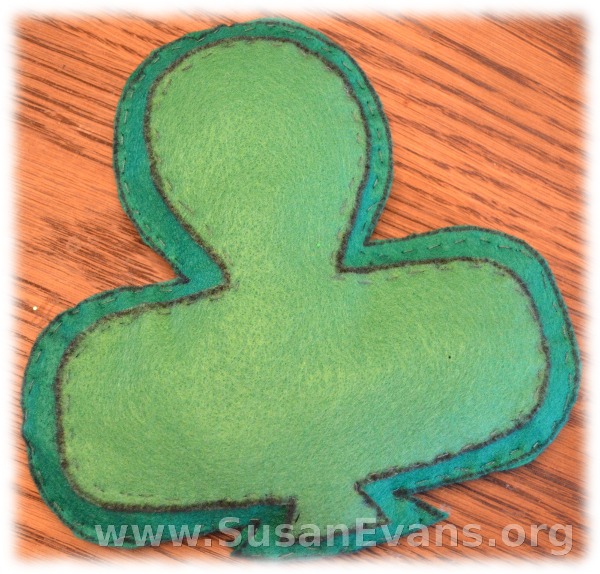
felt-clover-craft

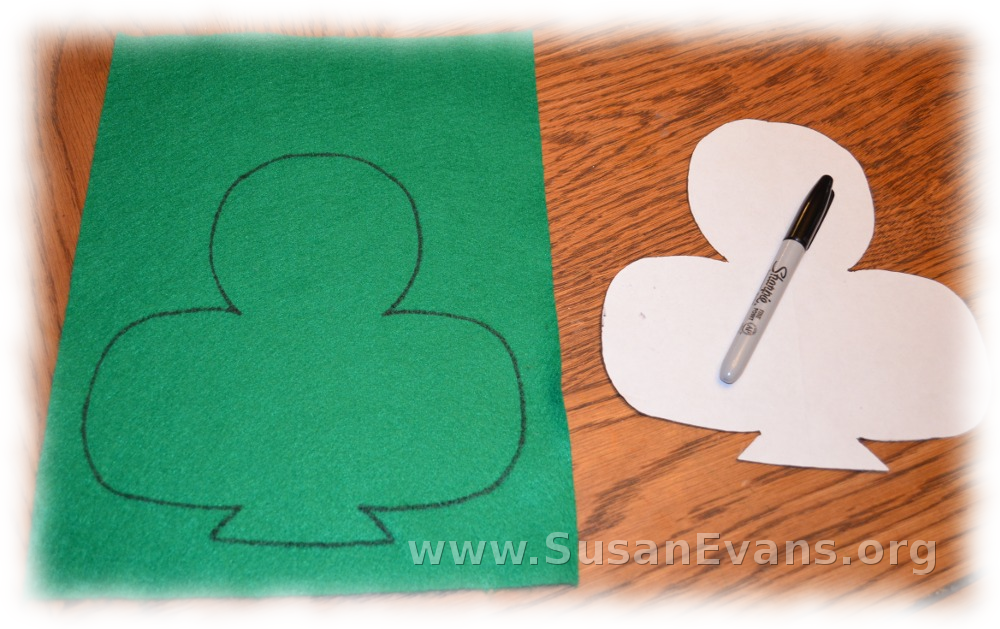
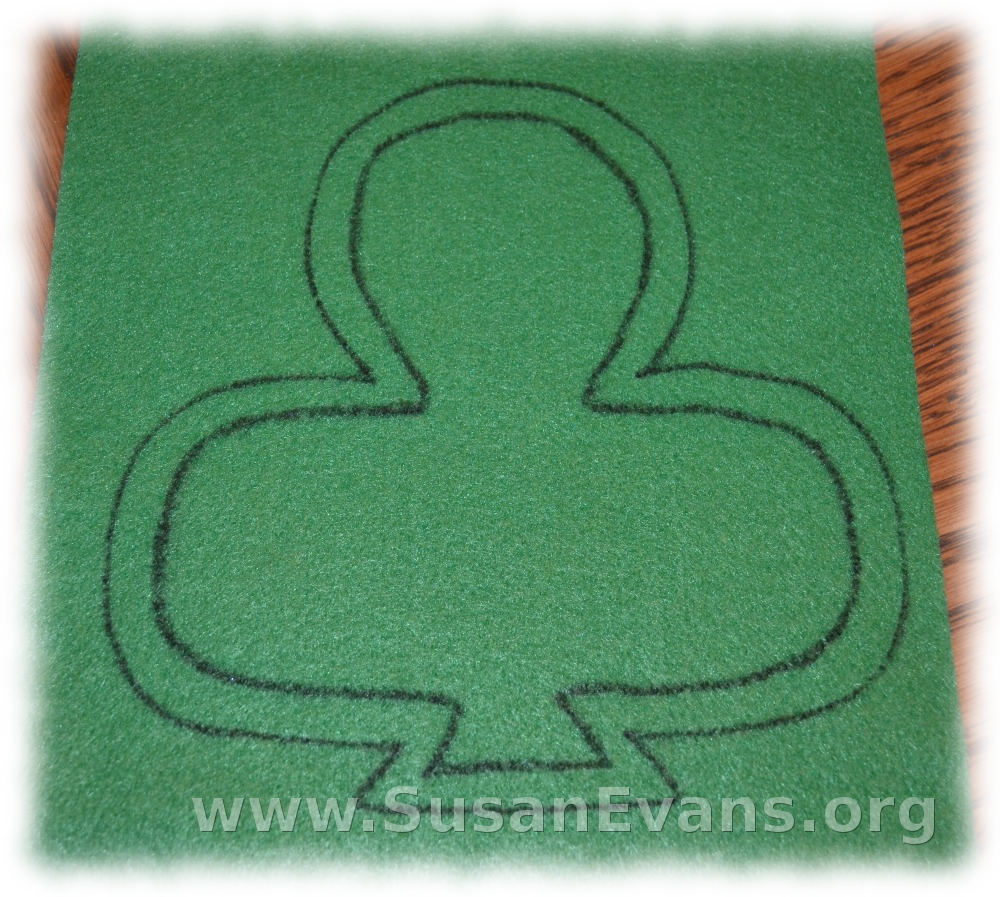
On the sheet of white card stock paper, draw a clover. Fold the paper in half, and cut the clover out so that both sides are identical. Open the clover leaf. Set down a dark green piece of felt. With a permanent marker, trace the shape onto the felt. Do this with all three pieces of green felt. With the light green felt, draw a line about one centimeter in from the outer clover leaf shape. Now cut the light green felt to the smaller size. Cut the darker felt along the outside lines you drew.

green-felt-clover

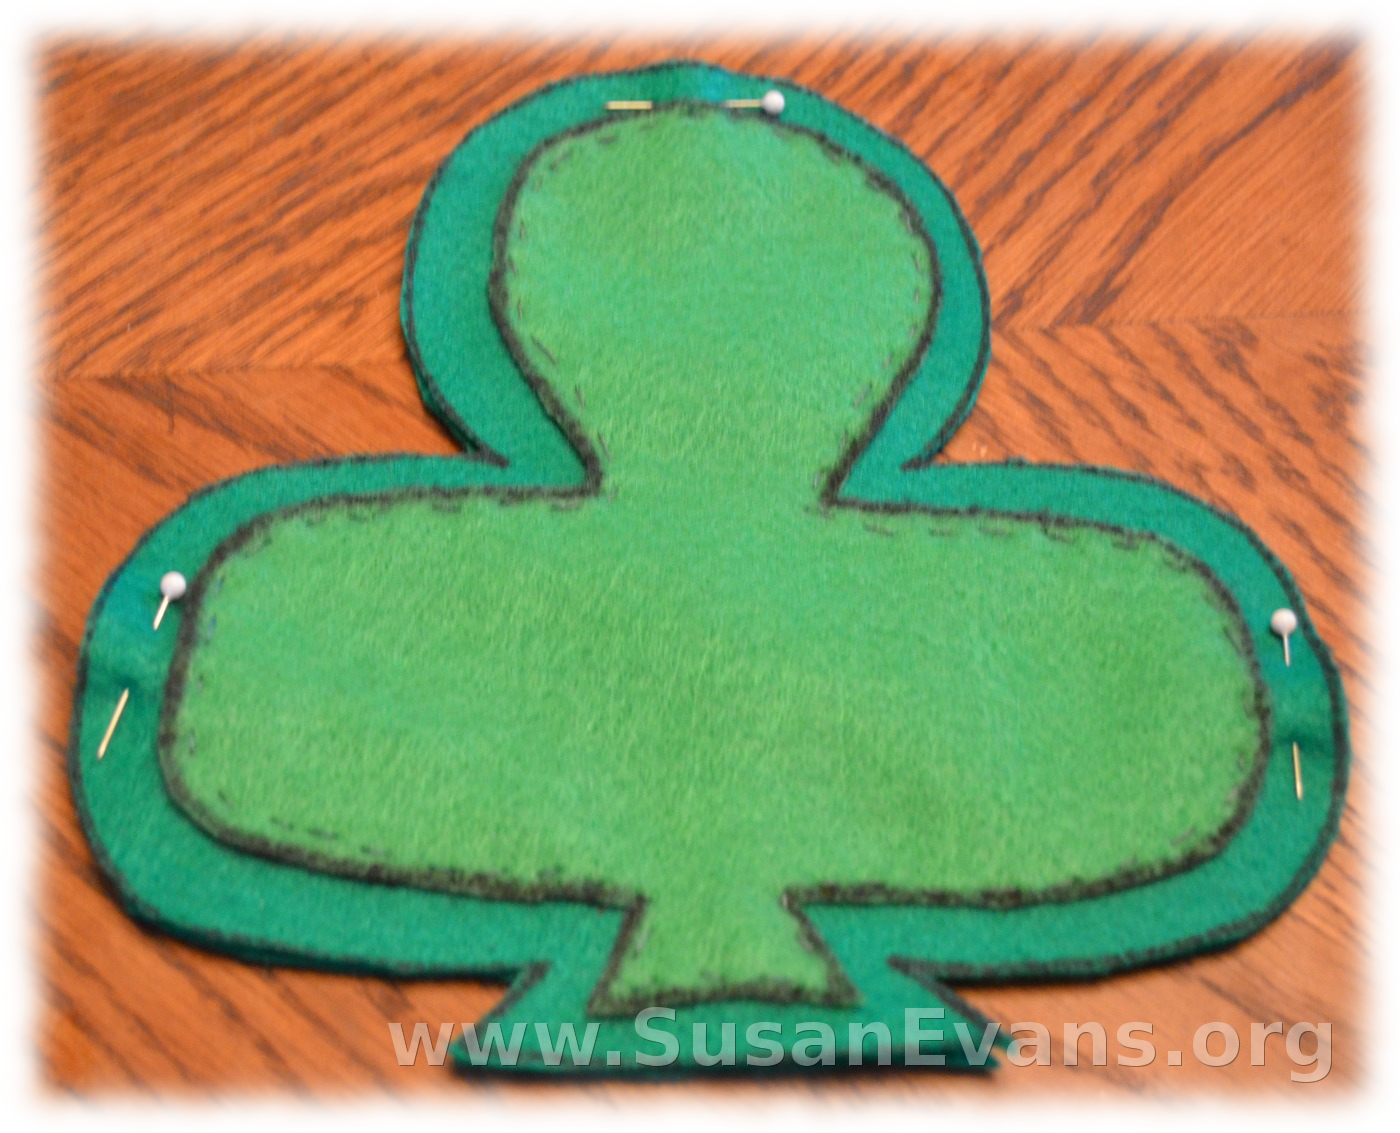
Now you are ready to sew. Pin the light clover leaf to one dark clover leaf. You only need three pins, one for each leaf of the clover. Sew a straight stitch with green thread. Remove the pins as you sew.

st-patricks-day-felt-craft

Pin the two dark green pieces of felt together. Use a straight stitch to sew around the clover. Leave one part of a clover leaf open to put the stuffing into the pillow. Shred up all the leftover felt by cutting it into small pieces. You will use this to stuff your clover pillow. Gently place the stuffing into the almost-finished pillow. Now sew up the remainder of the pillow. Enjoy your finished clover pillow!
Decorate a Clover Leaf

Tuesday, March 5th, 2013

decorate-a-clover-leaf st-patricks-day-crafts-12St Patricks Day crafts are fun for young children. One craft that even toddlers can enjoy is to decorate a clover leaf. Dump green craft supplies on top of your table and have your kids design their own green St Patricks Day clovers!

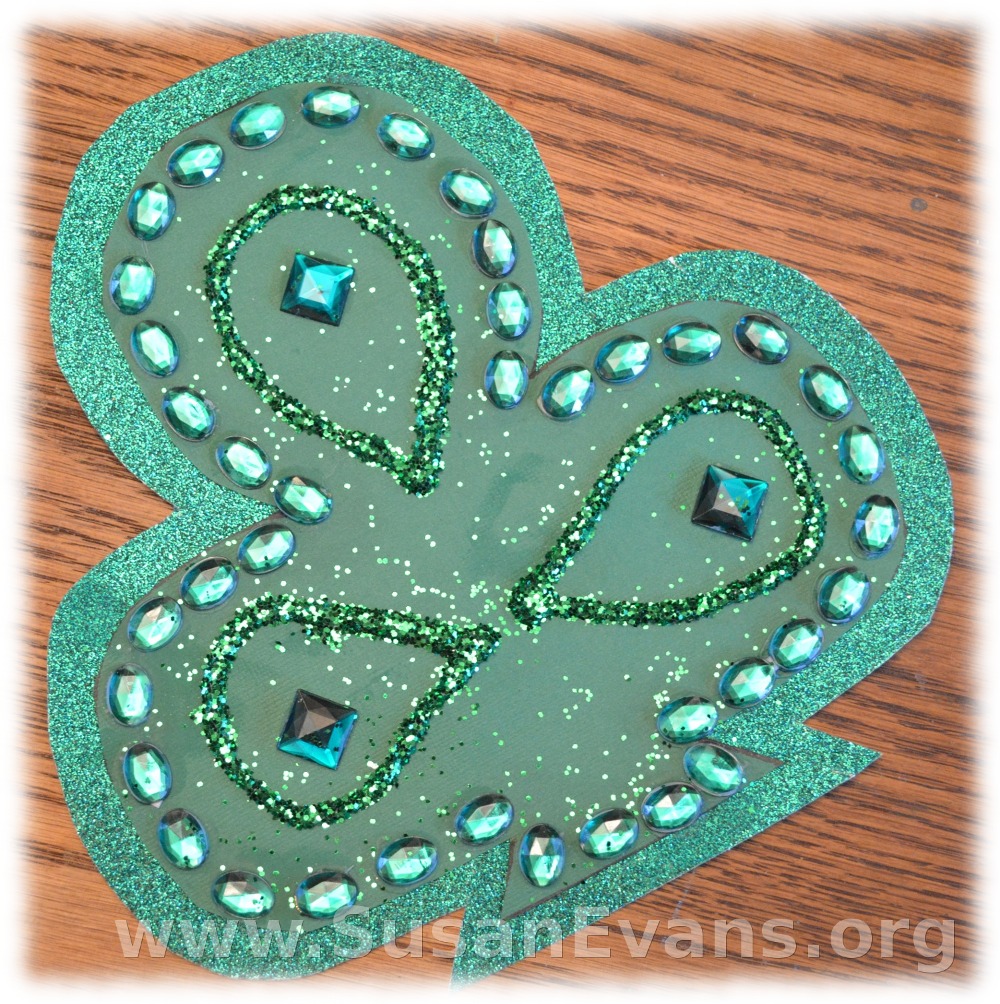
This is how we decorated our spectacular green clover leaf: Grab some green card stock paper and draw a large clover leaf. Cut out the leaf. Get some sparkly green paper (found at craft supply stores), and glue the card stock paper to the glitter paper. Now cut around the clover leaf, leaving about a centimeter of glitter paper showing.

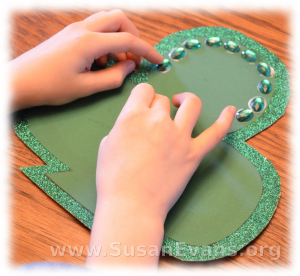
st-patricks-day-crafts-13Have your child glue fake green jewels all around the outer edge of the clover. We just used regular white school glue, which dries clear. Now glue any design you want on the rest of the clover, using green art supplies such as feathers, buttons, sequins, scraps of cloth, and other similar items

We drew large tear drop shapes with glue, and then my daughter shook green glitter on top of the wet glue. (The green glitter looks like pixie dust.) Just pick up the paper, and all the loose glitter falls off, revealing a beautifully decorated clover leaf!

How to Make a Paper Leprechaun Town

Monday, March 4th, 2013

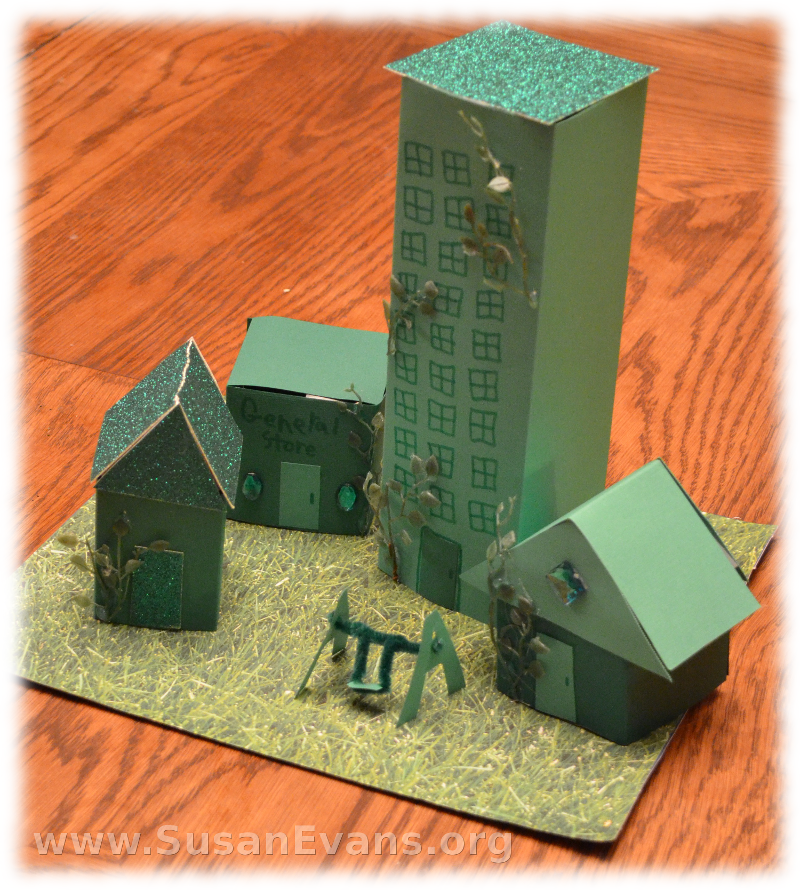
leprechaun-city

Are you looking for St Patricks Day crafts? You’ve come to the right place! This super cute Leprechaun Town was built by my 9-year-old son in about an hour.

The supplies you will need include green card stock paper in many shades of green, stiff cardboard for the bottom base of the town, tape, glue, scissors, green markers, green pipe cleaners, green fake jewels, and green plastic vines. Or just use whatever green craft supplies you already have in your home. You might also want a hot glue gun if you want green plastic vines to grow all over your town.

Start with the base. We glued grass paper to the cardboard. You can buy scrapbooking paper that looks like grass at any craft store. Or you can grow some real grass in a tray, and then build your town a week later on top of the fresh new grass.

Make your buildings out of green card stock paper. Draw windows and doors on them before you tape them together, since it will be harder to mark on the buildings later. Tape roofs to the buildings. You can tape the roofs on from the inside so that the tape doesn’t show. We used glitter paper for a couple of the roofs.

We made a crazy miniature swing set for the leprechauns to swing on. Cut out two letter A’s out of card stock paper. Make a swing from pipe cleaner, winding it around the top bar. Add a seat to the swing with a small rectangle of card stock paper. No glue was necessary for the swing set. We just stabbed the pipe cleaner through the A’s.

Decorate with fake jewels, and hot glue some plastic vines to the houses. Now your Leprechaun Town is complete.

Snowflake Card

Tuesday, December 18th, 2012

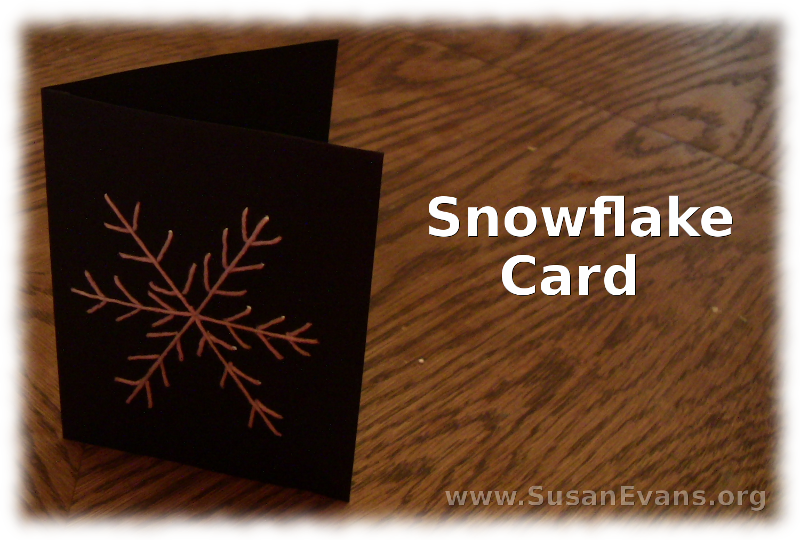
snowflake-card

My daughter and I made an easy snowflake card. You will need the following materials:

  • black card stock paper
  • white string
  • scissors
  • blunt needle
  • pencil
  • ruler
  • thumb tack

How to Make a Snowflake Card with Yarn

Step 1: Cut the black card stock paper in half and fold it. Now open up the card, and on the left side, draw a snowflake in pencil with a ruler.

Step 2: Grab the thumb tack and poke a hole at the beginning and end of each line. It’s like you’re making a dot-to-dot picture.

Step 3: Thread the needle with white string. Tie a knot in the end and begin sewing the card, making sure that the front of the card is producing the design you want.

Step 4: When you are finished, you can use a silver pen to write a message to someone before putting the snowflake card in an envelope.

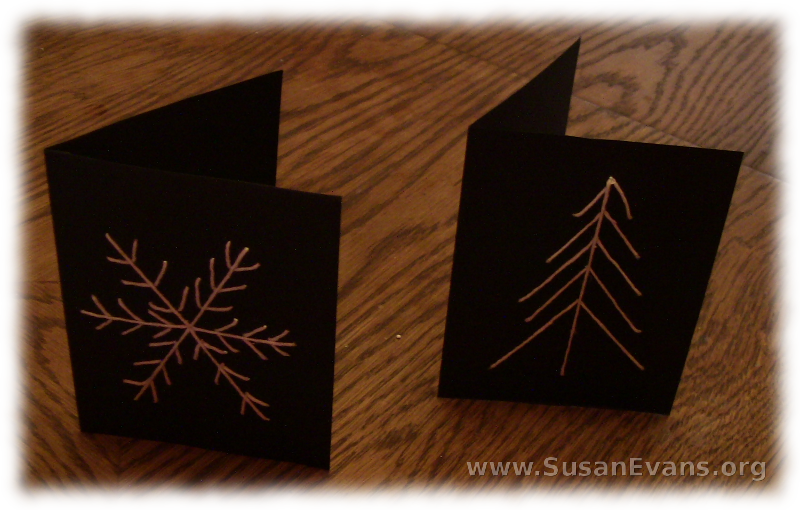
snowflake-craft-with-yarn

You can make any design on a card, as long as the lines are straight. You could draw a cool gnarly tree with bare branches in the dark moonlight. My 7-year-old daughter designed a simple pine tree. It only took her about 5 minutes to sew and was quite easy!

Linked to Snow Day Activities:

SnowDay