Here are some tips and a video for how to be successful when your children use a lousy toy pottery wheel (because all toy pottery wheels are lousy):
- Start with a ball of clay the size of the pot you want. Place it on the toy pottery wheel. We used self-hardening clay because we had no money to get our pots fired professionally. (This is also why we were using a toy pottery wheel instead of a real one that was way out of our price range.)
- Press the pedal to make the wheel go around. Don’t start crying because of the lack of power. I already told you it was lousy, so just make do.
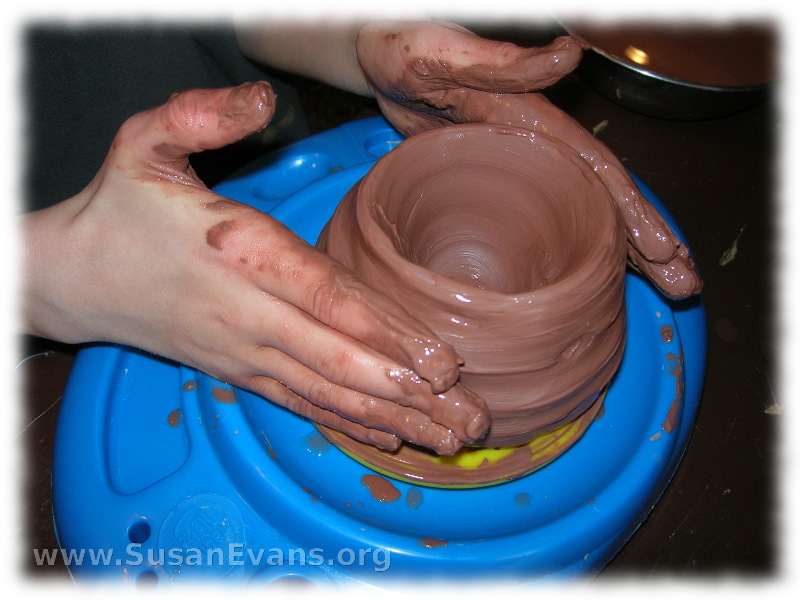
- Hold it firmly with wet hands so that you can shape it into a smooth blob. Feel it swooshing through your hands.
- Stop the machine. Take your foot off the pedal. Push your fist into the blob, making a bowl.
- Now press the pedal and make the spinner go around in circles again. Smooth it out with wet hands.
- Keep your hands wet at all times.
- It has to stay symmetrical, or it will start to fall apart. Keep it symmetrical and balanced all the way around. Smooth out the bumps.
- When you’re finished with the pot, set it on wax paper to dry.
- Wait at least overnight for the self-hardening clay to dry. Then use a black Sharpie marker to draw a pattern on it. Use black paint to fill it in. Let it dry.
- Enjoy your finished pot. Give it to Grandma, who is the only one who will truly appreciate it.




 Ever since I saw a random