Posts Tagged ‘art’

Embossing: Ancient Egypt Craft

Monday, November 22nd, 2010

embossing-craft

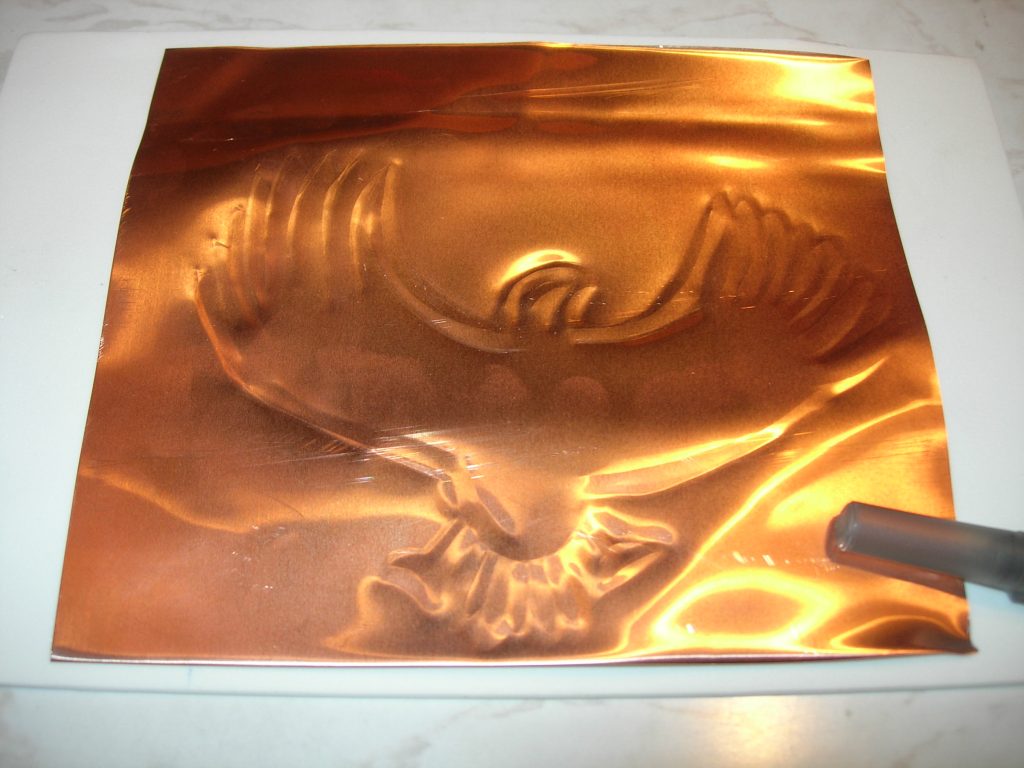
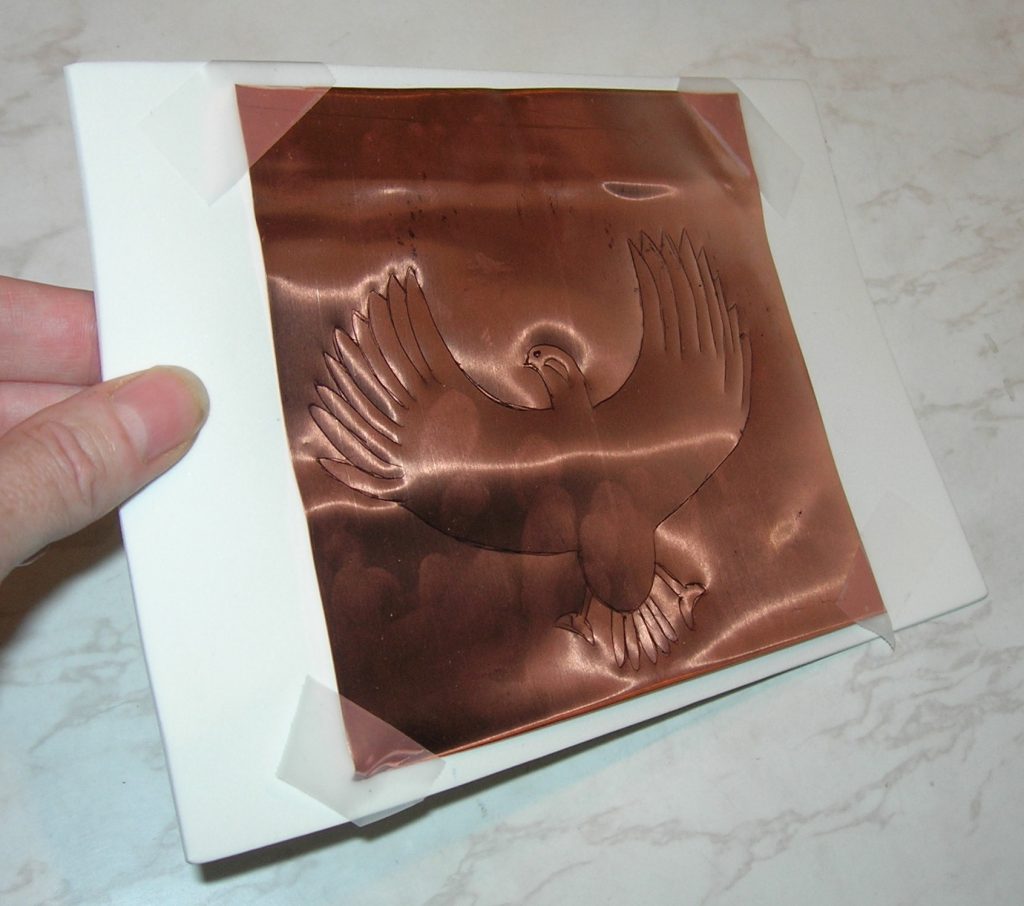
Embossing is harder than it looks. Of course, the copper sheeting from a craft supply store is probably much thinner than the stuff I ordered over the internet. First I used kitchen shears to cut the metal sheeting to the size I wanted, since it was in a roll. Then I taped the copper sheet to a piece of craft foam. You can use anything, even a stack of papers, to make it soft on the other side.

emboss-ancient-egypt

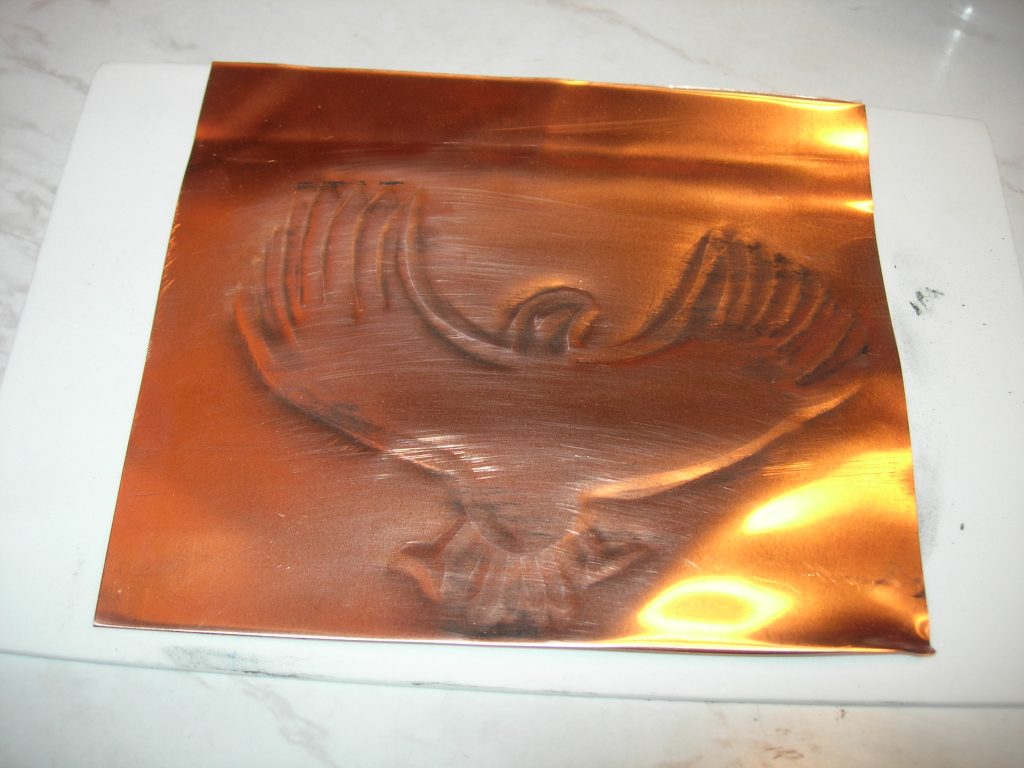
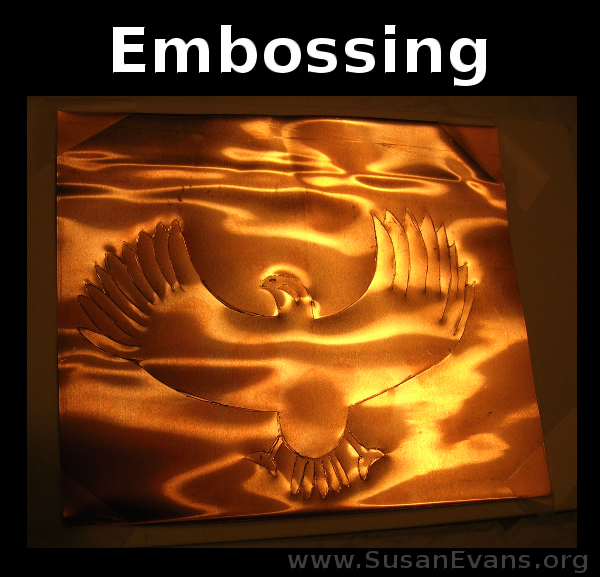
Then I used a ball-point pen to draw an Egyptian design onto the copper. I drew a large bird with wings, similar to many Egyptian necklaces. I chose the design because of the feathers, because I thought raised feathers would be a cool effect.

emboss-eagle

When I was finished drawing with a ball-point pen, I took the tape off and turned it over. I used the edge of the cap of the pen (attached to the pen) to press down on both sides of each line. Basically, you’re helping the embossing to be more pronounced. When I was finished, I took black paint and brushed it over the whole thing. I was expecting something spectacular, but it was ho-hum. In fact, none of the ink remained in the grooves. So that effect didn’t work at all. Maybe I used the wrong paint. The YouTube videos say to use black ink, but I don’t have any, and I don’t want to buy any because I have no use for it. Embossing equipment was also recommended in those videos. Given my negative experience, I have no desire to shell out money for something that is frustrating.

hands-on-egypt-craft

I recommend using a washed-out pie tin from the store for your first attempt at embossing. That way you will be more familiar with the process and decide whether it’s worth it to spend money on it. I found many how-to videos on YouTube, many of which spoke about making embossed metal into Christmas ornaments. That would be another idea to explore. Also, it seems like if you got an embossing kit from the craft store, it might be super easy to do after all. (The cap of the pen, for example, was way too fat to puff out the other side of the metal like I was trying to do.) But for now, I give the whole experience a thumbs down.

Update: We tried it again with an embossing craft kit, and we loved it! It was way better than this thicker copper sheeting. You can see our new embossed crafts here: Embossed Christmas Ornaments.
Autumn Leaf Rubbings

Thursday, October 14th, 2010

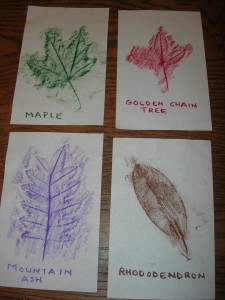
leaf-rubbingsThe best way to do leaf rubbings is to use oil pastel crayons. They are like creamy crayons, and the rubbings come out much nicer than ordinary crayons. I always cut the paper in half so the children can do one leaf per page, labeling each kind of leaf after doing the rubbing.

Always choose darker colors for the crayons; the lighter colors don’t provide enough contrast. Hold the crayon sideways, parallel to the paper. In other words, use the side of the crayon. Make sure to get good coverage so that you can see the veins of the leaf. Pay attention to the edges of the leaf, to make sure the shape of the leaf is clear.


black-leaf-rubbingYou can hole-punch the pages and make a book out of the leaf rubbings by adding a construction paper cover and binding it with yarn.

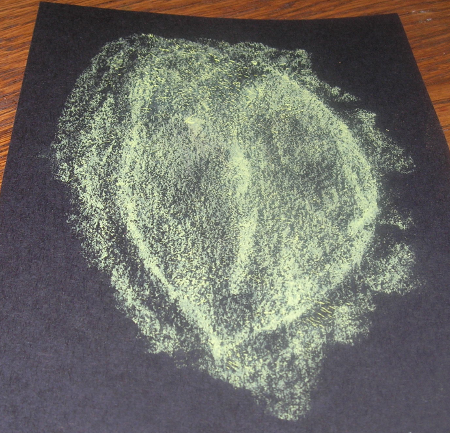
Another variation is to grab some black paper and do a leaf rubbing with a lighter-colored crayon. Yellow, light green, or light orange work well. The leaf rubbings come out looking gorgeous. And if you shine a black light on it, it will glow in the dark!

Autumn Mobile

Wednesday, October 6th, 2010

autumn-mobile

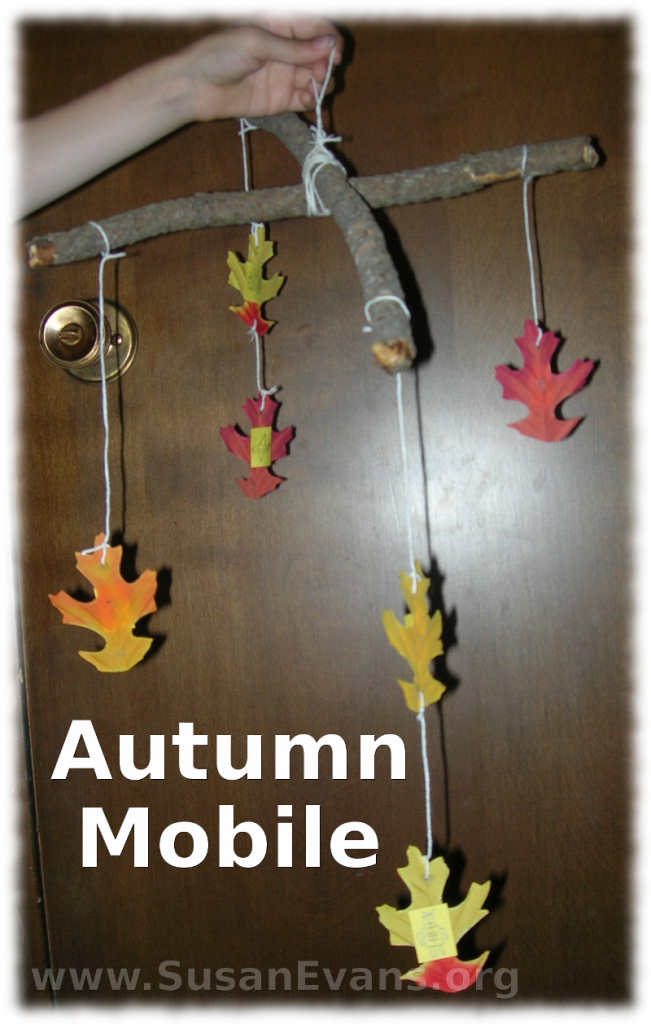
Most mobiles that I’ve seen have been lame. They look like pieces of trash as they hang somewhere, and I can’t wait to take them down and throw them away. So when my husband was in charge of a Tiger Cub Scout group, one of the activities in the book was to make an autumn mobile. I thought I would invent one that looked rustic, like you had just gone on a nature walk. Plus, the kids learned how to do lashings and to tie things together.

Start with two sticks that you find on a nature walk. Put the sticks into a perpendicular “X” shape, and lash the sticks together. (Basically, alternate winding the string around one, and then the other one, to firmly hold the two sticks in place.) Make a loop on the top to hang it up. Then poke a hole in some real autumn leaves that aren’t too dry, or use fake leaves like I did. I poked the hole with a nail, which I pounded with a hammer, but you have to have something underneath that you don’t mind getting holes in. Tie the string to the leaf, then tie it to the stick. You can also add any other nature stuff by poking holes and having the stuff hang wherever you want, as long as the mobile is balanced, weight-wise. Then you’re done.

For the Cub Scout book, the boys needed to draw something that represented each member in their family. So, for example, my son sketched a computer for Dad, a flower for Mom, a butterfly for his sister, an airplane for his younger brother, and a person drawing for his older brother. This way the mobile represented our family. The boy had to think about each member of his family, and what characteristics each person had, or what likes and dislikes. We stuck the pencil sketches (drawn on yellow paper to blend into the autumn leaves) to each leaf with some sticky tack, but you could use glue. It came out quite well, and I kept it up all autumn.

Sarcophagus Craft

Friday, October 1st, 2010

sarcophagus-craft

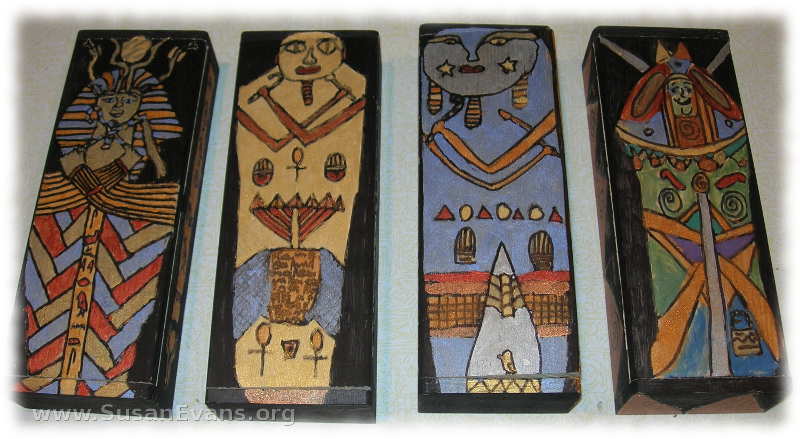
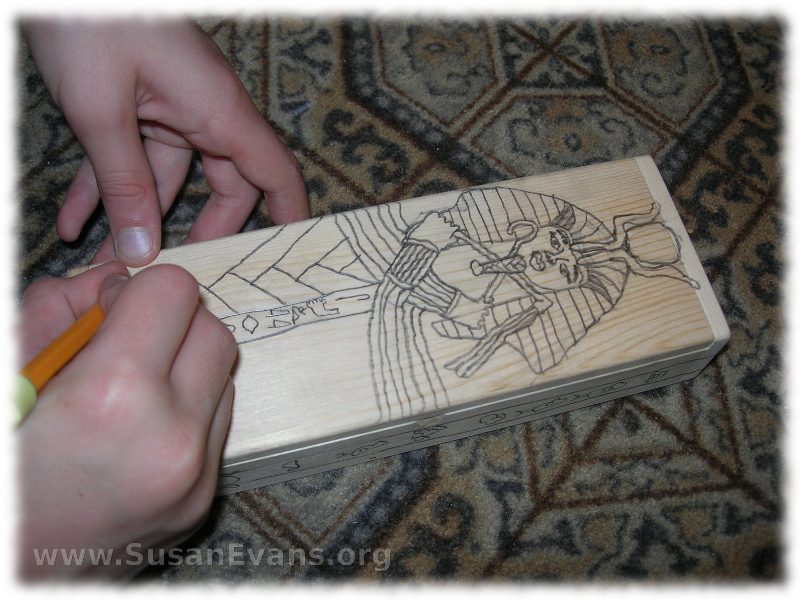
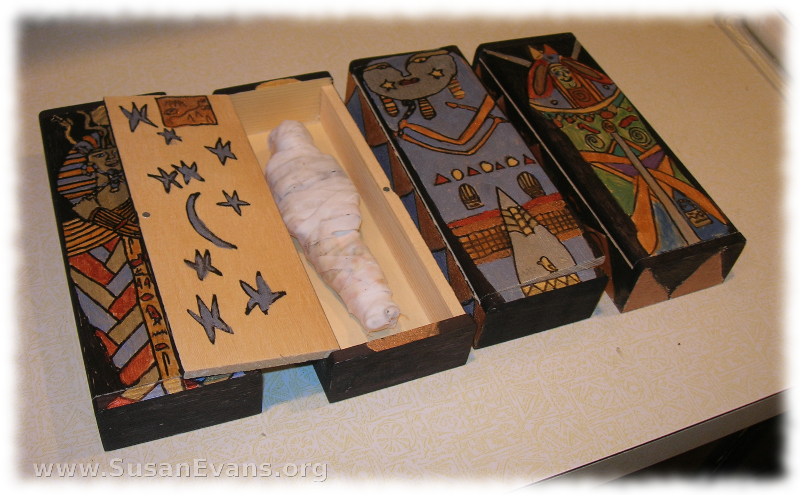
This sarcophagus craft is a unique idea I had as I was brainstorming how to teach my children about mummies and sarcophagi. First I grabbed a small hinged box, drew the design in pencil, outlined it, and filled it in with metallic paint. I looked for simple hinged boxes that were long enough for the mummies that we were making. I found long boxes at Hobby Lobby for $1.99. Each child drew the design with pencil first. Three of my children took less than an hour for this step. My 10-year-old took probably two hours total to draw all the details on his sarcophagus.

sarcophagus-box

The next day, we outlined the pencil sketch with a black Sharpie marker. It didn’t take nearly as long as sketching the drawing. Most of my kids took about 15 minutes to outline it.

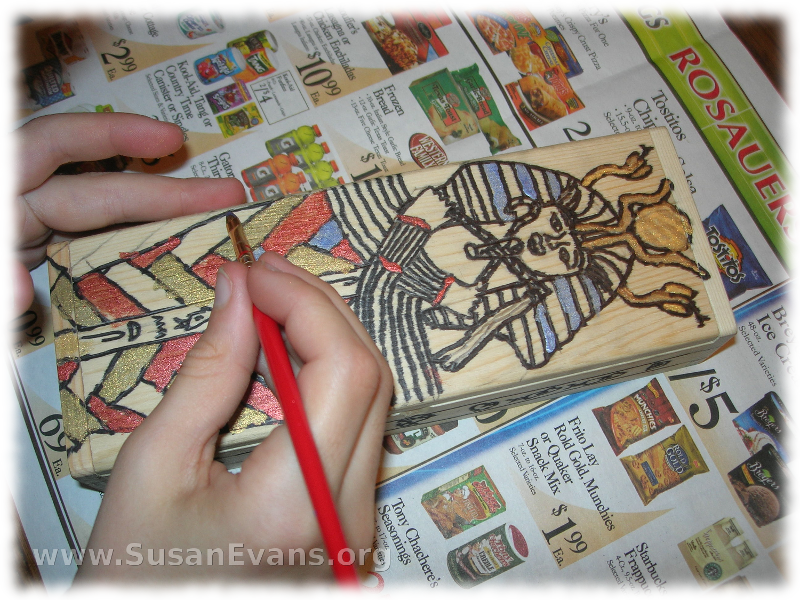
The next day, we started to paint it with metallic paints. The kids painted each day for about a week. In total, it probably took two hours to paint. My oldest son took longer, because he thought about putting contrasting colors next to each other, and he just thought more about what he was doing.

painting-a-sarcophagus

When the paint was dry, we took the Sharpie marker and outlined everything again, since the paint had gone over it, and it looked slightly sloppy. Any bare wood was colored in by the Sharpie marker.

My 5-year-old daughter would happily paint for 15 minutes each day, and then she would be fatigued, because there was a lot of detail on her sarcophagus. (She drew it free hand by looking at a coloring book page, the same one she used for her papyrus picture.) When she was more than halfway finished painting her box, she said, “I’m done with my sarcophagus!” I thought about it for a minute, then I modified the project. I gave her metallic Sharpie markers to finish the sarcophagus. She was very happy with this alteration, because she could control the marker much better than the paintbrush. Older students should use the metallic paint, because it looks better than the metallic markers. But for a younger child, this is an easy way to modify the project in order to complete it.

ancient-egypt-hands-on-activities