Posts Tagged ‘craft’

Autumn Stained Glass Leaves

Friday, November 9th, 2012


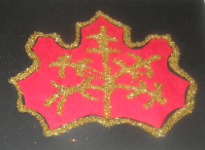
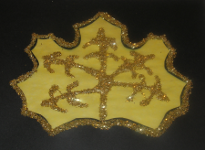
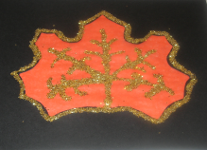
My daughter and I created these fun autumn stained glass leaves! Here is the tutorial for how to make this simple yet beautiful craft:

Materials you will need:

  • black card stock paper
  • colorful tissue paper
  • scissors
  • tape
  • white school glue
  • gold glitter

How to Make Autumn Stained Glass Leaves

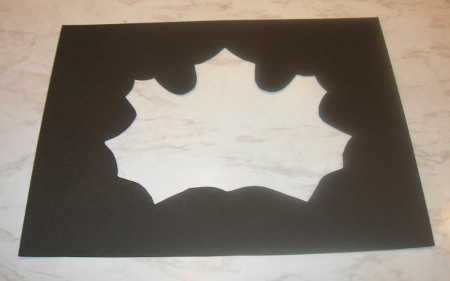
To make these autumn stained glass leaves, start with black card stock paper. Draw a maple leaf in pencil. (It is easier if you fold the paper in half so that the sides are symmetrical.) Poke your scissors through the center of the leaf, cutting out the inside.

On the back of the black card stock paper, tape a piece of tissue paper on all four sides. You can choose orange, red, yellow, brown, or green.
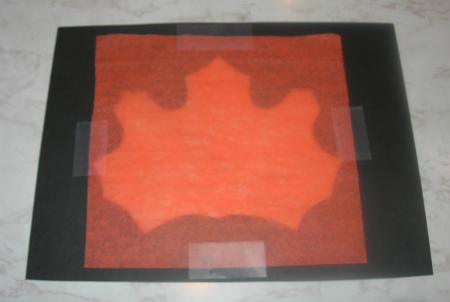
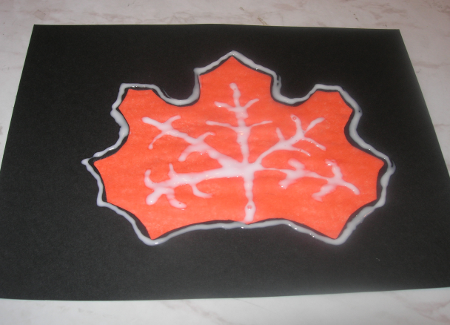
Turn the paper right-side up. With white school glue, draw the veins of the leaf. Then outline the leaf on the black edge of the card stock paper.
Shake gold glitter all over the leaf. it should completely cover the glue.
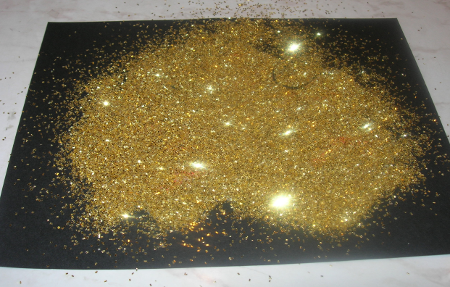
Pick up the paper and allow all the excess glitter to fall off. Your autumn stained glass leaves are finished. Allow them to dry before taping them to a window.


Decorating Walking Sticks

Thursday, November 1st, 2012

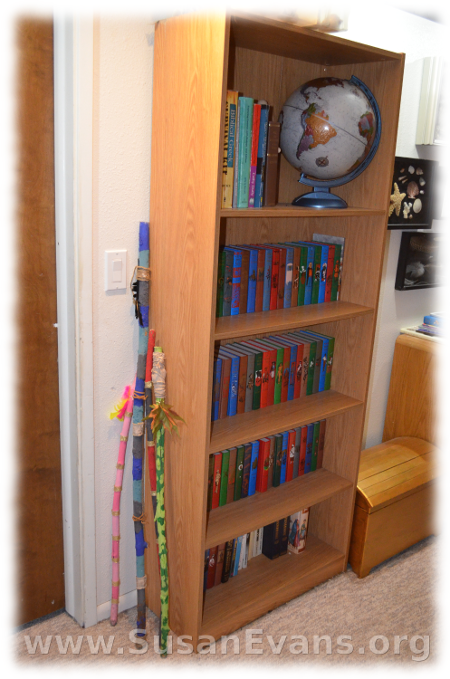
decorating-walking-sticksDecorating walking sticks is a fun art activity, especially if your children enjoy nature hikes. Find some walking sticks in a forested area. You can paint the sticks whatever color you want and add embellishments like leather, feathers, twine, ribbon, leaves, and other fun items.

One of my sons painted his stick like a poisonous snake, with red, black, and gold, following the adage “red on yellow, kill a fellow.” He added gold ribbon to jazz up his walking stick.

Another son wanted camouflage, so he painted with two different shades of green, making blobs on the stick. This is easier to do if you paint the stick completely in one color of green, then let it dry. At that point, you can add blobs of another shade of green. This son tied some silk autumn leaves to the top of his walking stick.

My oldest son likes blues and grays, and he did a striped pattern, using leather embellishments along the way. He tied black feathers to the top of his stick.

My daughter loves pink, so she decorated her stick in a girly way. She tied pink and yellow feathers to the top, after having used these colors in her paint and ribbon. We attached most of the items with hot glue.

Watch the video demonstration to get more ideas for decorating walking sticks:

Tabernacle Model

Monday, October 1st, 2012

tabernacle-model

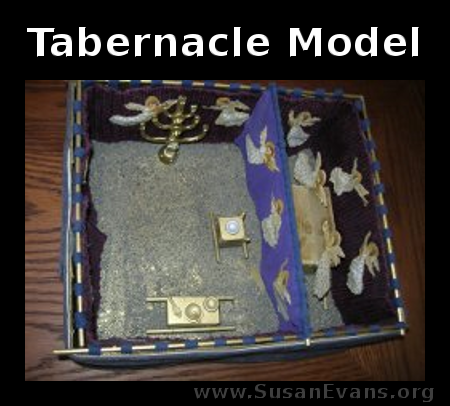
In this video, I show you how to make a Tabernacle model. You will need the following supplies:

  • a shoebox
  • pieces of cloth
  • wooden dowels
  • self-hardening modeling clay
  • a small wooden box
  • hot glue
  • gold spray paint
  • sand
  • white school glue
  • pictures or drawings of angels
  • small gold rings to slide dowels into
  • small wooden bowls (can be made from clay)

I give you directions on how to put it together in the video. I also explain why the Tabernacle is significant, and the modern equivalent of the Tabernacle today.

If you enjoyed making this Tabernacle model, you will love Using Simple Costumes and Props to Teach the Bible!

How to Make Snowflakes that Cling to Glass

Friday, December 24th, 2010

how-to-make-snowflakes-that-cling-to-glass

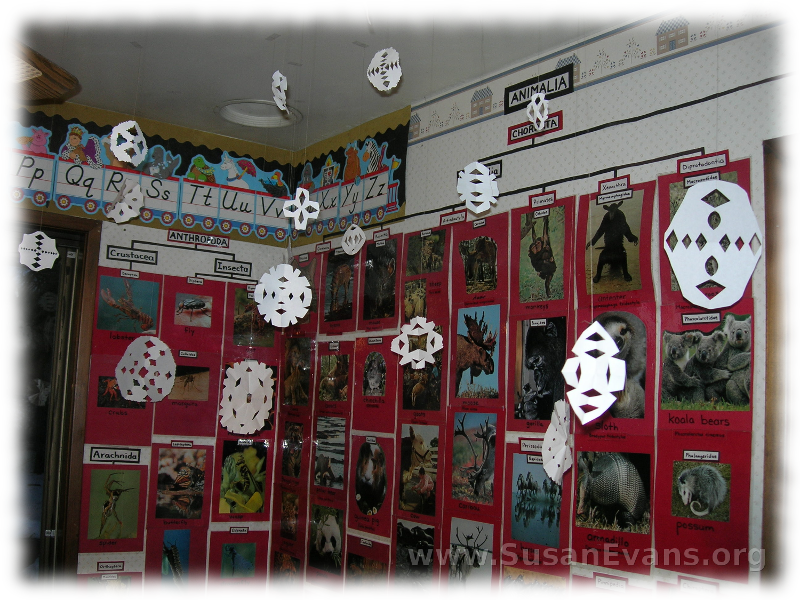
Winter is the perfect time for decorating with snowflakes. My children always enjoy making paper snowflakes with scissors and folded paper.  We hang them from the ceiling with thread and a piece of clear tape. Then it looks like it’s snowing in the house.

paper-snowflakes

This year I found a craft in the Family Fun magazine, which was to make snowflakes that cling to glass.

How to Make Snowflakes that Cling to Glass

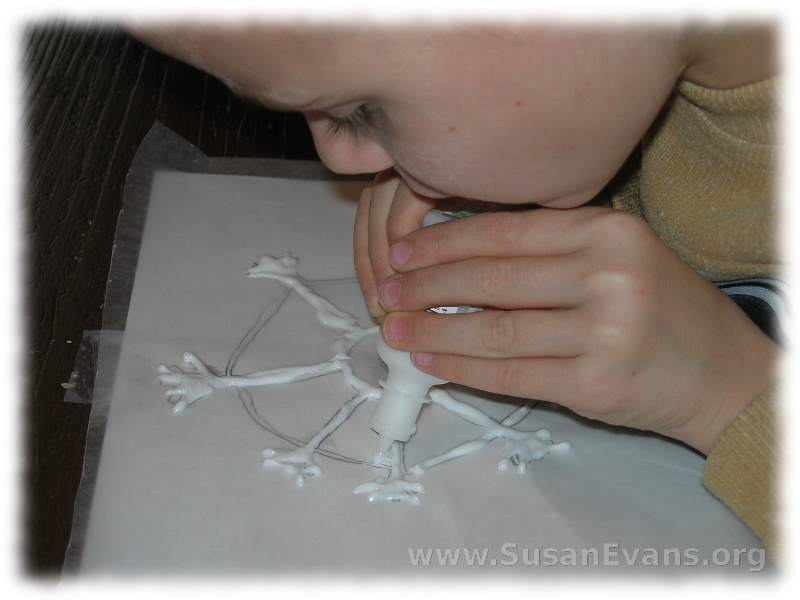
Step 1: First you draw a snowflake with pencil on a sheet of white paper.

Step 2: Put a sheet of wax paper on top of it. I taped them both down so that they wouldn’t slide around.

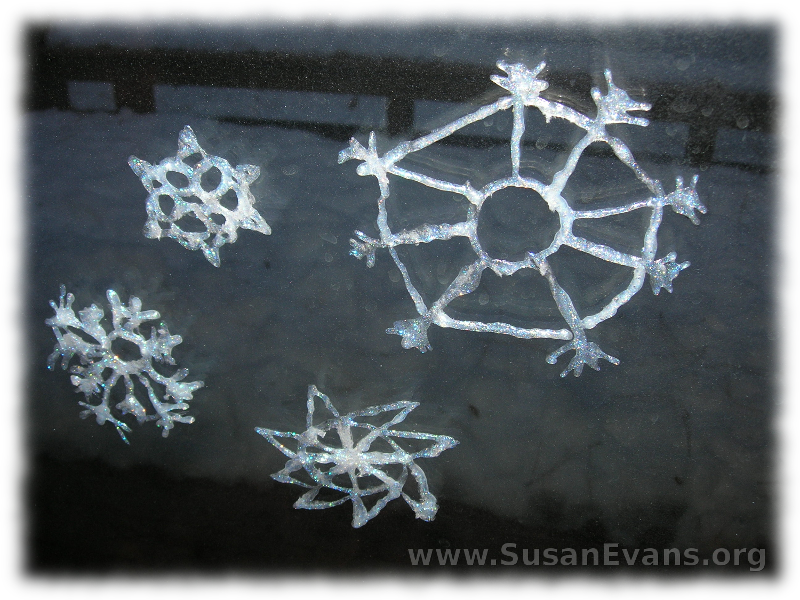
Step 3: Get dimensional fabric paint (the glittering crystal one), and you trace the entire snowflake with it. It sort of looks like glue. Make sure it’s thick; if it’s too thin it will break when you try to peel it off. I found an alternate way to do it with glue as well. You use white school glue and shake glitter on it. They look just as good as the ones I made.

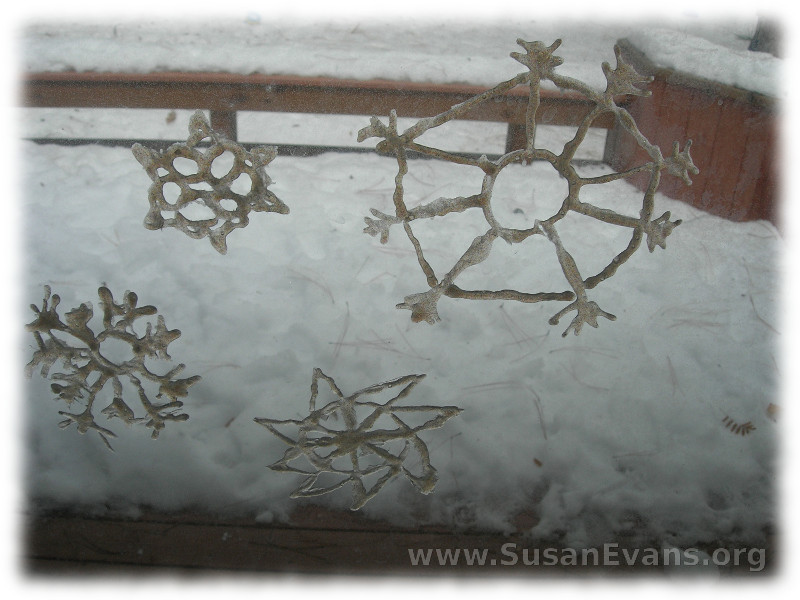
Step 4: Let it dry overnight. Peel it off the wax paper and stick it to a window.

glue-snowflakes

cling-snowflakes

Linked to Snow Day Activities:

SnowDay