 This post contains affiliate links. I was compensated for my work in writing this post.
Today we are starting a new series of blog posts about Elementary Chemistry using Christian Kids Explore Chemistry by Bright Ideas Press. Each of the chapters has a fun hands-on activity as well as a simple explanation of chemistry concepts. Don’t panic if you flunked out of chemistry in high school. This book will help you to understand chemistry concepts if you’ve never understood them before.
In the first chapter we examined the ingredients of common household items to see that chemicals are everywhere! We eat chemicals all the time. Sucrose, for example, is sugar. You will find sucrose in many cereals and desserts.
We were astonished to discover that my hair spray listed alcohol before water in its ingredients list! This means that the hair spray contains more alcohol than water, since the ingredients are listed in order, with the first ingredient being the most abundant.
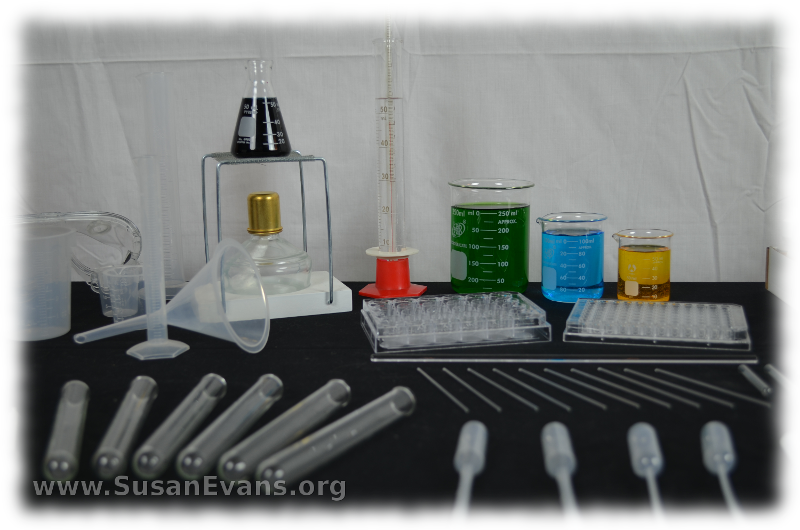 Because I am teaching high school chemistry to my older two sons, I ordered all this cool chemistry equipment. I describe each of the chemistry tools in the video at the bottom of this blog post, explaining what each tool is used for. You do not need any of these tools for the elementary chemistry, as long as you have a glass measuring cup with measurements on the side. Most people already have this in their kitchens.
Let’s use a couple of these chemistry tools to learn how to measure liquids. We are using a graduated cylinder and a beaker for this simple activity from the book. All you do is pour the liquid back and forth three times.
 Look at the markings on the side of the beaker to measure how much liquid is in the beaker. Now look at the markings on the side of the graduated cylinder. If you are doing this experiment at home, use smaller amounts of liquid so your kids don’t have to interpolate (or make an educated guess) about how much liquid is in the graduated cylinder. The orange juice went above the highest measurement, but this might happen in real life as well. My kids guessed that it was the same amount of liquid.
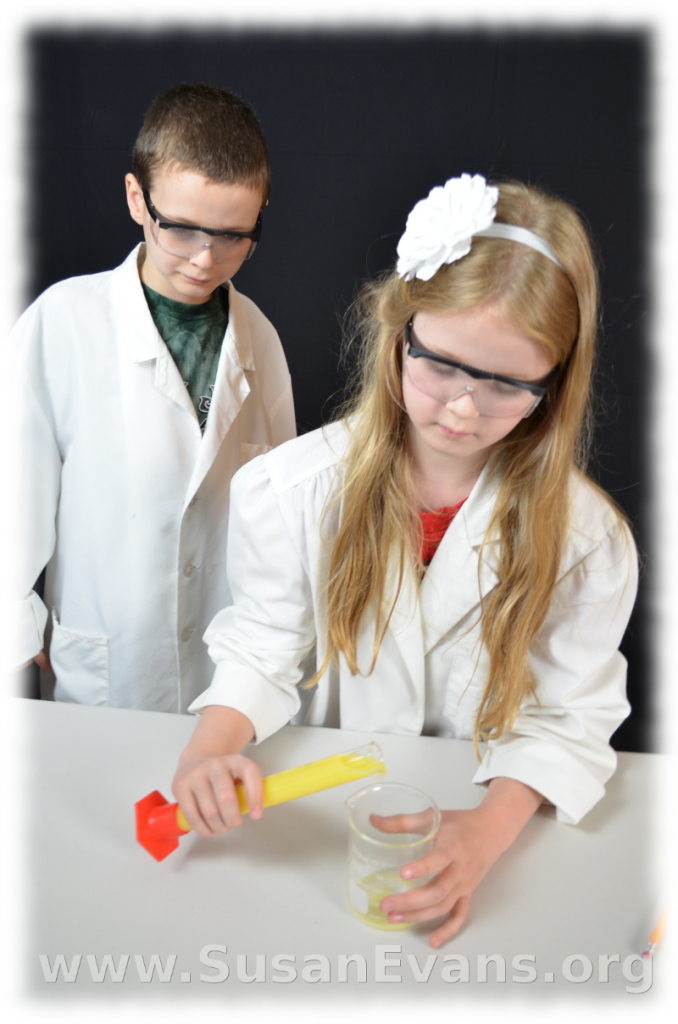 If you pour a liquid back and forth too many times, you might get smaller readings for your liquid. Why? Because some of the liquid has stayed in the container, along the sides and bottom of the container. We noticed a slight change, but it wasn’t a big enough change to matter much.
Take a look at our chemistry tools and our simple measuring experiment:


