Posts Tagged ‘Fourth of July’

Statue of Liberty Unit Study

Monday, July 1st, 2013

statue-of-liberty-unit-studyMy children had a fabulous time with this Statue of Liberty Unit Study.

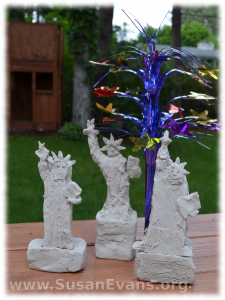
We started by making a Statue of Liberty model. We bought a large hunk of white self-hardening clay. I took it out of the box and placed it on wax paper on top of a cutting board. I sliced it with a butcher knife into four pieces, one for each of my children.

At the table, I placed wax paper for easy clean-up. You will be banging your head against the wall if the self-hardening clay dries like cement straight onto your table, so be sure not to skip this step.

Each child should have a picture of the Statue of Liberty, to help the child draw the shape onto the front of the hunk of clay, using a plastic sculpting knife. You should cut away the clay that you don’t want. It comes off like butter. If the head looks flat like Frankenstein, you can always add more clay and fix it. If you want to erase a line, just rub your finger over it.

After getting the main shape, start adding details. Add the torch, the arm with a tablet, and the pedestal at the bottom of the statue. Then add the finishing details: the spikes coming out of the crown, the facial features, and the folds in the clothing. When you are finished, let the clay harden for two days. Take a look at how much fun my kids had with this activity:

We read the book How They Built the Statue of Liberty so that the children could understand how it was constructed. Step by step drawings helped the children see how the statue was assembled.

Here is a printable model of the Statue of Liberty, from Paper Toys. Be sure to print it on white card stock paper and watercolor light green paint on it before cutting it out and gluing it together.

Here is a free printable book full of activities from the National Park Service:

Here is a virtual tour of the Statue of Liberty:

Here is a short video tour of the Statue of Liberty:

Hundreds of unit studies like this are instantly available when you join the Unit Study Treasure Vault.
Creative Ways to Use Cookie Cutters #11: Garlands

Thursday, May 2nd, 2013

garlands-2

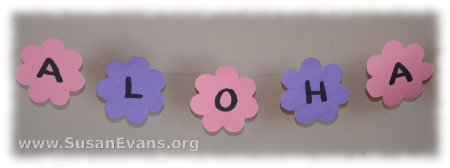
Another creative way to use cookie cutters is to make garlands for your loved ones to feel special. These are the items you will need for this 15-minute project:

  • colorful papers
  • needle and thread
  • thick black marker
  • scissors

Use the cookie cutter as a stencil, and draw around it with a pencil. Cut out the shapes. I cut several shapes at a time so that the process goes faster. Or your children could cut them out to practice hand-eye coordination. Grab your thick marker. I used a marker that had an outer diameter of one inch, so it was super thick. Write one letter on each shape. Then string the shapes together with a needle and thread, sewing up and down, one stitch on each shape. Leave a gap between words. Hang it up.

garlands

Ideas for garlands:

  • Happy Birthday!
  • Welcome Home, Daddy
  • Get Well Soon
  • Happy Saint Patrick’s Day
  • Aloha
  • Happy Fourth of July
  • Congratulations on Your Graduation
  • Happy New Year
  • Merry Christmas
  • Happy Valentines Day
  • Happy Easter
  • Happy Mother’s Day
  • Happy Father’s Day
  • You Did It!
  • Baby Shower
  • Happy Anniversary

As you can see, there are many occasions where you might want to make someone feel special. Why not take 15 minutes to make a garland?

Simple Fourth of July Decorations

Tuesday, July 3rd, 2012

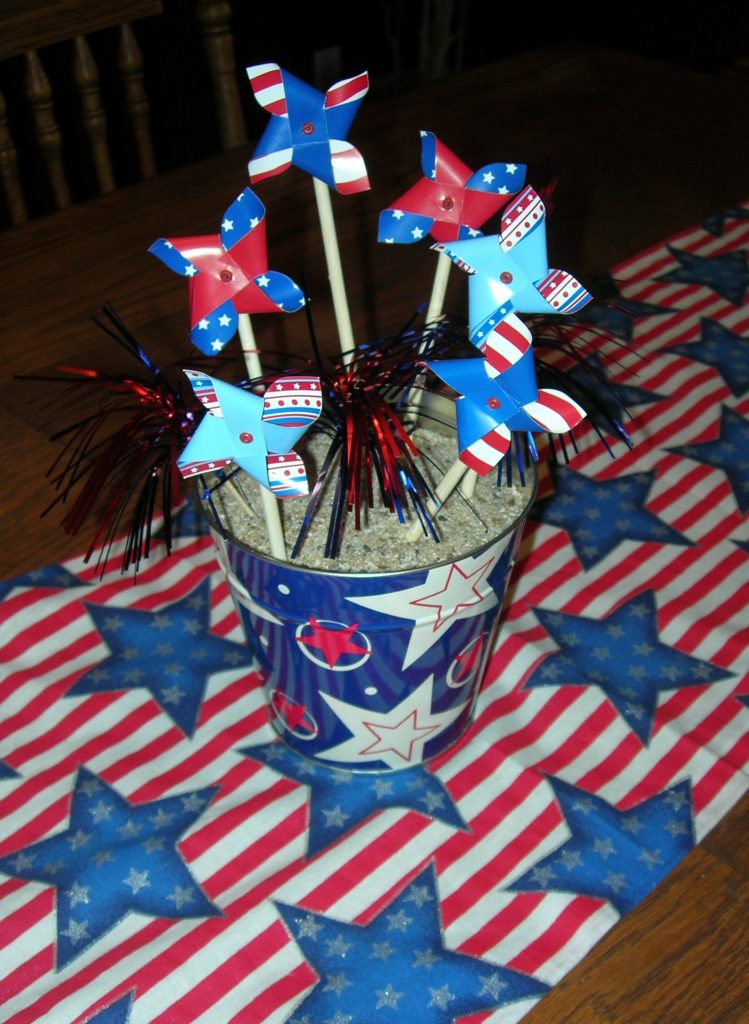
simple-fourth-of-july-decorations

Easy and simple Fourth of July decorations:

  • A strip of patriotic cloth running the length of the table. (You can buy this at a fabric store. I bought mine in a bag of cloth scraps at a yard sale for 50 cents.)
  • A tin bucket that is patriotic. (Mine cost $3 new at a craft supply store.)
  • Fill the bucket with sand, and stab in some Fourth of July windmills. (I got my windmills at a craft supply store.)
  • As a finishing touch, stab some cocktail toothpicks into the sand. Mine were blue and red, and they look like fireworks.

It took me less than five minutes to set this up. You might have to iron the cloth; otherwise throw it in the dryer for a couple of minutes for the wrinkles to fall out. If you are going to use the cloth year after year, you could hem it. Or you could use fabric glue instead of a needle and thread to give the illusion that it’s hemmed. To do this, iron the edge down, let it cool for a few seconds, then glue it. Do this little by little along the entire length of the cloth. But finishing the cloth isn’t really necessary, so if you only have five minutes, forget it and get the same great look.

Making a Patriotic Collage

Monday, July 2nd, 2012

patriotic-collage

Making a Patriotic Collage

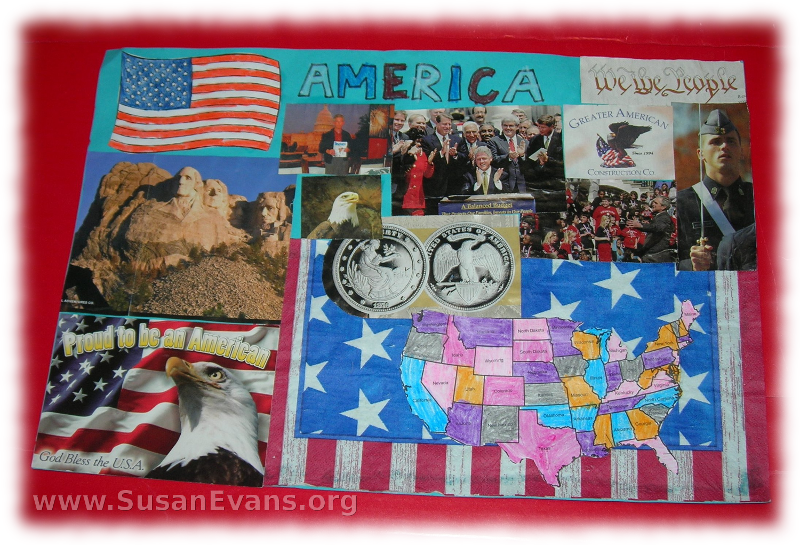
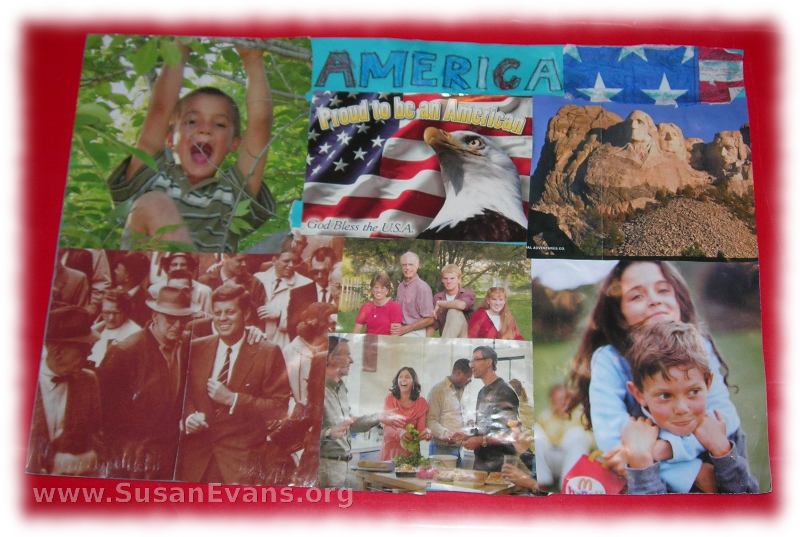
To make a patriotic collage, start with a poster board or large piece of construction paper. I like to choose a color instead of starting with white. My kids chose blue, but you could also start with red. It should be one of the colors of the American flag. Now cut out pictures from magazines that remind you of being an American, like an eagle, Mount Rushmore, or some American soldiers. You can do the entire collage just with pictures from magazines, with people eating apple pie, playing baseball, or doing any other typical American activity.

patriotic-poster

Write “America” on the top in bubble letters, and color in the letters with red, white, and blue crayons or colored pencils. You could also cut out bubble letters from construction paper or use large alphabet stickers instead. You can add patriotic cloth or napkins with the American flag to add texture. Color a map of the United States, and cut it out and glue it to your poster. Overlap all your pictures so that there is no poster showing except for the title. Now your gorgeous patriotic collage is finished. Hang it up on the wall for everyone to enjoy.