Posts Tagged ‘history’

Ship in the Moonlight

Wednesday, January 22nd, 2014

ship-in-the-moonlight

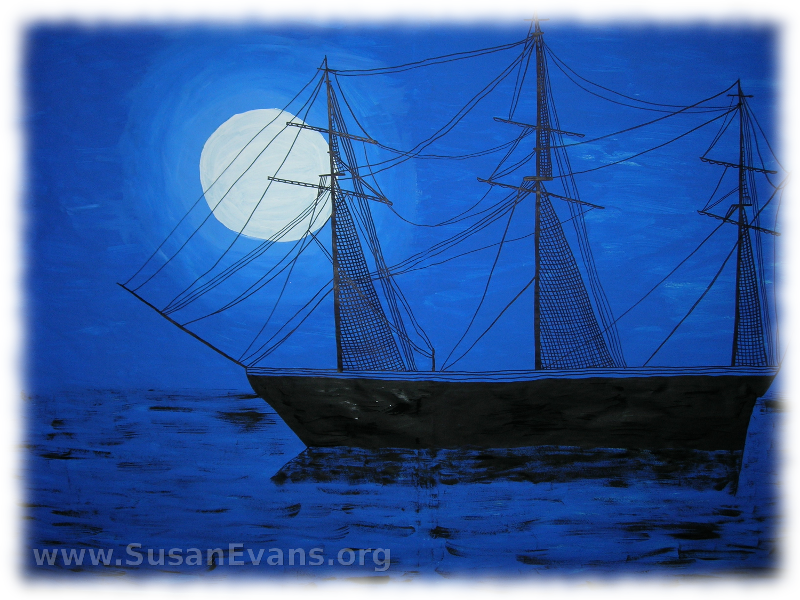
I’m shocked at how good this “Ship in the Moonlight” backdrop came out! It was pretty easy to paint. I’m going to show you the steps I went through to paint this scene. I painted it as one of the backdrops for my creative writing class: Time Travel: Writing Historical Fiction. It represents “The Midnight Ride of Paul Revere,” where Paul Revere waited to see if he should put one lamp or two in the church tower, to indicate whether or not the British were coming by land or by sea. The famous poem by Henry Wadsworth Longfellow was memorized by each of my three sons years ago, when they recited it while wearing a three-cornered hat.

How to Paint a Ship in the Moonlight:

  1. Tape a large piece of butcher paper to a wall or large window. I used packing tape to make sure it wouldn’t fall off my glass sliding door.
  2. Grab your dark blue tempera paint, and paint the entire paper except for a circle, which will be the moon. (Make the moon larger than you want it, because you will be blending the white into the blue in just a minute.)
  3. Paint the moon white, and carefully blend in the blue in circles around the moon. This was surprisingly easy.
  4. Let the background dry overnight.
  5. Get a black permanent marker and draw a ship, using a picture from a book. The more details you put in for the rigging, the more impressive it will look.
  6. Fill in the bottom part of the ship with black tempera paint. Then get a fanned paint brush, and swoosh black paint lightly for the water of the ocean. The water took me maybe 10 minutes to paint. I made a shadow for the ship, and I filled it in with more swooshes of the fanned brush.

Your “Ship in the Moonight” backdrop is now complete! You can use it to recite “Paul Revere’s Ride”, re-enact night scenes from history, or leave it hanging on your wall as a work of art.
Timelines for Homeschool

Monday, January 13th, 2014

timelines-for-homeschool

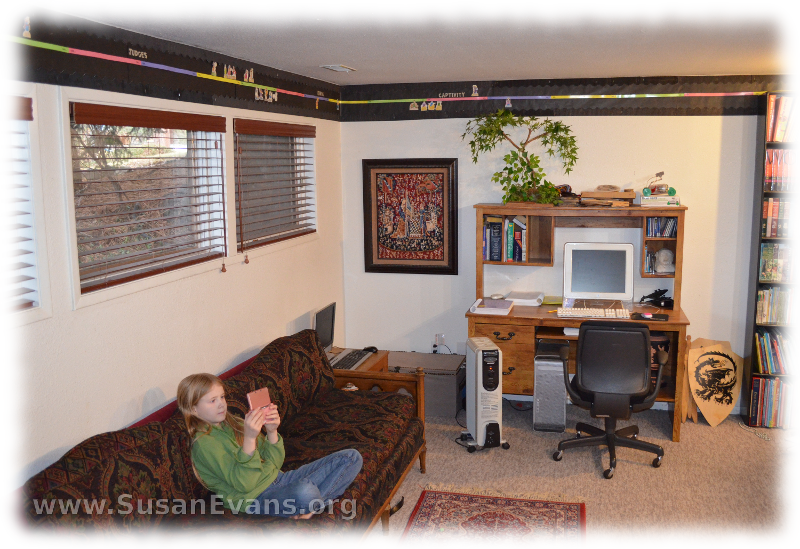
I was asked to be a panelist for an upcoming Google+ Hangout: History Timelines for Homeschool. (The show airs live Tuesday, January 14th, 2014, at 2pm Central time.) I thought I would snap a picture of my main timeline downsairs that I’ve used over the years. On the hangout I will also be showing an accordion-style timeline that I’m using for our Bible Notebooks this year. I will also show a timeline from our Ancient History notebook, which is not accordion style; the figures were glued to black card stock paper punched by a 3-ring hole punch. These two timelines are perfect alrernatives if you do not have the wall  space for a timeline. For this article, I will focus on wall timelines, which are my favorite.

What can you gain by displaying a timeline in your home, and adding figures as you study them in history?

Your children will begin to gain perspective on time. You can step back and see how all the pieces fit together. You can map out in your mind, for example, that certain events occurred before Christ, and other events occurred after Christ. You can begin to conceptualize the rise and fall of empires and nations. You will be able to talk more intelligently about history. You have something in your mind on which you can hang events.

Use black paper as a background for your timeline.

I have a definite opinion of how wall timelines should be done to make them look great, like a natural and elegant part of your home. Use black paper as a background for your timeline. Black is elegant and beautiful and causes everything else on it to pop. That’s why, when you wear a beautiful necklace, you usually will wear a black dress to showcase the jewelry. It’s the same way with timelines. The great thing about black is that you can make anything look good. Even if all you have is young children who scribble outside the lines, if you cut out their artwork and put it on black, it will look fabulous.

Border the paper with black teacher bulletin board trim. This will cause the timeline to disappear into the wall, and your attention is not drawn to it.

There are no rough edges on the top or bottom paper if it’s bordered. It also looks polished and finished as a display. I use staples to put the trim up, but you can use sticky tack. Black flat thumb tacks would work also, because they would be camouflaged into the timeline.

I like to circle a large room once, along the top of the wall.

The only drawback of having it so high up is that your kids can’t see it as closely. Instead, it causes them to step back and have perspective on time, which is the whole point of having a timeline.So for me, it works better to have it along the top of the wall, where the rest of the room can have regular home decor. The room looks like a home instead of a classroom. Besides, they’ve already seen each figure up close as you study that person or event, and all they need is a small visual reminder of how that figure fits in to the rest of history.

I hope you enjoyed my tips on how to make timelines look fabulous on your wall. More fun ideas for using timelines for homeschool will be covered in the Bright Ideas Press Google + Hangout tomorrow, January 14th, 2014, at 2pm Central time. Join us!

If you missed the show, here is the replay:

Greek Art for Kids

Monday, December 2nd, 2013

greek-art-for-kids

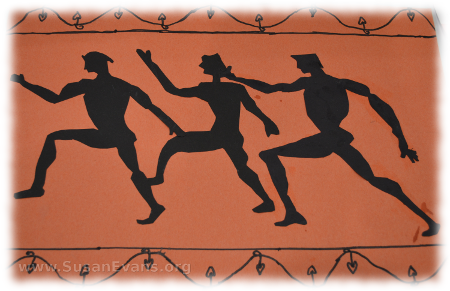
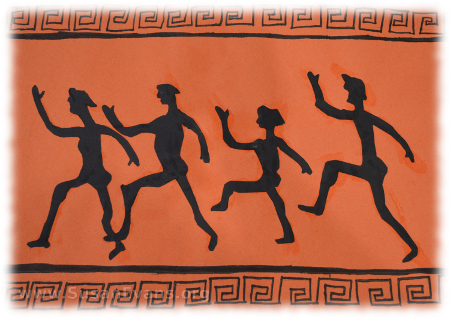
Are you looking for super easy Greek art for kids? This art activity is the easiest I’ve ever seen! I saw this entry at the state fair and decided to do it with my own children. All you need is orange and black construction paper, scissors, and a black marker.

You will use the orange construction paper as the background of your project. We have chosen orange because it looks like the terra cotta pottery from Greece. Now you can cut out shapes of people from the black construction paper. It might be easier to draw the figures in pencil before cutting them out. Make sure the figures all face the same direction.

For the finishing touches, take your black marker and add embellishments and twirls to the top and bottom of your paper. If you need to look at Greek pottery designs, you can look here for inspiration.

If you liked this simple Greek art for kids activity, you will love my free Ancient Greece Unit Study. You might want to subscribe to my YouTube Channel to not miss any upcoming unit study videos.

greek-art-for-kids-2

Cataldo Mission in Idaho

Monday, November 18th, 2013

cataldo-mission-idaho

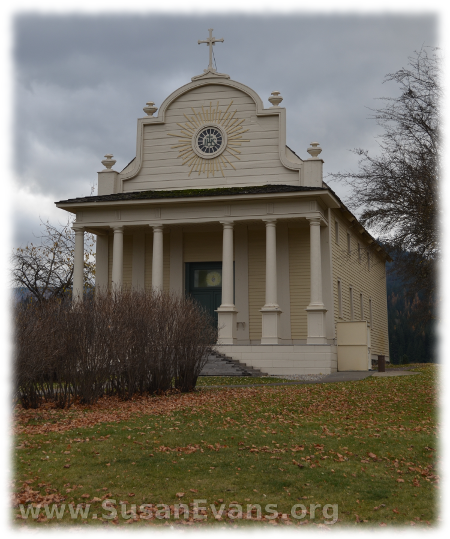
If you want to go to a great historic building that looks like the Alamo, but you live in the Inland Northwest, the perfect destination is Cataldo Mission. Situated in North Idaho, it is the oldest historic building in the area. Missionaries to the Native Americans built this mission in the 1850’s, and they led many Native Americans to Christ.

cataldo-mission-idaho-2

When you first arrive at Cataldo Mission State Park, you will see a short film to introduce the historical aspects of the mission, the parish house, the Coeur d’Alene Indians, and the surrounding area. After this film, you walk up some steps to the mission itself.

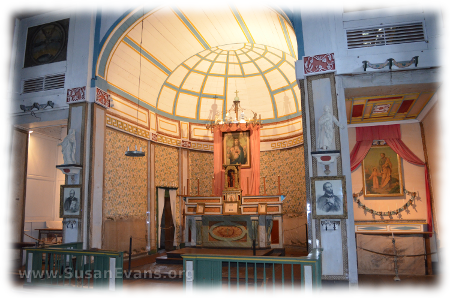
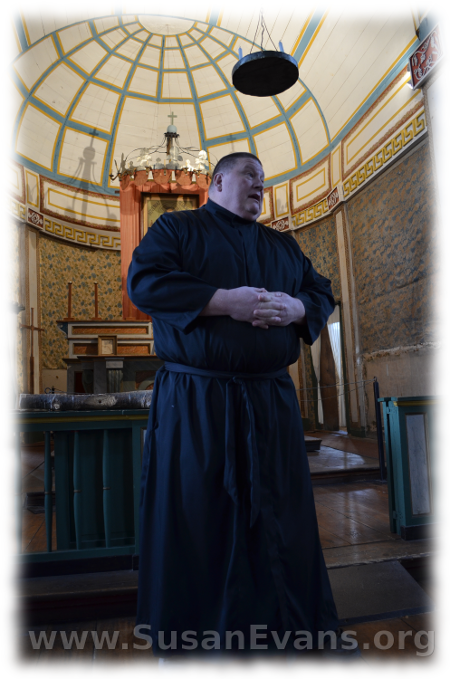
cataldo-mission-idaho-4When you step into this beautiful church, you will notice the front of the church, which has a dome decoration as well as the altar. Beautiful wallpaper surrounds the altar area, hand painted by the Jesuit priest who founded the mission. The tour guide was dressed in the period costume of a Jesuit priest, and he gave us some interesting demonstrations.

One of the demonstrations included how the church was constructed. He showed us tenon and mortise joints, where a square hole in one piece of wood would fit another piece of wood. An auger hand drill would make a hole just big enough to fit the wooden peg going through it. (You can watch this demonstration in the video below.)

We toured the back of the altar area and saw several old priest vestments, and the desk of the founder of the mission. We also saw a piece of the original wall that had been smeared with mud by children and their parents. (The tour guide embellished a little, saying that there was a huge mud fight!) So the inside of the walls were sort of like adobe. The mission itself was refurbished twice because it was falling into disrepair.

cataldo-mission-6The windows were small panes of glass that were added together to look like large windows. This is because the Jesuits had to transport the glass long distances. So they packed the glass surrounded by sawdust or whatever packing material they had available. This way when the horses stumbled, the glass wouldn’t break.

cataldo-mission-7
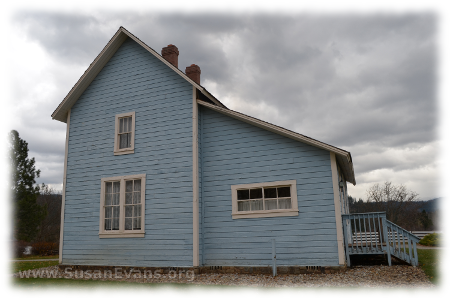
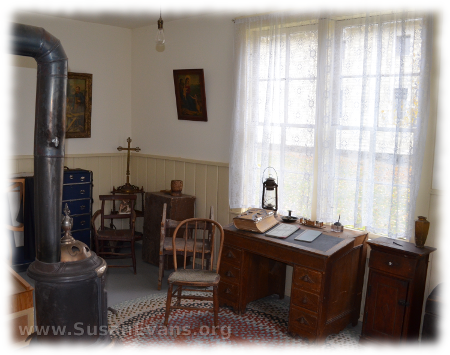
After viewing the mission, we looked at the parish house next door. It was a plain-looking blue-colored house with period furniture in it. One of the rooms was the study, where there was a desk and a Bible, heated by a wood stove.

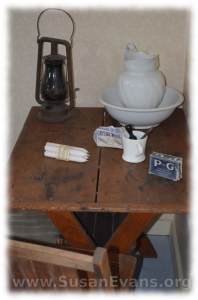
A kitchen and dining area are located at the back of the house, with shelving and dishes that look antique. A lantern sits on a wooden table, with a pitcher and bowl for washing hands. A lack of electricity and running water is evident from these items.

cataldo-mission-idaho-8When we were finished looking at the parish house, my kids ran over to the grist mill, where people used to grind their wheat. They also ran to the wooden canoe at the bottom of the hill. The children shouted, all out of breath from having run so far ahead, that the winding trail led to the Spokane River below.

The museum in the visitor’s building was surprisingly interesting. First a 7-minute 3-D projected movie was displayed with surround sound, so that you felt like you were in the middle of the Native Americans. You walk through rooms with beaded Native American costumes, weapons, pencil sketches, dolls, musical instruments, and many other artifacts. You walk into a mission scene, all decorated for Christmas.

This 4-minute video clip gives you the highlights of our visit to Cataldo Mission in Idaho: