Posts Tagged ‘Homeschooling’

LEGO DNA Transcription

Wednesday, October 14th, 2015

LEGO-DNA-Transcription

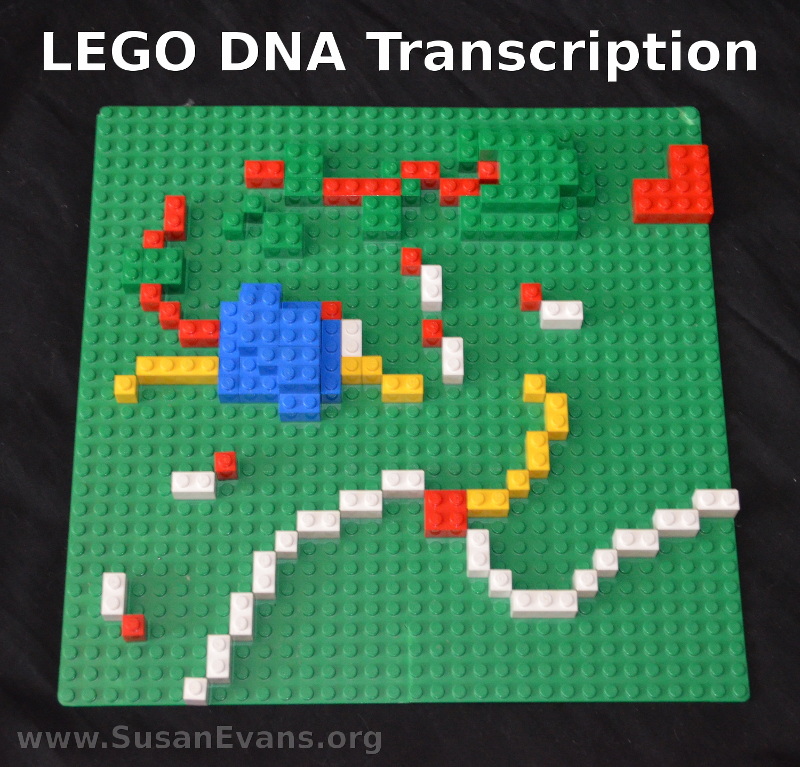
When you are studying biology, why not make a LEGO DNA transcription model? This will help your high school students to internalize this process by participating in a hands-on activity to reinforce the concept.

This is a picture of DNA as it is being turned into RNA and proteins. You can look at a drawing in a textbook to see what shape you should make with the LEGOs. Start with a green LEGO base, and build up the DNA transcription process little by little.

DNA Transcription

Here is my son’s description of this process:

First a molecule called RNA Polymerase speeds down the DNA strand, unzipping the double helix and making messenger RNA, using nucleotides floating around. The RNA is basically the same as the DNA except that instead of Thymine (T), the RNA has Uracil (U).

When the RNA Polymerase reaches a special end code in the DNA, the mRNA strand is released into the cytoplasm of the cell. A ribosome forms around it. The ribosome takes transfer molecules with amino acids on them and links them to the mRNA.

Each transfer molecule has a group of three letters, called a codon, on it. The codons link up with the mRNA and, in doing so, make a protein with the amino acids they are carrying. Then the empty transfer molecules leave the mRNA and leave behind their amino acids as more take their place.

This goes on until the protein is complete. Then it goes off to a chaperone, which is a special machine for folding proteins. When the protein is folded, it is done, and it goes off to the part of the cell where it is needed.

DNA Transcription Video

If you look at the LEGO DNA transcription model at the top of this page, you can find out exactly what is happening in the model by watching this short video:
LEGO Covered Wagon

Monday, October 5th, 2015

LEGO-covered-wagon

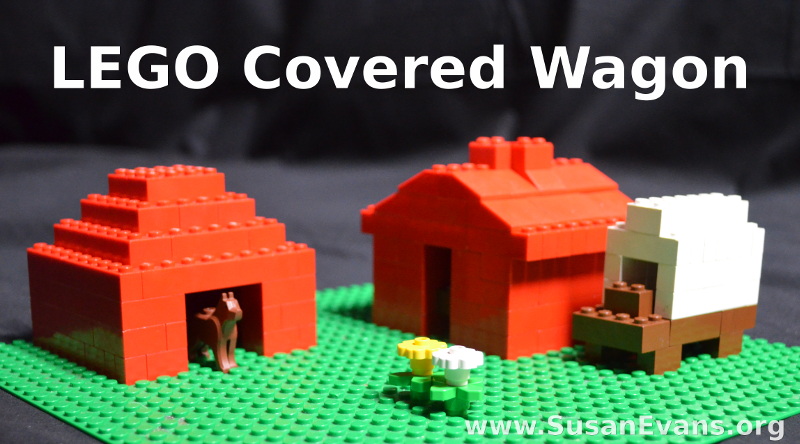
My son made a LEGO covered wagon out of regular LEGO bricks. This is a fun hands-on activity you can do with your kids when you are studying the Wild West. You can also combine it with a literature study of Little House on the Prairie.

My son made some log cabins out of red LEGO bricks attached to a green base. He stuck a horse into the barn, and he placed a chimney on the house. Next to the house is where he placed the covered wagon.

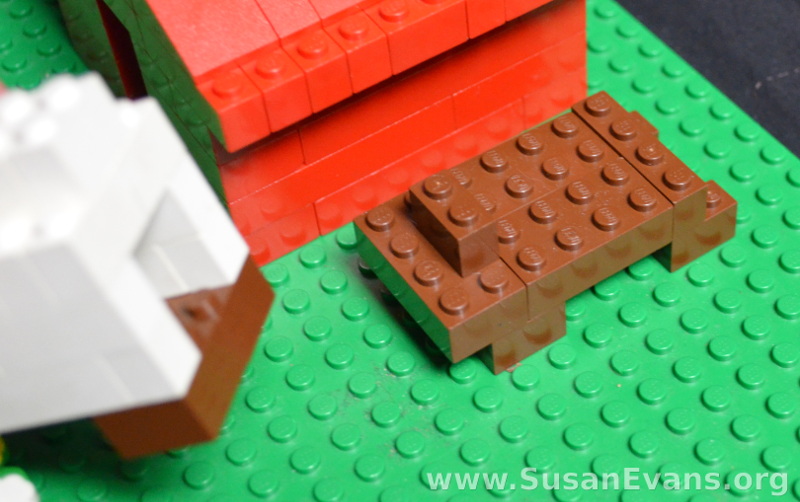
lego-covered-wagon-baseHe started building the covered wagon by grabbing some brown LEGO bricks and placing four “wheels” on the bottom. Those wheels were really LEGO bricks with 2 bumps. Then he built the main platform on top of the wheels. This was in the shape of a rectangle. He placed a front seat on the covered wagon. It was another LEGO with 2 bumps.

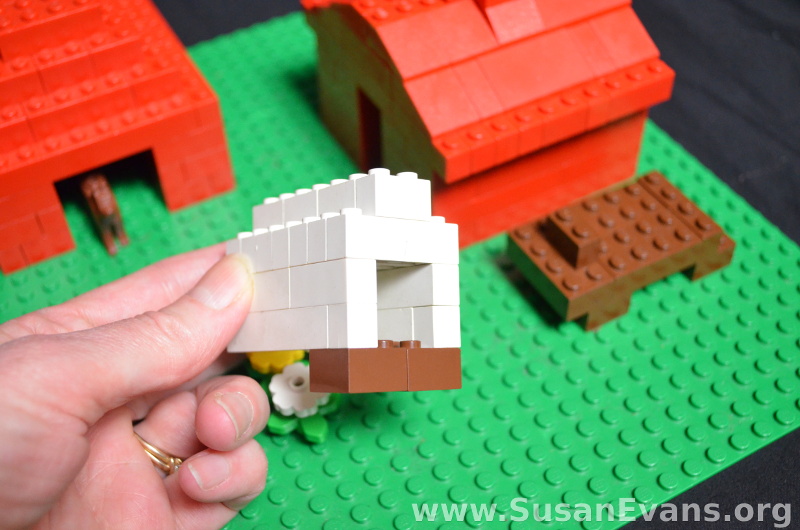
lego-covered-wagon-topThe top part of the LEGO covered wagon was built out of white LEGOs in the shape of an upside-down “U,” with a row of 2-prong LEGOs along the top. Brown LEGOs attach the white canvas top to the bottom of the covered wagon.

Now your LEGO covered wagon is complete, and you can begin having Wild West adventures with your fun Wild West LEGO scene!

31 Days of LEGO Unit Studies

Wednesday, September 30th, 2015

31-days-lego-unit-studies

My kids have always loved playing with LEGOs, so 31 Days of LEGO Unit Studies sounded like a good series for me to do. We have come up with a lot of fun projects I’ve never seen before. My kids surprise me by building what we are studying out of LEGOs. They’ve had a great time learning many of their academic subjects over the years through LEGOs. Here are some of the LEGO creations we’ve put together over the years, and we will be adding to this index during the next few weeks:

31 Days of LEGO Unit Studies

History

Science

Geography

Bible

Math

Art

Music

P.E.

Italy Cake

Monday, September 28th, 2015

Italy-cake

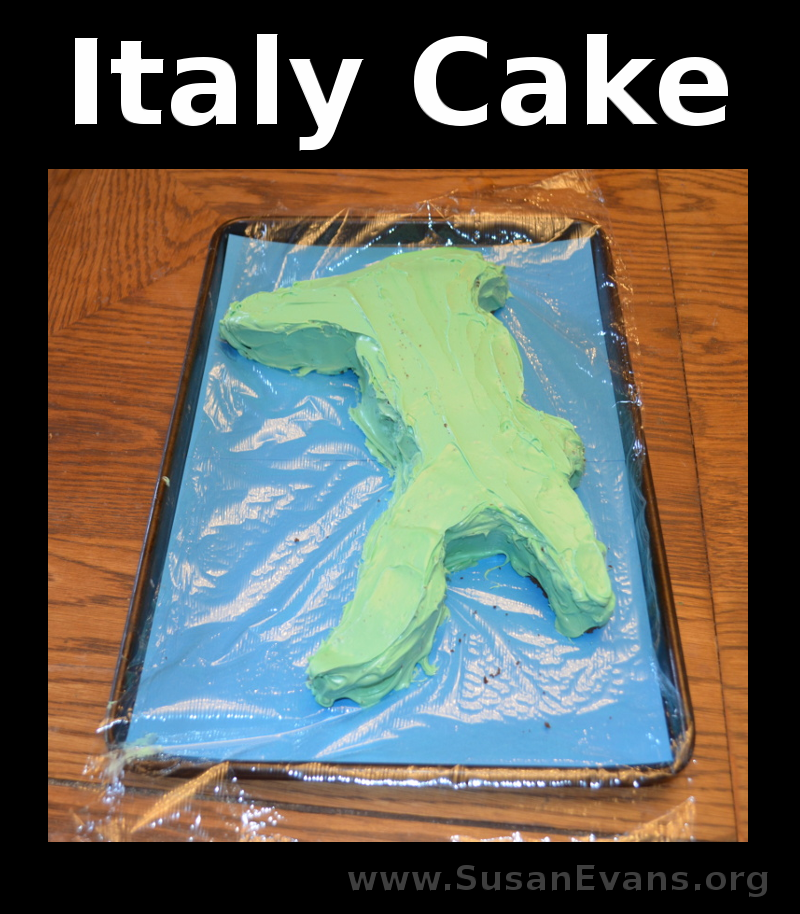
When you are studying Ancient Rome, why not make an Italy cake? Kids always enjoy eating their homework, and what better way to learn geography than to have your cake and eat it, too?

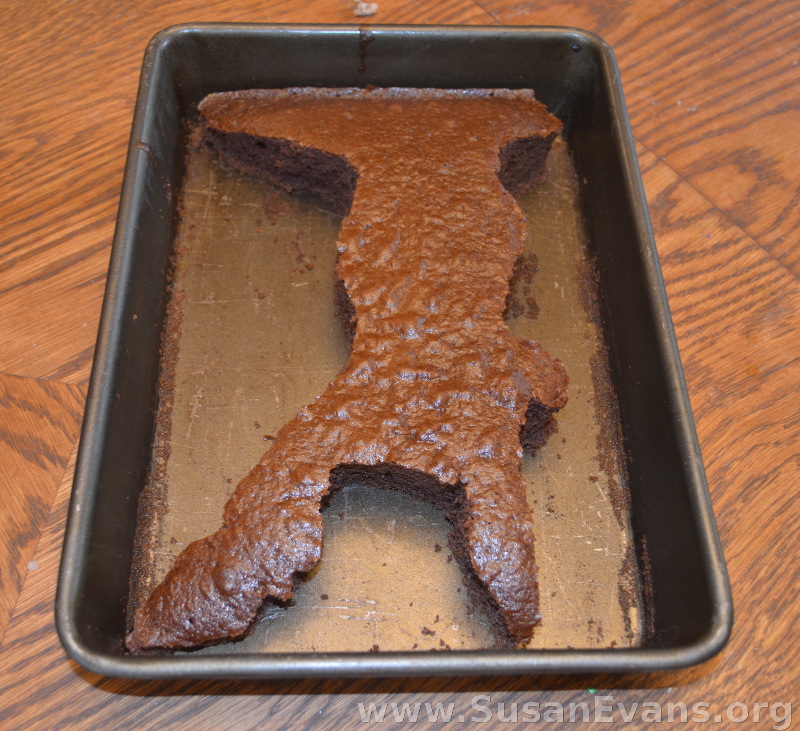
Bake a chocolate cake in a rectangular pan according to the directions on the package. Let the cake cool by placing it into the refrigerator. Cakes are easier to cut when they are cold. Cut the shape of Italy out of a rectangular cake pan. You will need to look at a map of Italy to make sure you get the shape right.

chocolate-italy-cake

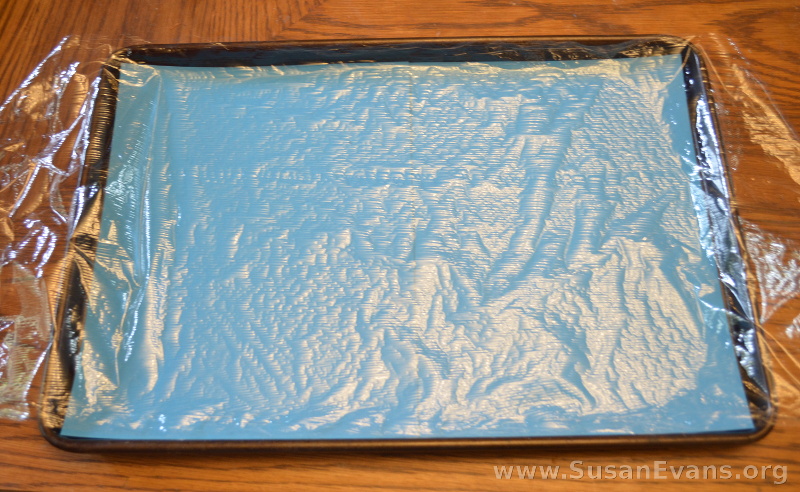
Next you will want to get a cookie sheet. Place two pieces of light blue construction paper on the bottom of the cookie sheet to represent the water of the Mediterranean Sea. Put cling wrap over top of the blue construction paper so that the cake doesn’t soak through the paper.

cookie-sheet

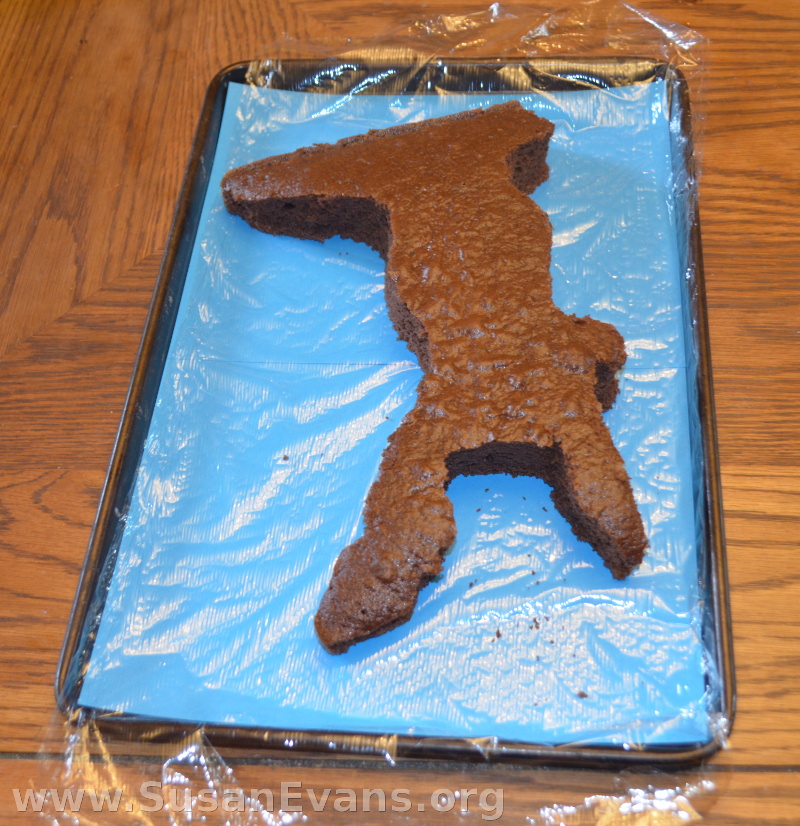
Pick up the cake with a couple of spatulas (or with your bare hands) and place it on the cookie sheet. If you want, you can leave it like this. Otherwise you can frost the cake with green frosting. (Tint white frosting green with food coloring.) You can add other embelishments like mountain ranges with chocolate chips, rivers with blue frosting, etc.

italy-cake-2

Now you can enjoy eating your Italy cake!

To see more hands-on activities for Ancient Egypt, join the Unit Study Treasure Vault!