Posts Tagged ‘Homeschooling’

LEGO States

Monday, May 4th, 2015

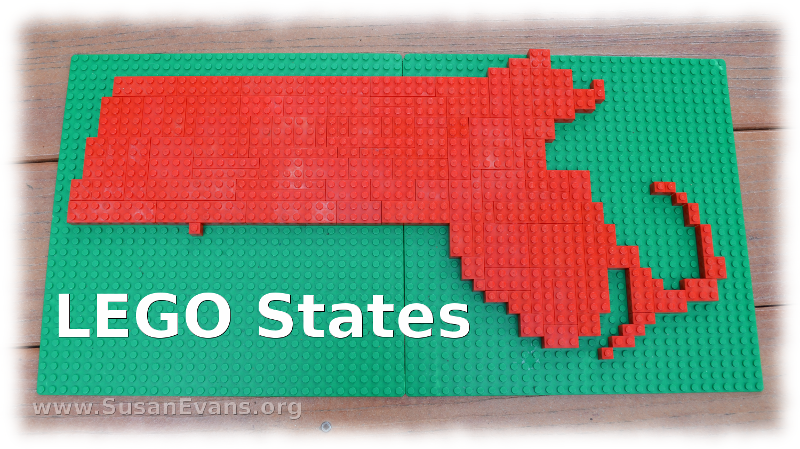
LEGO-statesIf you are studying the geography of the United States, why not make some LEGO states? All you need is a couple of green bases and a bucket of red LEGO’s.

Look at the shape of each state before you begin outlining the state. You can use an atlas, a map online, or a puzzle piece. We have a wooden puzzle of the United States, and my son used the shape of the puzzle piece to create the outline for the state.

Once you have outlined the state with red LEGO’s on the green bases, you will want to fill in the rest of the state. This part is super easy and can even be done by preschoolers who want to help. Make sure you have added any details.

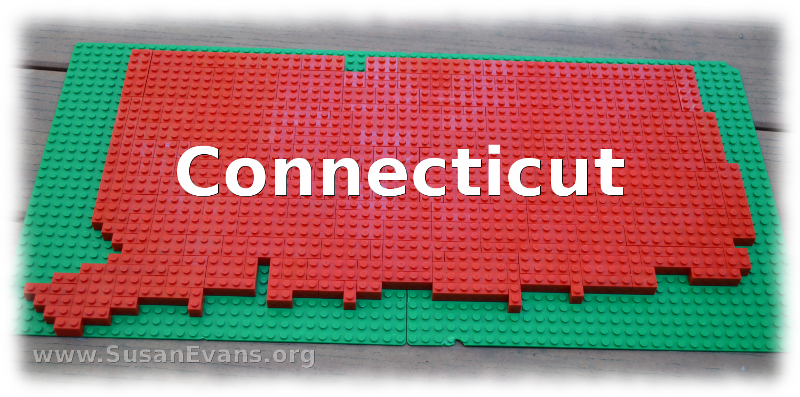
Here is a LEGO model of Connecticut:
LEGO-connecticutHere is a LEGO model of Oklahoma:

lego-oklahoma

You can also add mountain ranges for the states by using a second row of red LEGO’s outlining the mountain ranges. You can even get creative and add other sightseeing places with other colors of LEGO’s to add interest!

If you enjoyed this post on LEGO states, you will love the workshop: Living Geography: Travel the World from your Living Room.

 

How to Make Beeswax Candles

Monday, April 27th, 2015

how-to-make-beeswax-candles

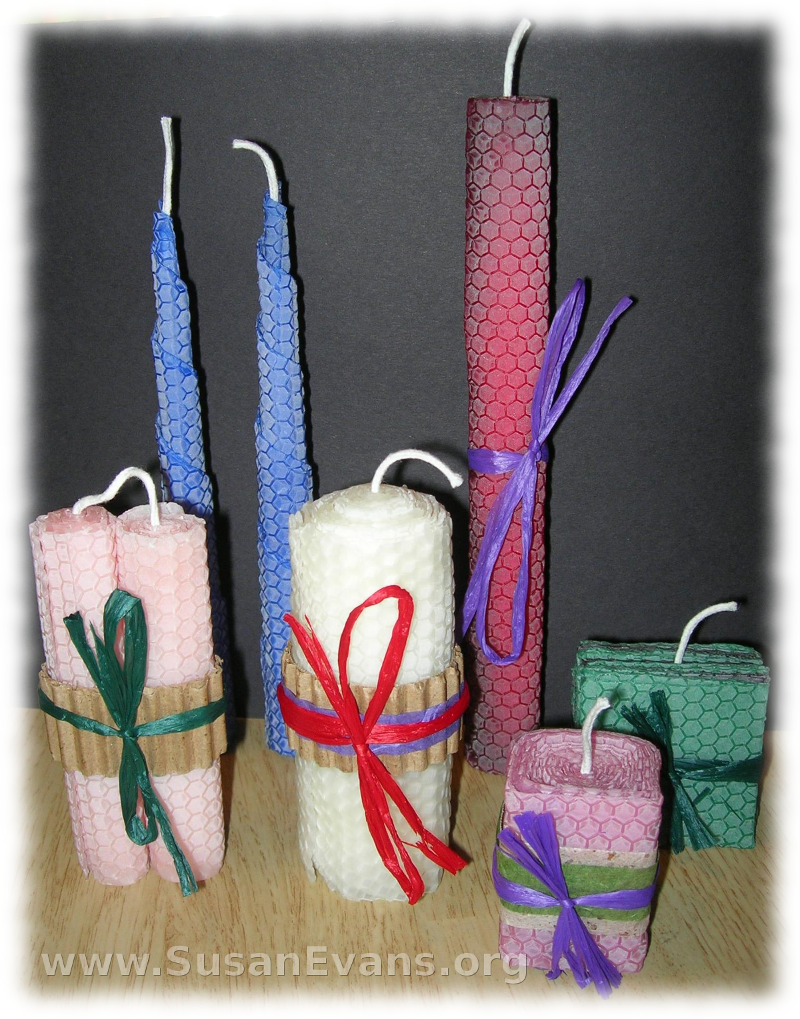
If you are wondering how to make beeswax candles, here is a step-by-step tutorial. All you need is some beeswax, candle wick, and ribbons or embellishments. We got ours in a kit, but you can buy them separately if you want. Beeswax candles are super easy to make, as far as gifts for people that your children can make.

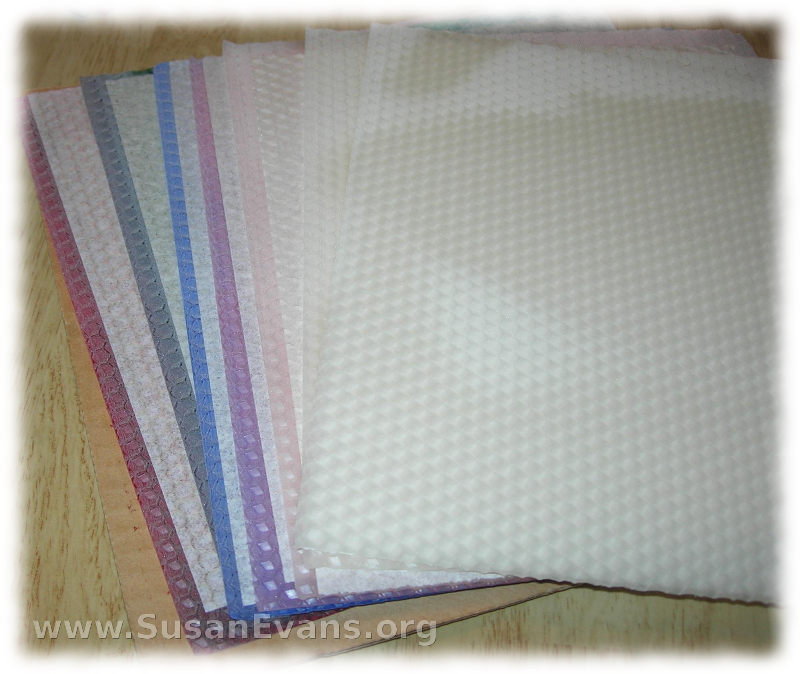
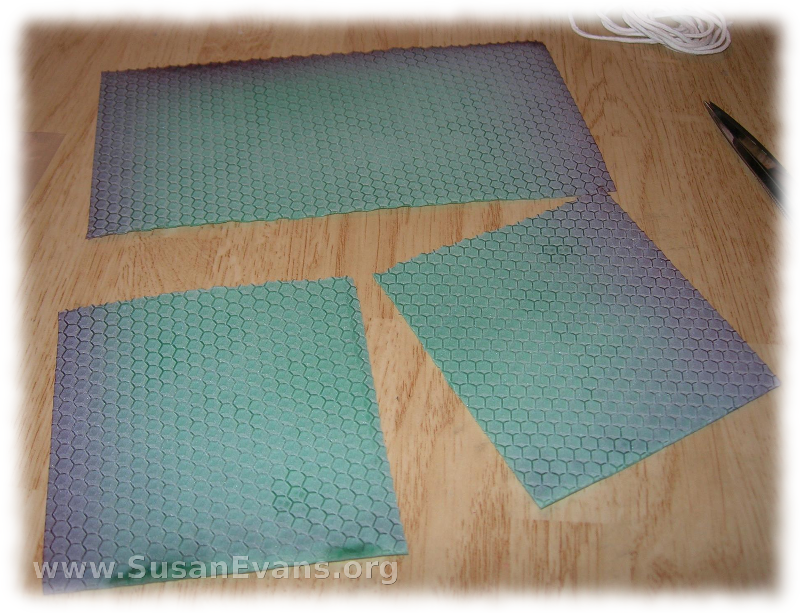
The sheets of beeswax look like this:

sheets-of-beeswax

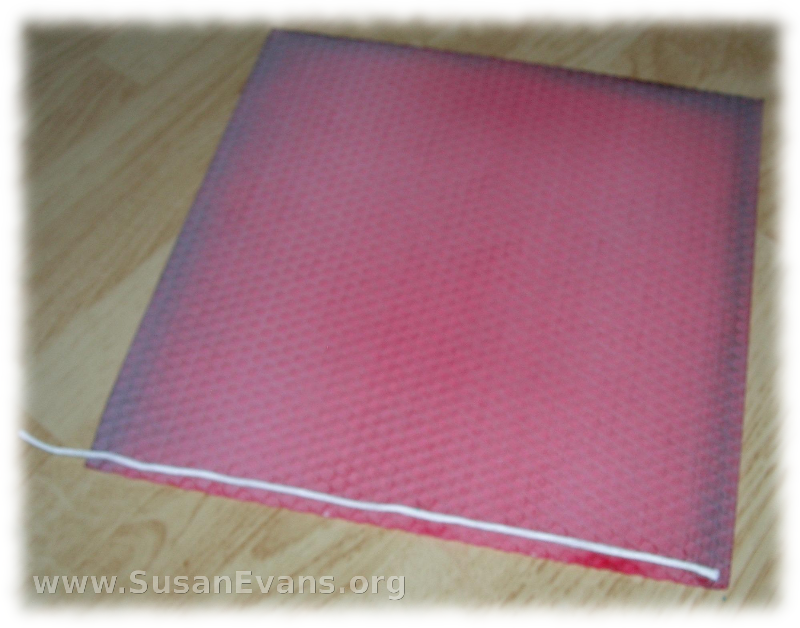
Cut the wick to the right size, lay it down, and roll up the sheet. You’re done!

wrapping-beeswax

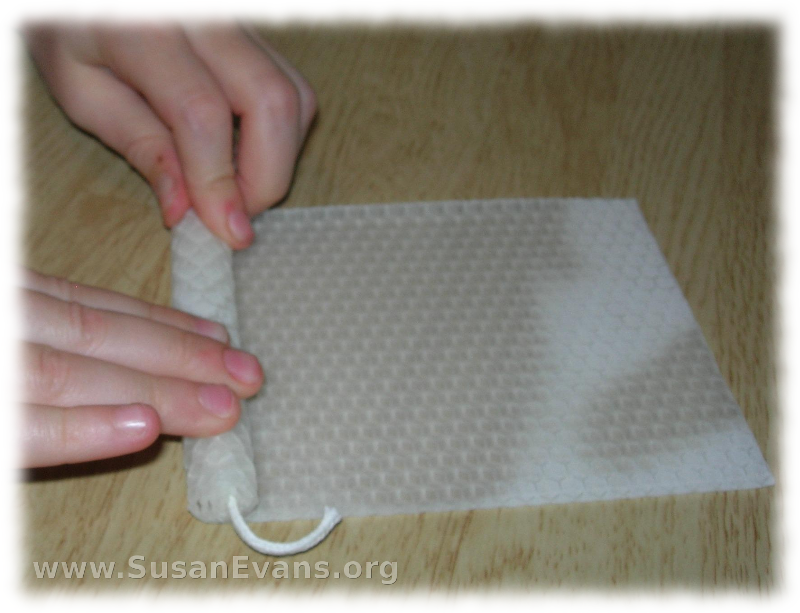
Here is a 6-year-old, rolling the candle. See how easy it is?

how-to-roll-beeswax

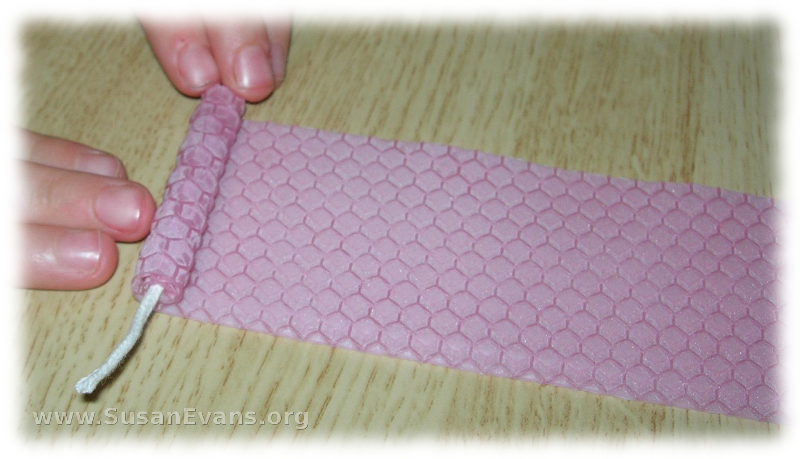
You can make the candle as short or as long as you want.

roll-the-beeswax

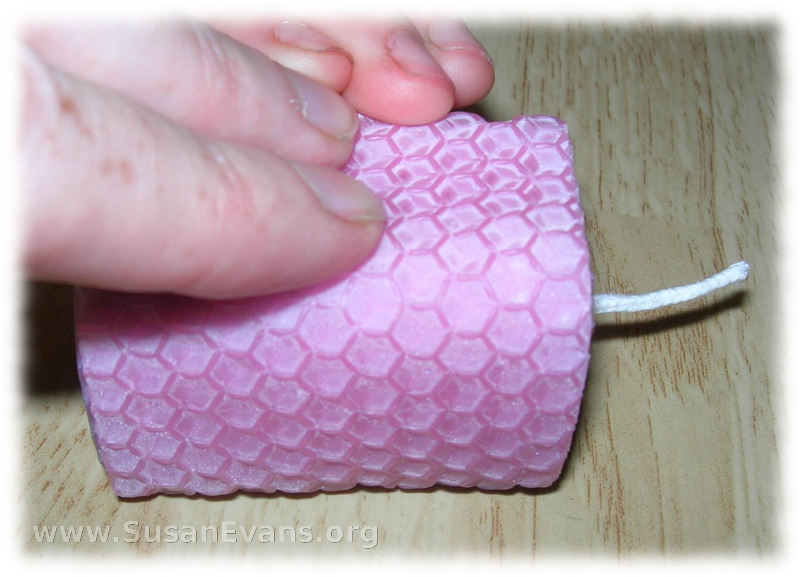
If you want it to look like a square, press it against the table on 4 sides.

square-beeswax-candle

You can cut the wax with scissors or just fold it, and it will break on the fold.

green-beeswax

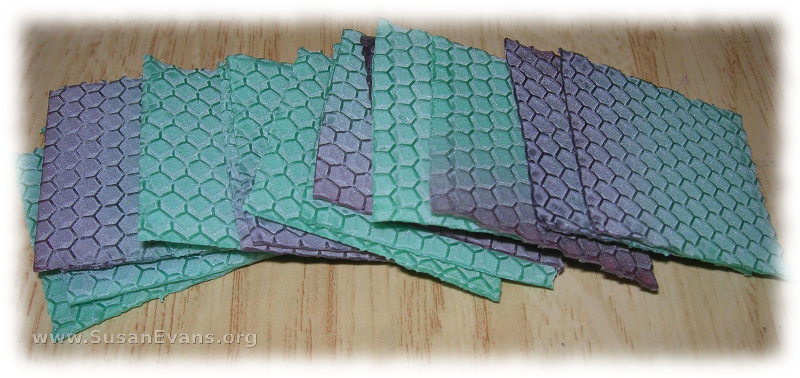
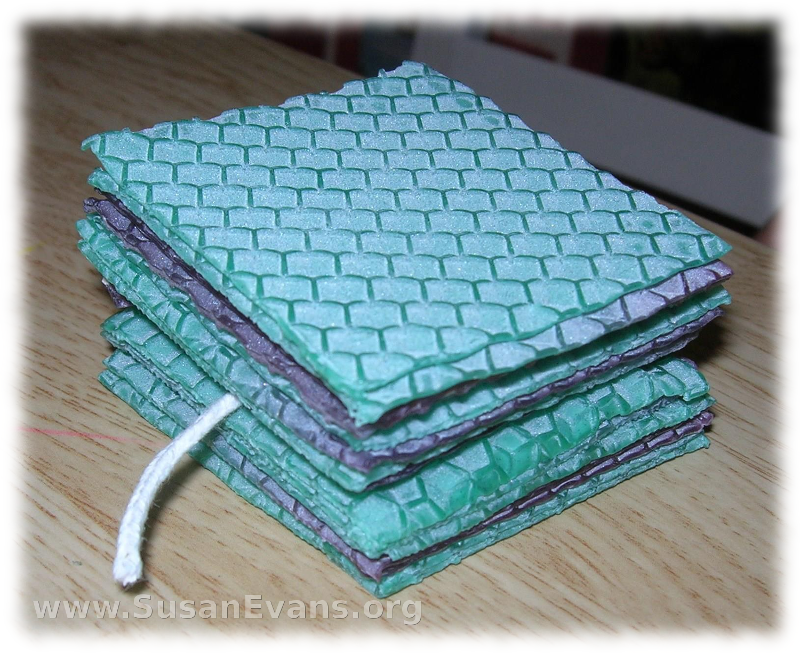
You can make a stack of squares.

stack-of-beeswax

Then put the wick into the middle, and mash it down. Okay, maybe this candle looks a bit weird.  Let’s move on.

beeswax-candles

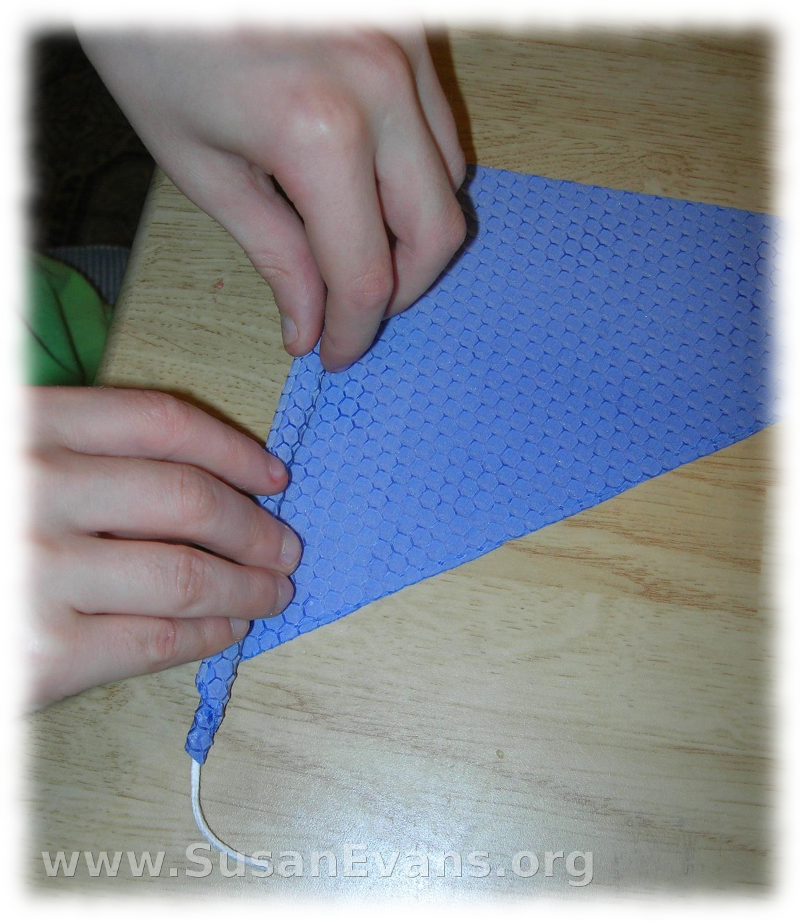
If you have a triangle of beeswax, you will get a tapered look when you roll it.


rolling-a-candle

I hope you enjoyed this tutorial on how to make beeswax candles. See how easy they are to make? Even your toddler can do it!

make-a-beeswax-candle

LEGO Castle

Monday, April 20th, 2015

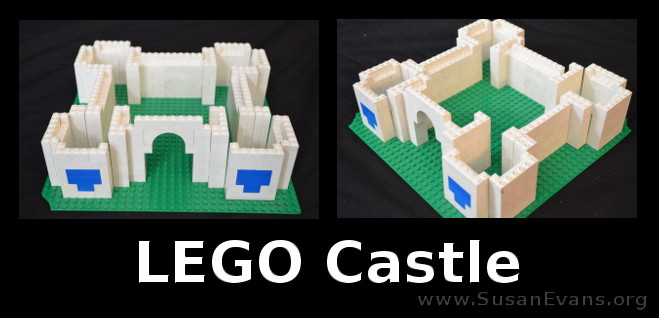
LEGO-castle

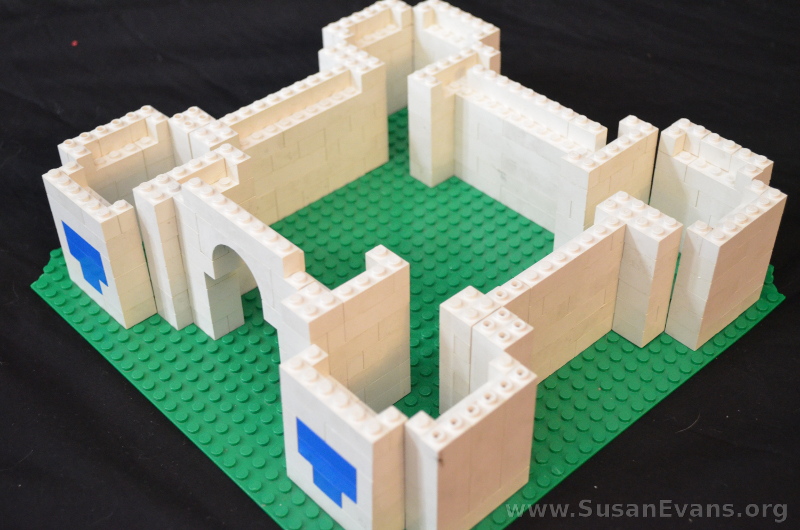
My 11-year-old son Nathaniel built a castle out of regular LEGOs. You really don’t need to get an expensive castle kit; if you have regular LEGO bricks, you can build a LEGO castle of any shape and size as you study the Middle Ages.

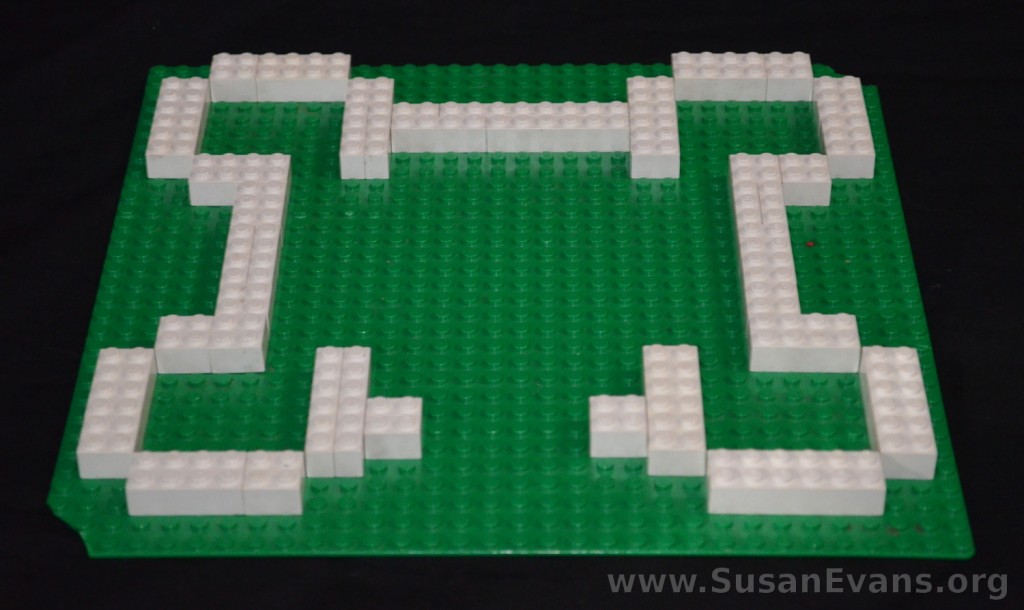
lego-castle-base

Start with a green base. Find all the white LEGO pieces and dump them in a pile so that you don’t have to keep looking for more pieces while you build. Decide what shape you want the castle to be, and outline it on the LEGO base. Make sure you leave space for the entrance. For our castle, we have four castle keeps, one at each corner.

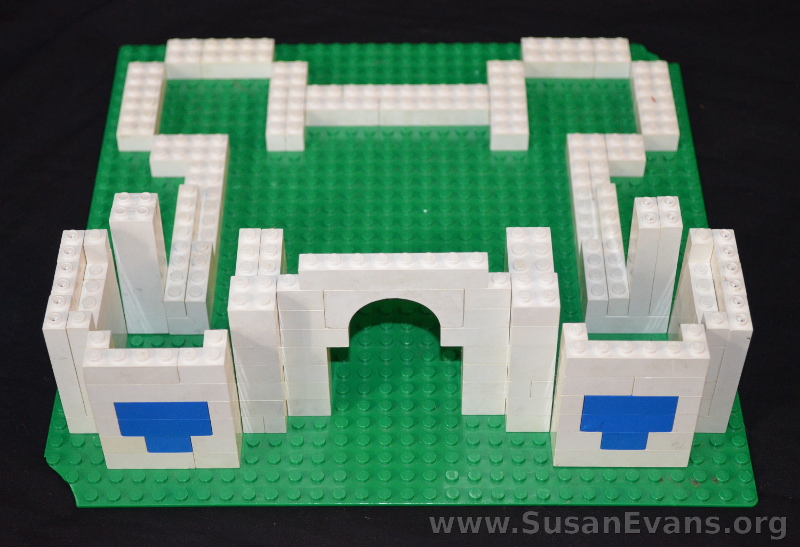
build-a-lego-castle

Start building up the walls, interlocking the LEGOs and staggering them so that the structure is sound. If you put a LEGO brick connecting two LEGO bricks, the structure is less likely to break apart. You can insert a design on the front with a different color, either in a shield shape or any other shape. The entrance can be made either as a rectangle or an arch. My son decided to make an arch with pillars on either side.

LEGO-castle-2

Keep building up the structure until you run out of white LEGOs. Then enjoy your LEGO castle!

For more hands-on activities for the Middle Ages, take a look at my Medieval Unit Study Pinterest board.


LEGO Algebra: Learning Algebraic Formulas

Monday, April 13th, 2015

LEGO-algebra

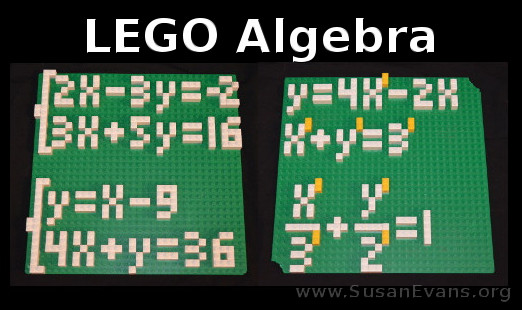
I’ve seen arithmetic done with LEGOs for lower-level elementary math, taking individual LEGO pieces and adding them up, making graphs, and learning about fractions. But LEGO algebra is something I’ve never seen–not until my son Stephen decided that it was possible to write out algebraic equations with white LEGOs on a green base. It’s particularly helpful to write out these algebraic equations to memorize formulas because the tactile component of feeling the LEGOs with your fingers can cause your kinesthetic learners to internalize the formulas more quickly.

The act of building the equations you want to memorize will help you internalize them. My son Stephen has written an explanation for the algebraic equations that he built out of LEGOs:

  • In the picture on the left, you have a couple of algebraic systems–each of which is two equations which are related to each other in some way. The system on the top can be solved with the subtraction method by first multiplying both sides of the top equation by 3 and both sides of the bottom one by 2, then subtracting the two equations to remove x and solve for y. (The answer happens to be 2.) We can put the answer for y in one of the equations; let’s do 3x+5y=16, making 3x+5(2)=16. After solving, the answer to system 1 is x=2, y=2.
  • The system on the bottom can be solved by substitution with the knowledge that y is equal to the expression x-9. With that information, we can substitute the y in the second equation with x-9, and so solve for x. (The answer is 9.) Then we do the same as we did with system 1 and solve for y (y=x-9    y=9-9    y=0). So the answer is x=9 y=0.
  • The picture on the right is three equations which represent various graph shapes. The top one is the equation for a parabola, the middle one is the equation for a circle, and the bottom one is the equation for an ellipse. The yellow dots represent that number or variable raised to the second power (or squared).

Hopefully these explanations can help your high school student understand algebra in a tactile way so that your student is less likely to forget the algebraic formulas. Who knew that LEGO algebra would be possible? My son found a way!